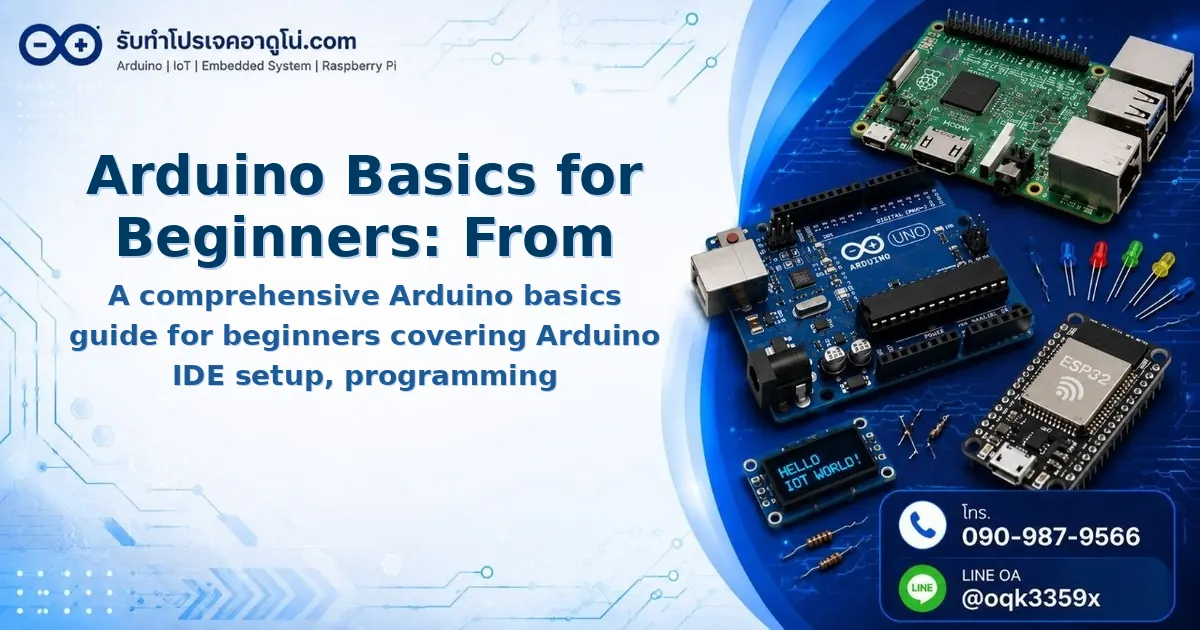
Arduino Basics for Beginners: From Installation to Real Projects
Arduino Basics for Beginners: From Installation to Real Projects
Arduino is the most popular microcontroller board among electronics hobbyists and learners. With its easy programming interface, large community support, and readily available libraries, Arduino makes a great starting point for anyone interested in electronics and embedded systems. This article covers the essentials you need to know to get started with Arduino, from installation to hands-on projects.
![Image showing Arduino Uno R3 board with labeled components - compact blue board with digital and analog pins clearly marked]
What is Arduino
Arduino is a microcontroller board based on ATmega chips from Atmel. It comes with a USB port for computer connection, 14 digital I/O pins (some supporting PWM), and 6 analog input pins. The Arduino Uno R3 is the most commonly used board and is the best starting point for beginners.
The programming language is a simplified version of C++ with built-in functions for pin control like digitalWrite() for digital output and analogRead() for analog input reading. This makes it accessible even for those with no prior programming experience.
Installing Arduino IDE
The first step is to install Arduino IDE, the software used to write and upload code to Arduino boards.
Installation Steps:
- Go to arduino.cc/en/software
- Download the version for your operating system
- Install following the on-screen instructions - click Next → Install → Finish
- Open Arduino IDE
- Connect your Arduino Uno to the computer with a USB cable
- Go to Tools → Board → select Arduino Uno
- Go to Tools → Port → select the port your board is connected to (usually COM3, COM4 or higher)
- Try uploading the example code by going to File → Examples → 01.Basics → Blink
// Blink example code for board testing
// The built-in LED will blink every 1 second

void setup() {
  // Set pin 13 as output
  pinMode(LED_BUILTIN, OUTPUT);
}

void loop() {
  digitalWrite(LED_BUILTIN, HIGH);   // Turn LED on
  delay(1000);                       // Wait 1000 milliseconds = 1 second
  digitalWrite(LED_BUILTIN, LOW);    // Turn LED off
  delay(1000);                       // Wait 1 second
}
If the upload is successful and you see the LED on the board blinking, everything is working properly.
![Image showing Arduino IDE interface with labeled sections - Toolbar, Code Editor area, and Serial Monitor button]
Arduino Program Structure Basics
An Arduino program has two main sections: setup() and loop()
setup() runs once when the board starts. Use it for initial configuration like setting pin modes as Input or Output.
loop() runs repeatedly as the main program body. Code written in loop() executes continuously until the board is powered off.
void setup() {
  // Initial setup section - runs once at startup
  pinMode(13, OUTPUT);  // Set pin 13 as output
  Serial.begin(9600);   // Start Serial Communication at 9600 bps
}

void loop() {
  // Main program section - repeats continuously
  digitalWrite(13, HIGH);
  delay(500);
  digitalWrite(13, LOW);
  delay(500);
}
Recommended Learning Path for Arduino Beginners
Based on teaching experience, here is the optimal learning sequence from basics to advanced topics.
Stage 1: Programming Fundamentals
- Install Arduino IDE and test the board
- Understand setup() and loop() structure
- Learn about variables and data types (int, float, boolean)
- Learn if-else conditions and for loops
Stage 2: Digital Output - Controlling LEDs
- Use digitalWrite() to control digital pins
- Build LED circuit with current-limiting resistor (220-330 ohm)
- Create running light patterns using various coding approaches
// 8-LED running light example using for loop

const int LED_START = 2;   // Starting pin for LEDs
const int LED_COUNT = 8;   // Number of LEDs

void setup() {
  // Set pins 2-9 as outputs
  for (int i = LED_START; i < LED_START + LED_COUNT; i++) {
    pinMode(i, OUTPUT);
  }
}

void loop() {
  // Forward running light
  for (int i = LED_START; i < LED_START + LED_COUNT; i++) {
    digitalWrite(i, HIGH);
    delay(100);
    digitalWrite(i, LOW);
  }

  // Backward running light
  for (int i = LED_START + LED_COUNT - 1; i >= LED_START; i--) {
    digitalWrite(i, HIGH);
    delay(100);
    digitalWrite(i, LOW);
  }
}
Stage 3: Digital Input - Reading Switches
- Read digital input with digitalRead()
- Build pull-down and pull-up switch circuits
- Apply knowledge to control devices on/off
Stage 4: Analog Output - Dimming with PWM
- Understand PWM signals on pins marked with ~ (e.g., 3, 5, 6, 9, 10, 11)
- Use analogWrite() to control LED brightness
- Create smooth fading effects
Stage 5: Analog Input - Reading Sensors
- Read analog values from sensors using analogRead()
- Work with potentiometers and LDR light sensors
- Apply knowledge to control Servo Motors
Serial Communication
Serial Communication is the most common method for Arduino to communicate with computers. It lets you send values to monitor on your computer screen.
void setup() {
  Serial.begin(9600);  // Start Serial at 9600 bps
}

void loop() {
  int sensorValue = analogRead(A0);  // Read value from pin A0

  Serial.print("Sensor value: ");     // Print text
  Serial.println(sensorValue);         // Print value and new line

  delay(500);                          // Wait half a second
}
Open the Serial Monitor by clicking the icon in the upper right corner of Arduino IDE to see the values displayed line by line.
![Image showing Serial Monitor in Arduino IDE with sample output values displayed]
Installing Additional Libraries
Arduino has many ready-made libraries that make working with sensors and modules easier.
How to Install Libraries:
- Open Arduino IDE
- Go to Sketch → Include Library → Manage Libraries
- Type the library name in the search box
- Select the library and click Install
- Wait for installation to complete, then try uploading the included example code
Commonly used libraries include DHT sensor library (for DHT11/DHT22), Servo library (for Servo Motors), NewPing library (for HC-SR04 Ultrasonic), and Wire library (for I2C Communication).
Learning Path Summary
Mastering Arduino requires hands-on practice. Do not just read articles - follow every step亲手实践, fix errors when they happen, and repeat until you understand. Once your fundamentals are solid, move on to more complex sensors like temperature sensors, distance sensors, GPS modules, or Bluetooth communication.
Start with simple projects like LED blinking → running lights → switch-controlled lights → PWM dimming → sensor reading. When you can complete all these stages, advancing to real-world projects becomes straightforward.
อยากทำโปรเจคแบบนี้?
รับทำโปรเจค Arduino / IoT จบงานไว ส่งงานครบ พร้อมสอน
If you need Arduino project service or urgent IoT development, see full service details on the service page
จ้างทำโปรเจคเลย