Last updated on
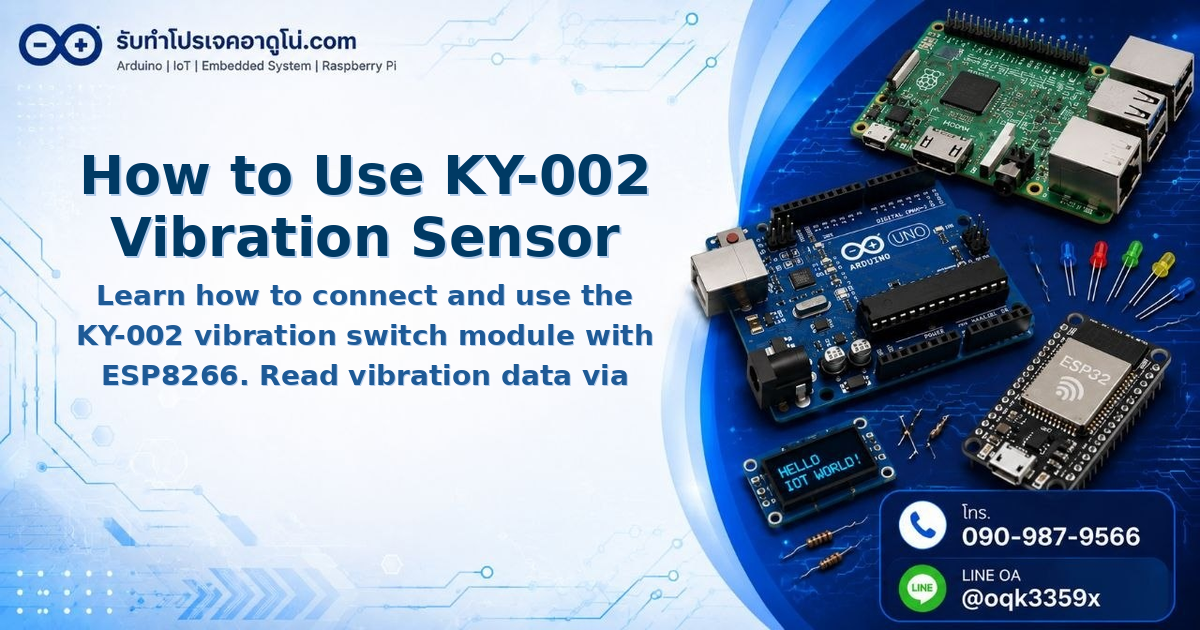
How to Use KY-002 Vibration Sensor with ESP8266
How to Use KY-002 Vibration Sensor with ESP8266
This tutorial shows how to connect the KY-002 vibration switch module to an ESP8266 board. You’ll write code to read vibration data via Serial Monitor and light up an LED when vibration is detected.

Required Components
- NodeMCU ESP8266 V2 board
- KY-002 Vibration Switch Module
- Red LED 5mm
- 220 Ohm resistor
- MB-102 Breadboard 830 Point
- Jumper wires (Male-Male, Male-Female, Female-Female)
- Micro USB cable for code upload
Wiring Diagram
Connect the components as follows
| ESP8266 | KY-002 |
|---|---|
| Vin (5V) | + |
| GND | - |
| D2 | S |
| ESP8266 | LED |
|---|---|
| D1 | Long leg (Anode) |
| GND | 220 Ohm resistor → Short leg (Cathode) |

Arduino Code for ESP8266
// Define connection pins
const int sensorPin = D2;    // KY-002 Signal pin
const int ledPin = D1;       // LED pin

void setup() {
  Serial.begin(9600);
  pinMode(sensorPin, INPUT);
  pinMode(ledPin, OUTPUT);

  // Get initial sensor state
  int sensorState = digitalRead(sensorPin);
  Serial.print("Initial sensor state: ");
  Serial.println(sensorState == LOW ? "Vibration Detected" : "No Vibration");
}

void loop() {
  int sensorState = digitalRead(sensorPin);

  if (sensorState == LOW) {
    // Vibration detected
    digitalWrite(ledPin, HIGH);
    Serial.println("Vibration Detected!");
    delay(3000);  // LED on for 3 seconds
    digitalWrite(ledPin, LOW);
  } else {
    // No vibration
    Serial.println("No Vibration");
  }

  delay(500);  // Delay between readings
}
Note: This is a basic example for understanding how the sensor works. For more reliable detection, consider using interrupt-based logic or debouncing techniques.
Upload Steps
- Open Arduino IDE
- Set Board to NodeMCU 1.0 (ESP-12E Module) via Tools → Board
- Select the correct Port via Tools → Port
- Click the Upload button
- Open Serial Monitor and set Baud Rate to 9600

Testing the Setup
After uploading the code, open the Serial Monitor
- With no vibration, you’ll see “No Vibration” printed every 0.5 seconds
- Gently tap the table or shake the board to trigger the sensor — LED will light up and the message changes to “Vibration Detected!” for 3 seconds
- Stronger shakes produce clearer LED responses
Important Notes
- ESP8266 GPIO uses 3.3V logic levels. KY-002 powered by 5V may output 5V signal which could cause reliability issues. Consider using a voltage divider or powering the sensor from 3.3V if available
- KY-002 is a mechanical switch and may produce bounce. Add debounce logic if you need precise detection timing
อยากทำโปรเจคแบบนี้?
รับทำโปรเจค Arduino / IoT จบงานไว ส่งงานครบ พร้อมสอน
If you need Arduino project service or urgent IoT development, see full service details on the home page
จ้างทำโปรเจคเลย