How to Install Arduino IDE and Set Up Your Arduino Board for the First Time
How to Install Arduino IDE and Set Up Your Arduino Board for the First Time
Before writing code to control anything on an Arduino board, the first step is to install Arduino IDE, the main tool for writing and uploading programs to the board.
What is Arduino IDE
Arduino IDE (Integrated Development Environment) is the software used to write code that controls Arduino boards. The code is written in C language in a format called Sketch. This program is Open Source, free to use, and highly popular, which means there are plenty of resources and example code available for learning.
Arduino boards have both digital and analog ports. They can connect to various sensors and output devices such as LEDs, motors, or electrical outlets. With expansion boards like Ethernet Shield, you can also use Arduino for IoT projects.
What You Need
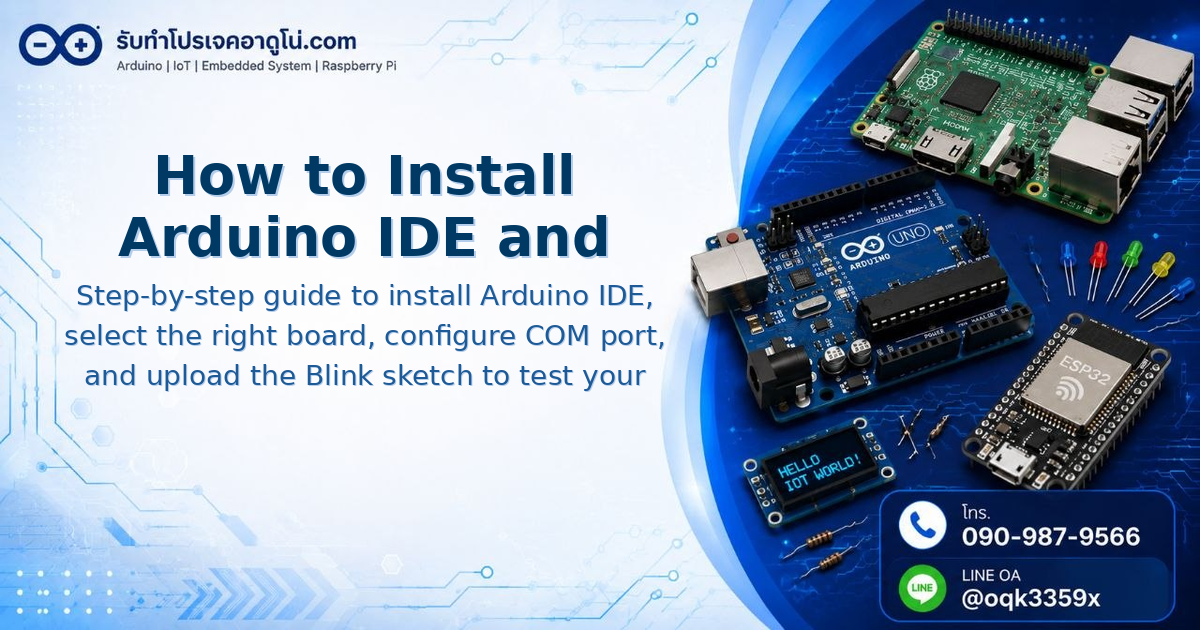
- Arduino UNO R3 board or another Arduino model
- USB cable to connect the board to your computer
Installing Arduino IDE
Download the Software
- Go to the download page at arduino.cc
- Select your operating system: Windows, macOS, or Linux
- Click the Just Download button to download without contributing, or click Contribute & DOWNLOAD if you wish to support the development

Install and Launch
- Once the download finishes, double-click the arduino.exe file to launch the program
- Wait for the main Arduino IDE window to appear

Selecting Your Arduino Board in IDE
- Go to Tools menu > Board > select Arduino/Genuino Uno (for UNO boards used in this guide). If you are using a different board model, select the matching option.

Connecting the Board and Finding the COM Port
- Connect your Arduino board to the computer using a USB cable
- Right-click on This PC or Computer icon on your Desktop and select Properties
- The System window will open. Look for Device Manager on the left sidebar
- Click on Ports (COM & LPT) to expand it. You will see the list of connected ports
- Your Arduino UNO will appear as Arduino UNO (COMx) where x is the port number, such as COM3 or COM13
[image: Device Manager showing Ports (COM & LPT) section with Arduino UNO connected at COM13]
Configuring Board and Port in Arduino IDE
- Go back to the Arduino IDE window you opened earlier
- In the Tools menu, configure the following:
- Port select the COM number that matches what you saw in Device Manager, for example COM13
- Board select Arduino/Genuino Uno
[image: Tools menu in Arduino IDE configured with Board set to Arduino/Genuino Uno and Port set to COM13]
Writing and Uploading a Test Sketch (Blink)
This step tests whether your board is working properly by running the Blink sketch, which makes the LED on the board blink every 1 second.
Go to File > Examples > 01.Basics > select Blink. A new window will open with the example code.
// the setup function runs once when you press reset or power the board
void setup() {
  // initialize digital pin 13 as an output
  pinMode(13, OUTPUT);
}

// the loop function runs over and over again forever
void loop() {
  digitalWrite(13, HIGH);   // turn the LED on (HIGH is the voltage level)
  delay(1000);              // wait for a second
  digitalWrite(13, LOW);    // turn the LED off by making the voltage LOW
  delay(1000);              // wait for a second
}
Once you have the code, follow these steps:
- Click the Compile button (checkmark icon) to check for any code errors
- Wait a moment. If there are no errors, you will see the message “Done compiling”
- Click the Upload button (arrow icon) to upload the code to the board
- Wait until the message “Done uploading” appears, indicating a successful upload
- Observe the LED on your Arduino UNO board at pin 13. It will blink on and off every 1 second
[image: Arduino IDE showing Done uploading message at the bottom bar, with Arduino UNO board LED blinking]
Summary
If the Blink sketch uploads successfully and the LED on the board blinks correctly, it means your Arduino board is connected properly and functioning normally. You are now ready to write code for controlling your own devices and projects.
Installing Arduino IDE and doing the initial setup is straightforward. The next step is to start writing code to control the devices you need for each project.
อยากทำโปรเจคแบบนี้?
รับทำโปรเจค Arduino / IoT จบงานไว ส่งงานครบ พร้อมสอน
If you need Arduino project service or urgent IoT development, see full service details on the home page
จ้างทำโปรเจคเลย