How to Use Arduino IR Remote Control with KY-022 to Control LEDs
How to Use Arduino IR Remote Control with KY-022 to Control LEDs
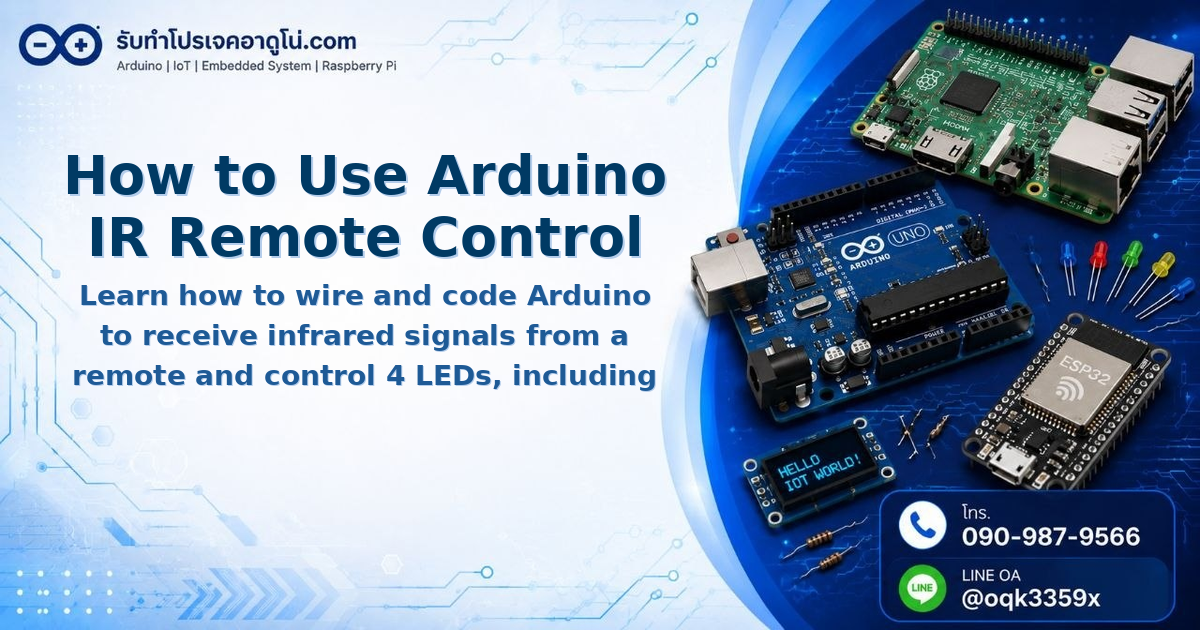
This guide explains how to use Arduino to receive infrared signals from a remote control and use them to toggle 4 LEDs on and off using the KY-022 infrared receiver module, a popular component in IoT and remote control projects.

Required Components
- Arduino UNO R3 with USB cable
- Infrared Receiver Module KY-022
- IR Remote control (any TV or device remote will work)
- 5mm Red LEDs x 4
- 220 Ohm resistors x 4
- MB-102 Breadboard (830 Point)
- Jumper wires: Male-to-Male, Male-to-Female, Female-to-Female, 20cm each
Wiring: Arduino with KY-022 and LEDs
Connect KY-022 to Arduino
| Arduino UNO | KY-022 |
|---|---|
| 5V | + (VCC) |
| GND | - (GND) |
| Pin 11 | S (Signal) |
Connect Each LED to Arduino
For each LED, wire as follows (one resistor per LED):
| Arduino UNO | Component |
|---|---|
| Pin 2 | Long leg (Anode) of LED 1 |
| Pin 3 | Long leg (Anode) of LED 2 |
| Pin 4 | Long leg (Anode) of LED 3 |
| Pin 5 | Long leg (Anode) of LED 4 |
| GND | 220Ω resistor → Short leg (Kathode) of LED |
Note: The long leg is the Anode (+), and the short leg is the Kathode (-). Make sure to wire them with correct polarity.

Installing the IRremote Library
- Download IRremote.zip
- Extract the file using WinRAR or WinZip
- Place the extracted folder in
Documents/Arduino/libraries - Restart Arduino IDE
Note: You need a file extraction program (WinRAR, WinZip, or 7-Zip) installed on your computer before extracting.
Step 1: Reading Your Remote’s Button Codes
Each remote has different hexadecimal codes for each button. You must read the codes from your specific remote before using them in the control sketch.
Upload the following code to read button codes (this is a read-only sketch, not the LED control code):
#include <IRremote.h>

const int RECV_PIN = 11;
IRrecv irrecv(RECV_PIN);
decode_results results;

void setup(){
  Serial.begin(9600);
  irrecv.enableIRIn();
  Serial.println("Press remote buttons to see codes");
}

void loop(){
  if (irrecv.decode(&results)){
    Serial.println(results.value, HEX);
    irrecv.resume();
  }
}
How to Read Button Codes
- Open Serial Monitor (Tools → Serial Monitor)
- Set Baud Rate to 9600
- Press buttons on your remote - each press will display a Hex code
Tip: Stable codes will be consistent 8-digit numbers. Press repeatedly until you get the same value each time. If the code keeps changing, keep pressing until it stabilizes.

LED Control Sketch with Remote
After obtaining your button codes, insert them into the sketch below. Replace all 0xFFFFFFF placeholders with the actual codes you read in the previous step.
Example: If pressing button 1 gives code 0xFF6897, replace the placeholder in case 0xFF6897:
#include <IRremote.h>

const int RECV_PIN = 11;
IRrecv irrecv(RECV_PIN);
decode_results results;

// Define LED pins
const int LED1 = 2;
const int LED2 = 3;
const int LED3 = 4;
const int LED4 = 5;

void setup(){
  Serial.begin(9600);
  irrecv.enableIRIn();

  // Set LED pins as OUTPUT
  pinMode(LED1, OUTPUT);
  pinMode(LED2, OUTPUT);
  pinMode(LED3, OUTPUT);
  pinMode(LED4, OUTPUT);

  // Turn all LEDs off initially
  digitalWrite(LED1, LOW);
  digitalWrite(LED2, LOW);
  digitalWrite(LED3, LOW);
  digitalWrite(LED4, LOW);
}

void loop(){
  if (irrecv.decode(&results)){
    Serial.println(results.value, HEX);

    switch(results.value){
      // Button 1 toggles LED 1
      case 0xFF6897:  // Replace with your remote's button 1 code
        digitalWrite(LED1, !digitalRead(LED1));
        Serial.println(digitalRead(LED1) ? "LED 1 ON" : "LED 1 OFF");
        break;

      // Button 2 toggles LED 2
      case 0xFF30CF:  // Replace with your remote's button 2 code
        digitalWrite(LED2, !digitalRead(LED2));
        Serial.println(digitalRead(LED2) ? "LED 2 ON" : "LED 2 OFF");
        break;

      // Button 3 toggles LED 3
      case 0xFF18E7:  // Replace with your remote's button 3 code
        digitalWrite(LED3, !digitalRead(LED3));
        Serial.println(digitalRead(LED3) ? "LED 3 ON" : "LED 3 OFF");
        break;

      // Button 4 toggles LED 4
      case 0xFF7A85:  // Replace with your remote's button 4 code
        digitalWrite(LED4, !digitalRead(LED4));
        Serial.println(digitalRead(LED4) ? "LED 4 ON" : "LED 4 OFF");
        break;

      // Button 9 turns all LEDs ON
      case 0xFF9867:  // Replace with your remote's button 9 code
        digitalWrite(LED1, HIGH);
        digitalWrite(LED2, HIGH);
        digitalWrite(LED3, HIGH);
        digitalWrite(LED4, HIGH);
        Serial.println("ALL LED ON");
        break;

      // Button 0 turns all LEDs OFF
      case 0xFF4AB5:  // Replace with your remote's button 0 code
        digitalWrite(LED1, LOW);
        digitalWrite(LED2, LOW);
        digitalWrite(LED3, LOW);
        digitalWrite(LED4, LOW);
        Serial.println("ALL LED OFF");
        break;
    }

    irrecv.resume();
  }
}
How to Upload the Sketch
- Open the sketch in Arduino IDE
- Select Board: Arduino UNO (Tools → Board)
- Select the connected Port (Tools → Port)
- Click the Upload button (right arrow icon)
- Wait for “Done uploading” message
Testing the Setup
After successful upload:
- Open Serial Monitor at Baud 9600
- Point your remote toward the KY-022 module
- Press button 1 → LED 1 toggles on/off
- Press button 2 → LED 2 toggles on/off
- Press button 3 → LED 3 toggles on/off
- Press button 4 → LED 4 toggles on/off
- Press button 9 → All 4 LEDs turn on together
- Press button 0 → All 4 LEDs turn off together
Customization Points
- Remote Button Codes - Replace all
case 0x...:values with codes from your specific remote - LED Pins - Modify LED1, LED2, LED3, LED4 constants if using different pins
- KY-022 Signal Pin - Change RECV_PIN if using a different Arduino pin
Summary
The KY-022 module reliably receives infrared signals and integrates easily with Arduino. Simply install the IRremote library, connect the signal pin correctly, and you can use any remote to control devices. The only requirement is knowing your remote’s button codes, which you can read using the code reader sketch provided above.
อยากทำโปรเจคแบบนี้?
รับทำโปรเจค Arduino / IoT จบงานไว ส่งงานครบ พร้อมสอน
If you need Arduino project service or urgent IoT development, see full service details on the home page
จ้างทำโปรเจคเลย