Getting Started with Arduino Mega 2560 R3 and Arduino IDE Setup
Getting Started with Arduino Mega 2560 R3 and Arduino IDE Setup
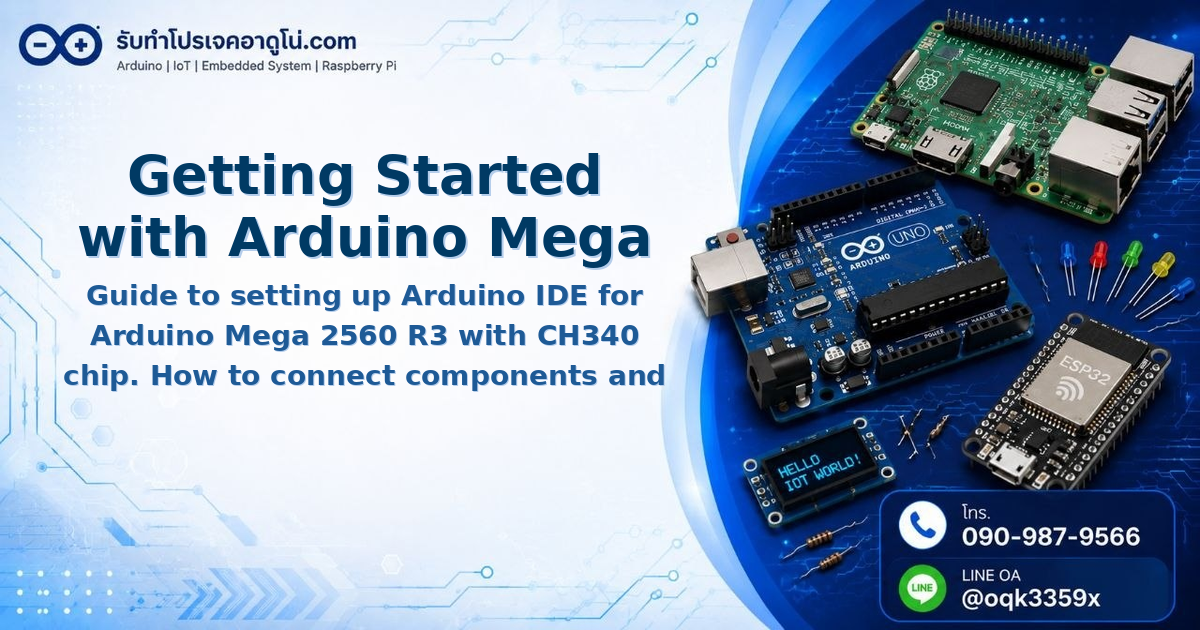
Arduino Mega 2560 R3 is a microcontroller board that extends Arduino Uno R3 with more I/O pins and memory. This board uses the CH340 USB to TTL chip, which makes it more affordable than boards with FTDI chips while maintaining the same functionality.
Key Differences Between Arduino Mega 2560 R3 and Arduino Uno R3
| Feature | Arduino Mega 2560 R3 | Arduino Uno R3 |
|---|---|---|
| Digital I/O | 54 pins (14 PWM) | 13 pins (6 PWM) |
| Analog Input | 16 pins (10-bit) | 6 pins (10-bit) |
| Hardware Serial | 4 ports | 1 port |
With more pins available, Mega 2560 R3 is ideal for projects requiring multiple sensors or multiple Serial Communication channels simultaneously.
Required Equipment
- Arduino MEGA 2560 R3 with USB cable
- Breadboard MB-102 (830 points)
- LED 5mm red and green
- 220 Ohm resistor
- Jumper wires (M-M, M-F, F-F)
- Power Adapter 9V 2A (for separate power supply)
LED Blink Wiring
For the first test, we will connect an LED to Digital Pin 13. This pin already has a built-in LED on the board, but we’ll wire an external LED for clearer visibility.
- Connect LED positive lead (long leg) through 220 Ohm resistor to Digital Pin 13
- Connect LED negative lead (short leg) to GND pin
Installing Arduino IDE
Downloading the Software
Go to https://www.arduino.cc/en/Main/OldSoftwareReleases#previous and select based on your operating system. For Windows, there are 2 options:
- Windows (ZIP) – No installation required but slower download
- Windows Installer (.exe) – Includes CH340 driver, recommended for beginners
Installation Steps (Windows Installer)
- Double-click the downloaded .exe file
- Click “I Agree” to accept terms
- Select components (recommend selecting all)
- Choose installation folder or click “Install” for default
- Wait for installation to complete, then click “Close”
- Launch arduino.exe
Uploading the LED Blink Code
void setup() {
  // Set pin 13 as output
  pinMode(13, OUTPUT);
}

void loop() {
  digitalWrite(13, HIGH);  // Turn LED on
  delay(1000);             // Wait 1 second
  digitalWrite(13, LOW);   // Turn LED off
  delay(1000);             // Wait 1 second
}
Upload Steps
- Connect Arduino Mega 2560 R3 to computer via USB
- Open Arduino IDE and paste the code above
- Verify board selection: Tools > Board > “Arduino Mega or Mega 2560”
- Select Port: Tools > Port, choose the COM port where the board is connected (check Device Manager under Ports (COM & LPT))
- Click Upload button (right arrow) or go to Sketch > Upload
- Wait for “Done uploading” message at the bottom of the window
[image: Arduino IDE window showing LED blink code with Upload button (right arrow) highlighted]
Reference Videos
อยากทำโปรเจคแบบนี้?
รับทำโปรเจค Arduino / IoT จบงานไว ส่งงานครบ พร้อมสอน
If you need Arduino project service or urgent IoT development, see full service details on the home page
จ้างทำโปรเจคเลย