Getting Started with Arduino and RFID RC522 Module
Getting Started with Arduino and RFID RC522 Module
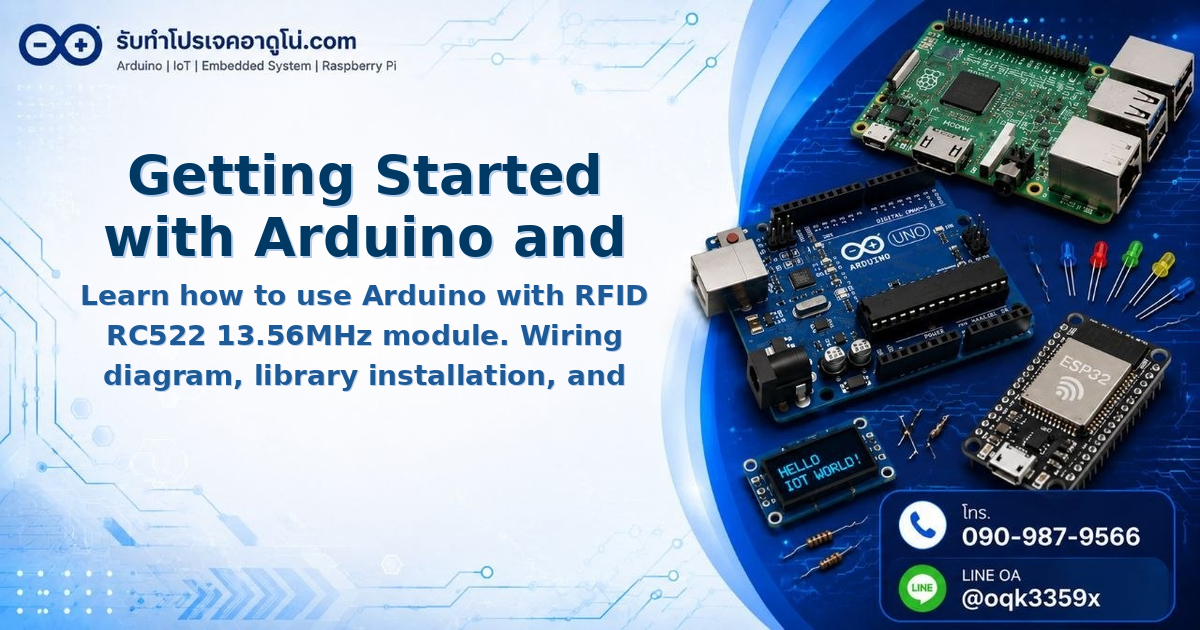
The RFID RC522 module operates at 13.56MHz and is commonly used with Arduino for card-based identification projects. This guide covers wiring, library installation, and basic code to read card UID values.
Required Components
- Arduino UNO R3 with USB cable
- RFID RC522 13.56MHz Module Card Reader
- MB-102 Breadboard (830 points)
- Jumper wires: Male-to-Male, Male-to-Female, Female-to-Female (20cm each, 40 pieces)
- Power Adapter 9V 2A (for additional power supply)
Wiring Diagram: RFID RC522 to Arduino UNO
The module uses SPI Interface via Arduino’s digital pins as shown below.
| Arduino UNO | RFID RC522 |
|---|---|
| 3.3V | 3V3 |
| GND | GND |
| Pin 9 | RST |
| Pin 10 | SDA |
| Pin 11 | MOSI |
| Pin 12 | MISO |
| Pin 13 | SCK |
Installing MFRC522 Library
- Open Arduino IDE
- Go to Sketch > Include Library > Manage Libraries
- Search for “MFRC522”
- Install the MFRC522 library by Github社区
After installation, the library will be available in Documents/Arduino/libraries folder.
Arduino Code to Read RFID Card UID
#include <SPI.h>
#include <MFRC522.h>

#define RST_PIN  9    // RST pin connected to pin 9
#define SS_PIN   10   // SDA pin connected to pin 10

MFRC522 rfid(SS_PIN, RST_PIN);

void setup() {
  Serial.begin(115200);
  SPI.begin();
  rfid.PCD_Init();
  Serial.println("RFID RC522 Ready - Tap card on module");
}

void loop() {
  // Check for new card present
  if (!rfid.PICC_IsNewCardPresent()) {
    return;
  }

  // Read card data
  if (!rfid.PICC_ReadCardSerial()) {
    return;
  }

  // Display UID
  Serial.print("Card UID: ");
  for (byte i = 0; i < rfid.uid.size; i++) {
    Serial.print(rfid.uid.uidByte[i], HEX);
    Serial.print(" ");
  }
  Serial.println();

  // Halt reading
  rfid.PICC_HaltA();
}
Upload and Test Steps
- Open Serial Monitor in Arduino IDE
- Set Baud Rate to 115200
- Tap RFID card or tag on RC522 module
- View UID displayed in Serial Monitor
Important Notes
- Arduino’s 3.3V pin provides sufficient power for the RC522 module during testing. For extended use or multiple card operations, use a Power Adapter to supply Arduino
- Each card has a unique UID value. You can use this UID to identify and authenticate different cards
Summary
The RFID RC522 module communicates via SPI Interface and requires the MFRC522 library. Wiring is straightforward with just 7 connections. Upload the code and tap any card on the module to read its UID immediately.
อยากทำโปรเจคแบบนี้?
รับทำโปรเจค Arduino / IoT จบงานไว ส่งงานครบ พร้อมสอน
If you need Arduino project service or urgent IoT development, see full service details on the home page
จ้างทำโปรเจคเลย