How to Use RFID RC522 with Arduino: Read Card UID
How to Use RFID RC522 with Arduino: Read Card UID
If you’re just getting started with Arduino and want to try RFID (Radio Frequency Identification), this guide walks you through wiring, library setup, and a working code example. The RC522 module reads both flat cards and keychain tags using the 13.56 MHz HF standard.
What Is the RFID RC522 Module
The RC522 is a SPI-based RFID read/write module that operates at 13.56 MHz. This frequency band is the same standard used by MIFARE cards found in access control and transit systems. Most starter kits include two tag types: a flat plastic card and a keychain fob.
What You Need
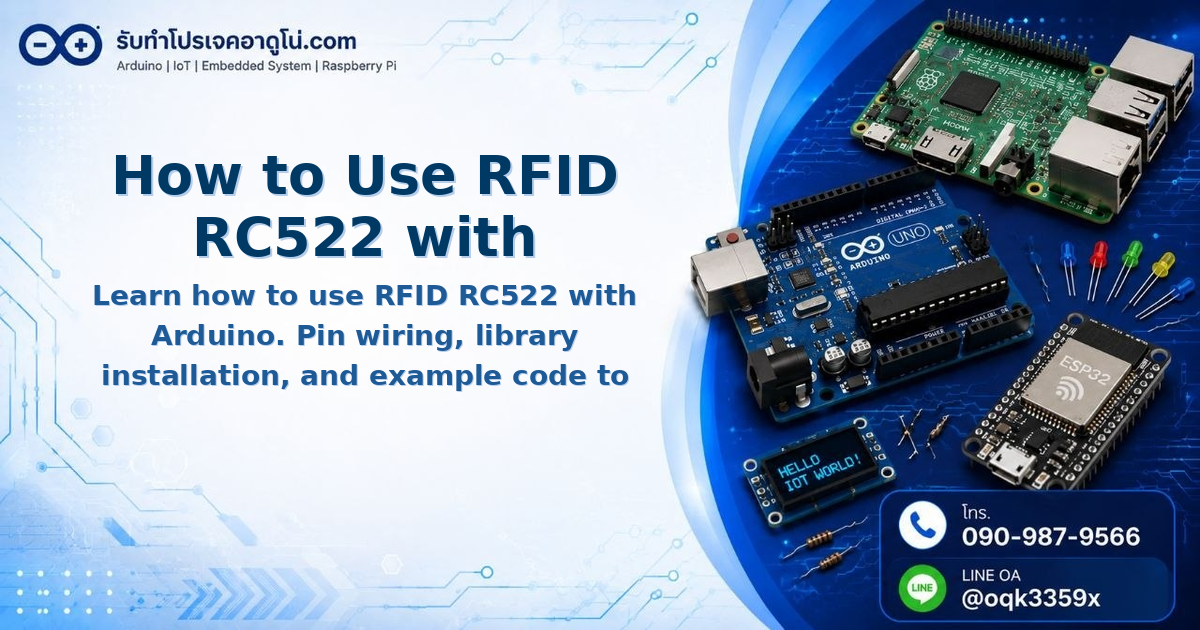
- Arduino Uno or Nano
- RC522 RFID module with 2 tags
- 7 Male-to-Male jumper wires
- (Optional) Buzzer for audio feedback
Pin Wiring: RC522 to Arduino
| RC522 | Arduino |
|---|---|
| MOSI | Pin 11 |
| MISO | Pin 12 |
| SCK | Pin 13 |
| SDA / SS | Pin 10 |
| RST | Pin 9 |
| VCC | 3.3V |
| GND | GND |
Important: VCC must be 3.3V only. Connecting to 5V will destroy the module.
Installing the Library
Open Arduino IDE, go to Sketch > Include Library > Manage Libraries, search for MFRC522, and install the one by MiguelBalboa. Once installed, try the File > Examples > MFRC522 > DumpInfo sketch to verify your wiring before writing custom code.
Code Example: Read and Display Card UID
#include <SPI.h>
#include <MFRC522.h>

#define SS_PIN    10
#define RST_PIN   9

MFRC522 rfid(SS_PIN, RST_PIN);

const int buzzPin = 3;

void setup() {
  Serial.begin(9600);
  SPI.begin();
  rfid.PCD_Init();

  pinMode(buzzPin, OUTPUT);
  Serial.println("RFID Ready. Please scan card...");
}

void loop() {
  // Look for a new card
  if (!rfid.PICC_IsNewCardPresent()) {
    return;
  }

  // Read the card serial
  if (!rfid.PICC_ReadCardSerial()) {
    return;
  }

  Serial.println("Card found!");

  // Print UID in Decimal
  Serial.print("UID (Dec): ");
  for (byte i = 0; i < rfid.uid.size; i++) {
    Serial.print(rfid.uid.uidByte[i], DEC);
    Serial.print(" ");
  }
  Serial.println();

  // Print UID in Hex
  Serial.print("UID (Hex): ");
  for (byte i = 0; i < rfid.uid.size; i++) {
    Serial.print(rfid.uid.uidByte[i], HEX);
    Serial.print(" ");
  }
  Serial.println();

  // Buzzer feedback
  tone(buzzPin, 1000, 200);
  delay(300);
  noTone(buzzPin);

  // Halt the card
  rfid.PICC_HaltA();
}
Adjustments for your project:
- Remove the tone/noTone and pinMode lines if you don’t use a buzzer
- On Arduino Mega, change SS_PIN from 10 to 53
Troubleshooting: Card Not Detected
If tapping a card produces no output in the Serial Monitor, download the default keys library and upload the rfid_default_keys example sketch first. This gives the reader a better chance of recognizing previously unregistered tags.
Reference Video
https://www.youtube.com/embed/O8Y4VQZYkMI
Wrap-up
The RC522 is straightforward to work with: 7 wires, one library, and you’re reading card UIDs. From here you can build an access lock, attendance tracker, or counter project. Modify the example code to match your own use case.
อยากทำโปรเจคแบบนี้?
รับทำโปรเจค Arduino / IoT จบงานไว ส่งงานครบ พร้อมสอน
If you need Arduino project service or urgent IoT development, see full service details on the home page
จ้างทำโปรเจคเลย