How to Play Sound Files from SD Card with Arduino
How to Play Sound Files from SD Card with Arduino
Want your Arduino to speak or play music? You need an SD Card Module and a speaker. No expensive shield required.

Required Components
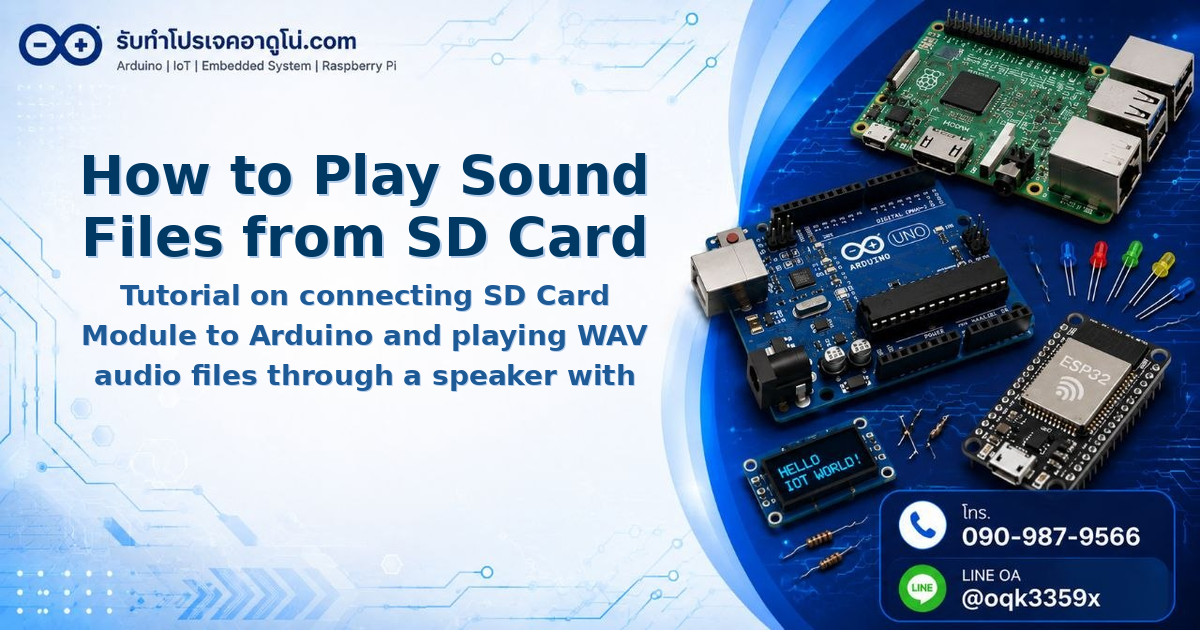
- Arduino UNO R3
- Micro SD Card Module (SPI type)
- SD Card with adapter
- Speaker 8 ohm (5W or higher)
- Breadboard and jumper wires
- Power Adapter 9V 2A (for louder output)
Wiring Connections
SD Card Module uses SPI interface connecting to Arduino as follows
| SD Card Module | Arduino |
|---|---|
| CS | Pin 4 |
| SCK | Pin 13 |
| MOSI | Pin 11 |
| MISO | Pin 12 |
| VCC | 5V |
| GND | GND |
Speaker connects one leg to Pin 9 and the other to GND

Preparing SD Card and Audio Files
Arduino only supports WAV format with these specifications
// Valid audio file specs for Arduino
// - Format: WAV
// - Sampling Rate: 16000 Hz
// - Channels: Mono
// - Bit Resolution: 8-bit
Preparation steps
- Format SD Card as FAT32
- Convert MP3 to WAV using online-convert.com or Audacity
- Set Sampling Rate = 16000 Hz
- Set Channels = Mono
- Set Bit Resolution = 8-bit
- Name files in 8.3 format like
sound.wavor1.wav

Installing Libraries
You need two libraries
- SD Library - Built into Arduino IDE, download if missing from Arduino Libraries
- TMRpcm Library - For playing WAV audio files
How to install library in Arduino IDE
- Download TMRpcm ZIP file
- Go to Sketch > Include Library > Add .ZIP Library
- Select the downloaded file
Arduino Code for SD Card Audio Playback
#include <SD.h>
#include <TMRpcm.h>
#include <SPI.h>

#define SD_CSPin 4      // SD Card Module CS pin
#define speakerPin 9    // Speaker pin

TMRpcm tmrpcm;          // Audio playback object

void setup() {
  Serial.begin(9600);

  // Initialize SD Card
  if (!SD.begin(SD_CSPin)) {
    Serial.println("SD Card initialization failed");
    return;
  }
  Serial.println("SD Card ready");

  // Configure speaker pin
  tmrpcm.speakerPin = speakerPin;

  // Set audio quality (0-7) higher values use more RAM
  // UNO can handle up to 4 without freezing
  tmrpcm.setVolume(5);

  Serial.println("Type filename (without .wav) and press Send");
}

void loop() {
  if (Serial.available()) {
    String filename = Serial.readStringUntil('\n');
    filename.trim();

    // Append .wav extension
    if (!filename.endsWith(".wav")) {
      filename += ".wav";
    }

    Serial.print("Playing: ");
    Serial.println(filename);

    if (!tmrpcm.play(filename.c_str())) {
      Serial.println("Playback failed. Check filename in SD Card");
    }
  }
}
How to Use
- Upload code to board
- Open Serial Monitor (baud rate 9600)
- Insert SD Card with audio files like
1.wav - Type
1and press Send - Arduino plays sound through speaker immediately
Common Problems
Audio distorts or skips
- Lower Bit Resolution to 8-bit
- Reduce Sampling Rate to 16000 Hz
- Add 100uF capacitor across speaker terminals
File won’t play
- Verify filename is correct (case-sensitive)
- Check SD Card is formatted as FAT32
- Try another file to confirm proper conversion
Speaker too quiet
- Use 8 ohm speaker rated 5W or higher
- Increase volume in code
tmrpcm.setVolume(7); - Use Power Adapter instead of USB for power
Summary
Playing audio files from SD Card with Arduino is straightforward. Just need SD Card Module, speaker, and TMRpcm library. Limitation is it only supports WAV files with audio quality not matching MP3 players, but it’s sufficient for voice prompts or narration projects.
อยากทำโปรเจคแบบนี้?
รับทำโปรเจค Arduino / IoT จบงานไว ส่งงานครบ พร้อมสอน
If you need Arduino project service or urgent IoT development, see full service details on the home page
จ้างทำโปรเจคเลย