Getting Started with Arduino UNO R3 SMD and Arduino IDE Installation
Getting Started with Arduino UNO R3 SMD and Arduino IDE Installation
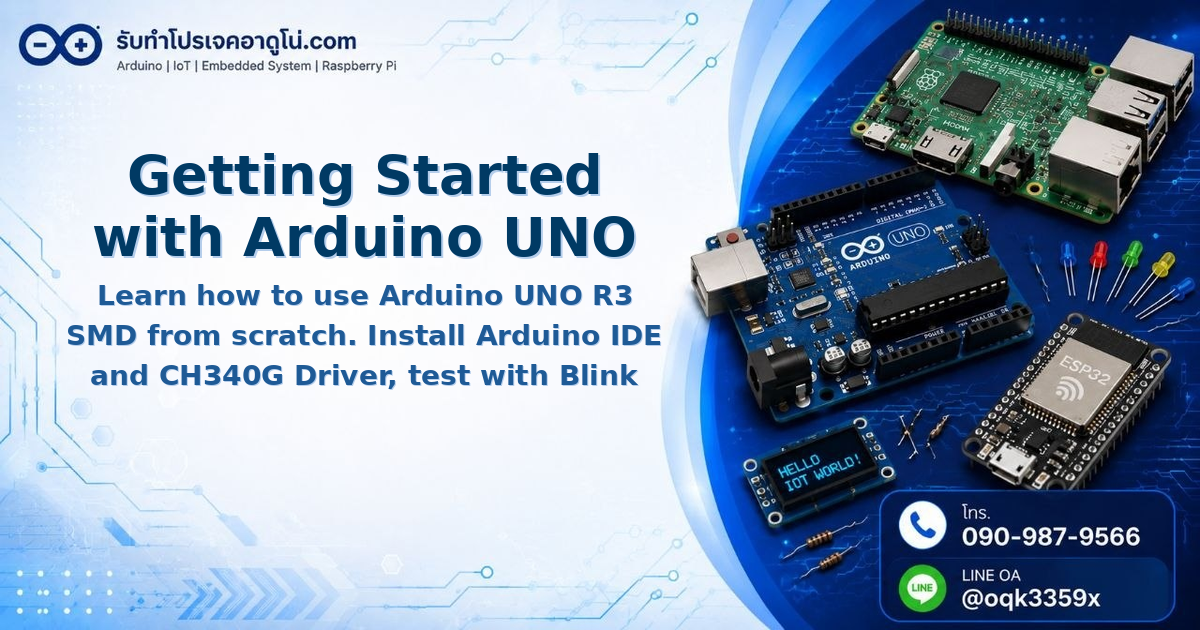
Arduino UNO R3 SMD is a popular microcontroller board among beginners learning electronics and programming. This board offers a lower price point compared to the standard DIP version because it uses CH340G chip as the USB Driver instead of ATmega16U2. The pin layout and functionality are exactly the same as Arduino UNO R3 - they can be used interchangeably without any issues.
Required Components
Before getting started, prepare the following components
- Arduino UNO R3 SMD with USB cable
- Power Adapter 9V 2A (5.5x2.5mm jack) for external power supply
- Breadboard MB-102 (830 points)
- Jumper Wires Male-to-Male, Male-to-Female, Female-to-Female - 40 pieces each
- 220 Ohm Resistors x 10 pieces
- 5mm LEDs Red and Green - 5 pieces each
These components are available at most electronics stores or can be ordered online.
Install Arduino IDE
Arduino IDE is the software for writing, compiling, and uploading code to the board. Follow these steps
Download the Software
Go to Arduino Software and select the download for your operating system.
For Windows, there are 2 options
| Type | Extension | Advantage |
|---|---|---|
| Windows | .zip | No installation needed, just extract and run |
| Windows Installer | .exe | Includes USB Driver in case you don’t have it |
Recommendation: Choose Installer because it includes CH340G Driver. If you choose ZIP version, you’ll need to download the Driver separately.
Installation Steps
- Double-click the downloaded .exe file
- Click I Agree to accept the agreement
- Select components to install (default settings are fine) and click Next
- Choose installation folder or use default, then click Install
- Wait for installation to complete, then click Close
- Navigate to the installation folder and open arduino.exe
Install CH340G Driver
After opening the IDE, if you haven’t installed the Driver before, you need to do this step. Otherwise, your computer won’t detect the board.
- Connect Arduino UNO R3 SMD to your computer using USB cable
- Open Device Manager by right-clicking This PC > Properties
- Look under Other devices - if you see USB2.0-Ser! with a warning icon, the Driver is missing
- Download CH340G Driver from the manufacturer’s website (search Google for “CH340G Driver”)
- Extract the ZIP file, open the extracted folder, run SETUP.exe
- Click INSTALL and wait for completion, then click OK
- Go back to Device Manager - you should now see Ports (COM & LPT) section without any warning icons
[image: Device Manager screenshot showing COM Port detected for Arduino UNO R3 SMD]
Select Port and Board in Arduino IDE
- Open Arduino IDE
- Go to Tools > Port and select the COM Port shown in Device Manager (e.g., COM3)
- Go to Tools > Board and select Arduino UNO
[image: Arduino IDE Tools menu showing correct Board and Port selection]
Test the Board with Blink Sketch
Blink is the most basic sketch to verify your board is working properly. This sketch makes the LED on the board blink every 1 second.
void setup() {
  // Set pin 13 as output
  pinMode(13, OUTPUT);
}

void loop() {
  // Turn LED on
  digitalWrite(13, HIGH);
  delay(1000);  // Wait 1 second

  // Turn LED off
  digitalWrite(13, LOW);
  delay(1000);  // Wait 1 second
}
How to Upload Code
- Copy the code above and paste it in Arduino IDE (delete existing code first)
- Click the Compile button (checkmark icon) to verify there are no errors
- If compilation succeeds, you’ll see “Done compiling” at the bottom
- Click the Upload button (right arrow icon) to upload code to the board
- Wait for “Done uploading” message - the board will start running immediately
The green LED on the board (connected to pin 13) will blink on and off every 1 second.
[image: Diagram showing the LED blinking pattern on Arduino UNO R3 SMD board]
Summary of Steps
- Install Arduino IDE
- Install CH340G Driver
- Connect board to computer
- Select correct Port and Board
- Compile and Upload code
When the LED blinks successfully, your board is ready to use. From here, you can proceed to connect additional circuits like external LEDs, switches, or various sensors.
Reference Videos
อยากทำโปรเจคแบบนี้?
รับทำโปรเจค Arduino / IoT จบงานไว ส่งงานครบ พร้อมสอน
If you need Arduino project service or urgent IoT development, see full service details on the home page
จ้างทำโปรเจคเลย