How to Use HC06 Bluetooth Module with Arduino to Control Home Lights
How to Use HC06 Bluetooth Module with Arduino to Control Home Lights
HC06 is a Bluetooth module that enables Arduino to communicate with mobile phones or other devices via Serial Port. This tutorial shows how to read values sent from a mobile app and use them to control a 4-channel relay for switching home lights on and off.
How HC06 Works
HC06 operates as a Slave device, waiting for other devices (like smartphones) to connect. Once paired, data transfers through Serial Port to Arduino. You can configure the device name and password using AT Commands, but this article focuses on the practical application of controlling relays.

Required Components
- Arduino UNO R3 with USB cable
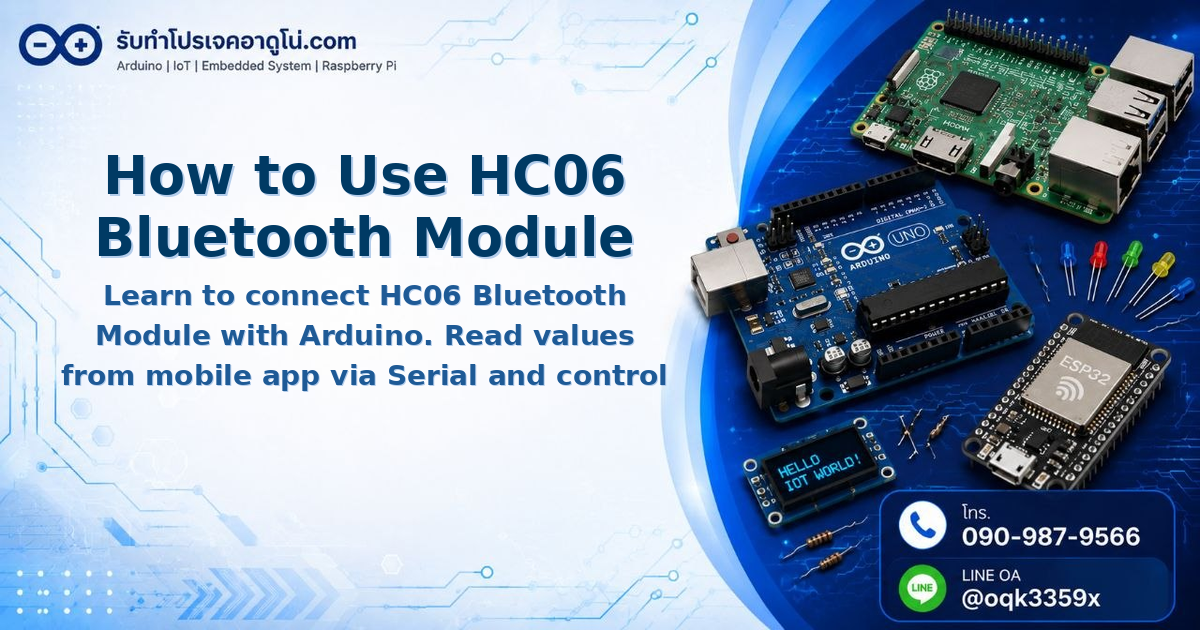
- Bluetooth Module HC06
- 4-Channel Relay Module 5V (250V/10A)
- Switching Power Supply 5V 5A (for relay power)
- Power Adapter 9V 2A for Arduino
- MB-102 Breadboard 830 points
- Jumper wires: M-M, M-F, F-F
- Power cord with plug 220V AC
Wiring Diagram
Connect HC06 to Arduino
| HC06 | Arduino |
|---|---|
| VCC | 5V |
| GND | GND |
| TX | Pin 2 |
| RX | Pin 3 |
Connect Relay Module to Arduino
| Relay | Arduino |
|---|---|
| VCC | 5V |
| GND | GND |
| IN1 | Pin 8 |
| IN2 | Pin 9 |
| IN3 | Pin 10 |
| IN4 | Pin 11 |

Important: Use a separate Switching Power Supply 5V 5A for the relay module. Do not power the relay from Arduino directly because 4 relays draw too much current.
Arduino Code for Reading HC06 Data
#include <SoftwareSerial.h>

int i = 0;
char str[11] = {'0', '0', '0', '0', '0', '0', '0', '0', '0', '0', '0'};
SoftwareSerial mySerial(2, 3);  // RX, TX

void setup() {
  pinMode(8, OUTPUT);
  pinMode(9, OUTPUT);
  pinMode(10, OUTPUT);
  pinMode(11, OUTPUT);

  // Set initial state of all relays to OFF (HIGH)
  digitalWrite(8, HIGH);
  digitalWrite(9, HIGH);
  digitalWrite(10, HIGH);
  digitalWrite(11, HIGH);

  Serial.begin(9600);
  while (!Serial) ;
  mySerial.begin(9600);
}

void loop() {
  if (mySerial.available()) {
    i = i + 1;
    str[i] = mySerial.read();
    Serial.println(str[i]);

    if (i == 9) i = 0;

    // Check values from app: str[5] = relay number, str[7] = command
    // Command 3 = ON, Command 2 = OFF

    // Relay 1
    if (str[5] == '1' && str[7] == '3') digitalWrite(8, LOW);
    if (str[5] == '1' && str[7] == '2') digitalWrite(8, HIGH);

    // Relay 2
    if (str[5] == '2' && str[7] == '3') digitalWrite(9, LOW);
    if (str[5] == '2' && str[7] == '2') digitalWrite(9, HIGH);

    // Relay 3
    if (str[5] == '3' && str[7] == '3') digitalWrite(10, LOW);
    if (str[5] == '3' && str[7] == '2') digitalWrite(10, HIGH);

    // Relay 4
    if (str[5] == '4' && str[7] == '3') digitalWrite(11, LOW);
    if (str[5] == '4' && str[7] == '2') digitalWrite(11, HIGH);
  }

  if (Serial.available())
    mySerial.write(Serial.read());
}
Understanding App Data Format
The Ardroid app sends data in batches. When you press to turn on Relay 1, it sends data containing ‘1’ in str[5] and ‘3’ in str[7]. Each relay is controlled by pressing Pin1-Pin4 buttons in the app.
Data sent: X1Y3 -> Turn ON relay 1
Data sent: X1Y2 -> Turn OFF relay 1
Data sent: X2Y3 -> Turn ON relay 2
Installing and Using Ardroid App
- Download Ardroid app from Play Store
- Open the app and tap the 3-dot menu in the upper right corner
- Select Bluetooth and pair with HC06 (default password is usually 1234)
- When connection succeeds, the LED on HC06 stops blinking
Reference Video
https://www.youtube.com/embed/JhL1BYnjbj0
Summary
This tutorial demonstrated using SoftwareSerial to receive data from HC06, storing it in an array, and using if statements to control each relay. This principle can be applied to control various devices including fans, water pumps, or motors—not just home lights.
อยากทำโปรเจคแบบนี้?
รับทำโปรเจค Arduino / IoT จบงานไว ส่งงานครบ พร้อมสอน
If you need Arduino project service or urgent IoT development, see full service details on the home page
จ้างทำโปรเจคเลย