Easy
Arduino Tutorial - LCD Display
LCD (liquid crystal display) is the technology used for displays in smaller computers. LCDs allow displays to be much thinner than CRT.

LCD (liquid crystal display) is the technology used for displays in smaller computers. LCDs allow displays to be much thinner than CRT.
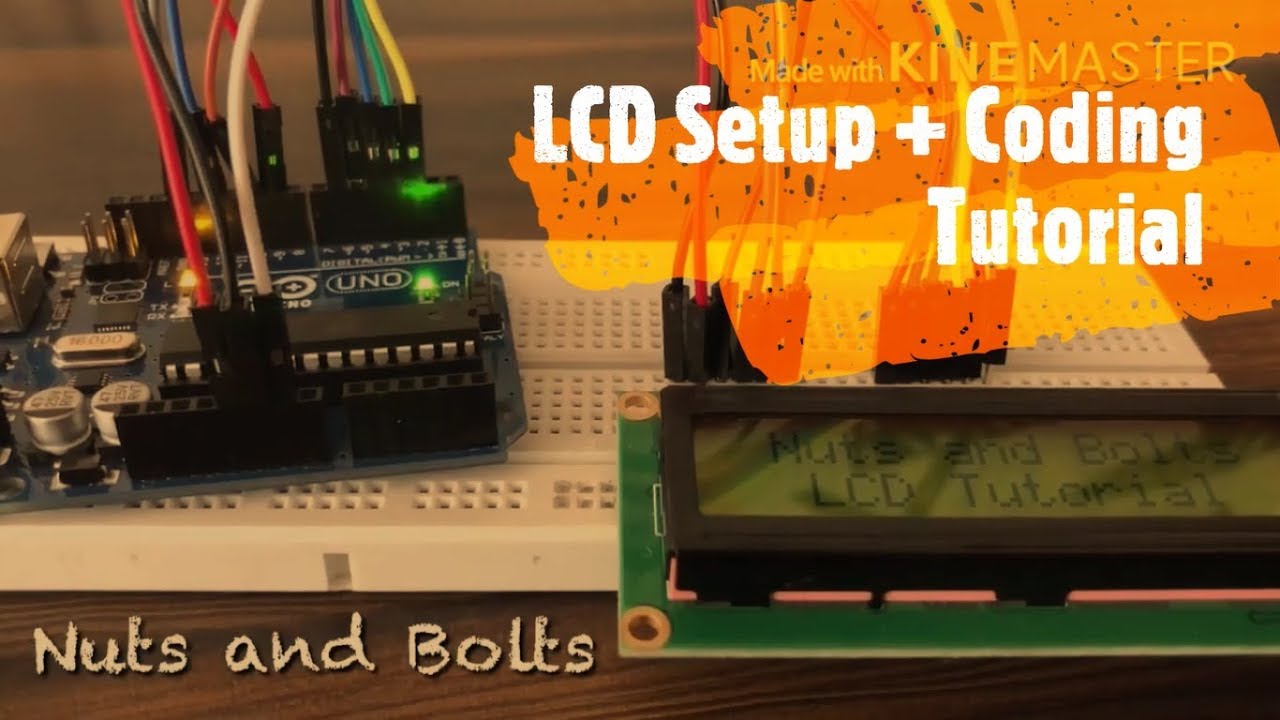
▶ Click to play project demo
The LCDs have a parallel interface, meaning that the microcontroller has to manipulate several interface pins at once to control the display. The interface consists of the following pins:
- A register select (RS) pin that controls where in the LCD's memory you're writing data to. You can select either the data register, which holds what goes on the screen, or an instruction register, which is where the LCD's controller looks for instructions on what to do next.
- A Read/Write (R/W) pin that selects reading mode or writing mode
- An Enable pin that enables writing to the registers
- 8 data pins (D0 -D7). The states of these pins (high or low) are the bits that you're writing to a register when you write, or the values you're reading when you read.
- There's also a display constrast pin (Vo), power supply pins (+5V and Gnd) and LED Backlight (Bklt+ and BKlt-) pins that you can use to power the LCD, control the display contrast, and turn on and off the LED backlight, respectively.
- Arduino or Genuino Board
- LCD Screen
- Pin headers to solder to the LCD display pins
- 10k ohm potentiometer
- Jumper wires
- Breadboard
Before wiring the LCD screen to your Arduino or Genuino board we suggest to solder a pin header strip to the 14 (or 16) pin count connector of the LCD screen.
To wire your LCD screen to your board, connect the following pins:
Additionally, wire a 10k pot to +5V and GND, with it's wiper (output) to LCD screens VO pin (pin3). A 220 ohm resistor is used to power the backlight of the display, usually on pin 15 (A+) and 16 (K-) of the LCD connector.
The process of controlling the display involves putting the data that form the image of what you want to display into the data registers, then putting instructions in the instruction register. The LiquidCrystal Library simplifies this for you so you don't need to know the low-level instructions.
The LiquidCrystal library allows you to control LCD displays that are compatible.
Support to get the Source Code for this project
ประเมินราคาอัตโนมัติ + Reference Code
กรอกข้อมูลให้ครบ ระบบจะสร้างรหัสอ้างอิงและประเมินราคา/ระยะเวลาคร่าว ๆ จากรายละเอียดงาน แล้วให้กด Add LINE พร้อมพิมพ์รหัสนี้เพื่อคุยต่อ
ส่งข้อมูลเรียบร้อย
ขั้นตอนต่อไป: กดปุ่มด้านล่าง ระบบจะคัดลอกข้อความพร้อม Reference Code ให้ แล้วพาไปหน้า LINE ทันที เอาข้อความนั้นส่งใน LINE เพื่อให้ทีมงานดึงข้อมูลจากฟอร์มนี้มาต่อได้เลย
Reference Code
รีวิวจากคนใช้งานจริง
ถ้าเคยสั่งงาน เคยอ่านหน้านี้แล้วได้ประโยชน์ หรือมีข้อเสนอแนะ ฝากรีวิวไว้ได้เลย
ยังไม่มีรีวิวบนหน้านี้ ถ้าเคยใช้งานหรือมีข้อเสนอแนะ เขียนเป็นคนแรกได้เลย