Intermediate
Hand Gesture Controlled robot
Make this robot moves by just moving your hand!

Make this robot moves by just moving your hand!

▶ Click to play project demo
Project Supporter Team
Posted by
The ability to control things by a hand seen in movies was like magic, I was so excited to know how it works and try it in real life. So I come out with a very nice project which is a car that can be controlled by moving your hand in the direction you want and the car will follow! it's a cool project and very simple!
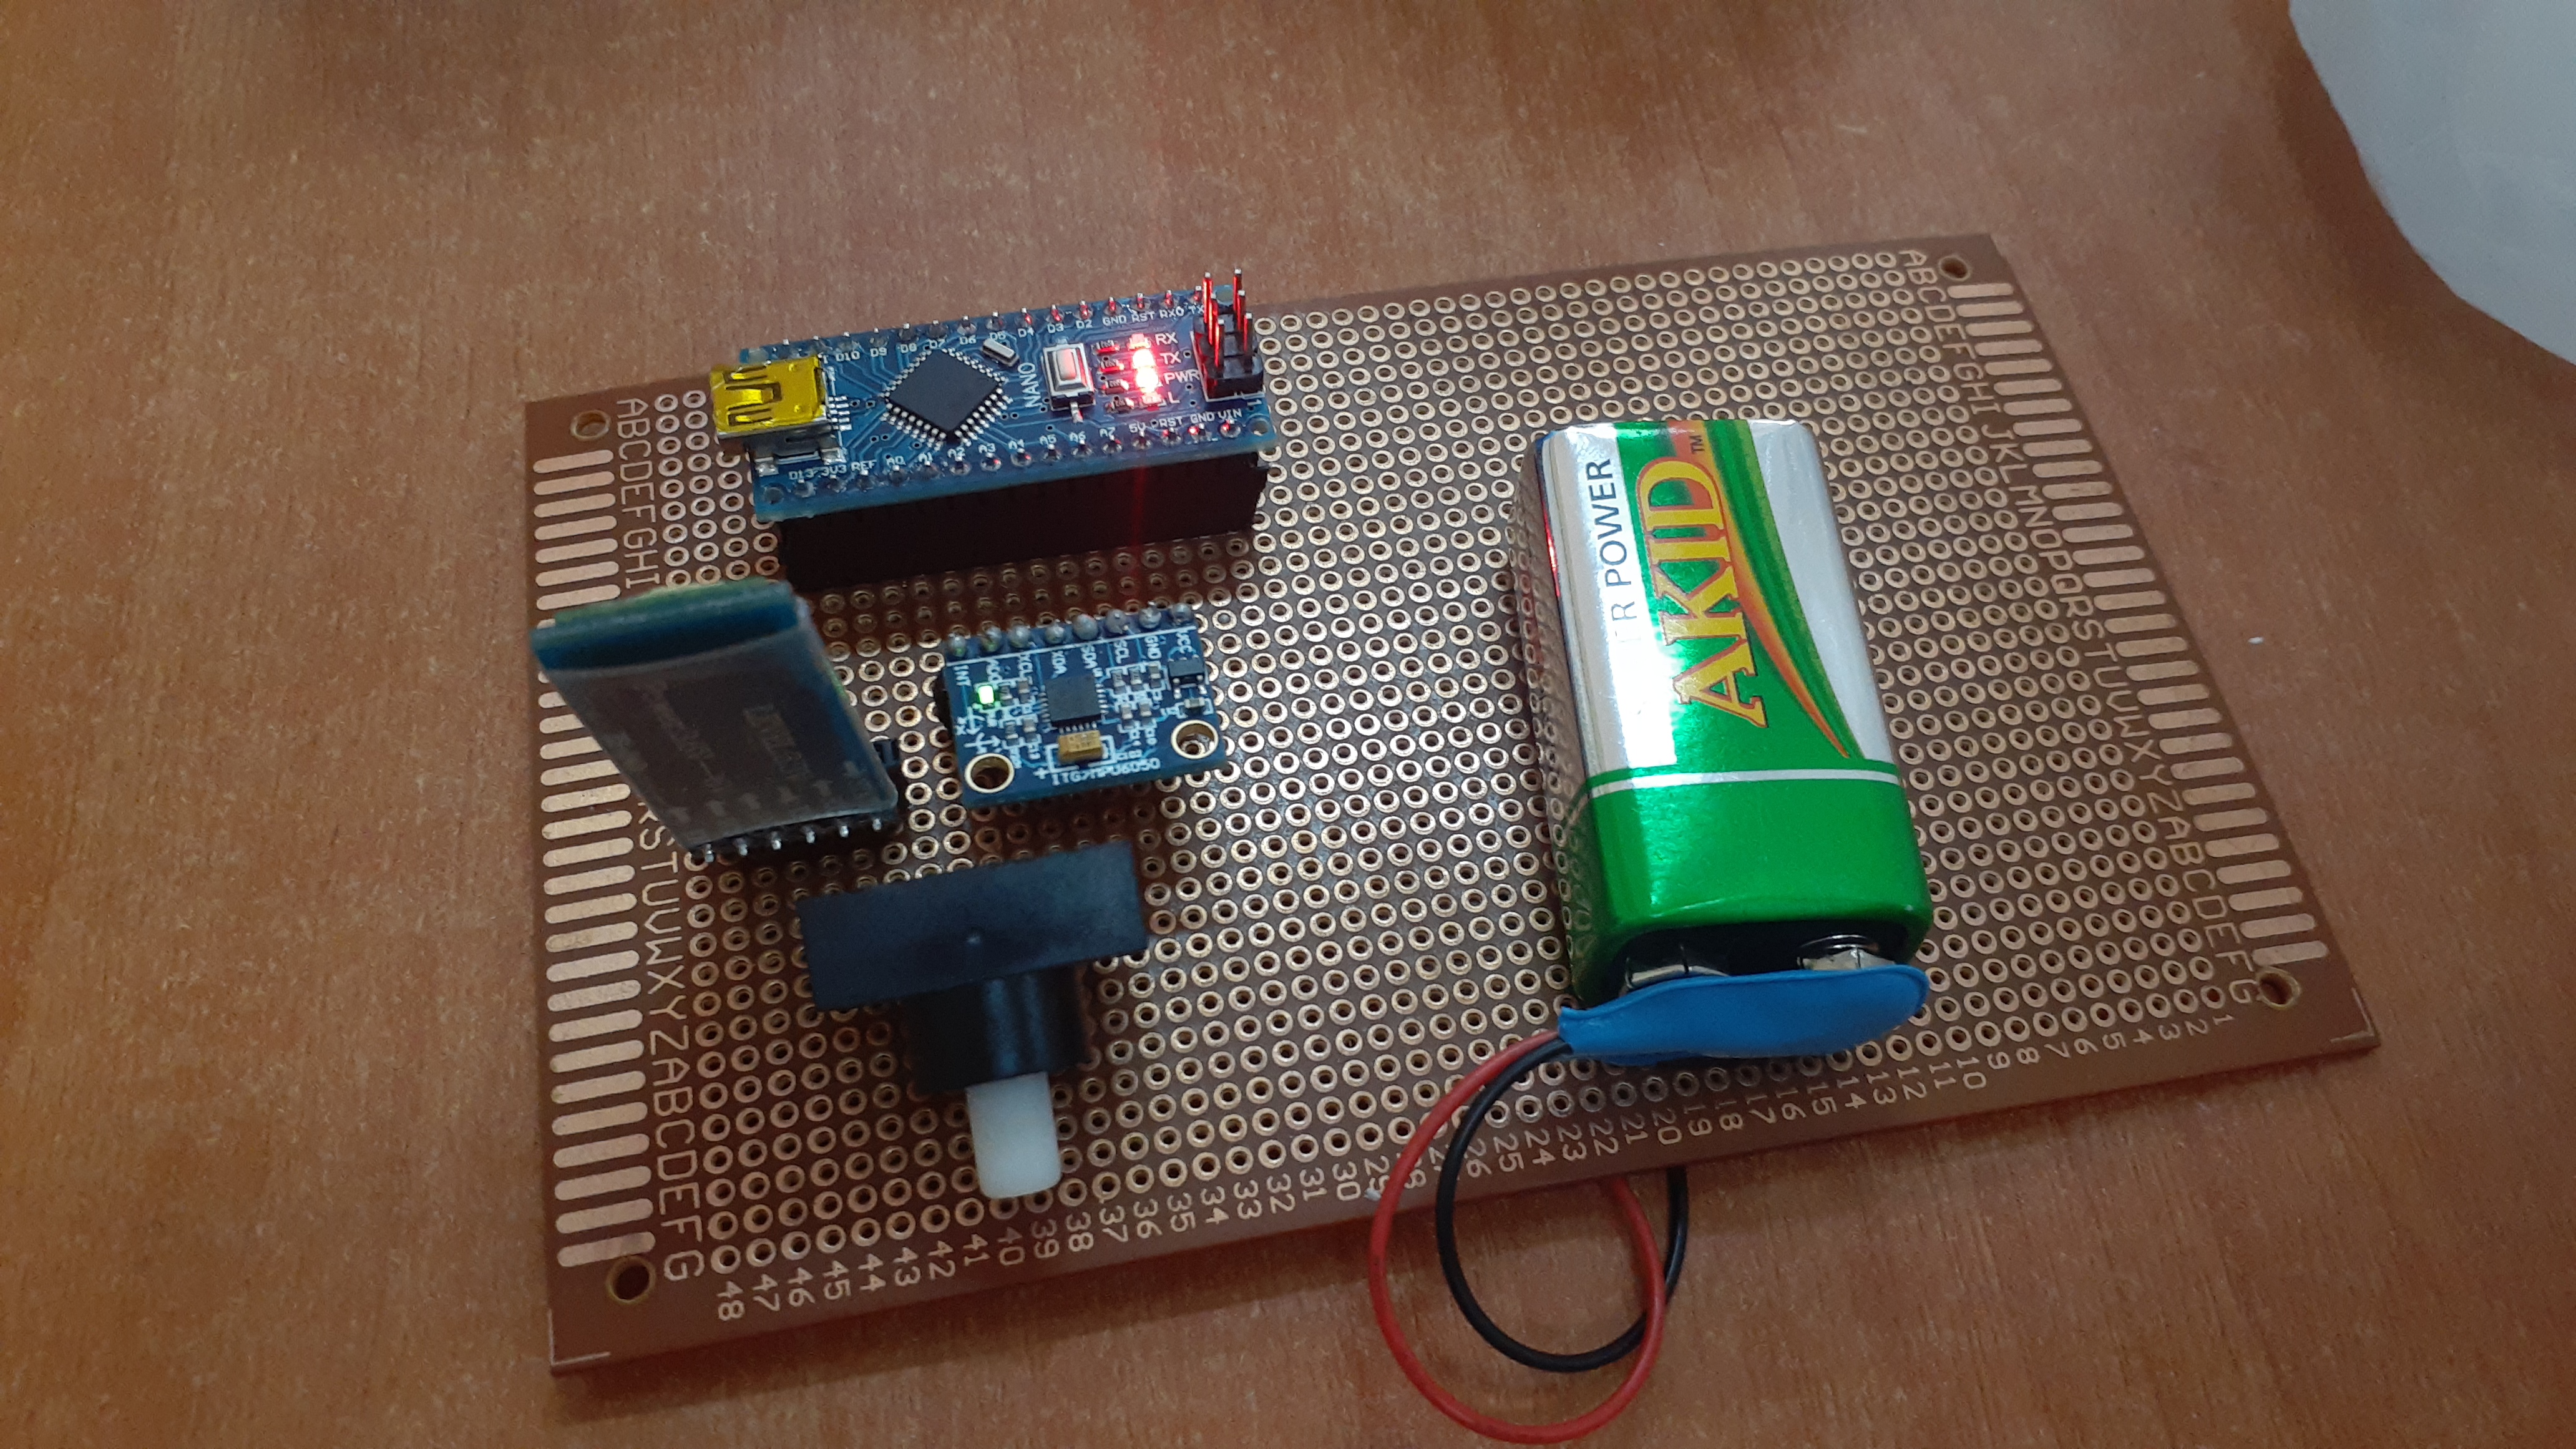
This project is essentially made of two-part, the transmission station placed on the hand and the reception one which is the car.

Contains Arduino nano (not heavy to handle)
mpu6050 sensor
Bluetooth HC-05 module(master)
push-button, battery 9v.
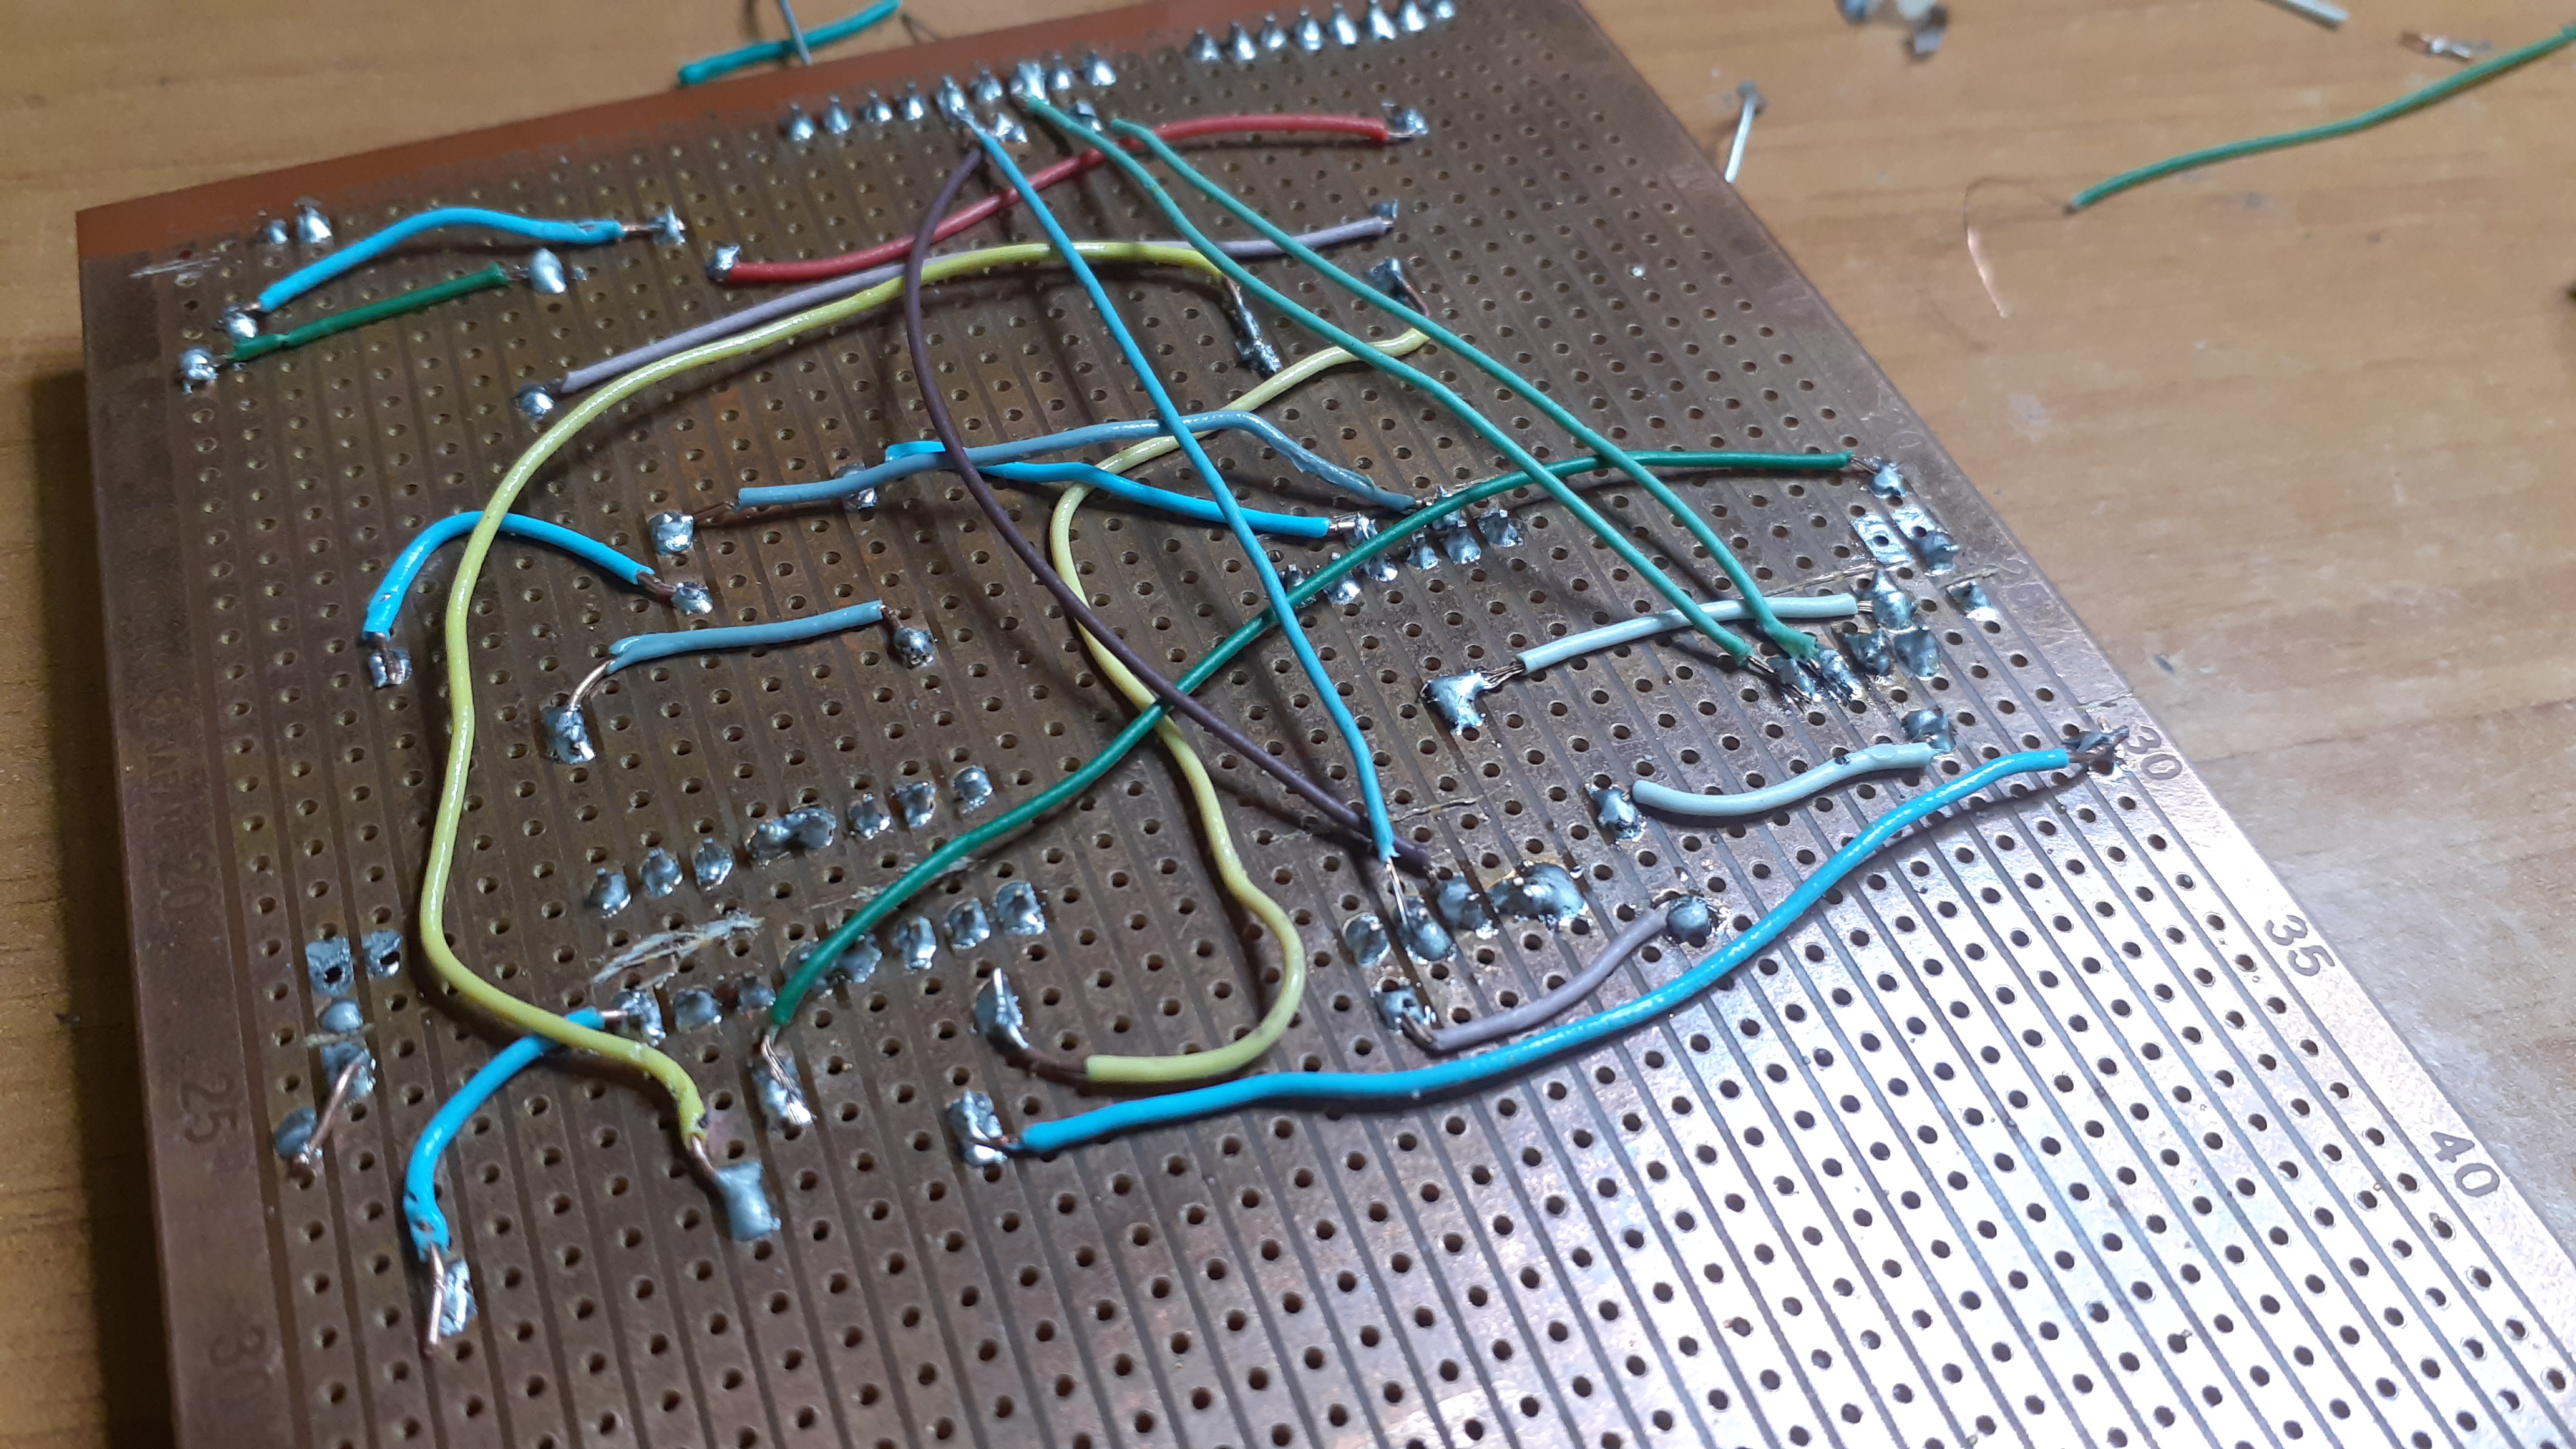
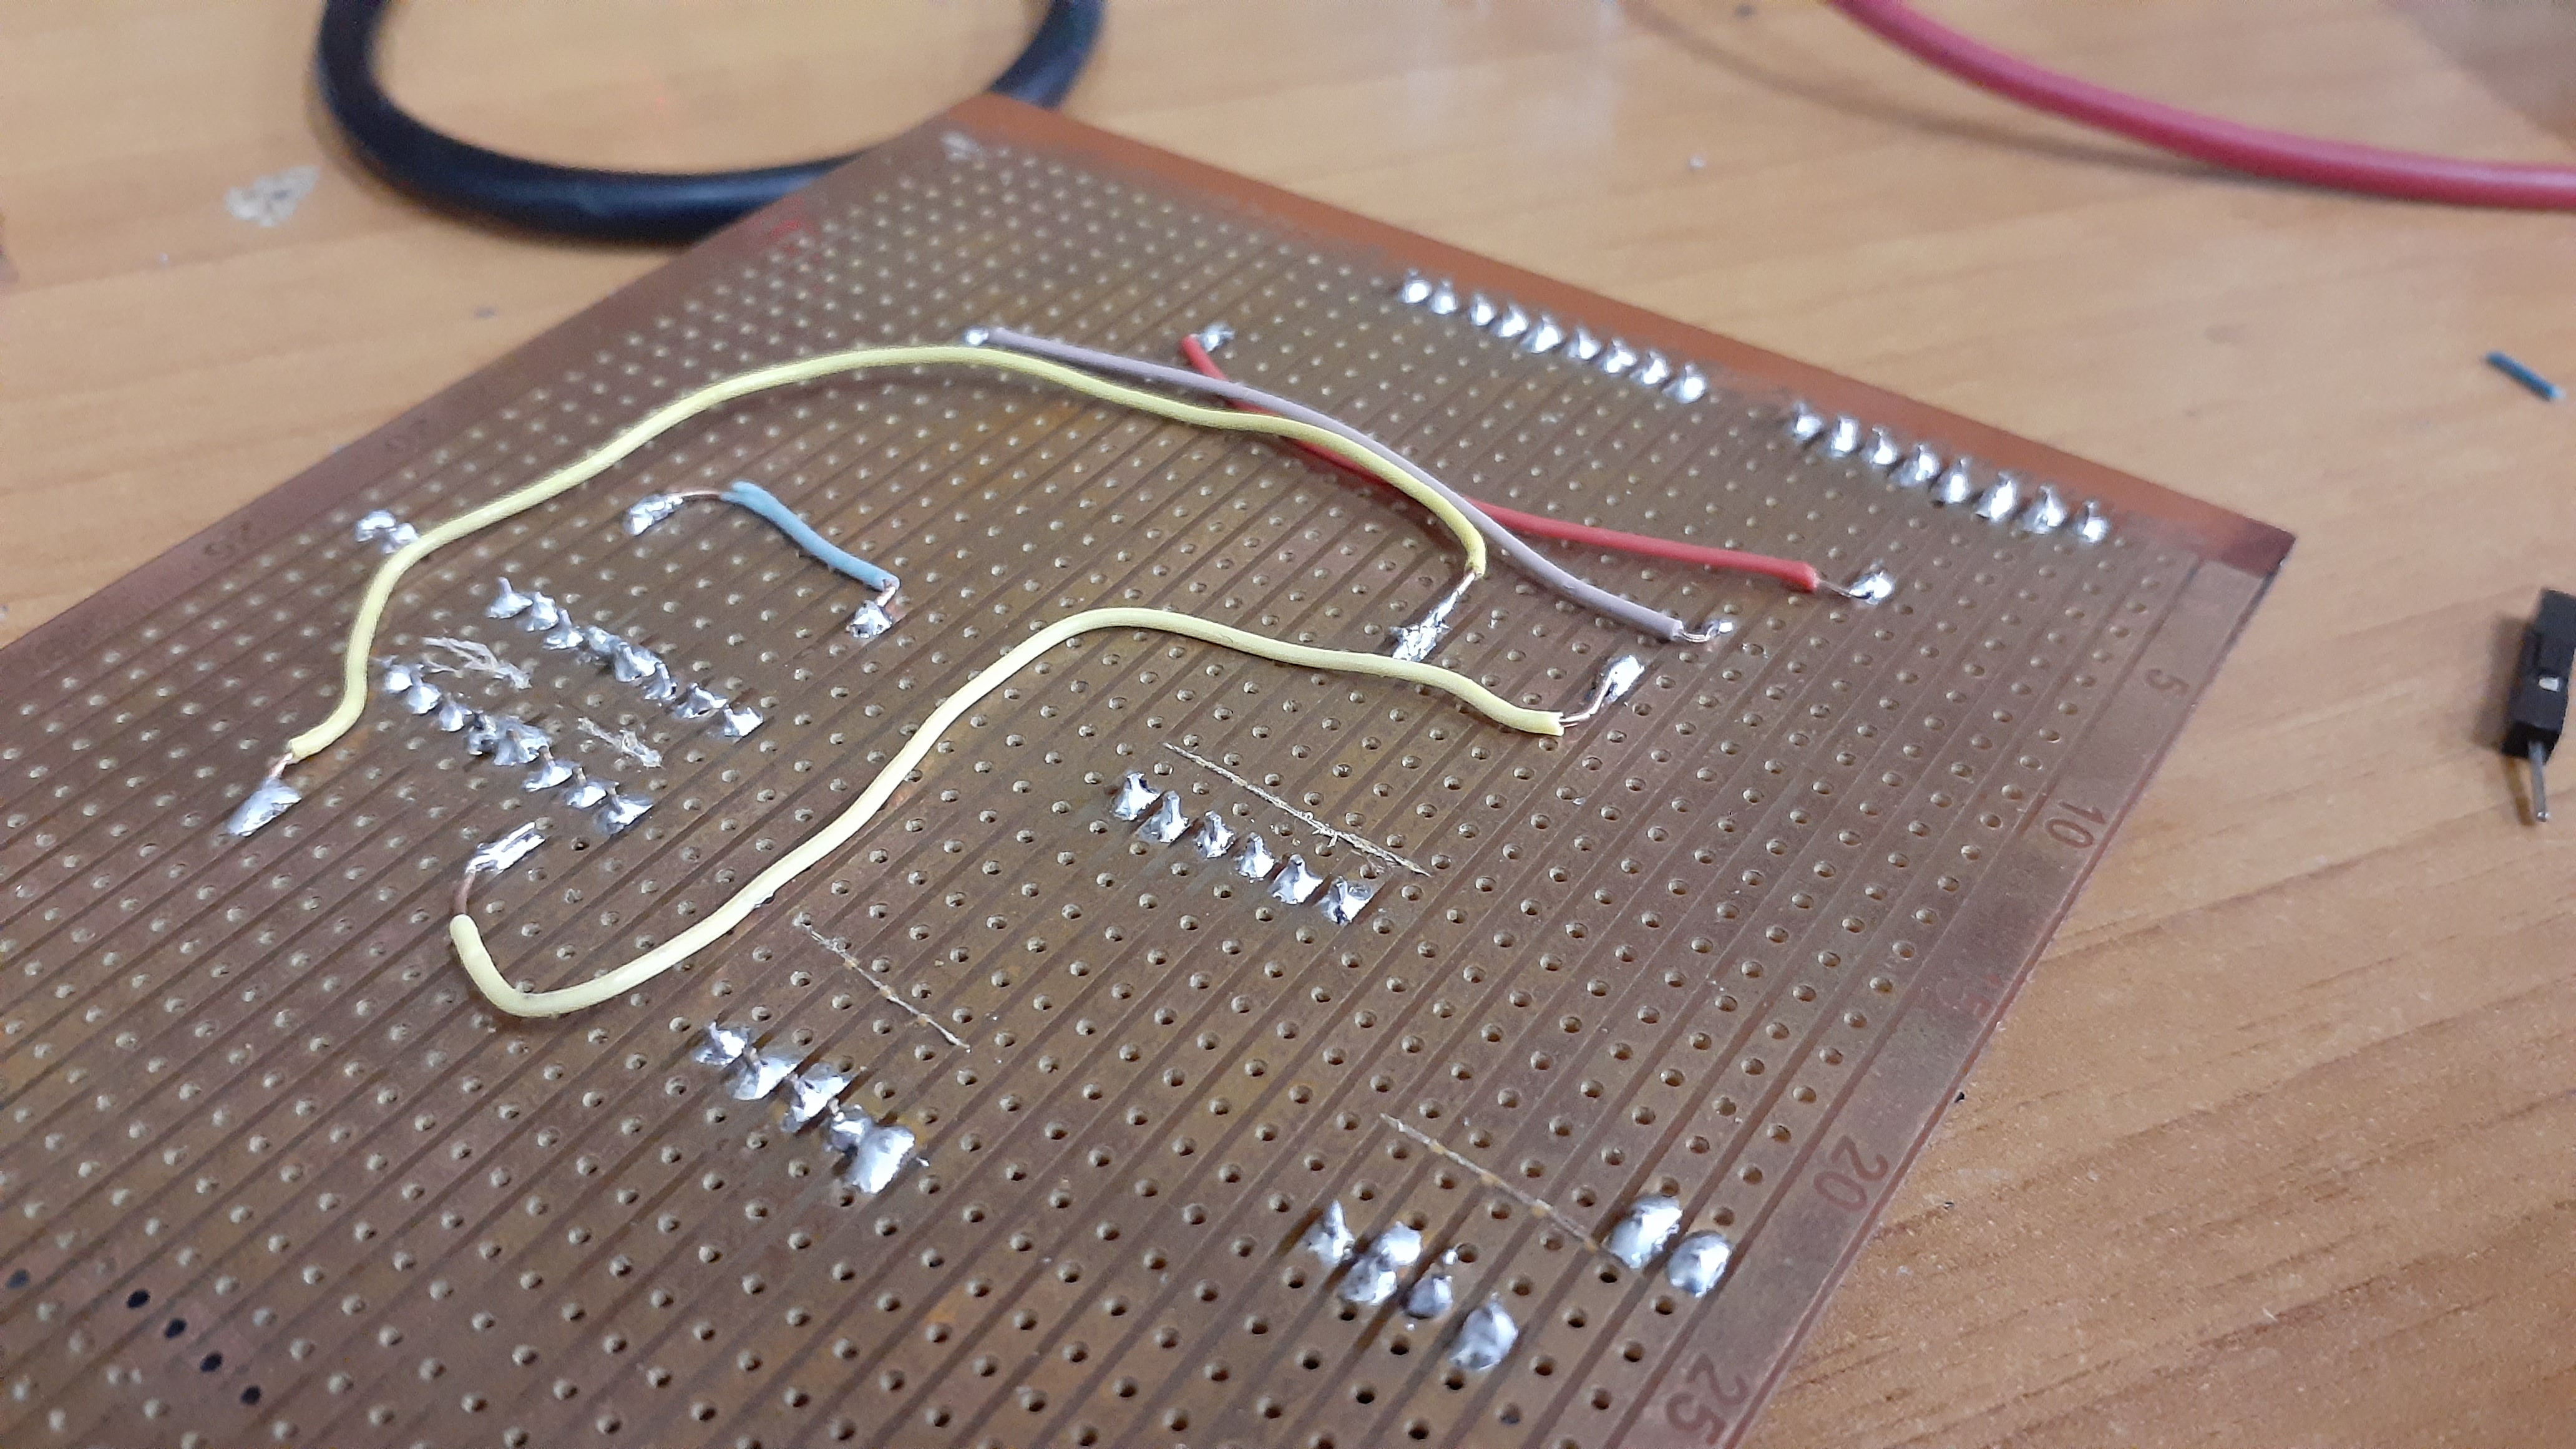
All components are soldering in the PCB board.

The MPU6050 module is made of two built-in sensors which are the gyroscope and the accelerometer, each of these sensors gives data and gets processed by the Arduino nano in order to get the appropriate angle, then according to the output data we'll send special characters that specify the direction the car will choose via Bluetooth module to the Arduino UNO in the car. The code for the transmission unit has been provided in the latter part of this project.

The logic I've used :
If the value along the x-axis is under -17, then it should send 'F'.
You will notice that I obtain yaw data but I didn't use it to make the hand easy to use (OPTIONAL)
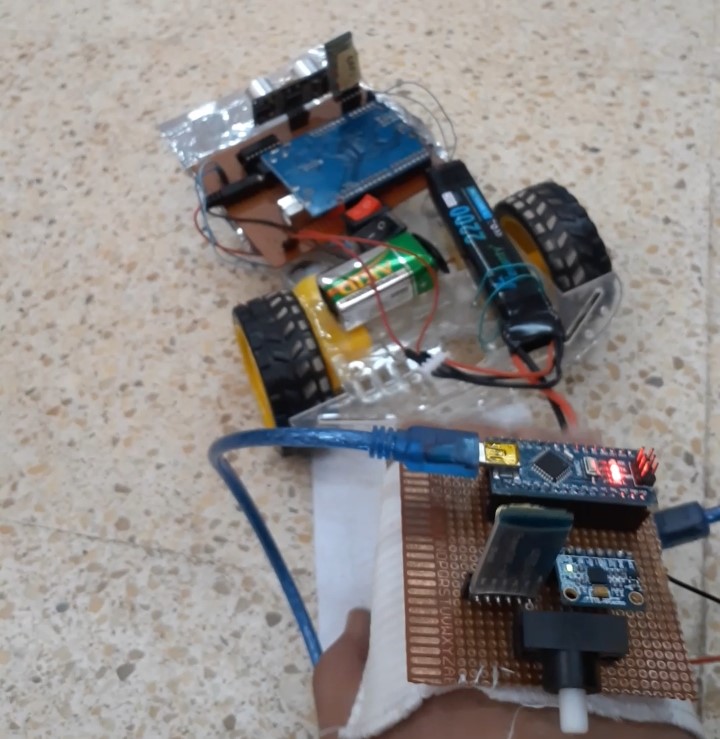
basically made of an Arduino UNO
Bluetooth module(slave):receiving data.
H-bridge l293d: control direction and speed of motors.
9v battery to power the Arduino UNO and other components.
12v to power the motors.
Ultrasonic sensor: an additional sensor to avoid crashes.
All components are soldering in the PCB board.
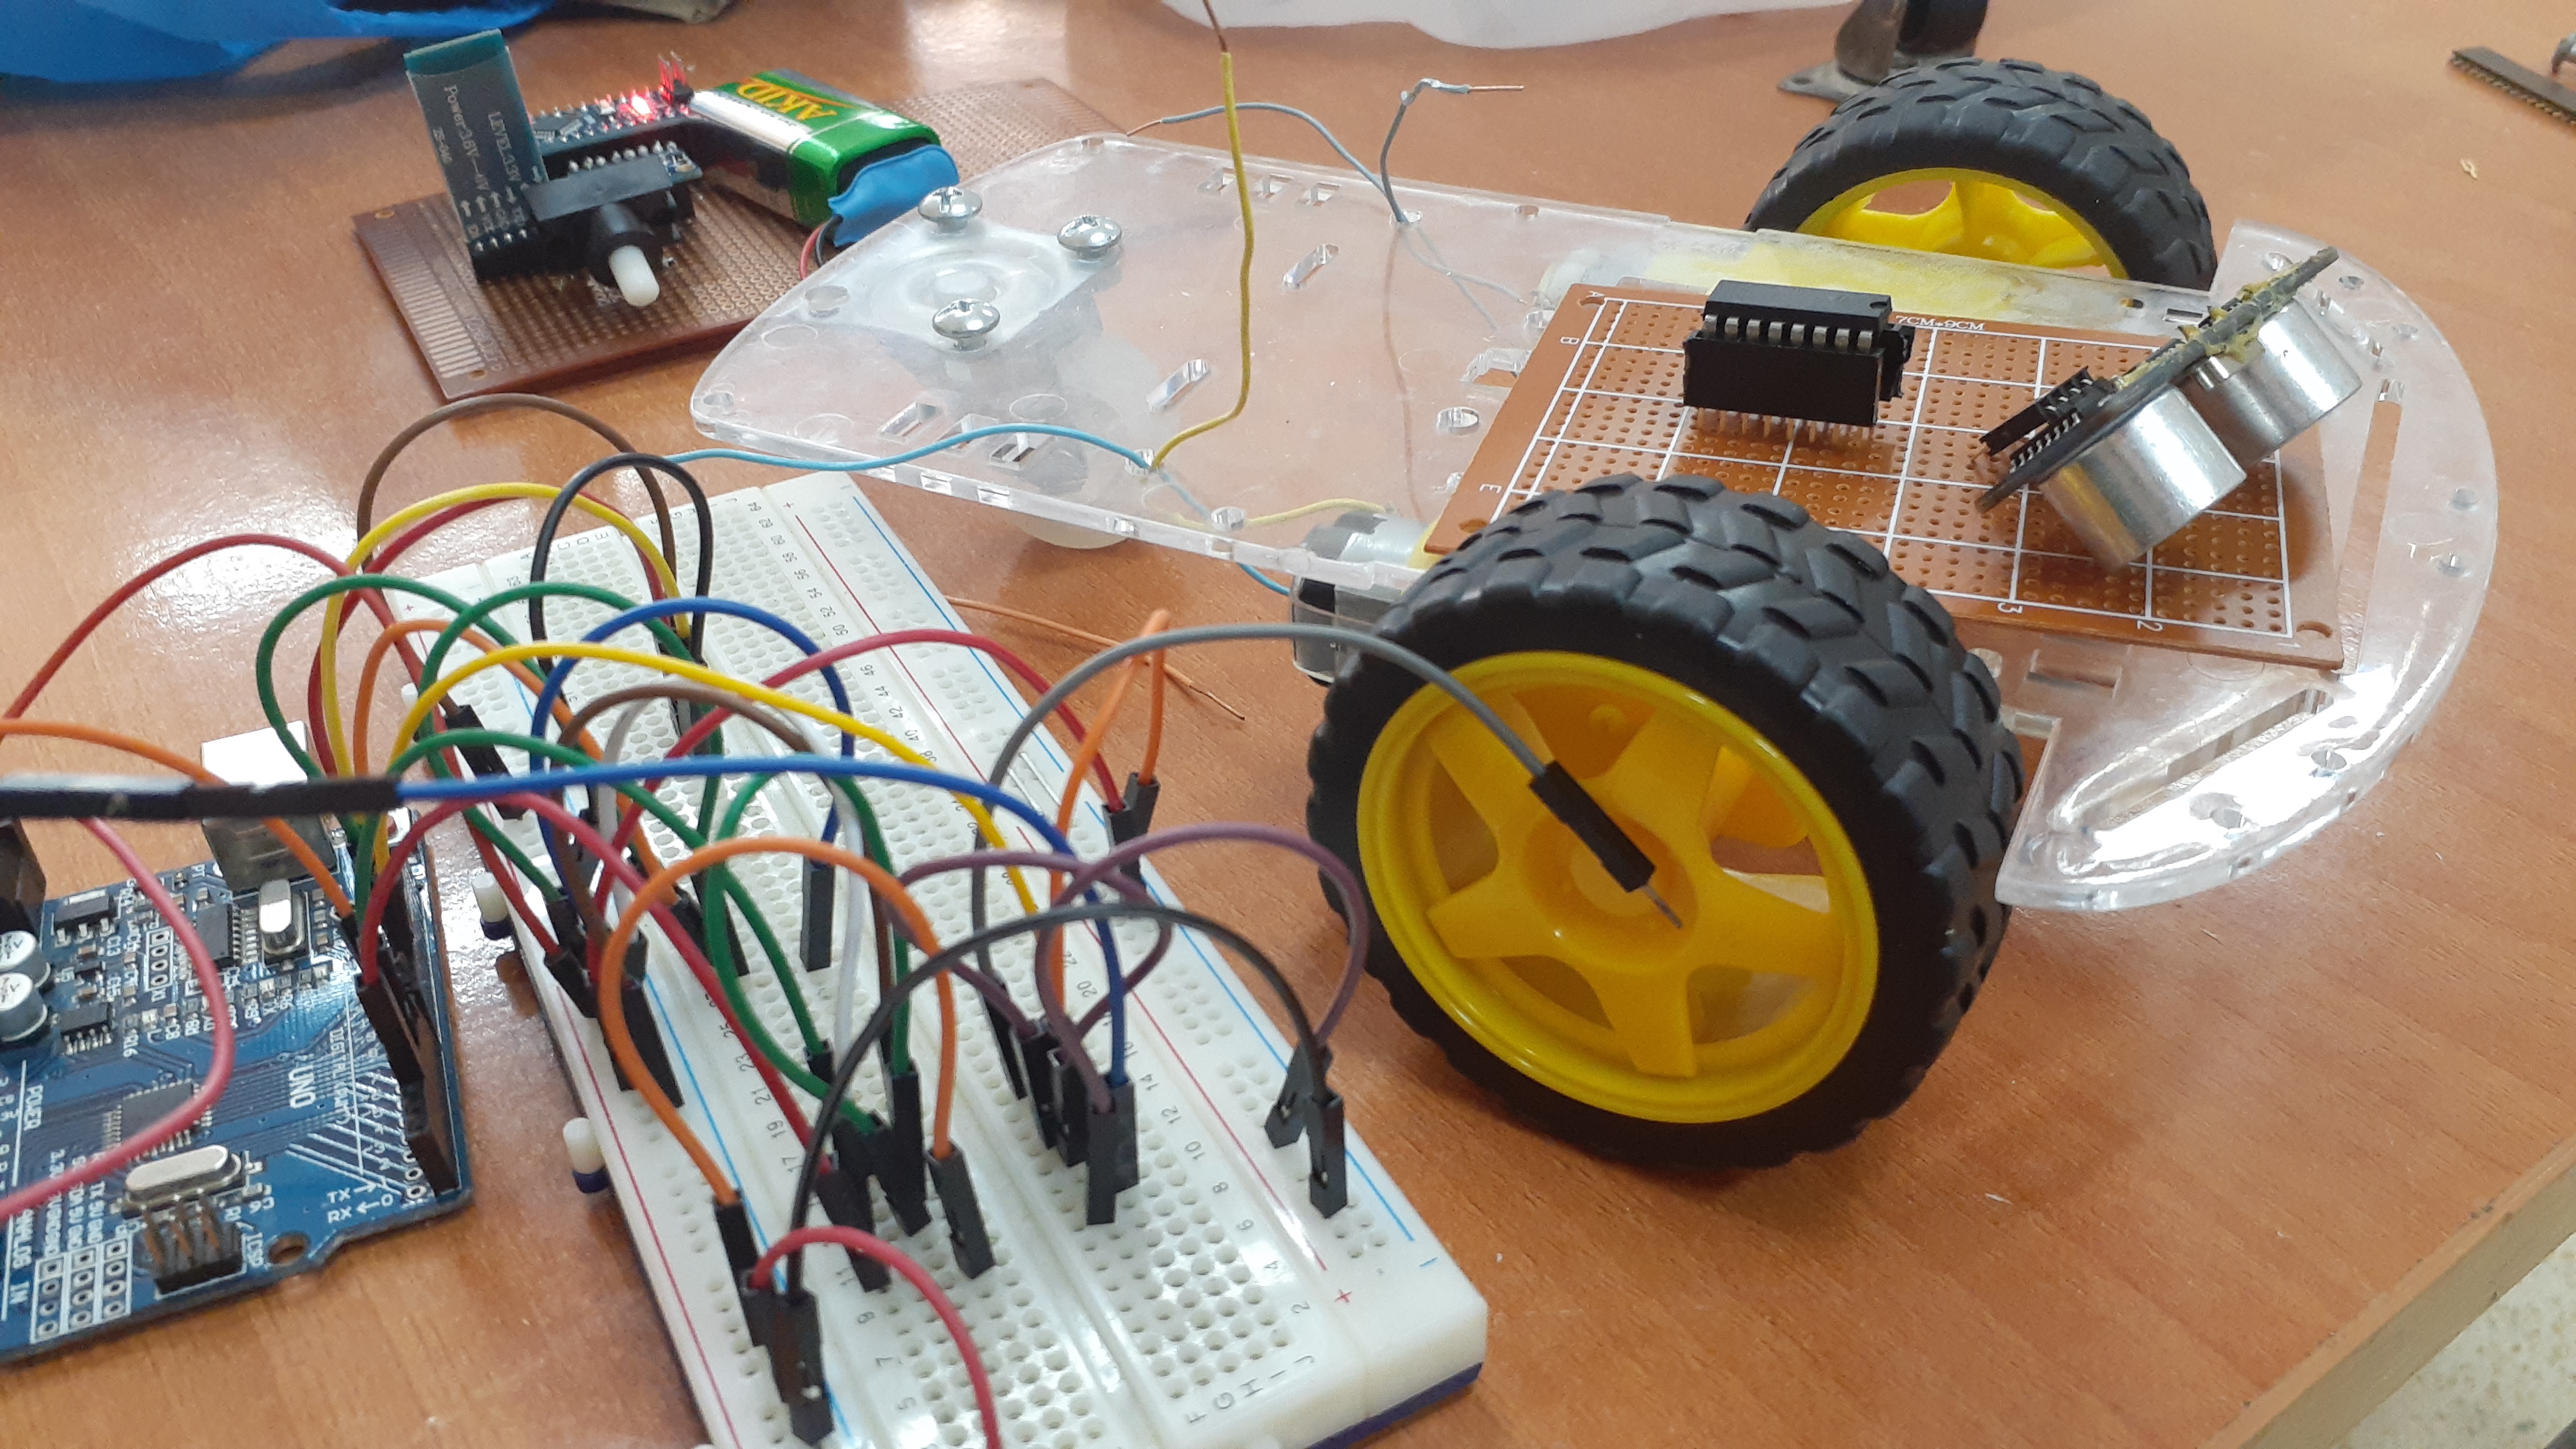

After receiving the data(special characters), and according to the code written for the Arduino UNO the car will move.
The logic I've used:
If the reception unit receives the character 'F',then the robot should move forward.
Sometimes your robot will not move in the correct direction. in this case try to find out which motor behaves in this way. Then you can adjust it from the code or just interchanged the wires of the motors.
if you face any problems with this project just let me know in the comment section.
Support to get the Source Code for this project
Verified user reviews
ล็อกอินด้วยบัญชีบนเว็บนี้แล้วให้คะแนนหรือคอมเมนต์ได้เลย ระบบเก็บผ่าน Supabase ไม่ต้องใช้ GitHub แล้ว
ยังไม่มีรีวิวที่อนุมัติแล้ว เป็นคนแรกที่มาให้ความเห็นได้เลย