Intermediate
โปรเจกต์ Smart Battery Charger Multiplexer พร้อม Smart Display
ใช้งาน Smart Battery Charger กับ Battery ได้สูงสุด 6 ก้อน — เพียงโบกมือเพื่อเปิด Smart Display และตรวจสอบ Charging
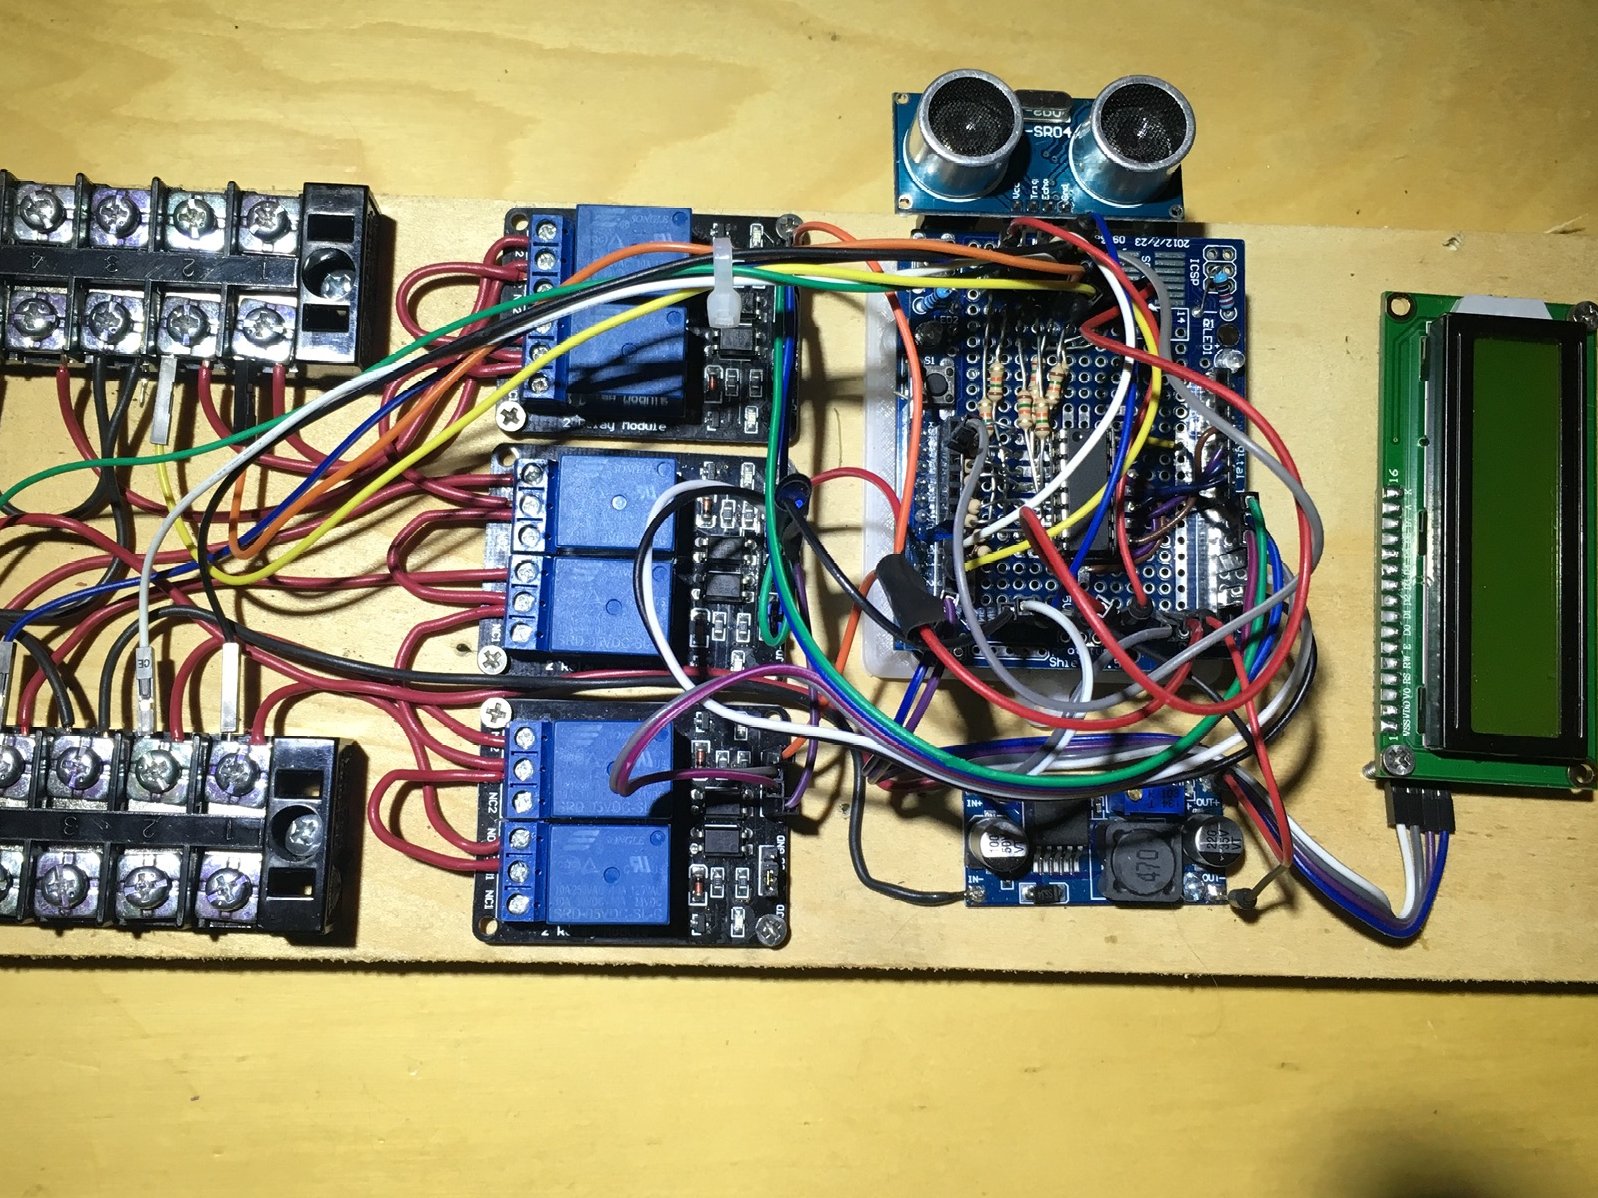
ใช้งาน Smart Battery Charger กับ Battery ได้สูงสุด 6 ก้อน — เพียงโบกมือเพื่อเปิด Smart Display และตรวจสอบ Charging
Living in the North East if you have an older car or a boat, or lawn mower or other vehicle that starts with a battery that you don’t drive or use in bad weather (some call it winter) you have to decide what to do with the batteries each season. If you have one or two it’s pretty easy – you can get a trickle charger. The cheap simple ones are under $15 – but they are simple – no battery feed back or monitoring, they just put just over 13 volts to the battery. A better choice would be one of the smart chargers – they usually have regular higher/faster charge and a snow or trickle charge that adjusts it’s output based on the battery voltage and condition. They work very well – Harbor Freight has one for $39 – of course $29 on sale which is almost always.
Were I got hung up was I have my 1975 MGB (with a 3.5 liter Oldsmobile V8), a 1981 Toyota pickup, a boat and a generator – all with 12 volt batteries. And then if we go away in the winter we leave one of the cars here so there’s another battery. Well I’d have to get 5 battery minders – $150 if I go for the HF one on sale.
While thinking about this I thought I get one for each battery, put it on, it brings the batteries to a level and then it just monitors and trickle charges it for the rest of the time. So the idea comes to my – why couldn’t I hook it up to each battery a few hours a day – wouldn’t that work? Then if I could have it automatically switch between them?
Well I can. I took one of my Arduinos and wrote a program that does just that – and then I got carried away and added a few extra features. So here I present the details on what I ended up with. This version is setup for up to 6 batteries with auto sensing.
It will work with 1 to 6 batteries. The first battery must be hooked up to the number 1 spot – that connection is tied to the voltage regulator that powers the Arduino and other electronics. The 2nd and up can then be connected in any order. When you connect a battery the voltage is sensed in the Read_Show_Volts function and that battery is added to the charging cycle.
How it works – I wanted to accommodate 6 batteries. With an Arduino UNO A4 and A5 analog inputs are needed for the 2 wire LCD control and that leaves 4 analog inputs, too few. So I connected up an MCP-3008 8 channel analog inputs. I use 2 1k resistors as a voltage divider for each input to the MCP-3008.
There are basically 4 functions called in the program.
There are variables for most everything so you can tailor it too fit you needs. I have set the charging timer to 1 hour per battery. So if there are two batteries connected it will charge each for 1 hour each time 12 times a day. With 4 batteries it would be 1 hour 6 times a day, and so on.
As long as I had the HC-SR04 I added a routine that change the timer loop to a shorter time – a few seconds on each battery. The reason I did this was so I could see that it was switching between the batteries OK and I didn’t have to wait an hour to see it switch. If you hold your hand over the HC-SR04 for a few seconds it flashes the lcd backlight on and off so you know it switched. You’ll then hear the relays switch every few seconds. Hold your hand over the HC-SR04 again and it will switch back.
Here’s a zip of the code: BatteryMultiplexer
สนับสนุนเพื่อรับ Source Code หรือแอปพลิเคชันสำหรับโปรเจกต์นี้