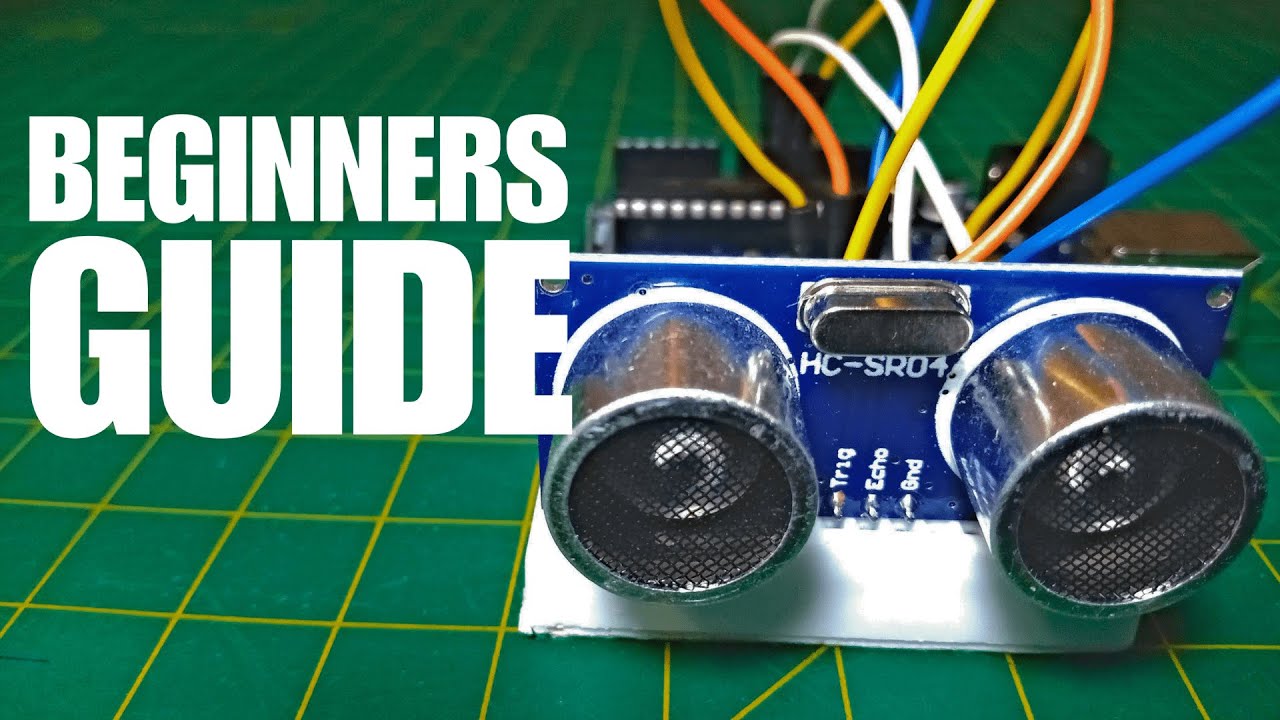
Learn how to use the ultrasonic sensor (HC-SR04) with Arduino. This tutorial will teach you what it is, how to assemble the sensor on Arduino, and, at the end, you'll implement it into an alarm system project.
I've recently posted a video on YouTube explaining everything you can read in this article. If you are interesting at watching it, here is the video.
The ultrasonic sensor is a device that can measure distances using sound waves . It works in a similar way than bats and dolphins - by emitting sound waves and listening them bound back .
Ultrasonic sensor (HC-SR04) - front view,Ultrasonic sensor (HC-SR04) - back view,Transmitter (emit high-frequency sound waves),Receiver (detects high-frequency sound waves)
The sensor consists of two primary components: a transmitter and a receiver . The transmitter is responsible for emitting a high-frequency sound. In essence, ultrasonic refers to frequencies beyond the range of the human hearing - so something higher than 20kHz.
When the sound wave hits an object, it bounces back like echo. This returning wave is detected by the receiver. The sensor will use the micro-controller (Arduino) internal clock to find out how much it took for the sound to bounce back. This small clock turns on when a high-frequency wave is emitted and turns off when its echo is detected.
Using code, we can write a program that will store the timing between those two events into a variable. Then, we can use this information to calculate the distance between the sensor and the object.
You may be thinking: how can we find the distance if all we know is the timing?
Well, as you know, velocity is distance divided by time. Based on this equation, if we multiply the velocity by the time, we'll find the distance . I told you the sensor emits sound waves, so the velocity we need is the speed of sound in air (340 m/s).
Velocity = Distance / Time
Distance = Velocity * Time
But if we multiply this speed with the timing we found, we'll discover a value that's twice the real distance. That's happens because the sound hit the object and came back, in other words, it traveled the same path twice. Then to find the real distance, multiply the speed of sound with the timing and divide the result by two.
Distance = (Velocity * Time) / 2
The ultrasonic sensor in front of an object,The sensor emitts a high-frequency sound,The sensor detects the echo (the high-frequency sound bounced back),The sound wave traveled the same path twice
Project
In this article, I will show you how to build an alarm system using Arduino and the ultrasonic sensor. If you don't have all components or would like to test before assembling anything, I created a simulation of this alarm system on Tinkercad . You can run it directly on your browser by clicking here .
Moving on, for this project, you'll need: an Arduino board, a breadboard, a bunch of jumper wires, a buzzer,and an ultrasonic sensor.
Assembly
Firstly, attach the ultrasonic sensor and the buzzer on the breadboard. Then connect the VCC and GND pins on Arduino 5V and ground ports.
Ultrasonic sensor and buzzer attached to the breadboard,Connect VCC and GND to 5V and GND respectively
After that connect the trigger pin to port 9, the echo pin to port 10, and the buzzer to port 8. Also attach the buzzer GND to Arduino GND.
The alarm system assembly is finished
At the end, upload the alarm-system-arduino.ino file that I provided on this article, and now our alarm system is finished.
Code explanation
At first, we defined the constants and variables we'll need. Then, at the setup function, we configured some important aspects of the code - like defining the echo pin as INPUT and the trigger and buzzer pins as OUTPUT. We also started the serial communication - and it'll be important to visualize the distances being measured.
First block of code: variables and constants,Second block of code: the setup function
At the end, there's the loop function. It starts by turning off the emitter and then activating it for 10 milliseconds before turning it off again. This piece of code will generate the wave sound that will be bounced back by the near objects.
At line 28 we find how much time the sensor took to detect the echo. This information is crucial for calculating the distance at line 29. In this case, we found the distance in centimeters. After that, from lines 30 to 35 we print the distance.
The last part of the code is an if-statement that turns on the buzzer when the object is at 50 centimeters or closer from the sensor. In case this statement is false, the buzzer turns down.
Generating the high-frequency wave,Calculating the distance between the sensor and the object,Priting the distance in centimeters and inches,Activating the buzzer if the distance is less than 50 centimeters (19.68 inches). It turns off the buzzer otherwise
And now it's time to discover whether it'll work. So upload the code to your Arduino board and have fun.