Air drum with Nano 33 IoT
This "Air Drum" project is not merely created for entertainment; it also serves as a crucial learning platform for understanding Motion Sensing technology and the sophisticated application of Human-Machine Interface (HMI). This article will take you on a deep dive into the process of transforming physical movement in the air (Kinetic Movement) into digital signals to control drum rhythms, using a microcontroller board with high processing capability and diverse connectivity options.
In this project, we will focus on the collaboration of three main Hardware and Software components:
- LSM6DS3 IMU: A high-performance Inertial Measurement Unit sensor integrated onto the board, serving as the core for detecting direction and acceleration (reference documentation here).
- Arduino Nano 33 IoT: An ARM Cortex-M0+ 32-bit microcontroller (SAMD21) architecture, which provides superior signal processing speed compared to typical 8-bit boards (board details).
- Midi USB Feature: Utilizing the Native USB feature of the SAMD21 chip to emulate a MIDI Class-Compliant Device, allowing computers to recognize the board as a musical instrument without requiring additional Driver installation (reference documentation here).
Deep Dive into the Core: LSM6DS3 IMU (Inertial Measurement Unit)
An IMU is an electronic system that integrates an Accelerometer and a Gyroscope into a single chip, leveraging MEMS (Micro-Electro-Mechanical Systems) technology to detect changes in inertia (learn more from Wikipedia).
The LSM6DS3 chip chosen is a 6-axis sensor with high resolution and a fast enough Sampling Rate to accurately detect a "flick" of the hand. The working principle of the Air Drum involves analyzing values from all 3 axes (X, Y, Z) of the Accelerometer. When we swing the board downwards quickly, inertia causes the G-force value to spike suddenly. And when the virtual drumstick "stops" or "bounces back" (Impulse response), the algorithm in the controller compares the value against a predefined Threshold. If the impact reaches the set criterion, the system immediately interprets it as a "strike" (Strike Event).
Environment Setup
For the system to communicate with professional music software, you will need to use a Digital Audio Workstation (DAW) such as GarageBand (for macOS/iOS) or Reaper, which is a powerful and highly flexible software for Windows and Linux.
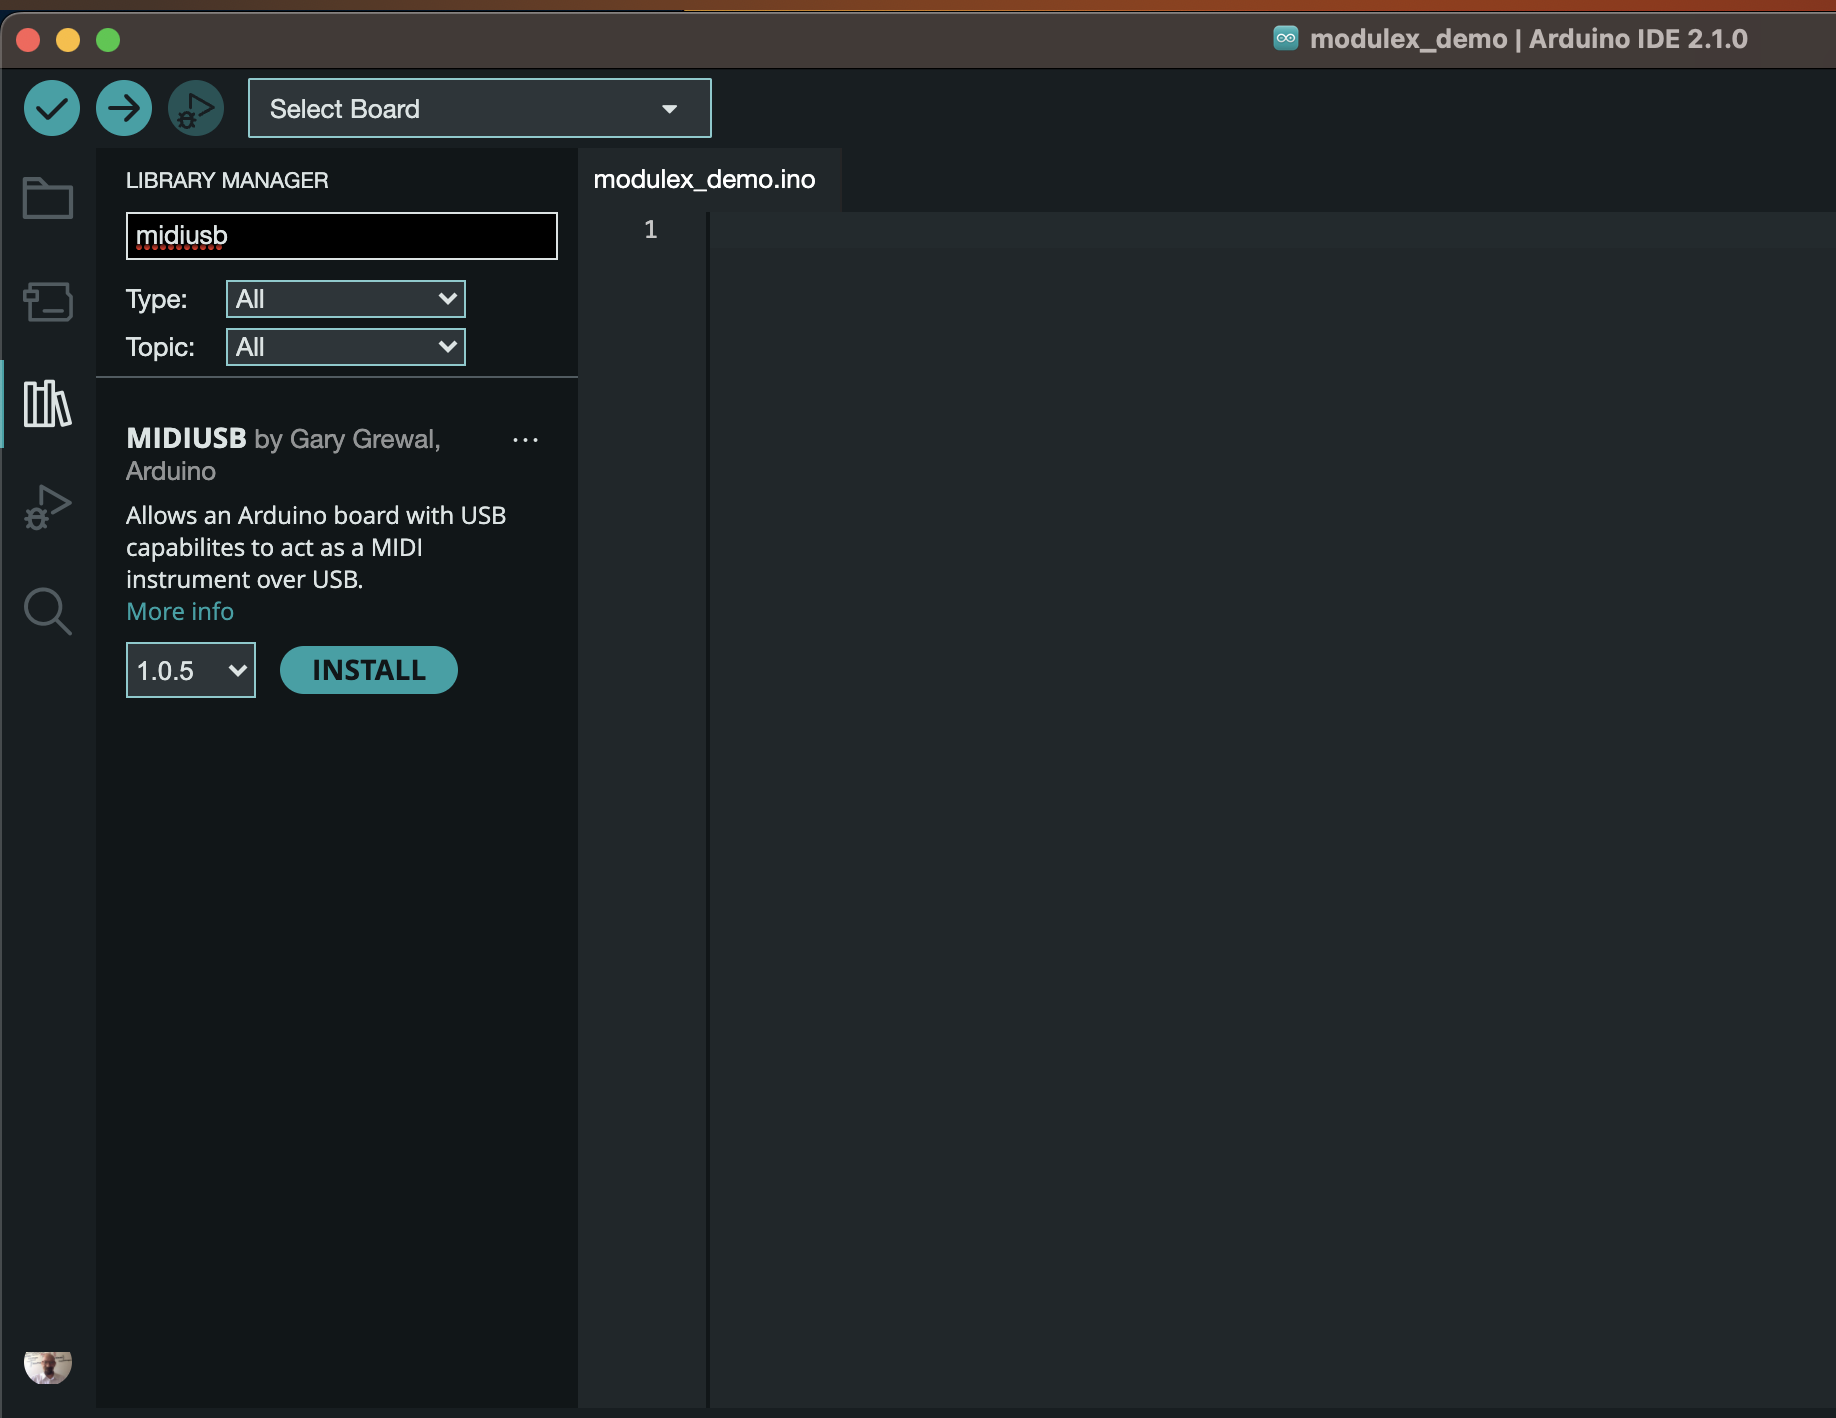
For program development, if you use the Arduino Create Web Editor, the system will manage the Library automatically. However, for developers using Arduino IDE 2.0, you must install the crucial MIDIUSB Library to enable MIDI data transmission protocol directly via the USB port. This will reduce Latency to a level where the player does not perceive any delay.
Signal Processing Logic
The mechanism behind the Air Drum's operation is Dynamic Threshold Detection, with the following processing steps:
- Data Acquisition: The program continuously polls acceleration values from the LSM6DS3 via the I2C bus.
- Peak Detection: When the acceleration value in a specified axis (e.g., Y-axis according to the holding direction) spikes above our set Threshold (Trigger Point), the system prepares to send a MIDI command.
- Velocity Mapping: The coolness of this project lies in mapping the "force value" (Magnitude) of the acceleration to the Velocity value in the MIDI standard (0-127). This means that when you swing your hand hard, the drum sound will be loud, and when you swing gently, the drum sound will be soft, matching the actual hand movement.
- Note Triggering: The
noteOn()function is called viaMidiUSB.sendMIDI(), where the MIDI Packet data structure consists of:- Status Byte:
0x09(Note On) to indicate the start of a note playback. - Data Byte 1 (Note Number): The note number according to the General MIDI standard (e.g., 38 for Snare sound or 36 for Kick Drum).
- Data Byte 2 (Velocity): The loudness value calculated from the swing force.
- Status Byte:
Furthermore, to prevent "Double Trigger" or overlapping sounds from Vibration, we must implement Debouncing logic, or a short Cooldown period, to allow the acceleration value to return to its normal state before detecting the next strike.
System Startup Steps
- Hardware Connection: Connect the Arduino Nano 33 IoT to your computer. This USB port will serve as both a power source and a MIDI data pathway.
- Firmware Upload: Upload the code, which has been tuned with Threshold values suitable for your hand strength.
- DAW Configuration: Open GarageBand or Reaper and, in the MIDI Preferences section, select "Arduino Nano 33 IoT" as the Input Device.
- Instrument Selection: Choose a Virtual Instrument of the Drum Kit type.
- Performance: Start creating musical rhythms in the air by moving your wrist, emphasizing clear stopping points for the sensor to detect the Peak of acceleration as accurately as possible.
Expanding to a Virtual Drum Kit System (Scalability)
This is just the beginning. With MIDI's architecture supporting multiple Channels, you can use several Arduino Nano 33 IoT boards together, for instance:
- Left Hand: Program for Snare/Hi-hat sounds.
- Right Hand: Program for Crash Cymbal/Tom-tom sounds.
- Foot Mount: Attach a board to your shoe to detect foot stomps for Kick Drum sounds.
By processing data from multiple boards together, you can create a Full Air Drum Kit that is portable and requires no physical instrument setup space. This perfectly integrates sensor engineering with musical art.