Note: This article may be updated with more current content. You can find the latest version at Arduino Docs
Introduction: Revolutionize Lighting Control with Arduino IoT Cloud
In the era of Smart Home, controlling devices with voice is no longer a distant dream. Arduino IoT Cloud is a powerful platform that makes creating Internet of Things (IoT) devices easy and fast. In this project, we will take lighting control to the next level by controlling the MKR RGB Shield through a global voice command system like Amazon Alexa using the Official Arduino Alexa Skill as a bridge.
If you are new to Arduino IoT Cloud, we recommend you try this getting started project to understand the basics of board setup, creating Things, and defining Properties before diving into this tutorial.
Part 1: Configuration on Arduino IoT Cloud
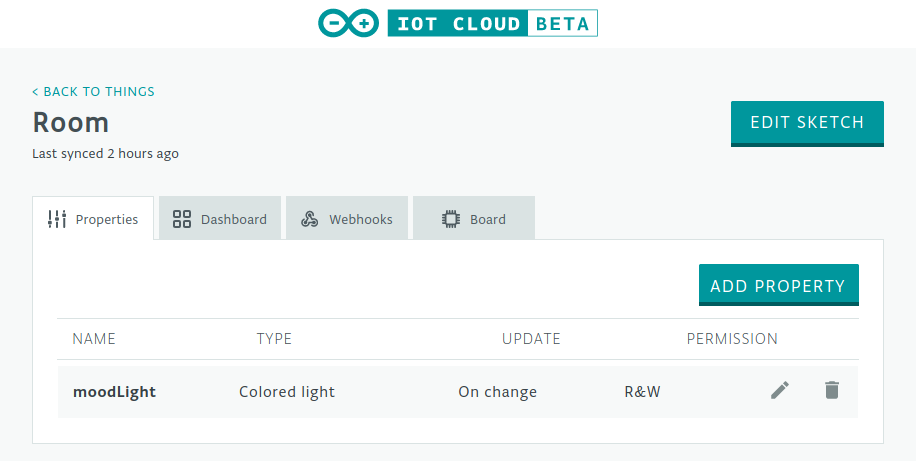
The first step begins at IoT Cloud where we will create a new "Thing" and give it a descriptive name (e.g., MoodLight_Project). Then, select the board you are using (MKR family boards with WiFi chips, such as MKR WiFi 1010, are recommended).
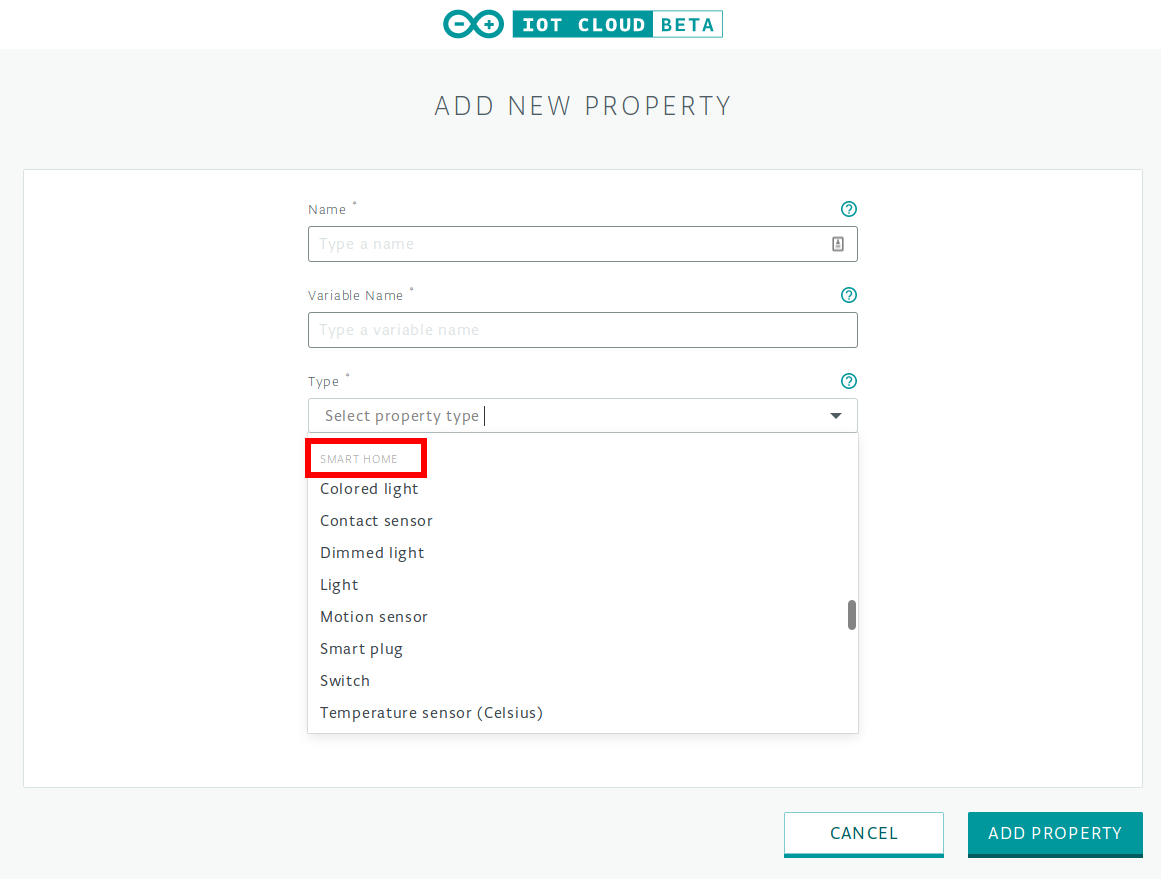
The core of this project is adding a Property to represent the RGB Shield:
- Type: Must be ColoredLight only, as this type is designed to support comprehensive RGB light control, including on/off, brightness adjustment, and color (Hue/Saturation) changes.
- Permission: Set to Read & Write so that Alexa can send commands to the board, and the board can report its status back to the Cloud.
Caution: For Alexa to discover the device, this project must use variables within the Smart Home category only. Otherwise, the Alexa Skill will not be able to sync data to display on the app.
When settings are complete, click the Edit Sketch button to access the Web Editor for programming.
Part 2: In-depth Programming (Arduino Web Editor)
In the Sketch section, the system will automatically generate the basic structure for us, but we need to add the logic to control the actual hardware.
Installing Essential Libraries
We need to utilize the capabilities of two main Libraries:
#include <ArduinoGraphics.h>
#include <Arduino_MKRRGB.h>
- ArduinoGraphics: This is the core engine that helps with drawing shapes and managing pixels.
- Arduino_MKRRGB: This is a driver specifically designed to interface with the Matrix LED on the MKR RGB Shield.
System Initialization (Setup)
In the setup() function, we need to check the Shield's connection. If there's a hardware issue, the program will notify via the Serial Monitor:
if (!MATRIX.begin()) {
  Serial.println("Failed to initialize MKR RGB shield!");
  while (1);
}
MATRIX.brightness(10);
- Power Management Engineering: We set the brightness to 10 (out of 255) initially for safety when drawing power from the computer's USB port. If you wish to operate at full performance with higher brightness, you should install an external 5V 4A power supply via the auxiliary power jack on the Shield.
Callback Function: On-demand Color Change Mechanism
The core of the operation is the onMoodLightChange() function, which will be called immediately whenever a value changes in the Cloud (e.g., when you command Alexa).
void onMoodLightChange() {
 uint8_t r, g, b;
 // Retrieve RGB color values from the moodLight variable received from the Cloud
 moodLight.getValue().getRGB(r, g, b);

 MATRIX.beginDraw();
 if (moodLight.getSwitch()) {
   // Display received color values via Serial Monitor for debugging
   Serial.println("R:"+String(r)+" G:"+String(g)+ " B:"+String(b));

   // Command to fill the entire area of the Matrix with color
   MATRIX.fill(r, g, b);
   MATRIX.rect(0, 0, MATRIX.width(), MATRIX.height());
 }
 else {
   // If the switch status is OFF, turn off all lights
   MATRIX.clear();
 }
 MATRIX.endDraw();
}
- Operating Logic: The program extracts the color values into 3 primary colors (R, G, B) and then checks if the light status is ON (
getSwitch()). If it's ON, theMATRIX.rectfunction is used to fill the entire area of the Shield (7x5 Matrix LED) with color. It must always end withendDraw()for the display to take effect on the actual LEDs.
Part 3: Amazon Alexa Skill Setup
When the hardware side is ready, the next step is to connect the world of Arduino to Amazon Alexa via your smartphone.
- Download the Amazon Alexa app (iOS/Android) and log in.
- Follow the steps to install the Arduino Skill as shown in the images below:
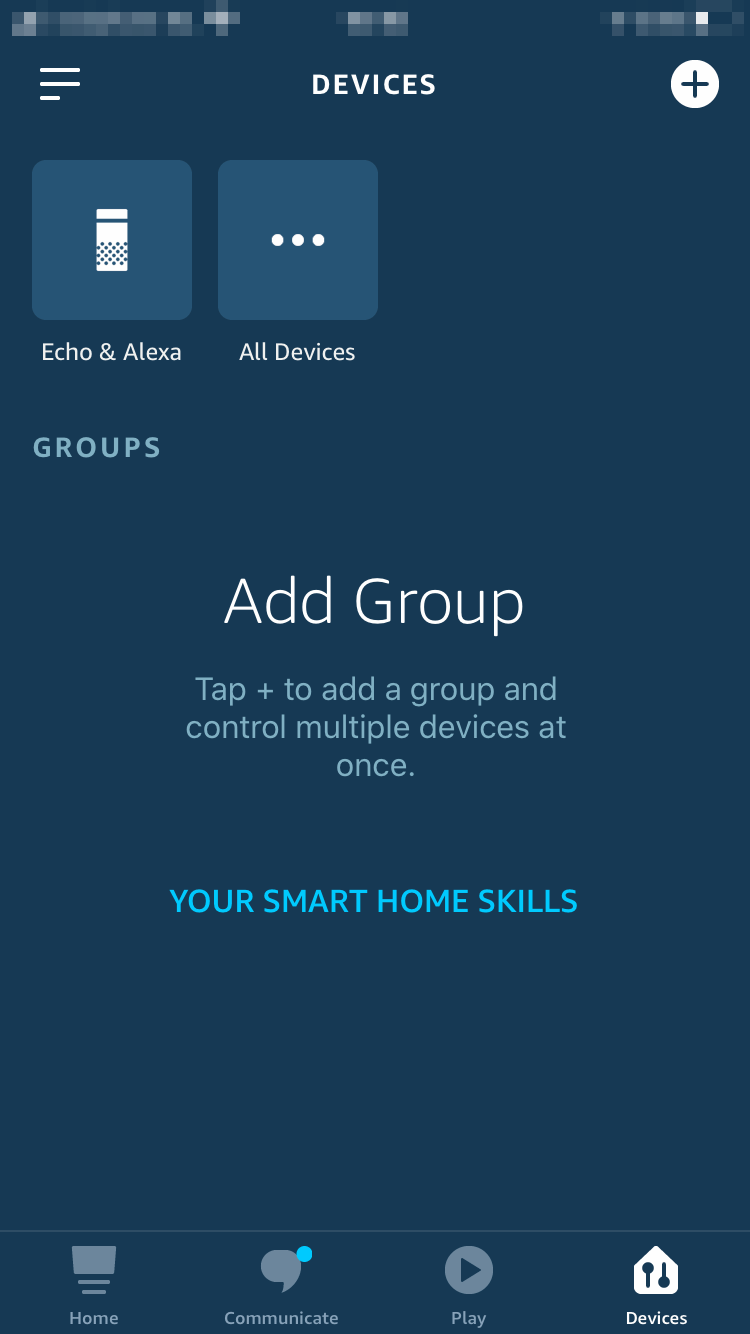
1/9: Go to the "Devices" menu
2/9: Select "Your Smart Home Skills"
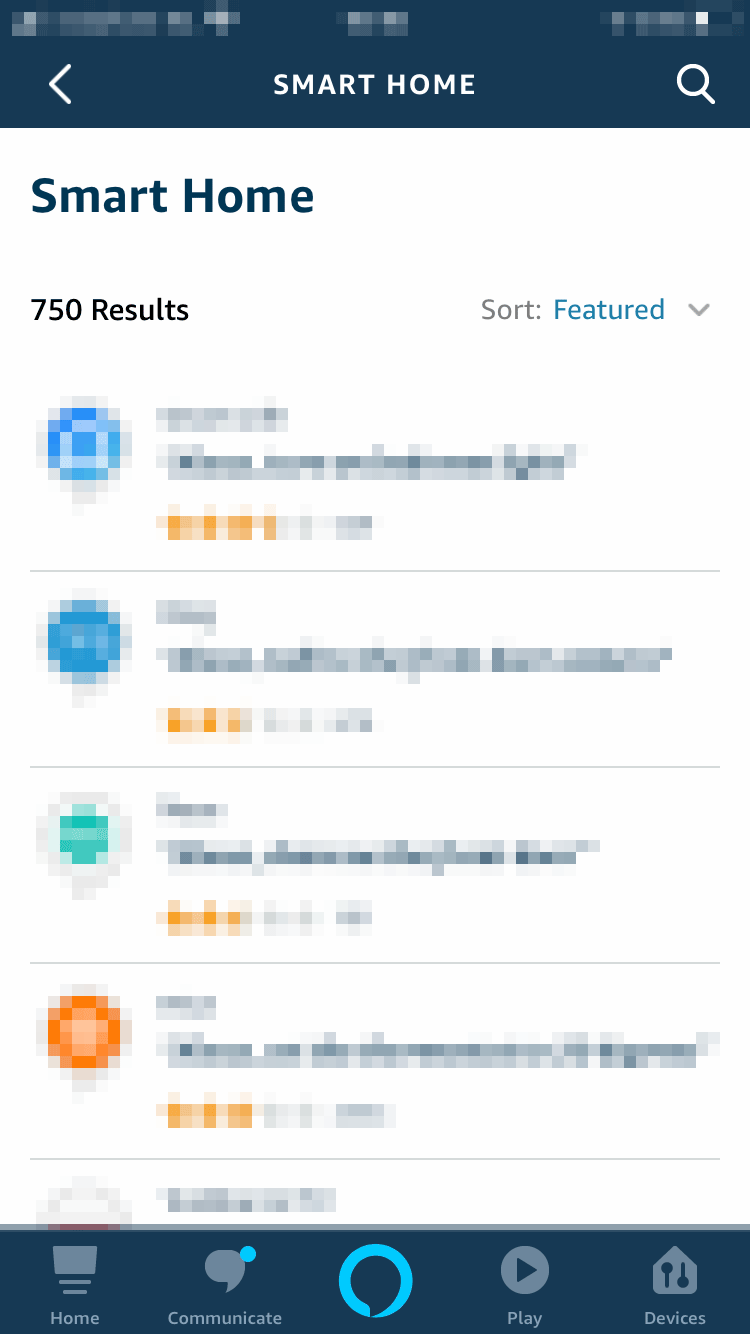
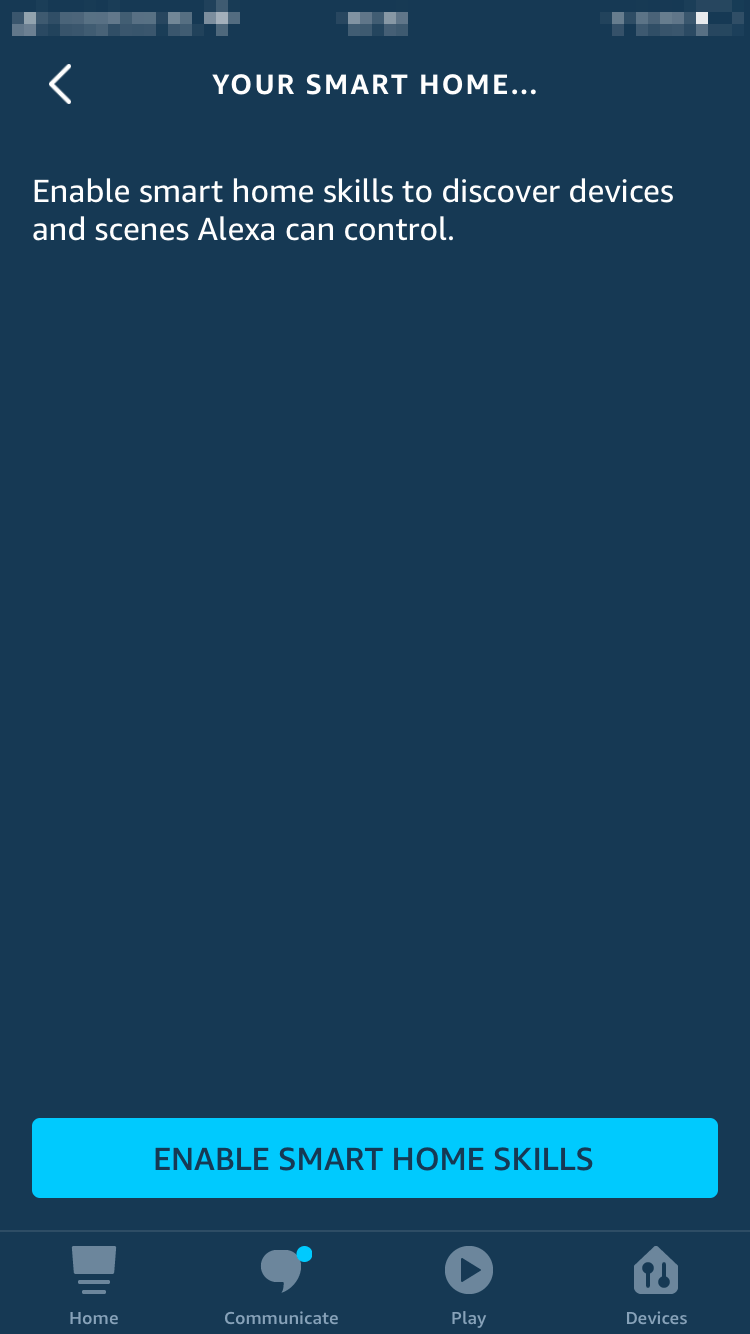
3/9: Press "Enable Smart Home Skills"
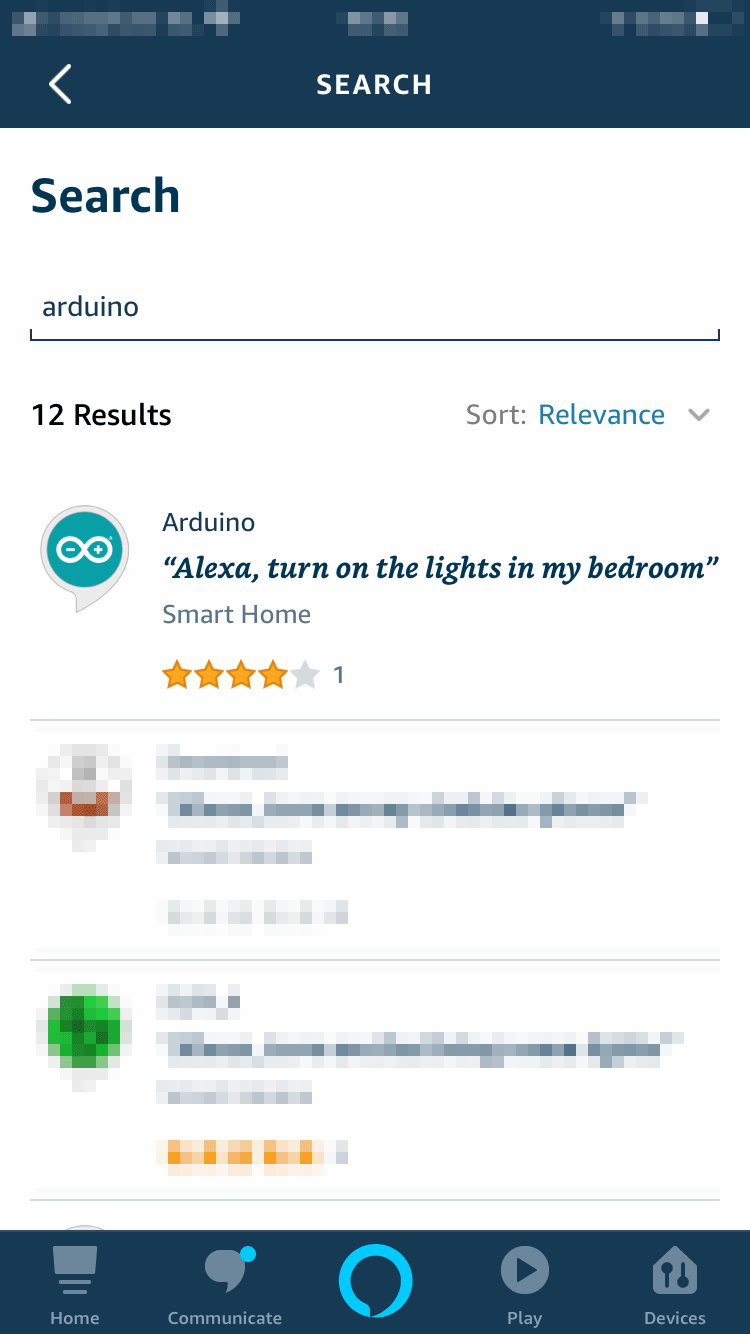
4/9: Search for "Arduino" in the search box
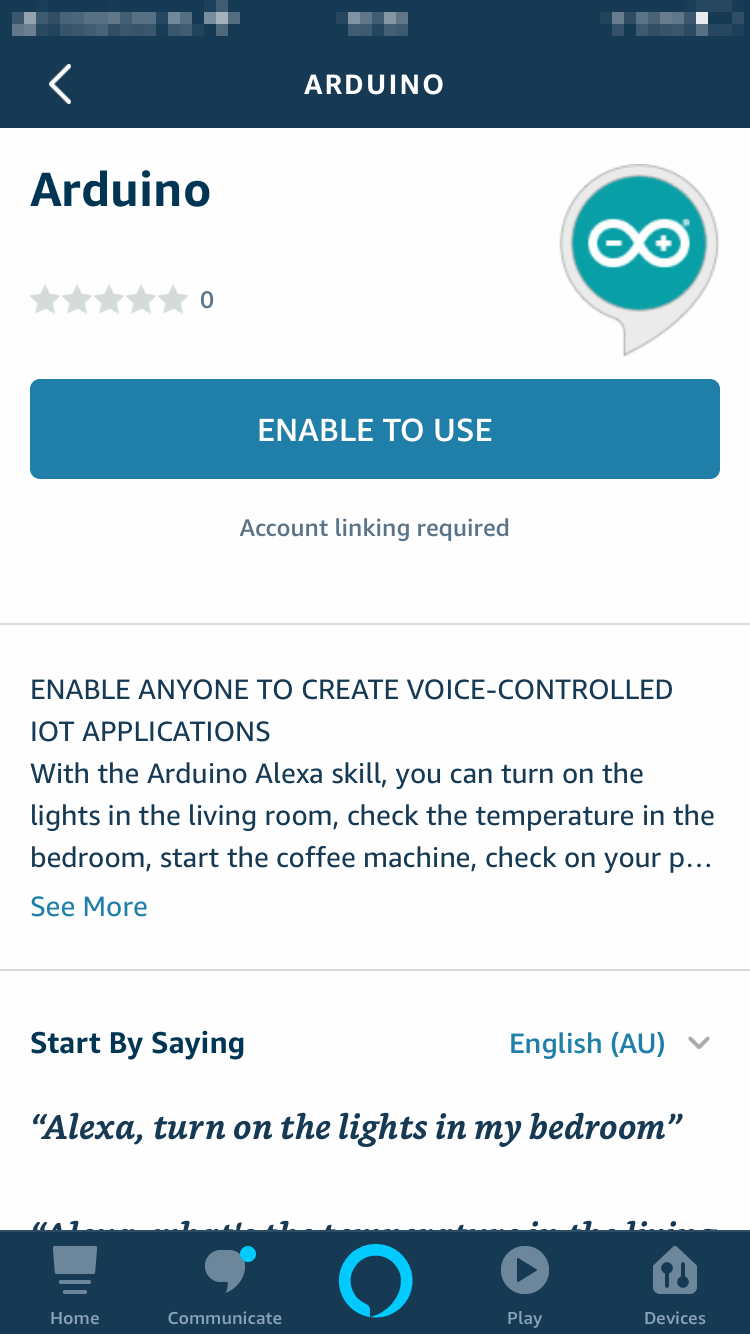
5/9: Select the Official Arduino Skill and press "Enable to Use"
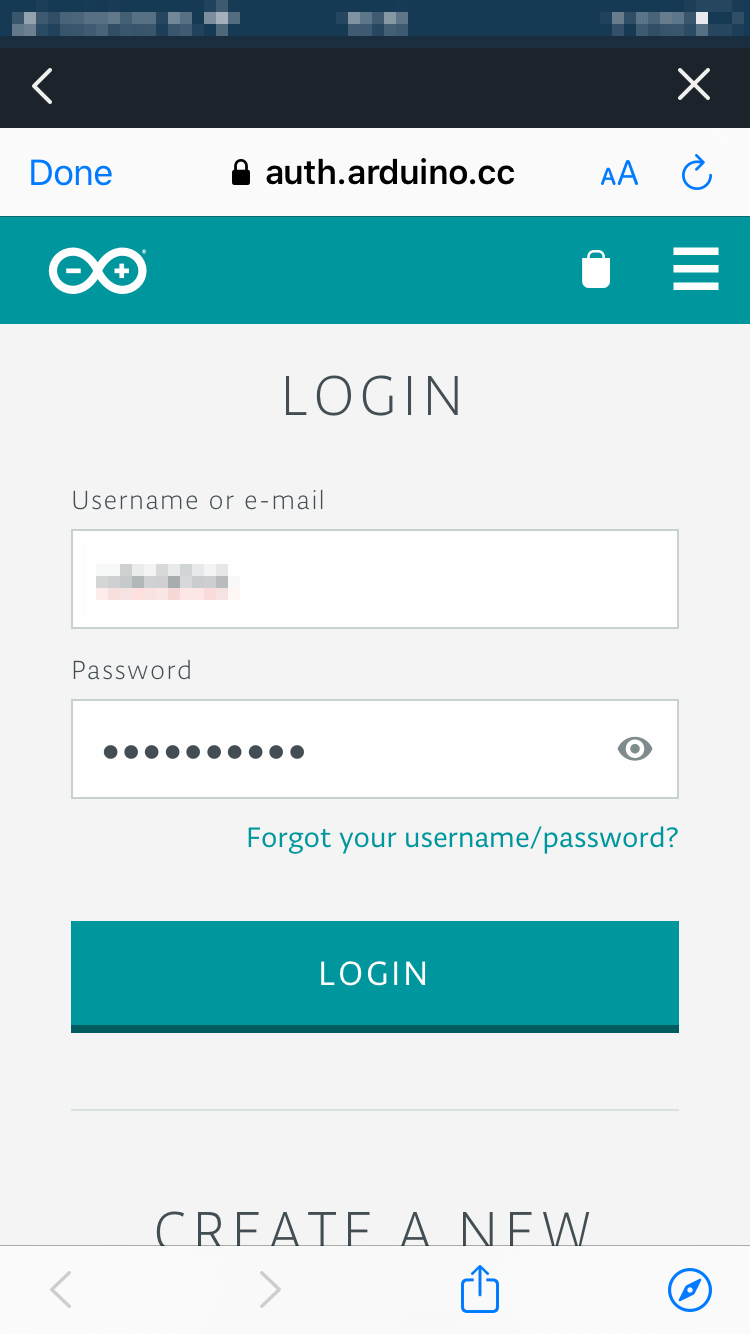
6/9: Log in with your Arduino Create account to link data
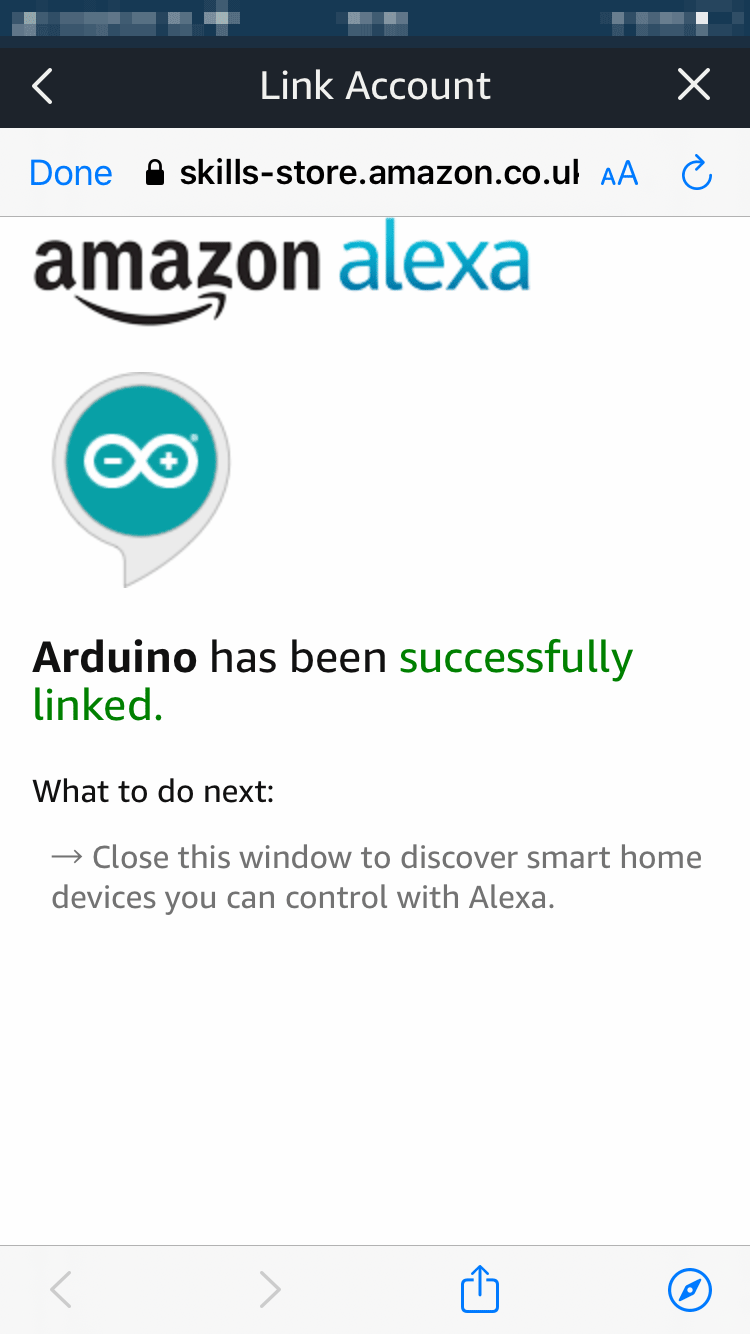
7/9: When the linking is successful, the system will notify that access has been granted
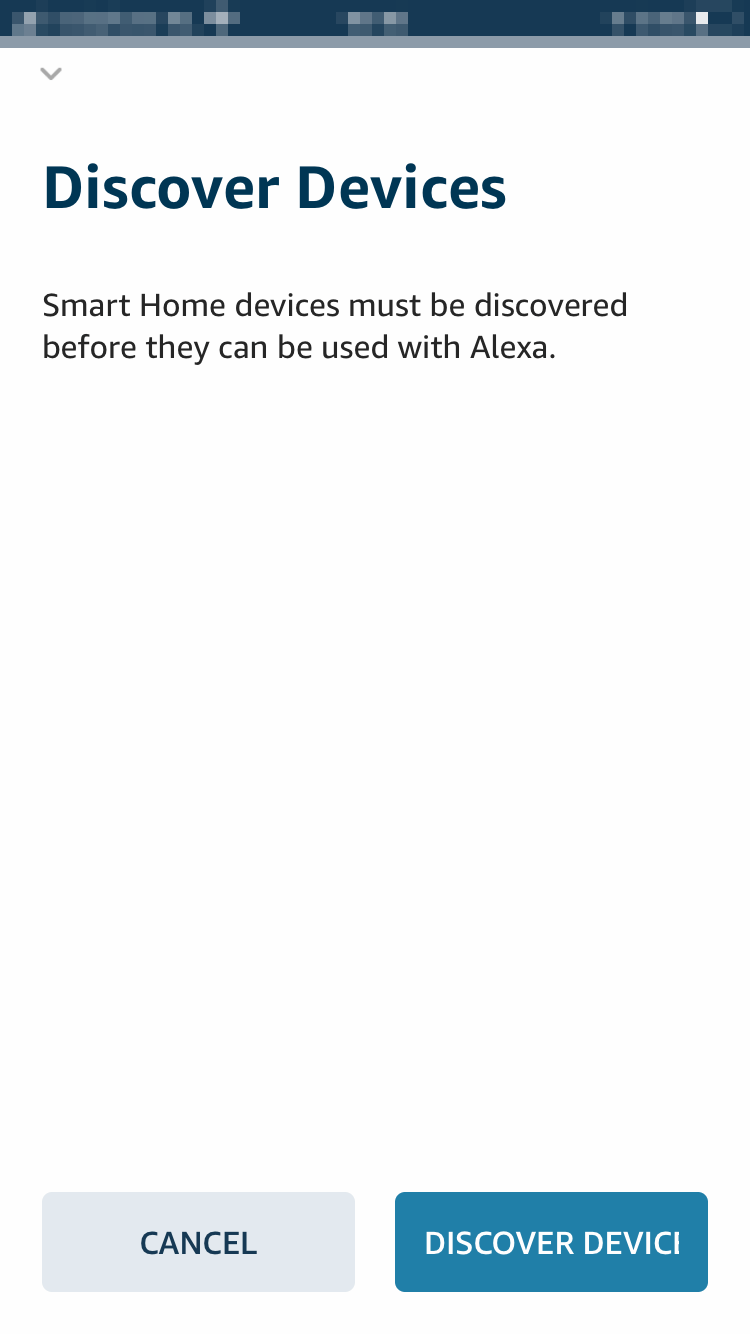
8/9: Press "Discover Devices" to find our Mood Light

9/9: Wait for Alexa to scan for devices on your Cloud
Part 4: Device Management in the Alexa App
After discovering the device, you need to set up a few more things to ensure the smoothest control possible.
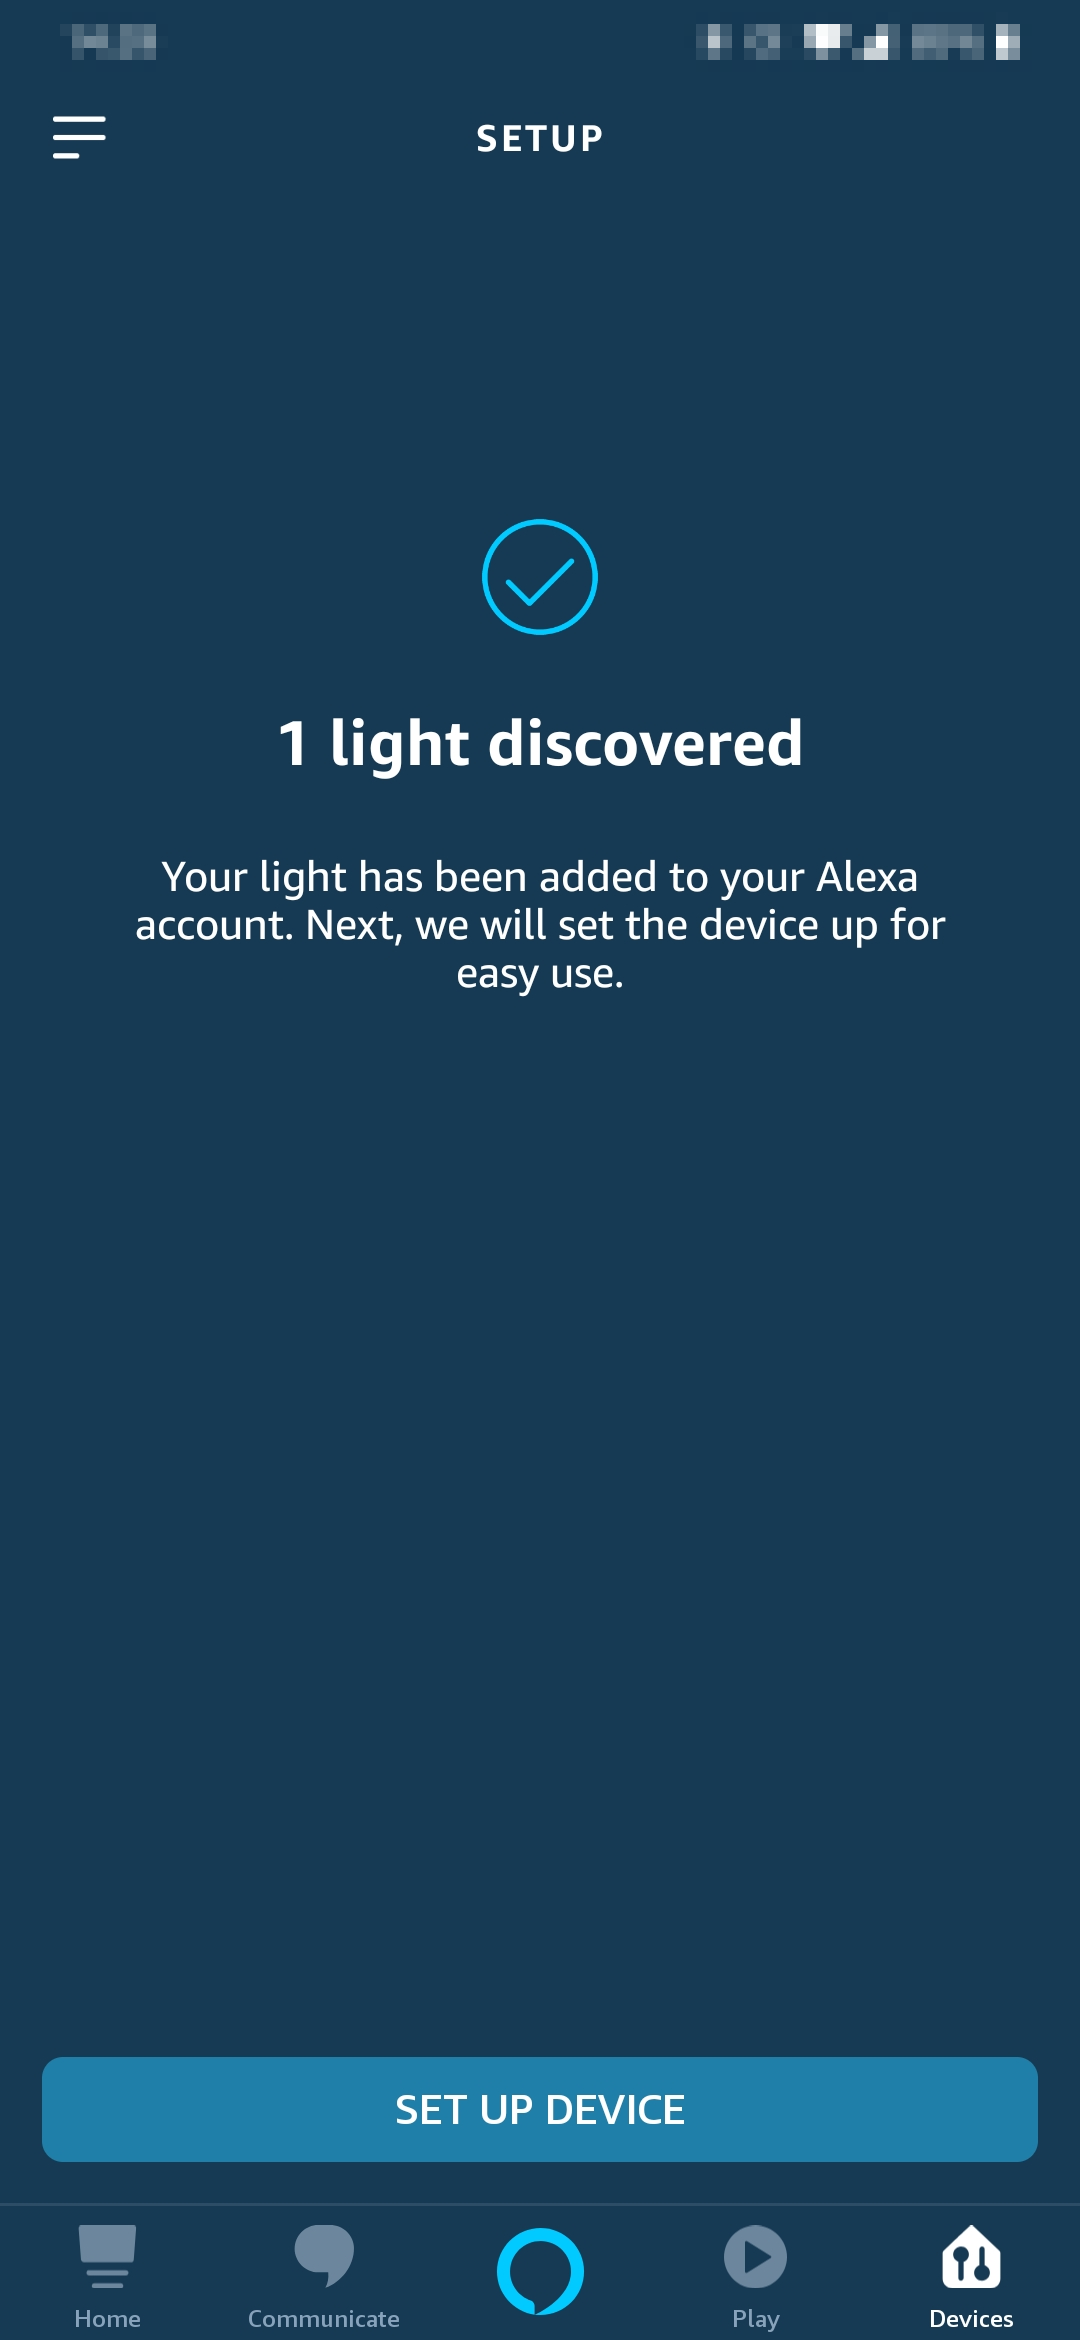
1/5: Once the device is found, click "Set Up Device"
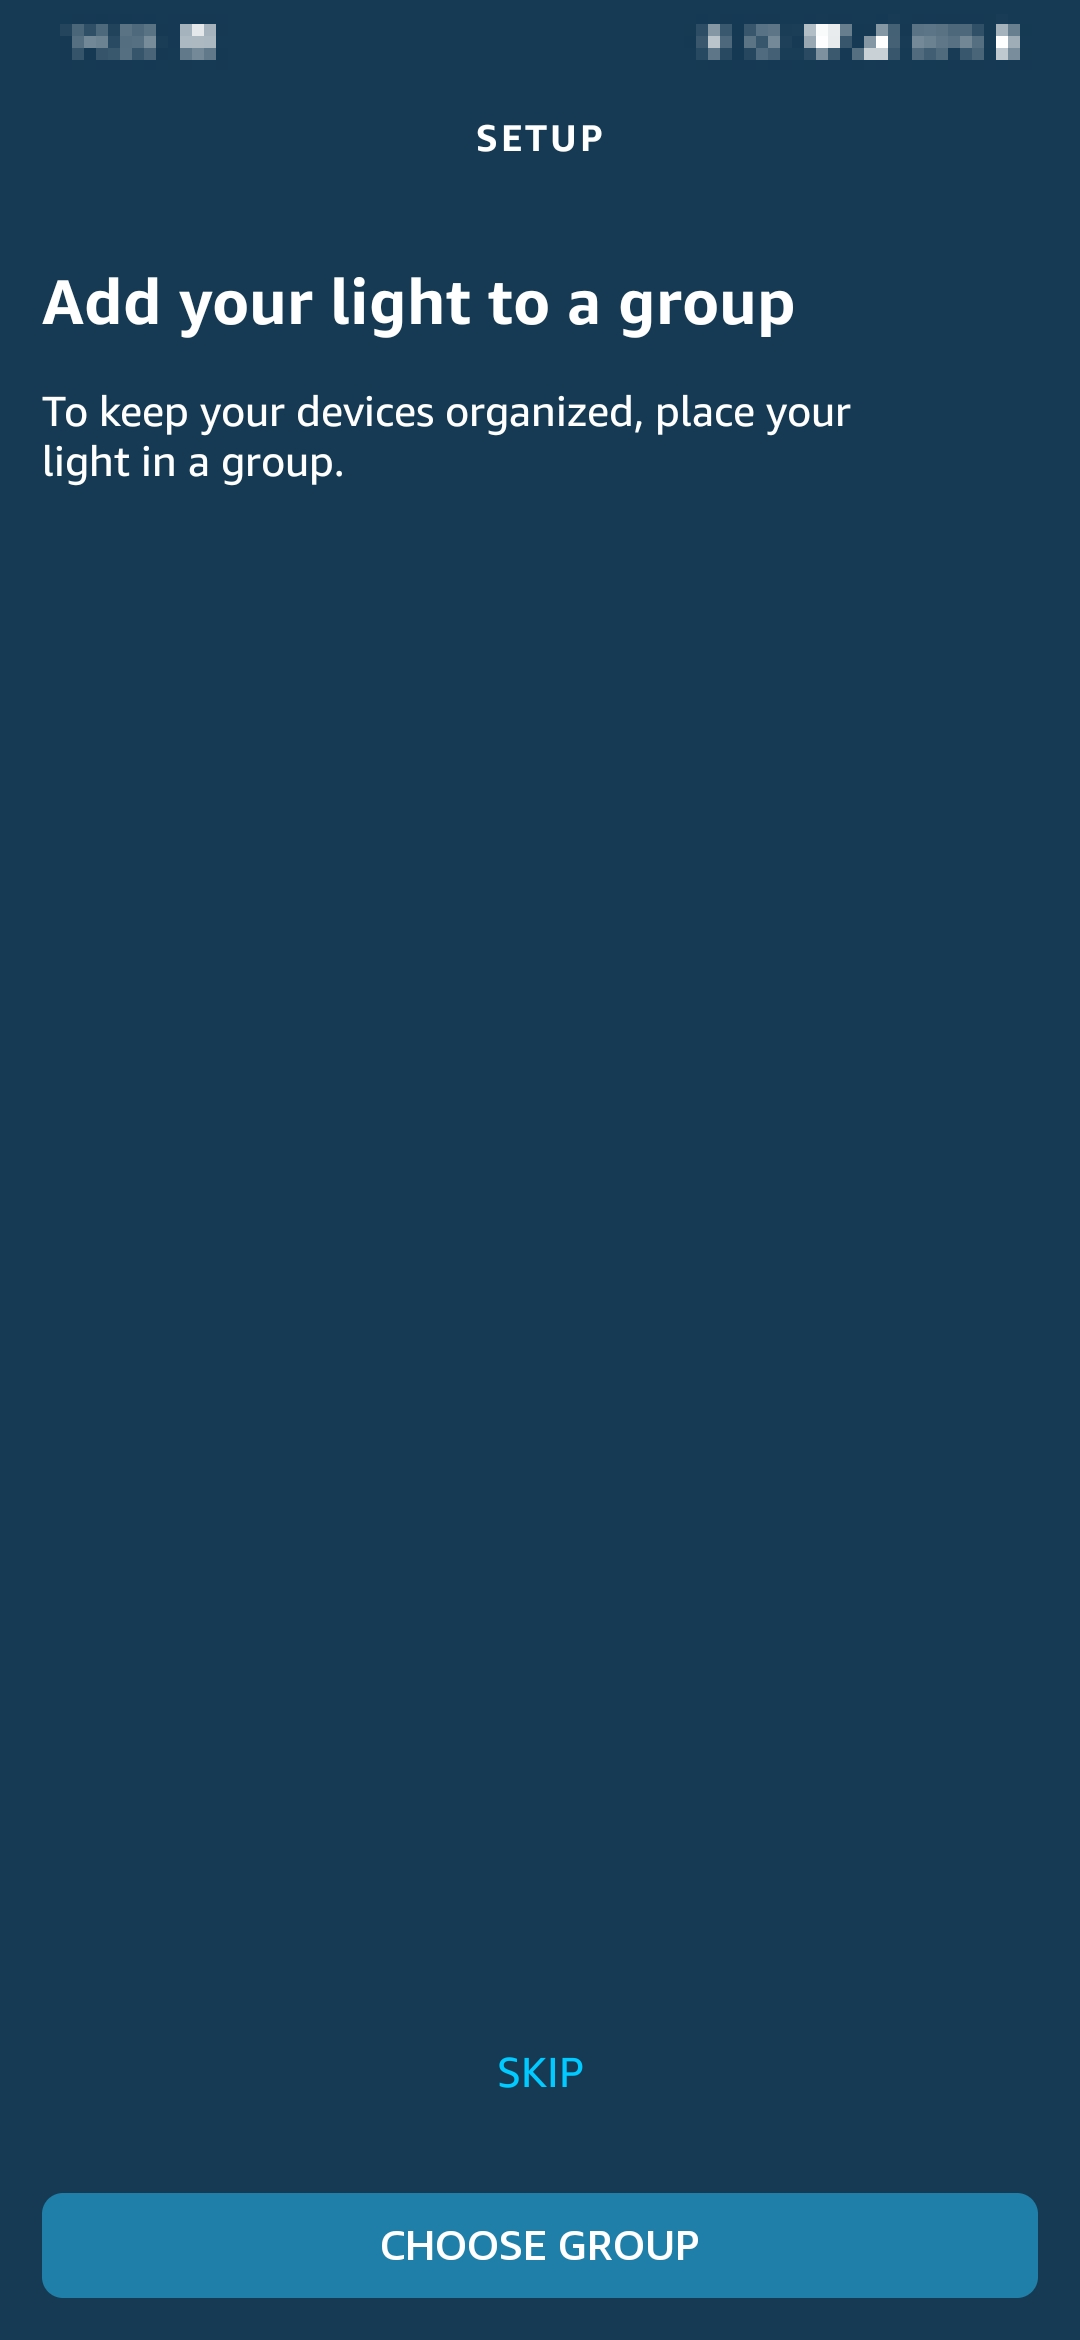
2/5: You can group devices (e.g., living room) for group control
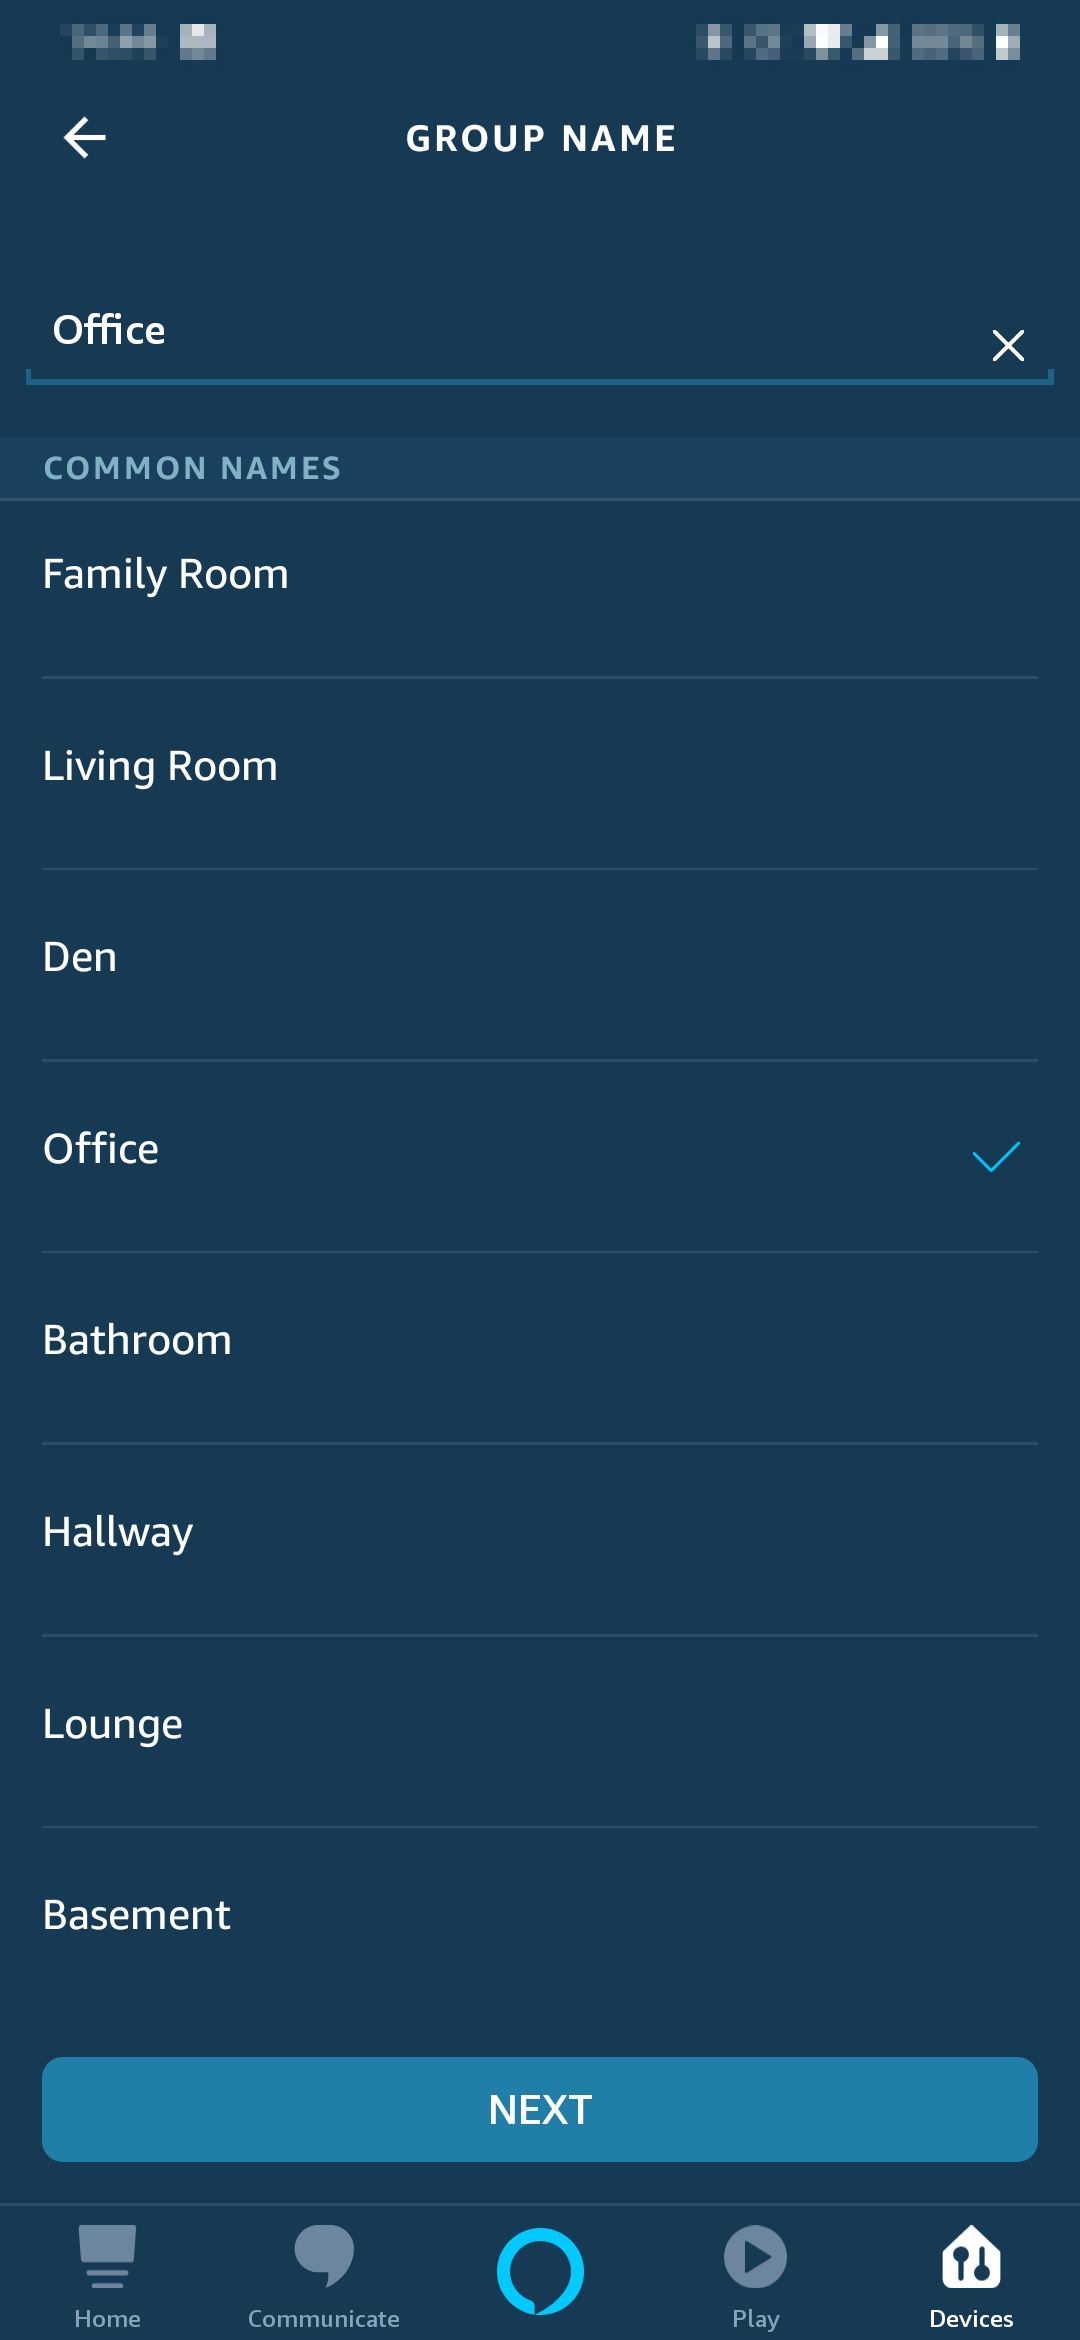
3/5: Select your desired group and click "Next"
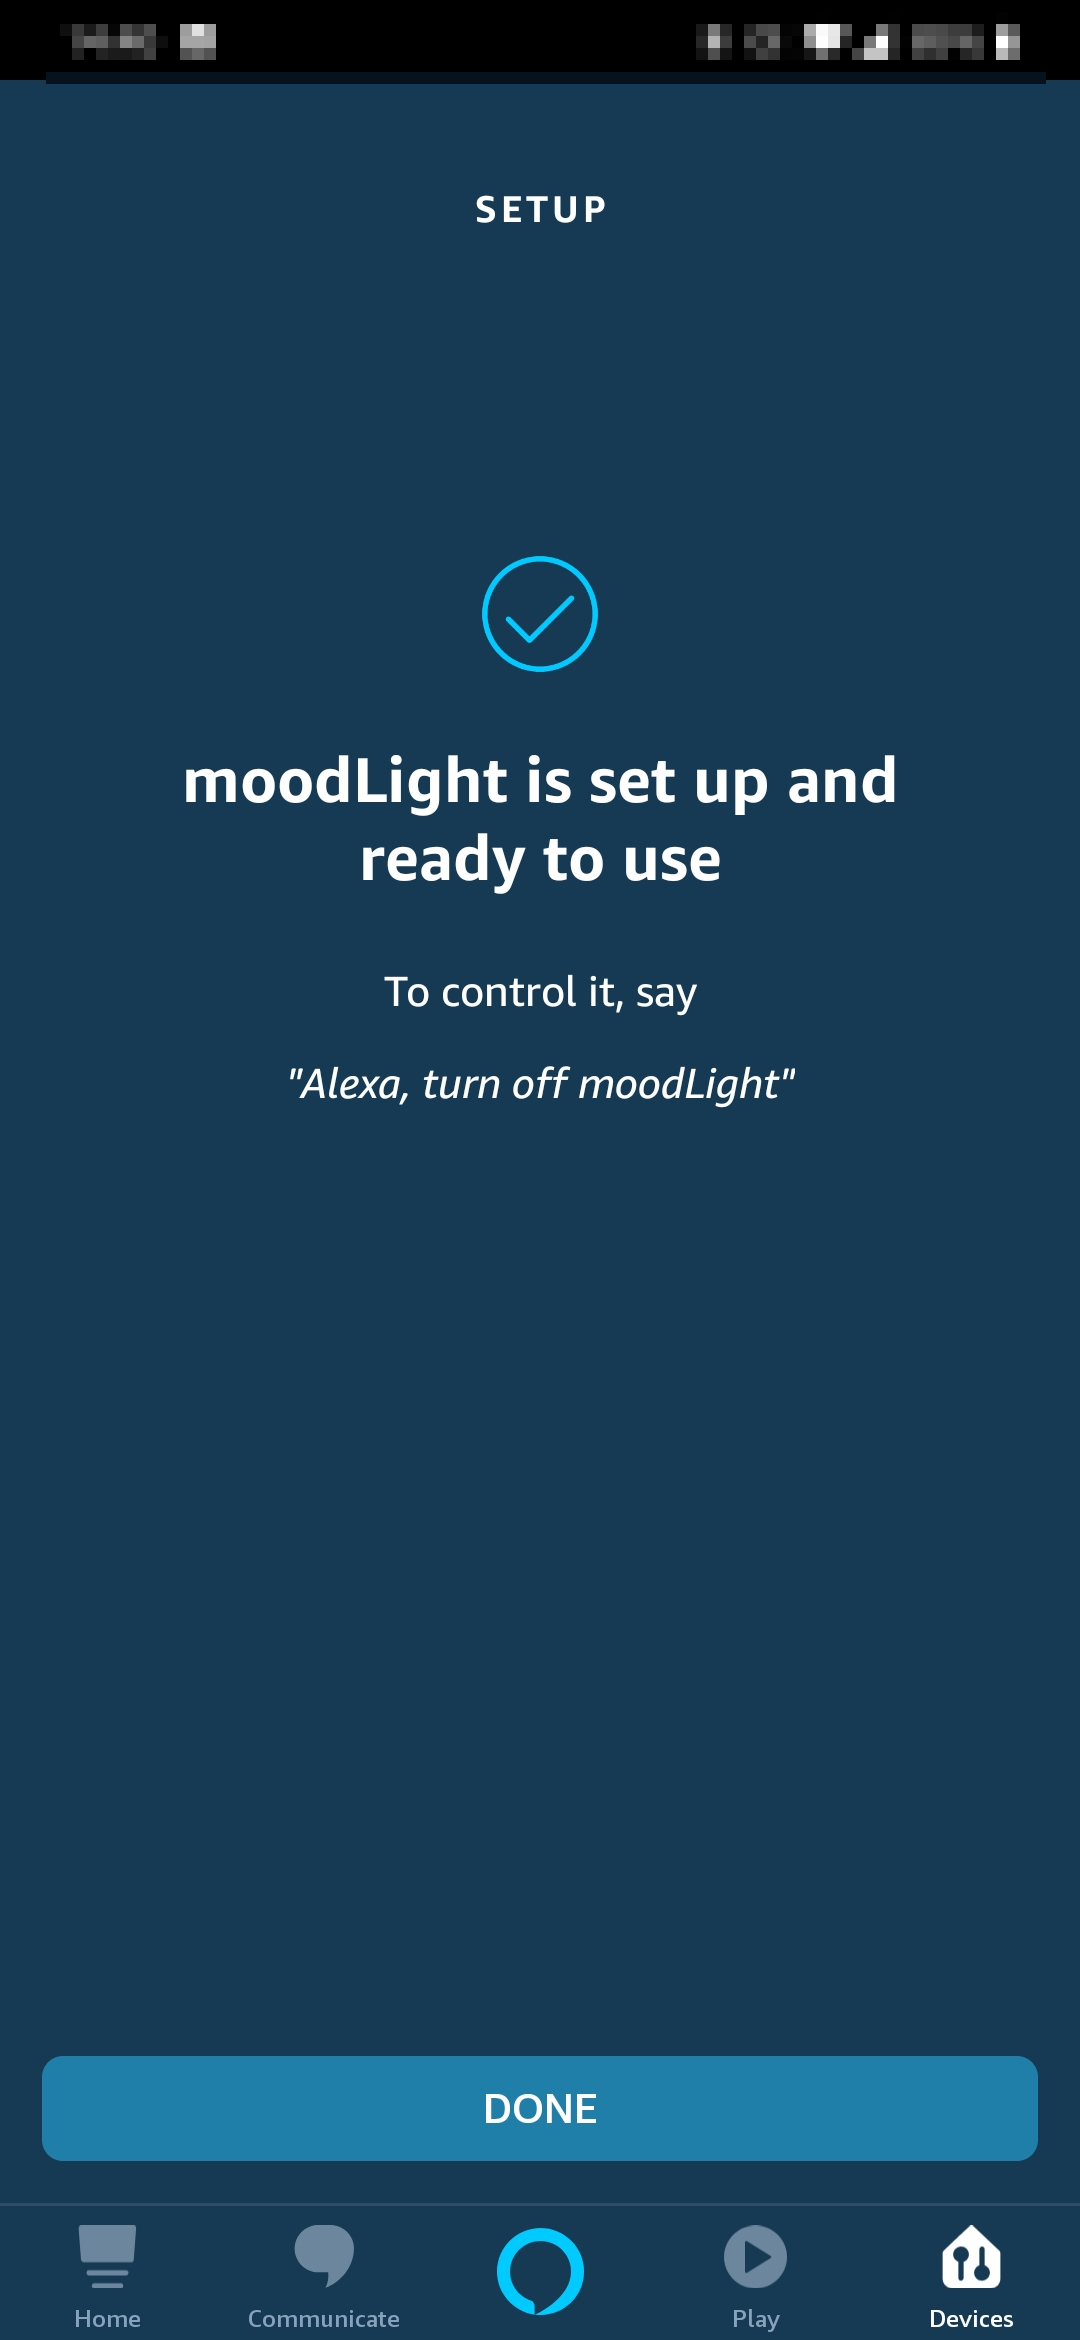
4/5: Setup complete!
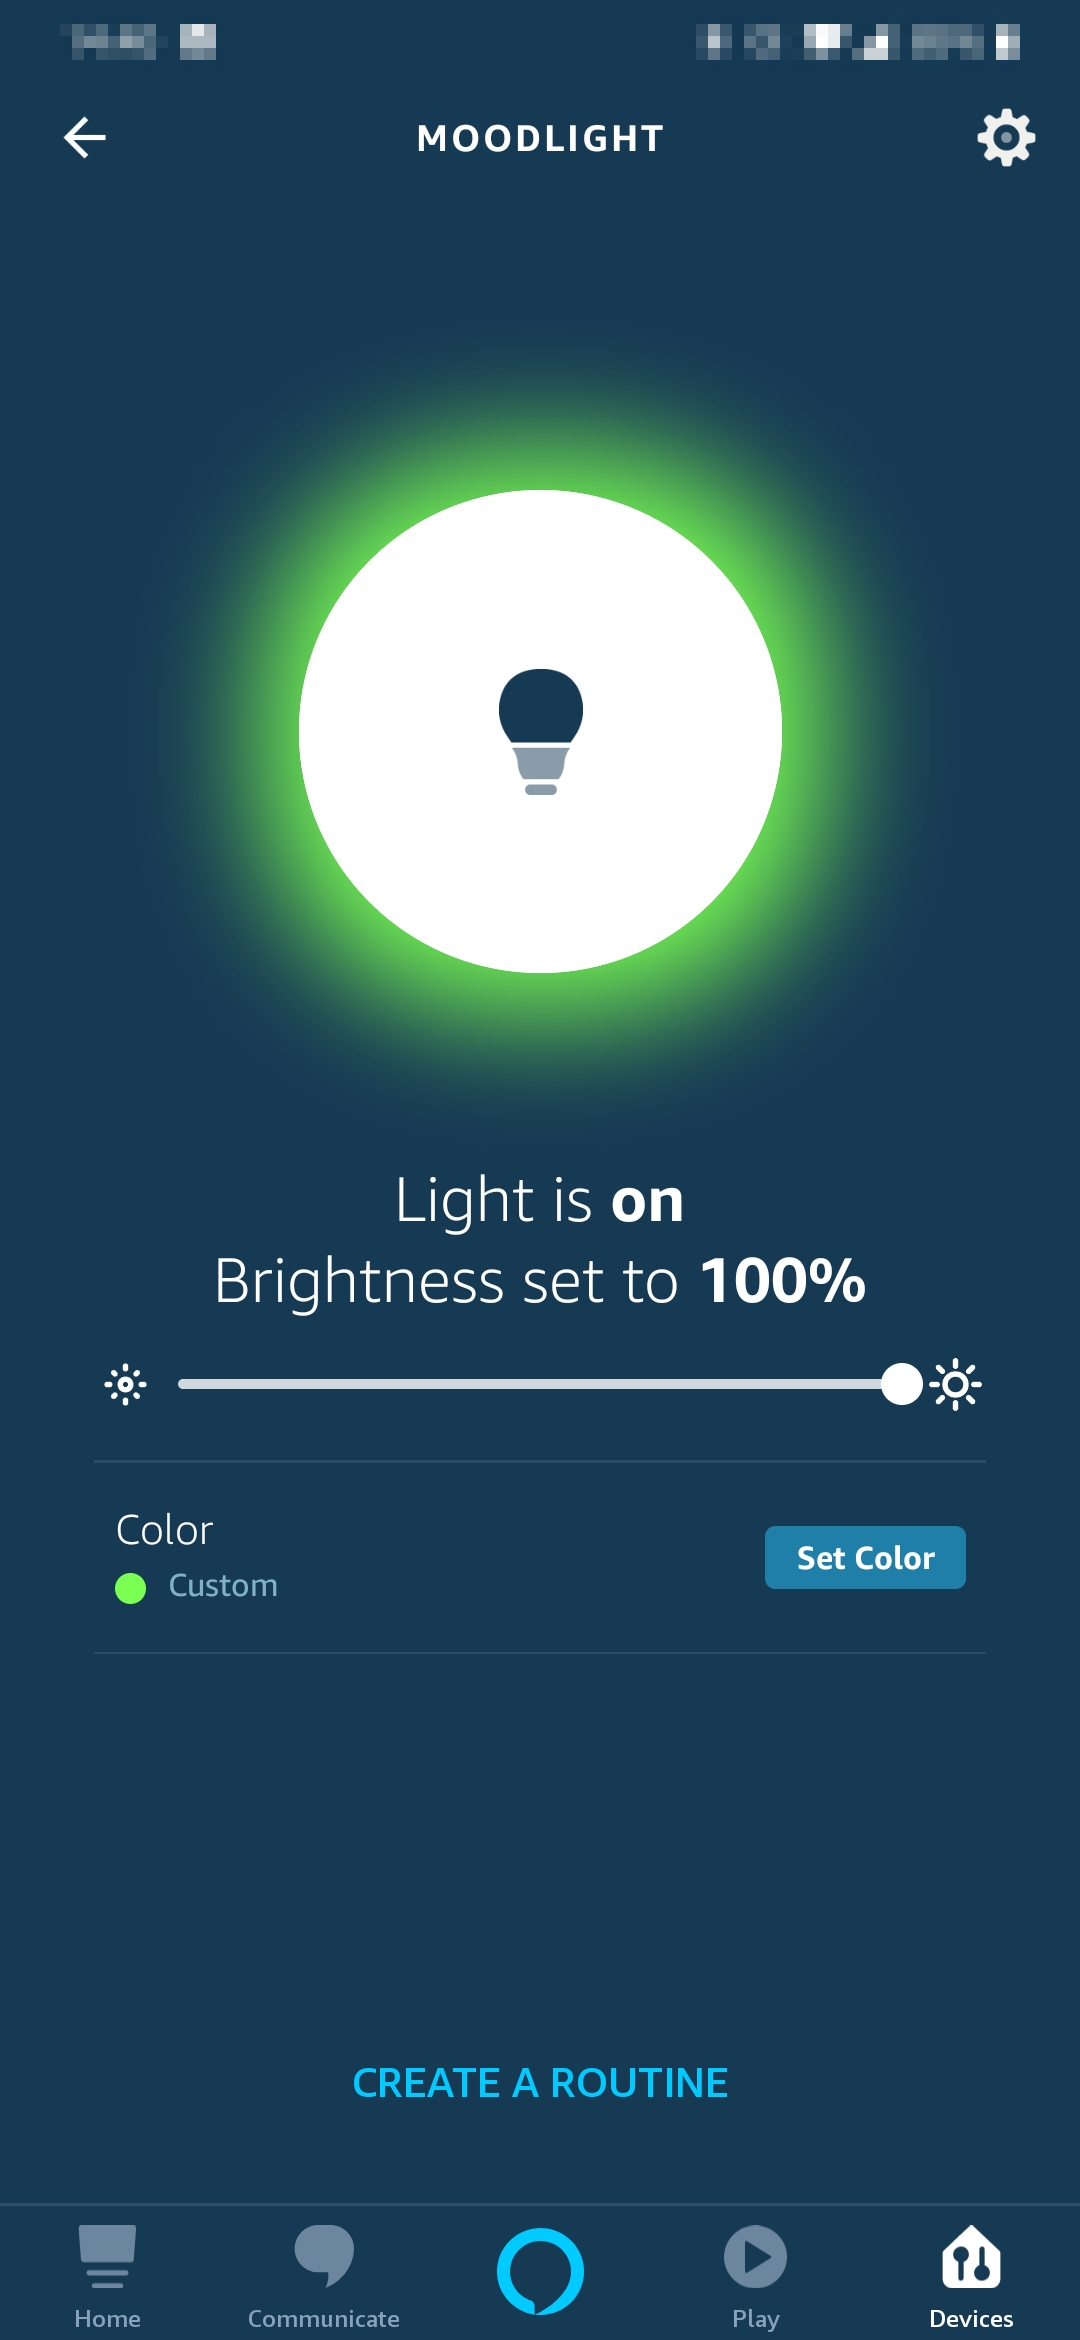
5/5: You can now control colors directly from your smartphone screen
Tip: The device name in the Alexa app will match the Property name you set in the Arduino IoT Cloud. If you can't find it, double-check that you selected the variable type in the "Smart Home" section.
Conclusion: Try Commanding with Your Voice!
Now everything is ready. Try starting commands with these phrases:
- ”Alexa, turn on the light in the office” (Turn on the light)
- ”Alexa, change the colour of the mood light to red” (Change to red)
- ”Alexa, set the brightness of the mood light to 50%” (Adjust brightness to 50%)
The combination of powerful hardware like the MKR RGB Shield and a flexible platform like Arduino IoT Cloud opens the door to new possibilities in innovation. We hope you enjoy creating your own Mood Light!
If you have any questions or have successfully built this project, don't forget to comment and share your experience with us below!
Happy coding! The Arduino Team