I made a smartphone ask some questions (like 6 + 4) for somebody to answer in order to get a gift, but the gift is being sprayed with water! This project combines Android app interaction with physical actuation to create the ultimate April Fool's prize box.
The Art of the Prank: High-Tech Deception
The April Fool Project is a masterclass in psychological and electronic trickery. It disguises itself as a friendly "Quiz Box" that promises a prize to anyone who can answer a few simple math questions (like "6 + 4"). However, once the user submits the correct answer via the integrated Android smartphone, the "prize" is a sudden, hilarious spray of water from a concealed nozzle.
Logic Flow: The 1Sheeld Advantage
The project utilizes the 1Sheeld, which turns a standard smartphone into a versatile sensor and interface suite for the Arduino:
- Voice or Text Input: The user interacts with the app on the smartphone. The app handles the GUI and the "Questions," keeping the victim's attention focused on the screen.
- The Trigger: When the "Submit" signal is sent from the phone, the Arduino processes the logic. If the answer is correct (the bait), it triggers the Motor Shield.
- Active Pumping: Instead of just a buzzer or a light, the Motor Shield activates a Brushless DC Water Pump submerged in a hidden water reservoir. A fine mist or stream is instantly projected through a tiny hole in the front of the laser-cut wooden box.
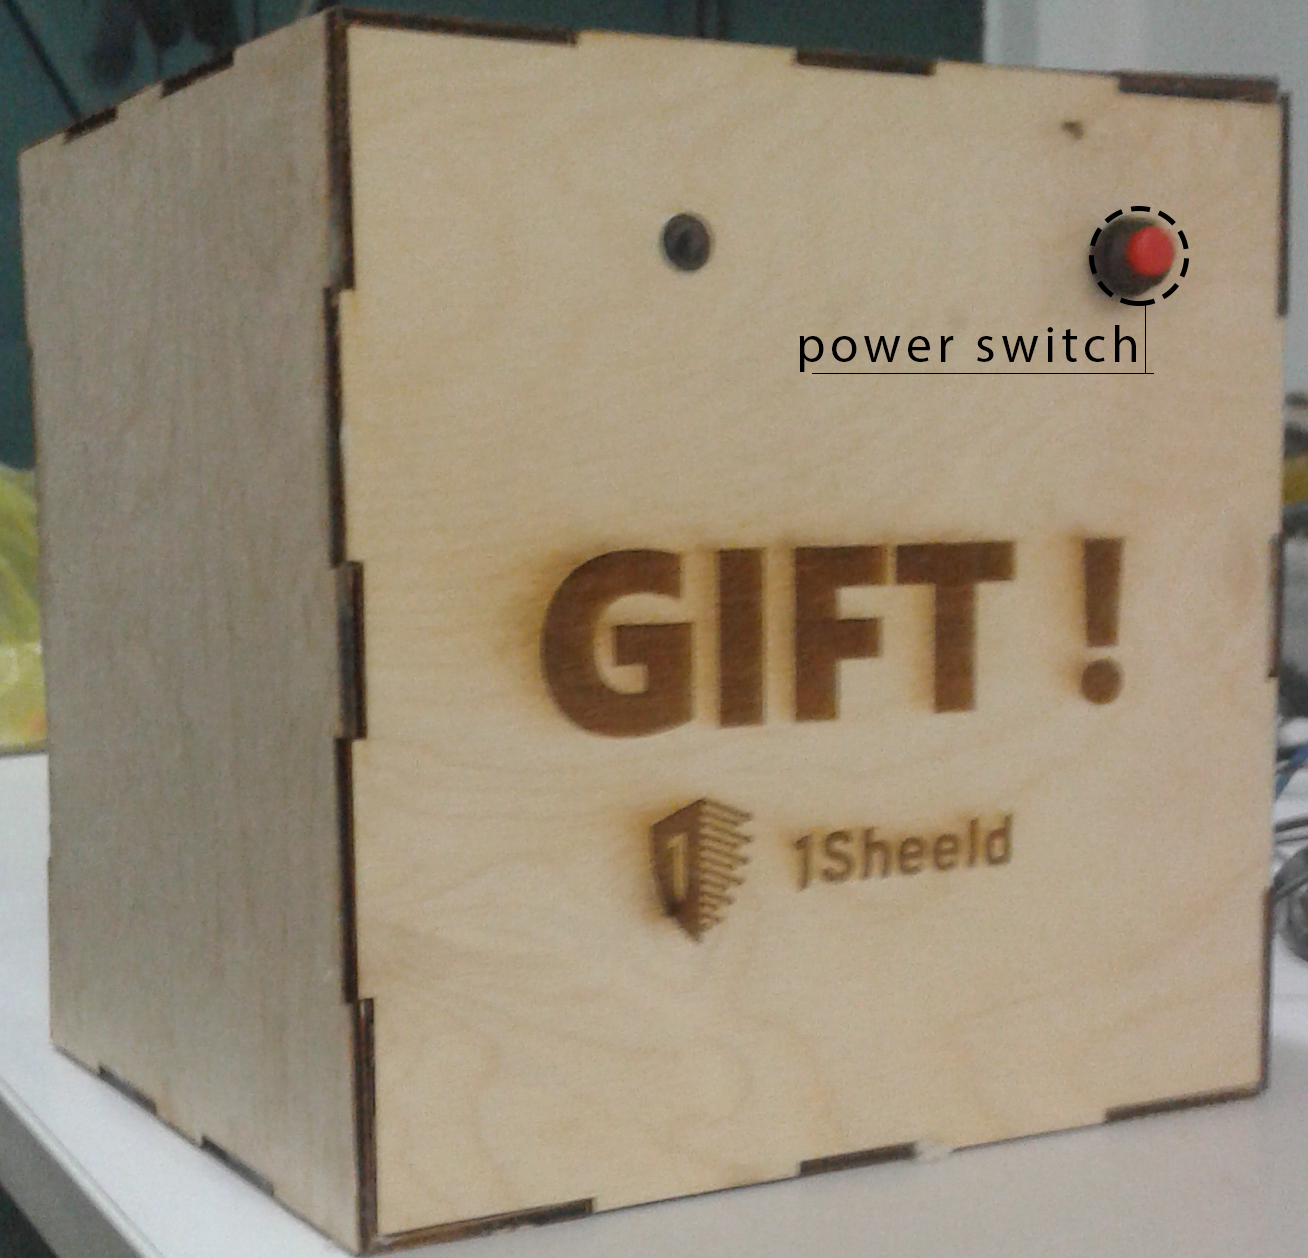
STEP 1: Mechanical Design - The Stealth Chassis
A successful prank requires seamless integration. Start by cutting the wood with a laser cutter machine and collect the parts of the box:
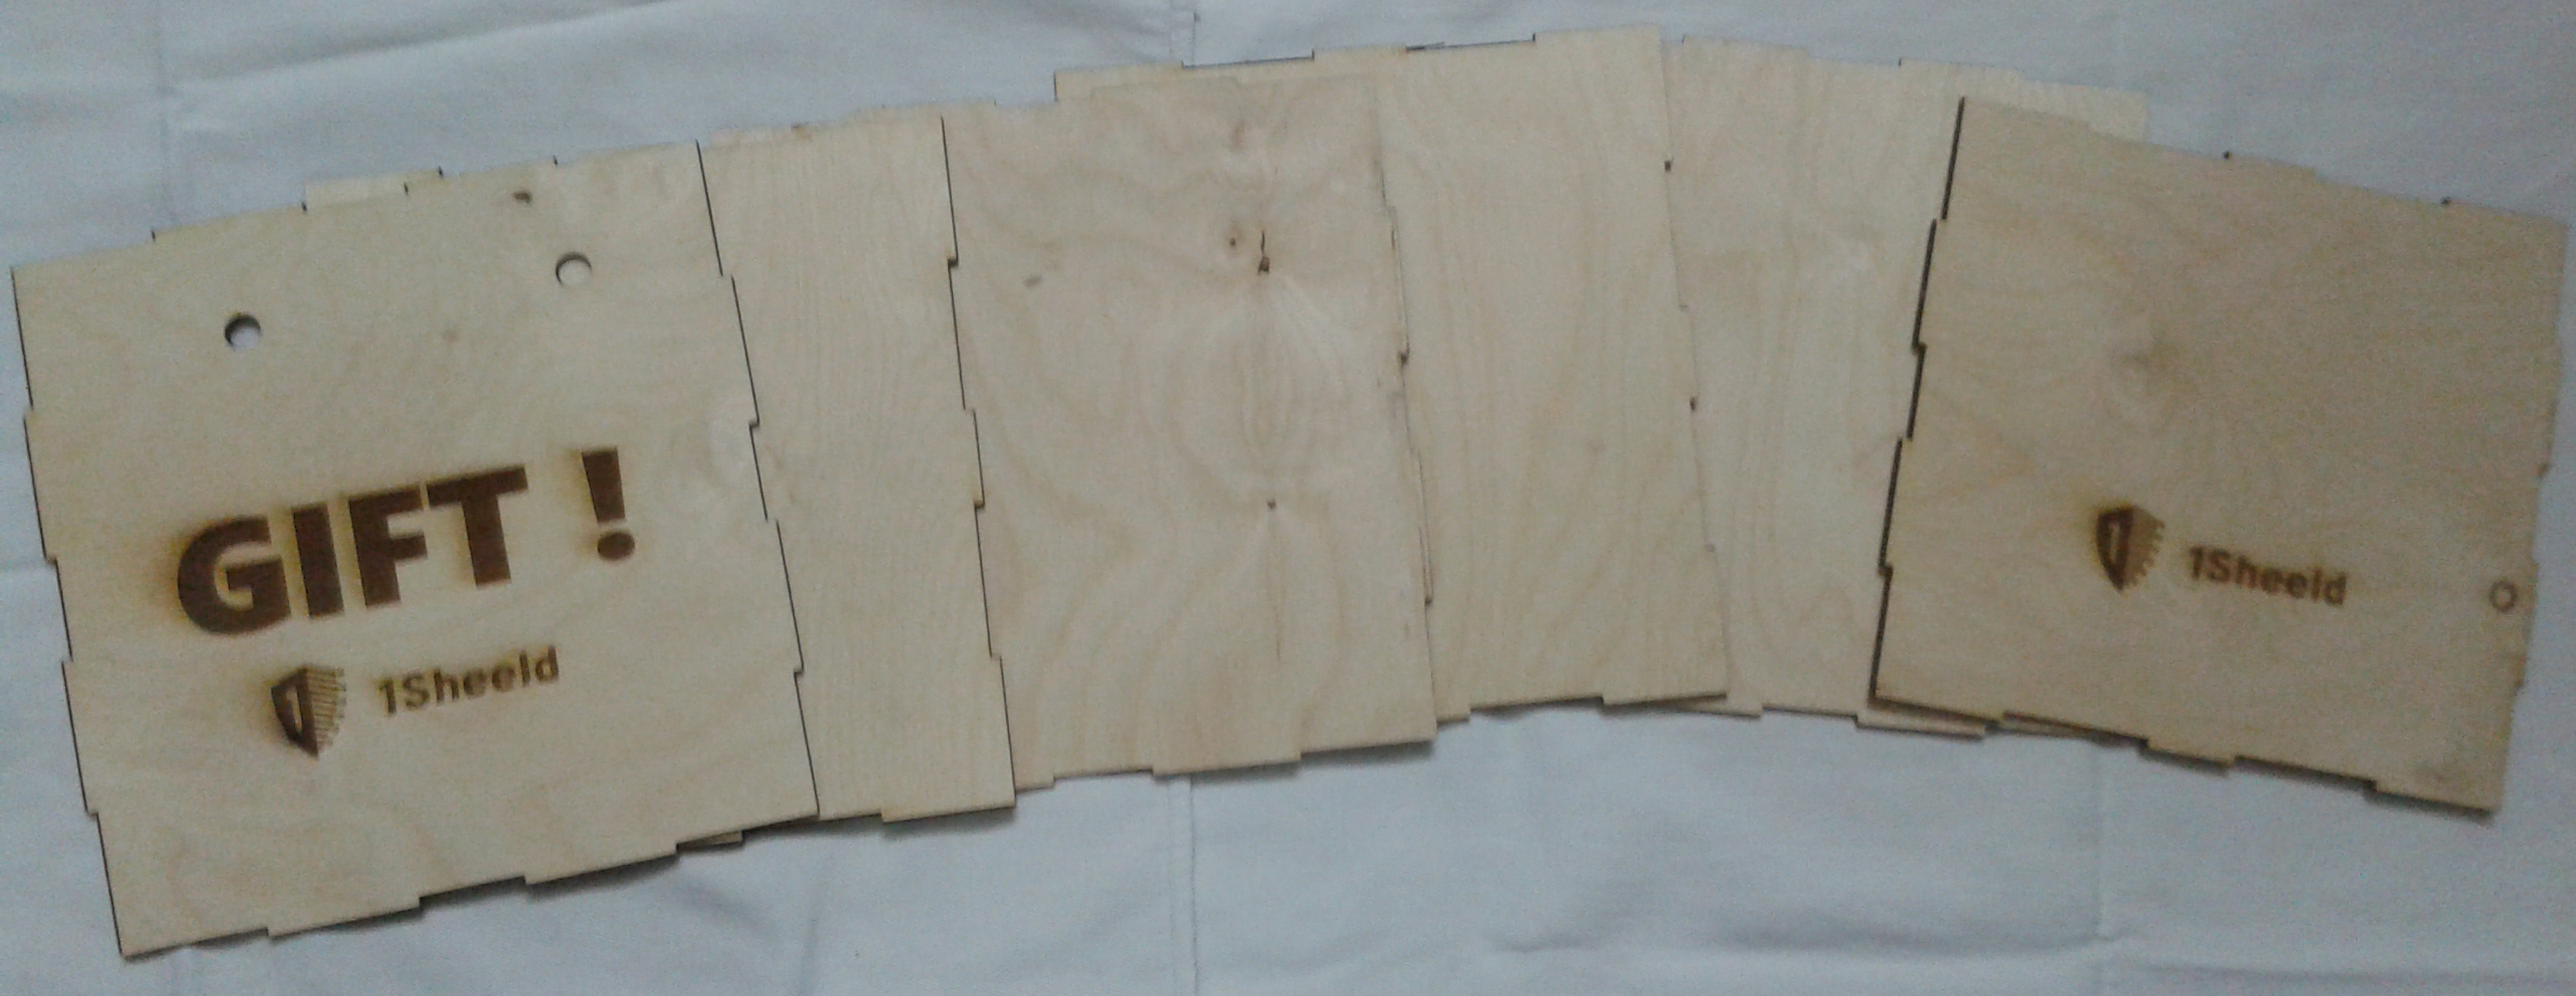
The outer shell is constructed from 3mm plywood, designed with professional finger-joints to hide the "rat's nest" of wires inside.
STEP 2: Add Your Trick
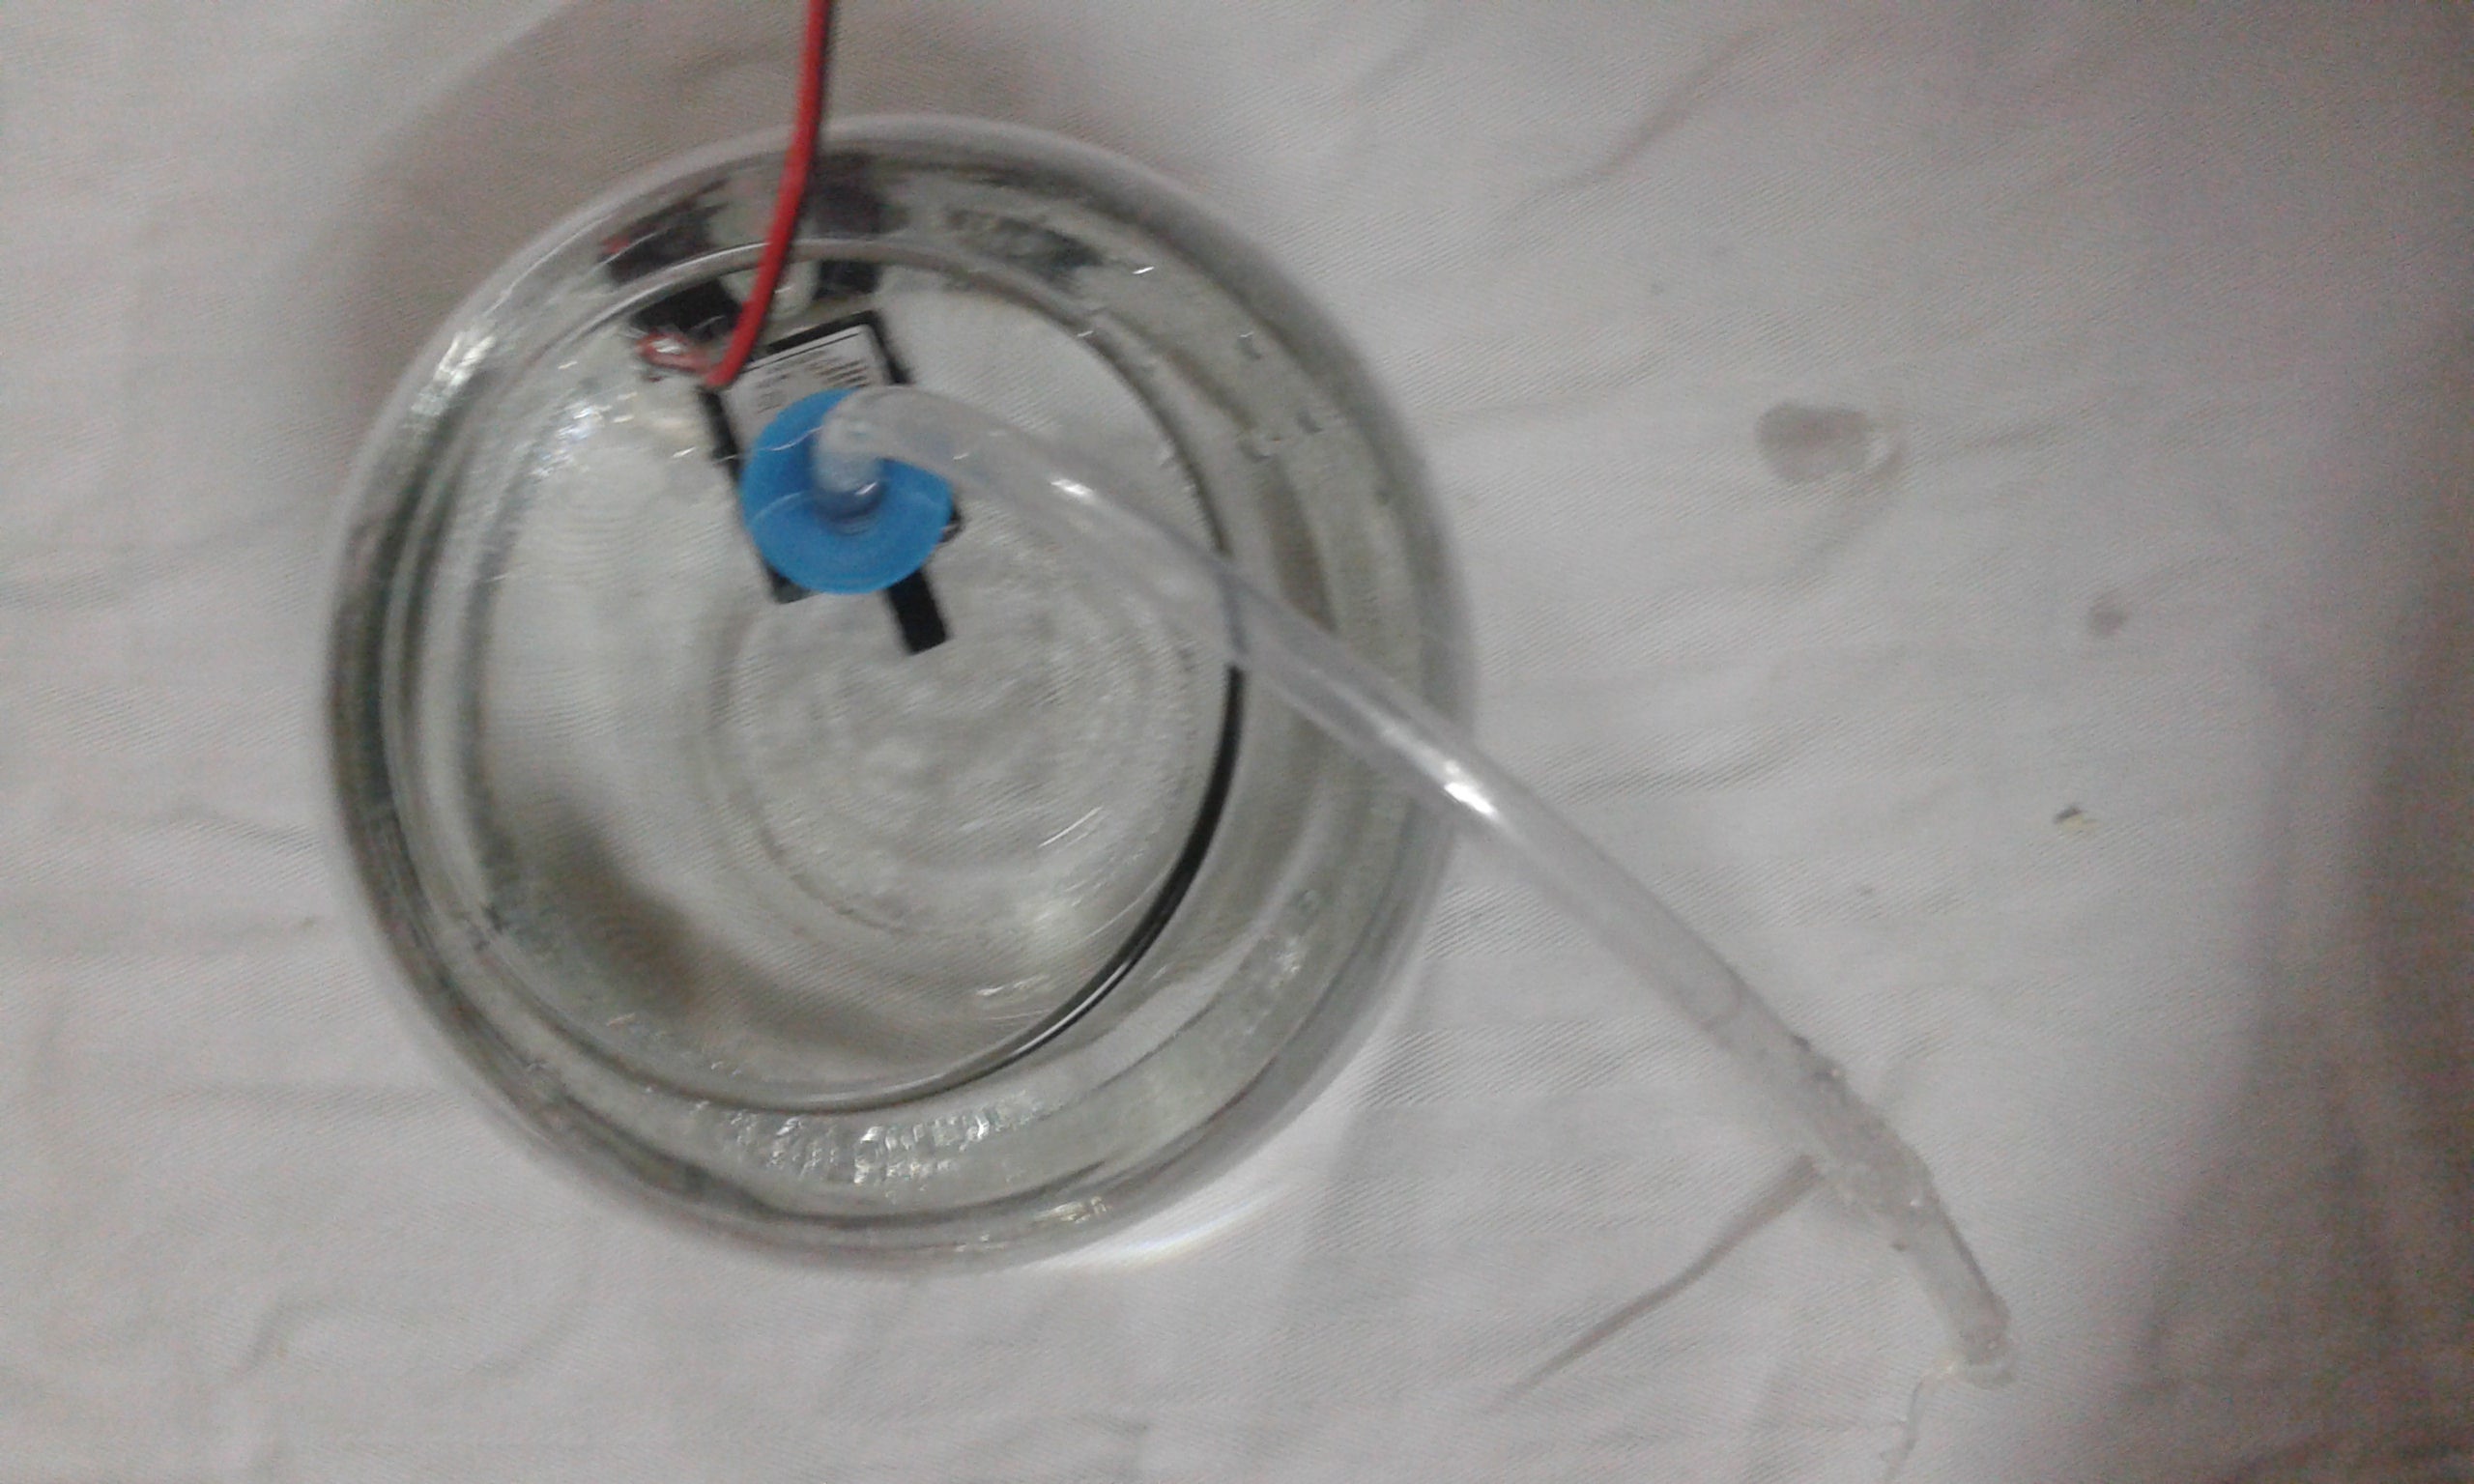
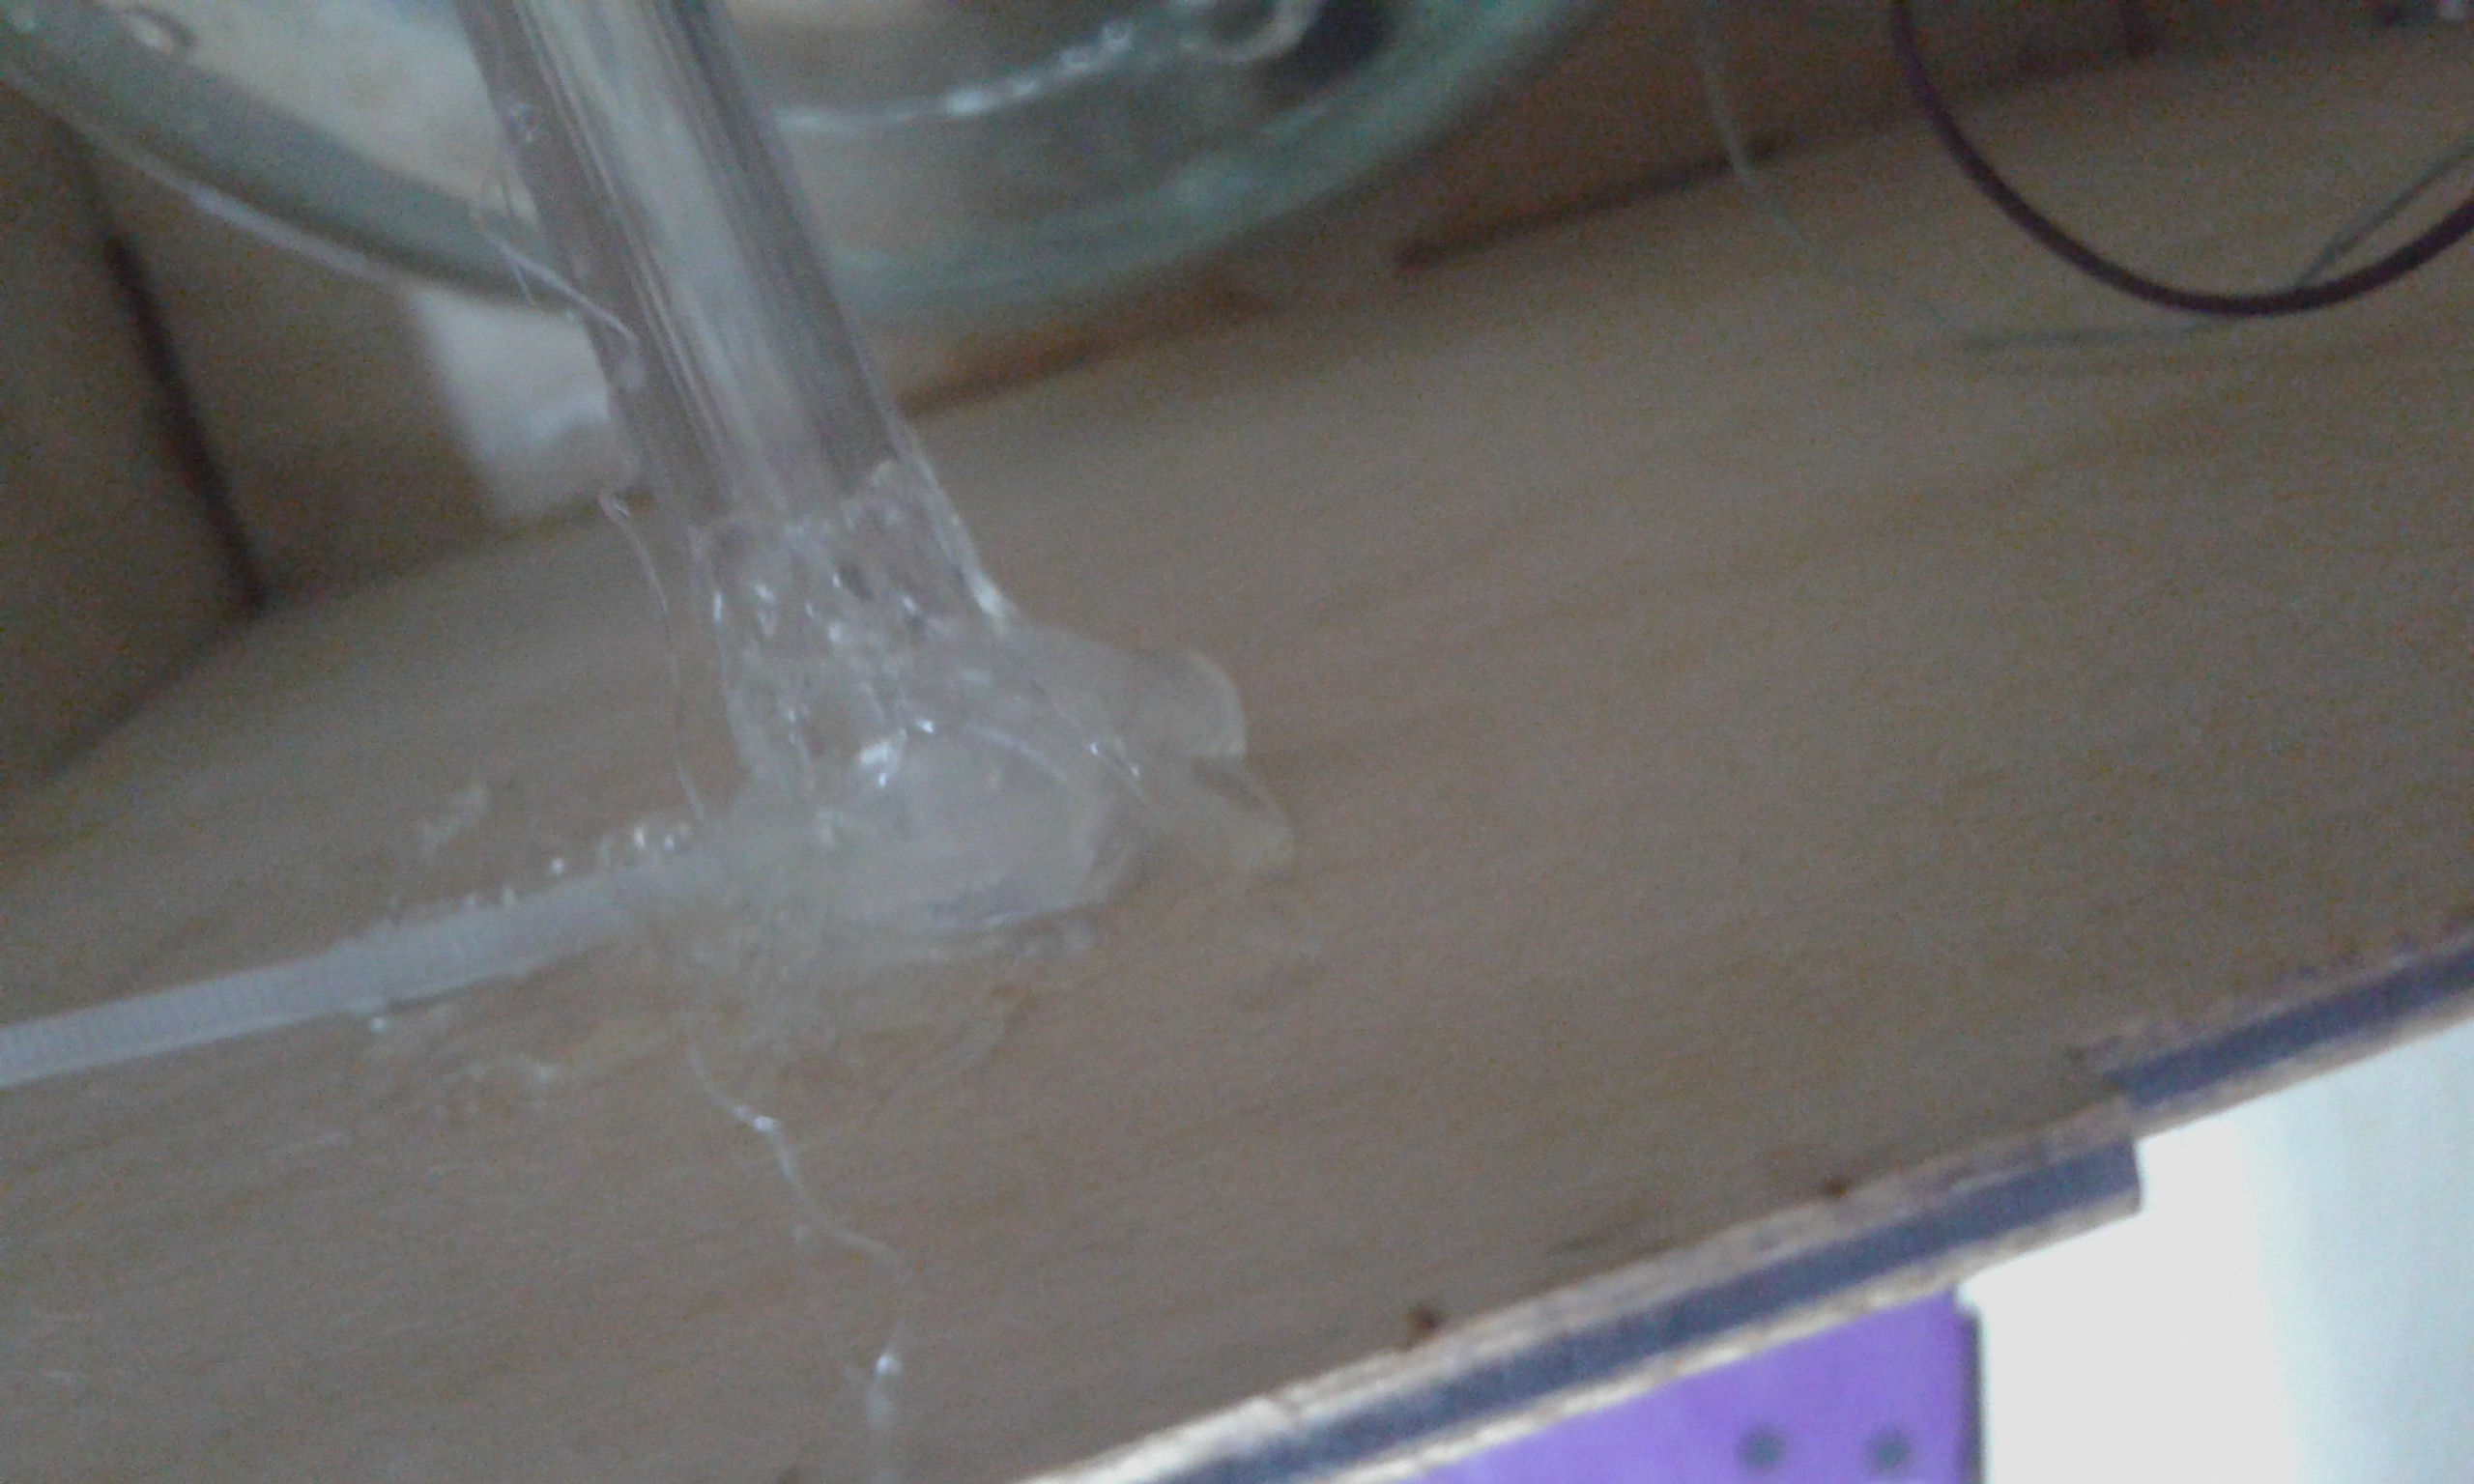
My trick is spraying water. Connect the output port of a brushless DC pump with a piece of hosepipe:
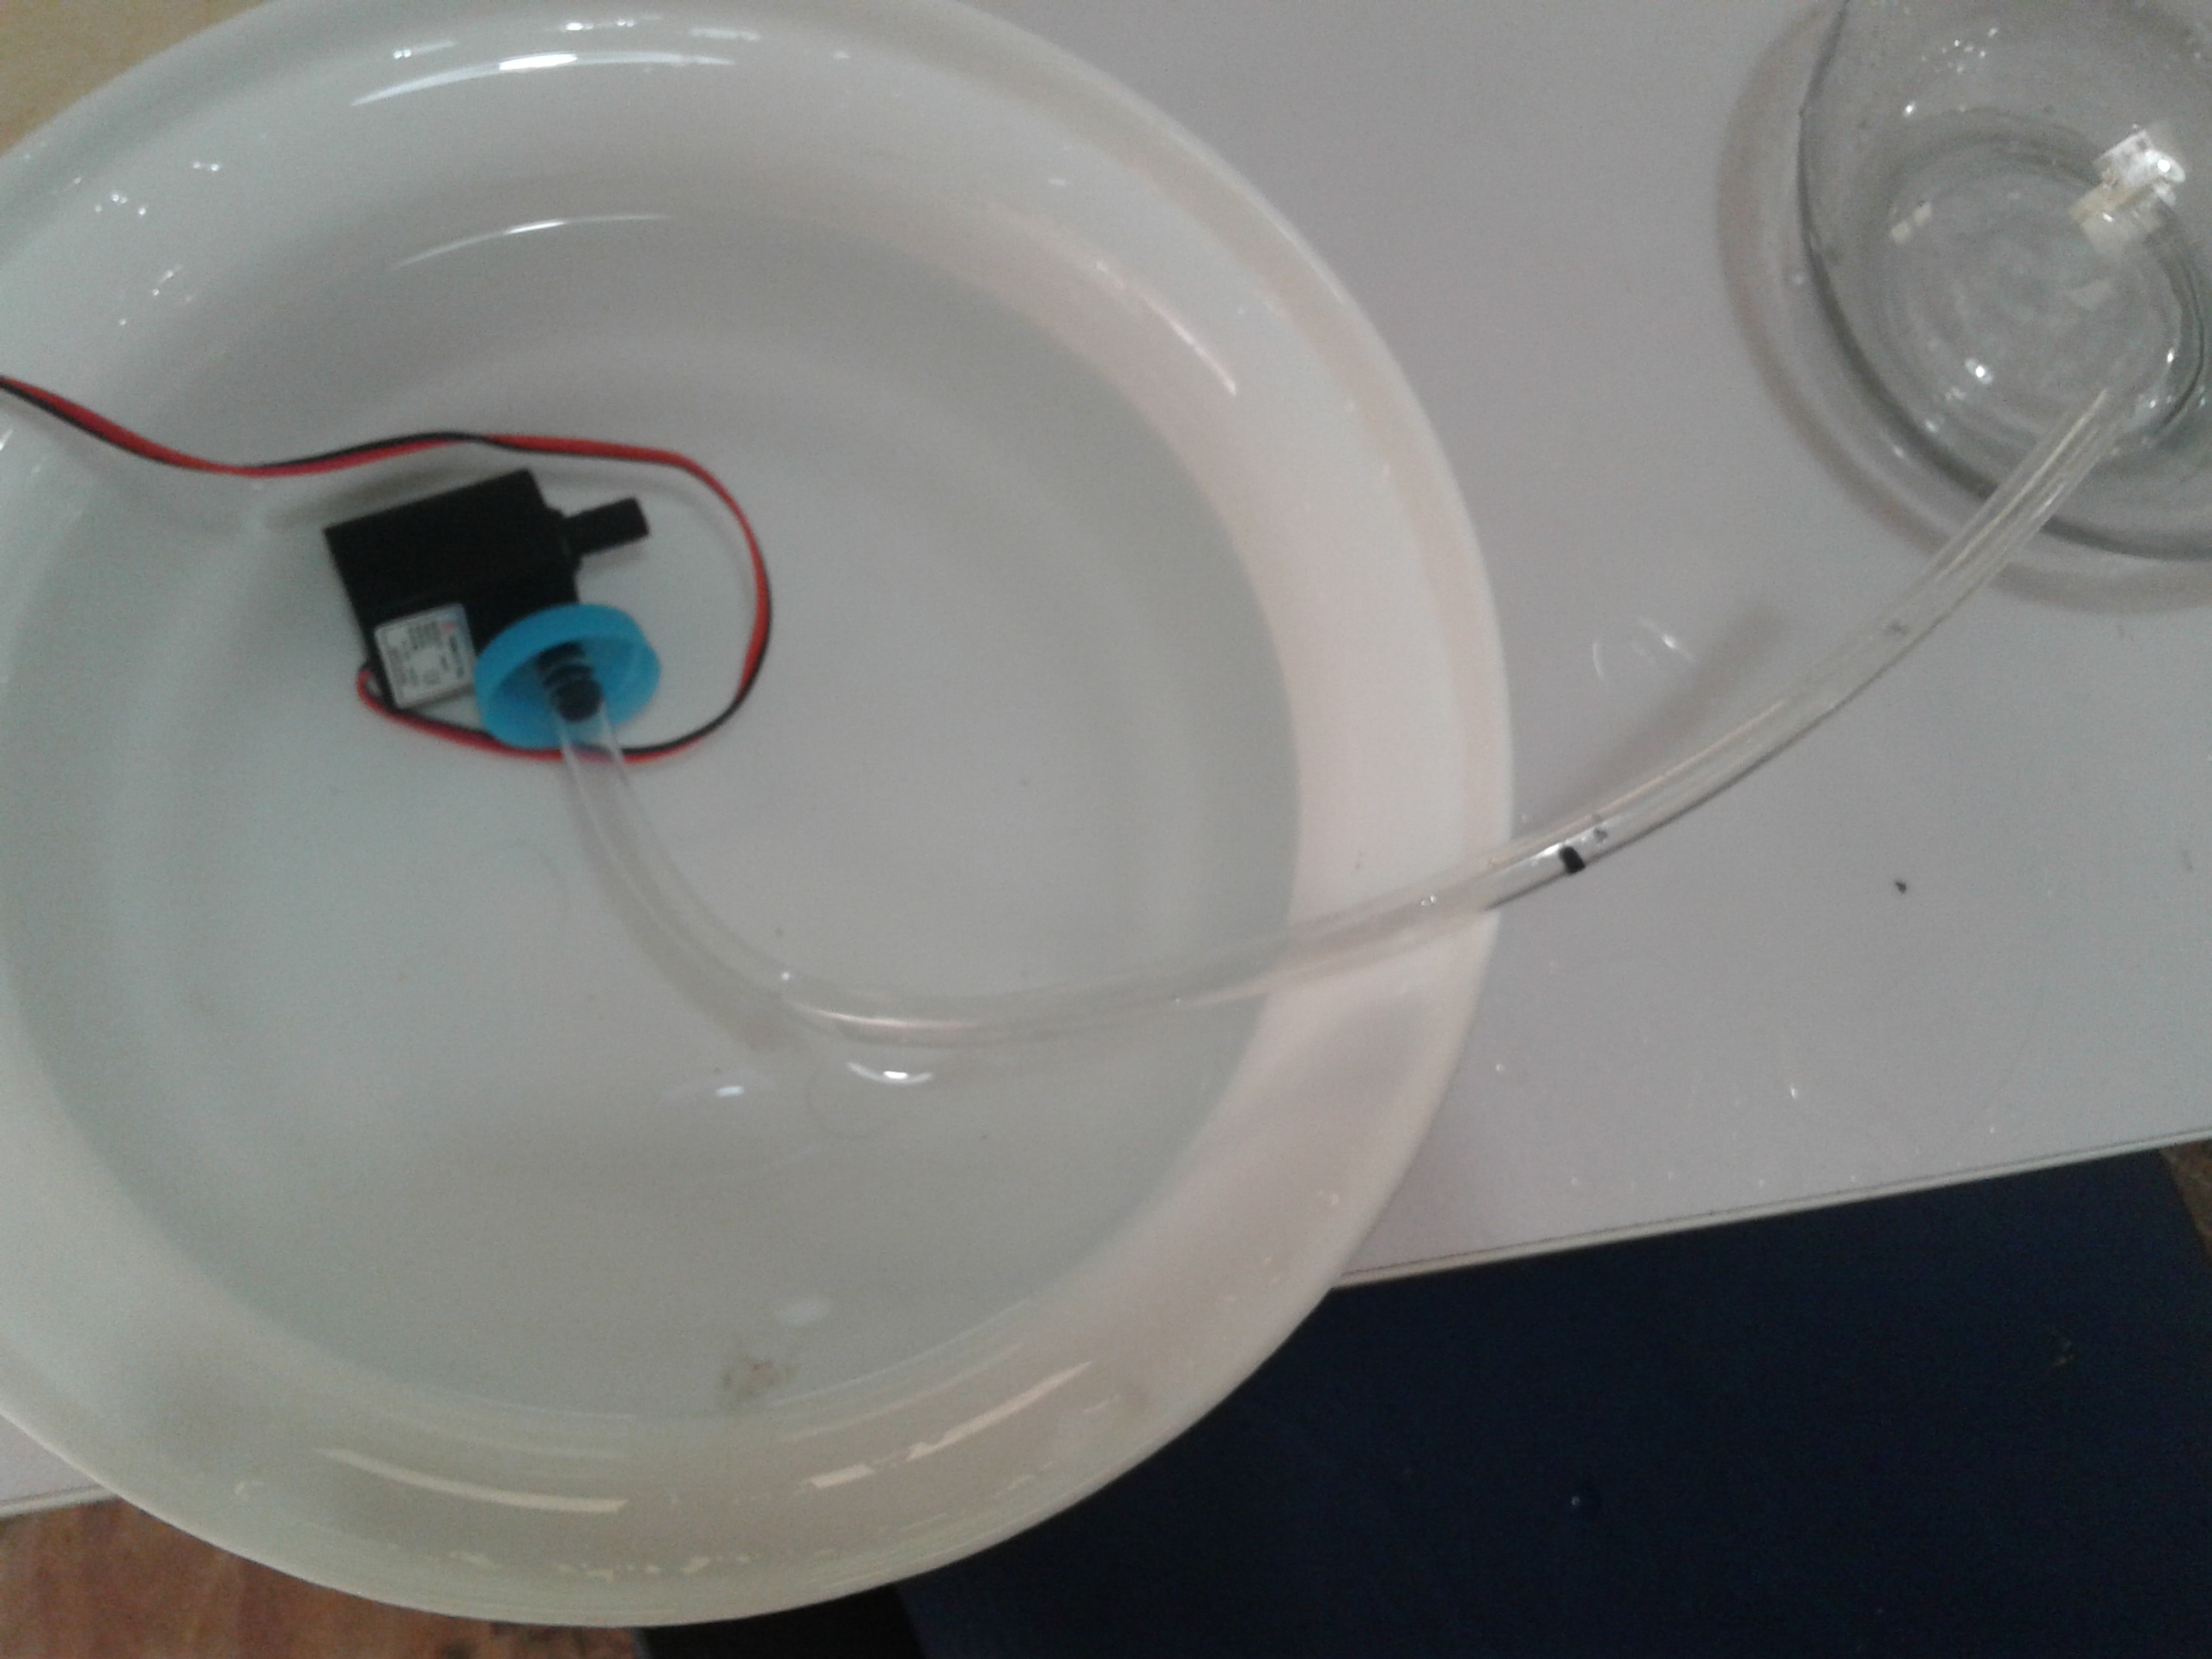
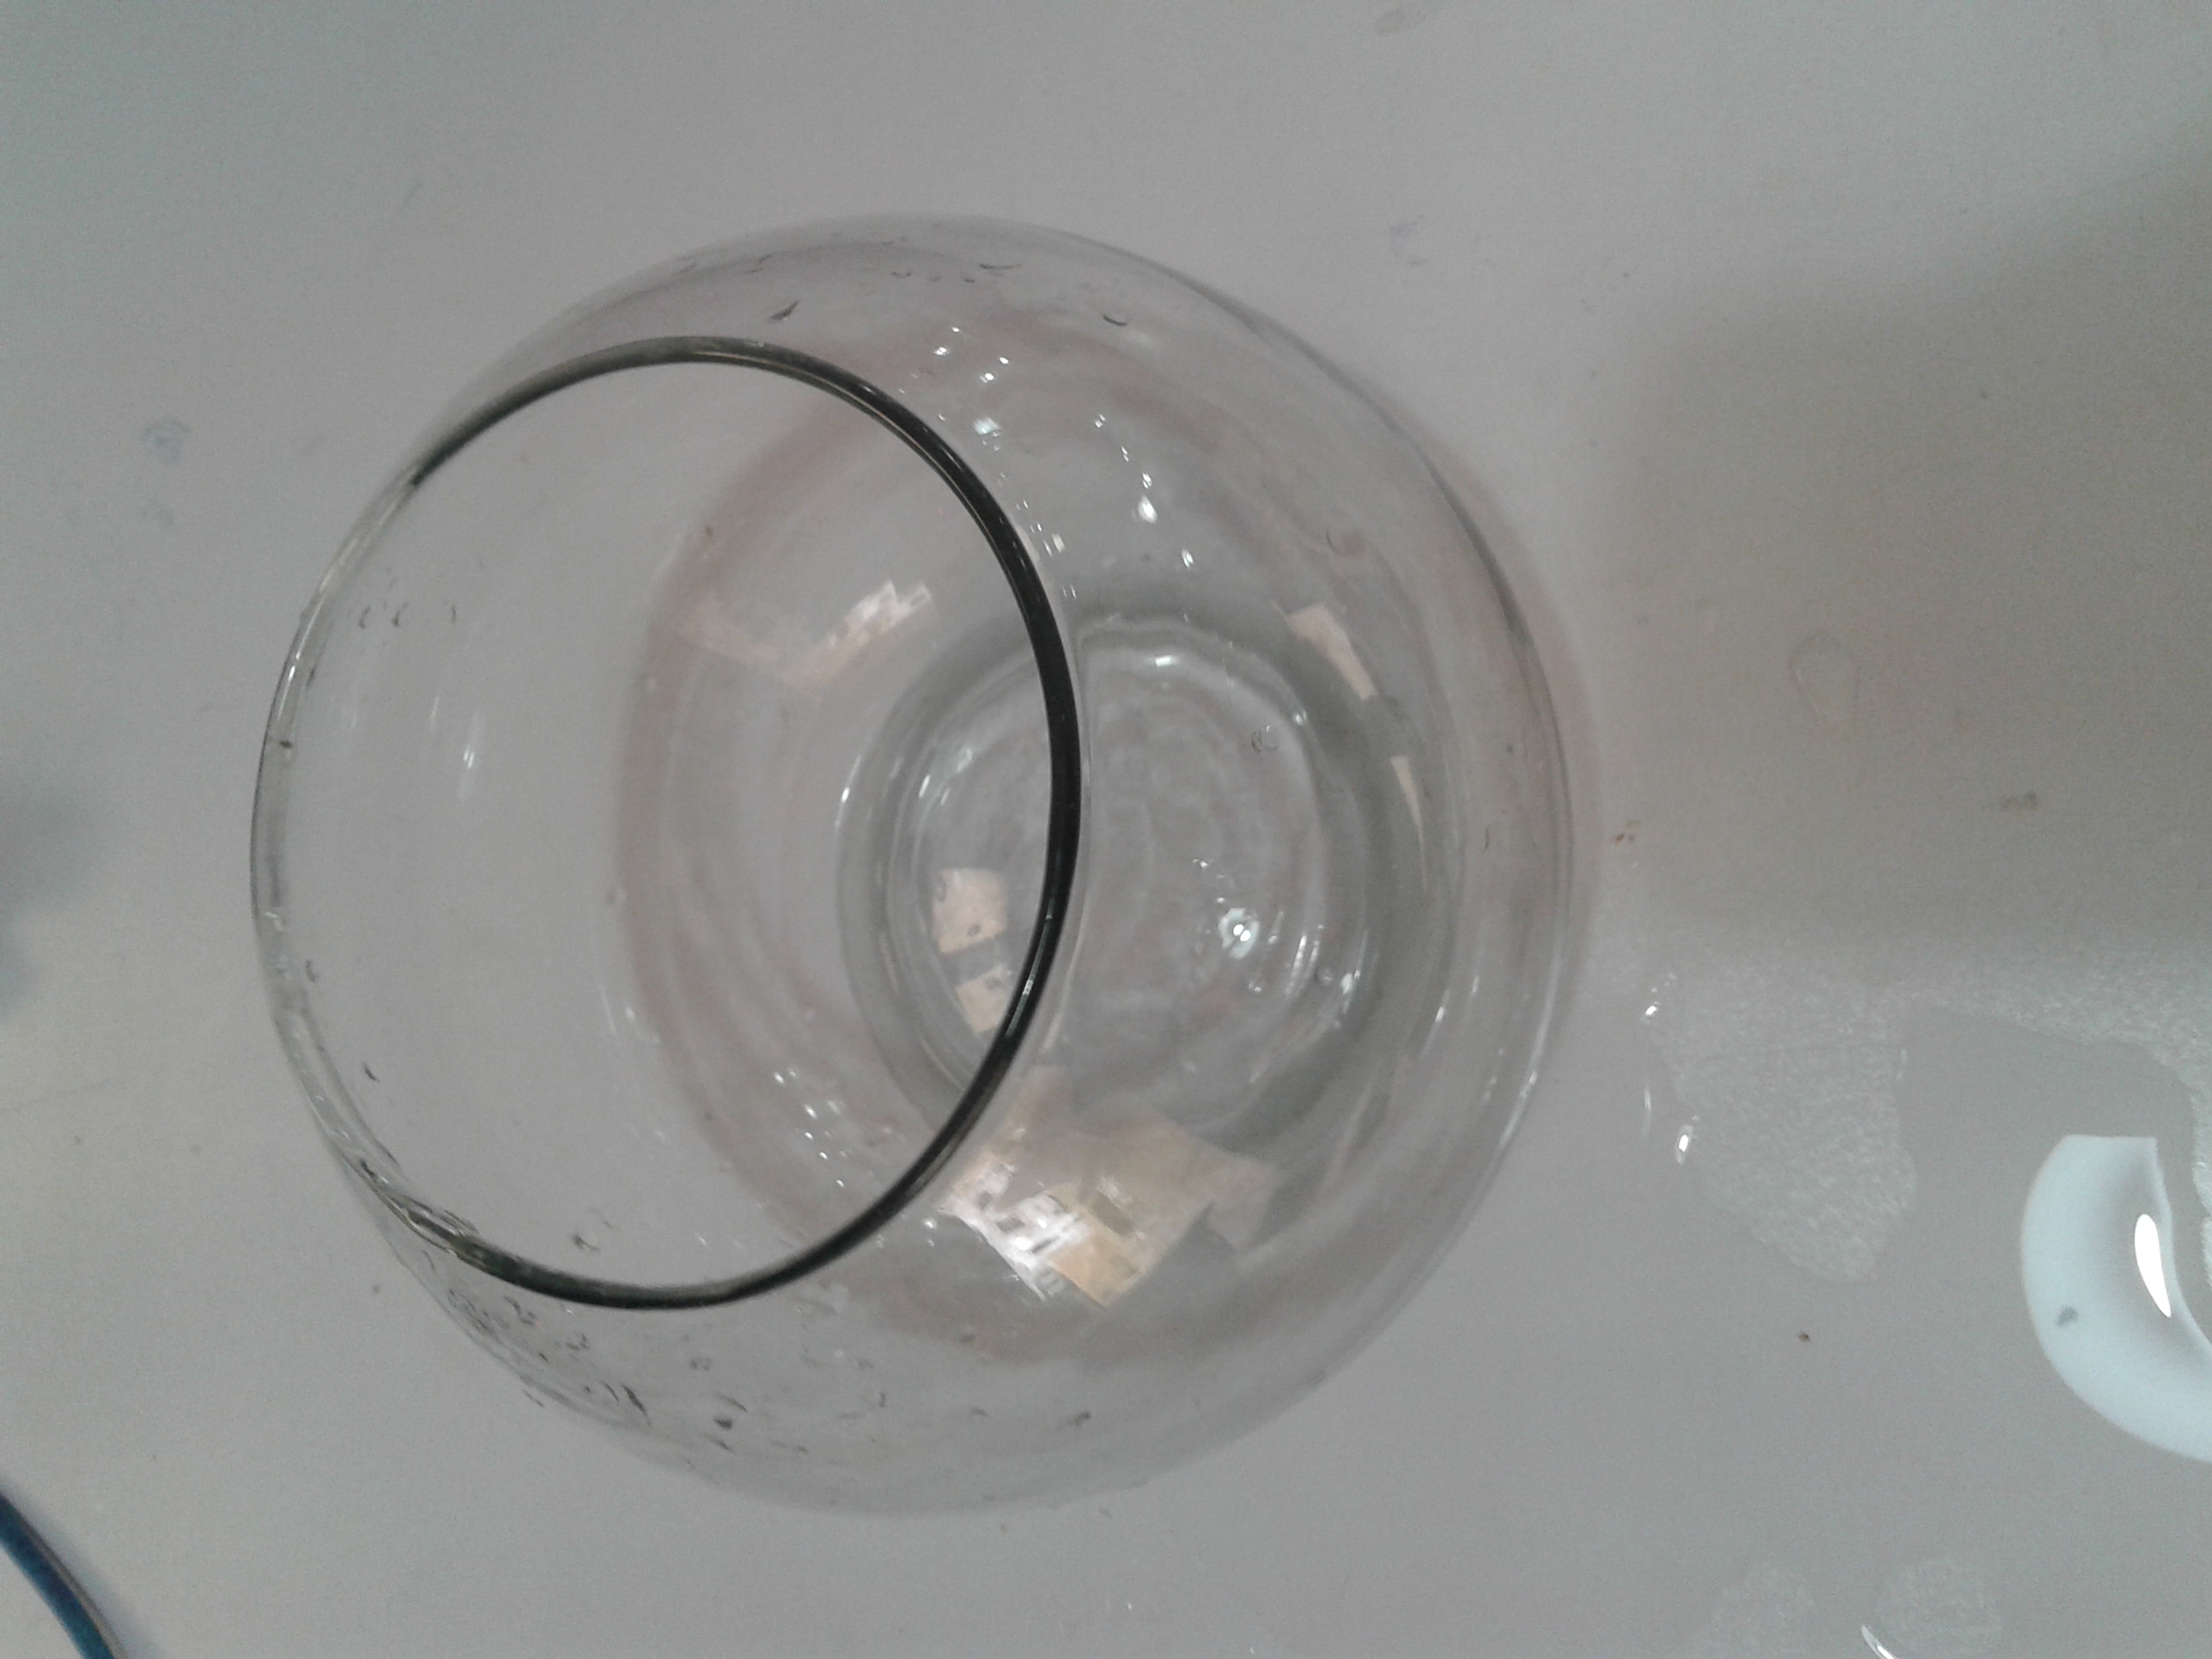
Then put the brushless DC pump inside a water glass:
You can add other tricks like this one. The project's architecture allows you to swap the pump for a high-intensity flash, a loud buzzer, or even a motorized "jumper" for different prank variations.
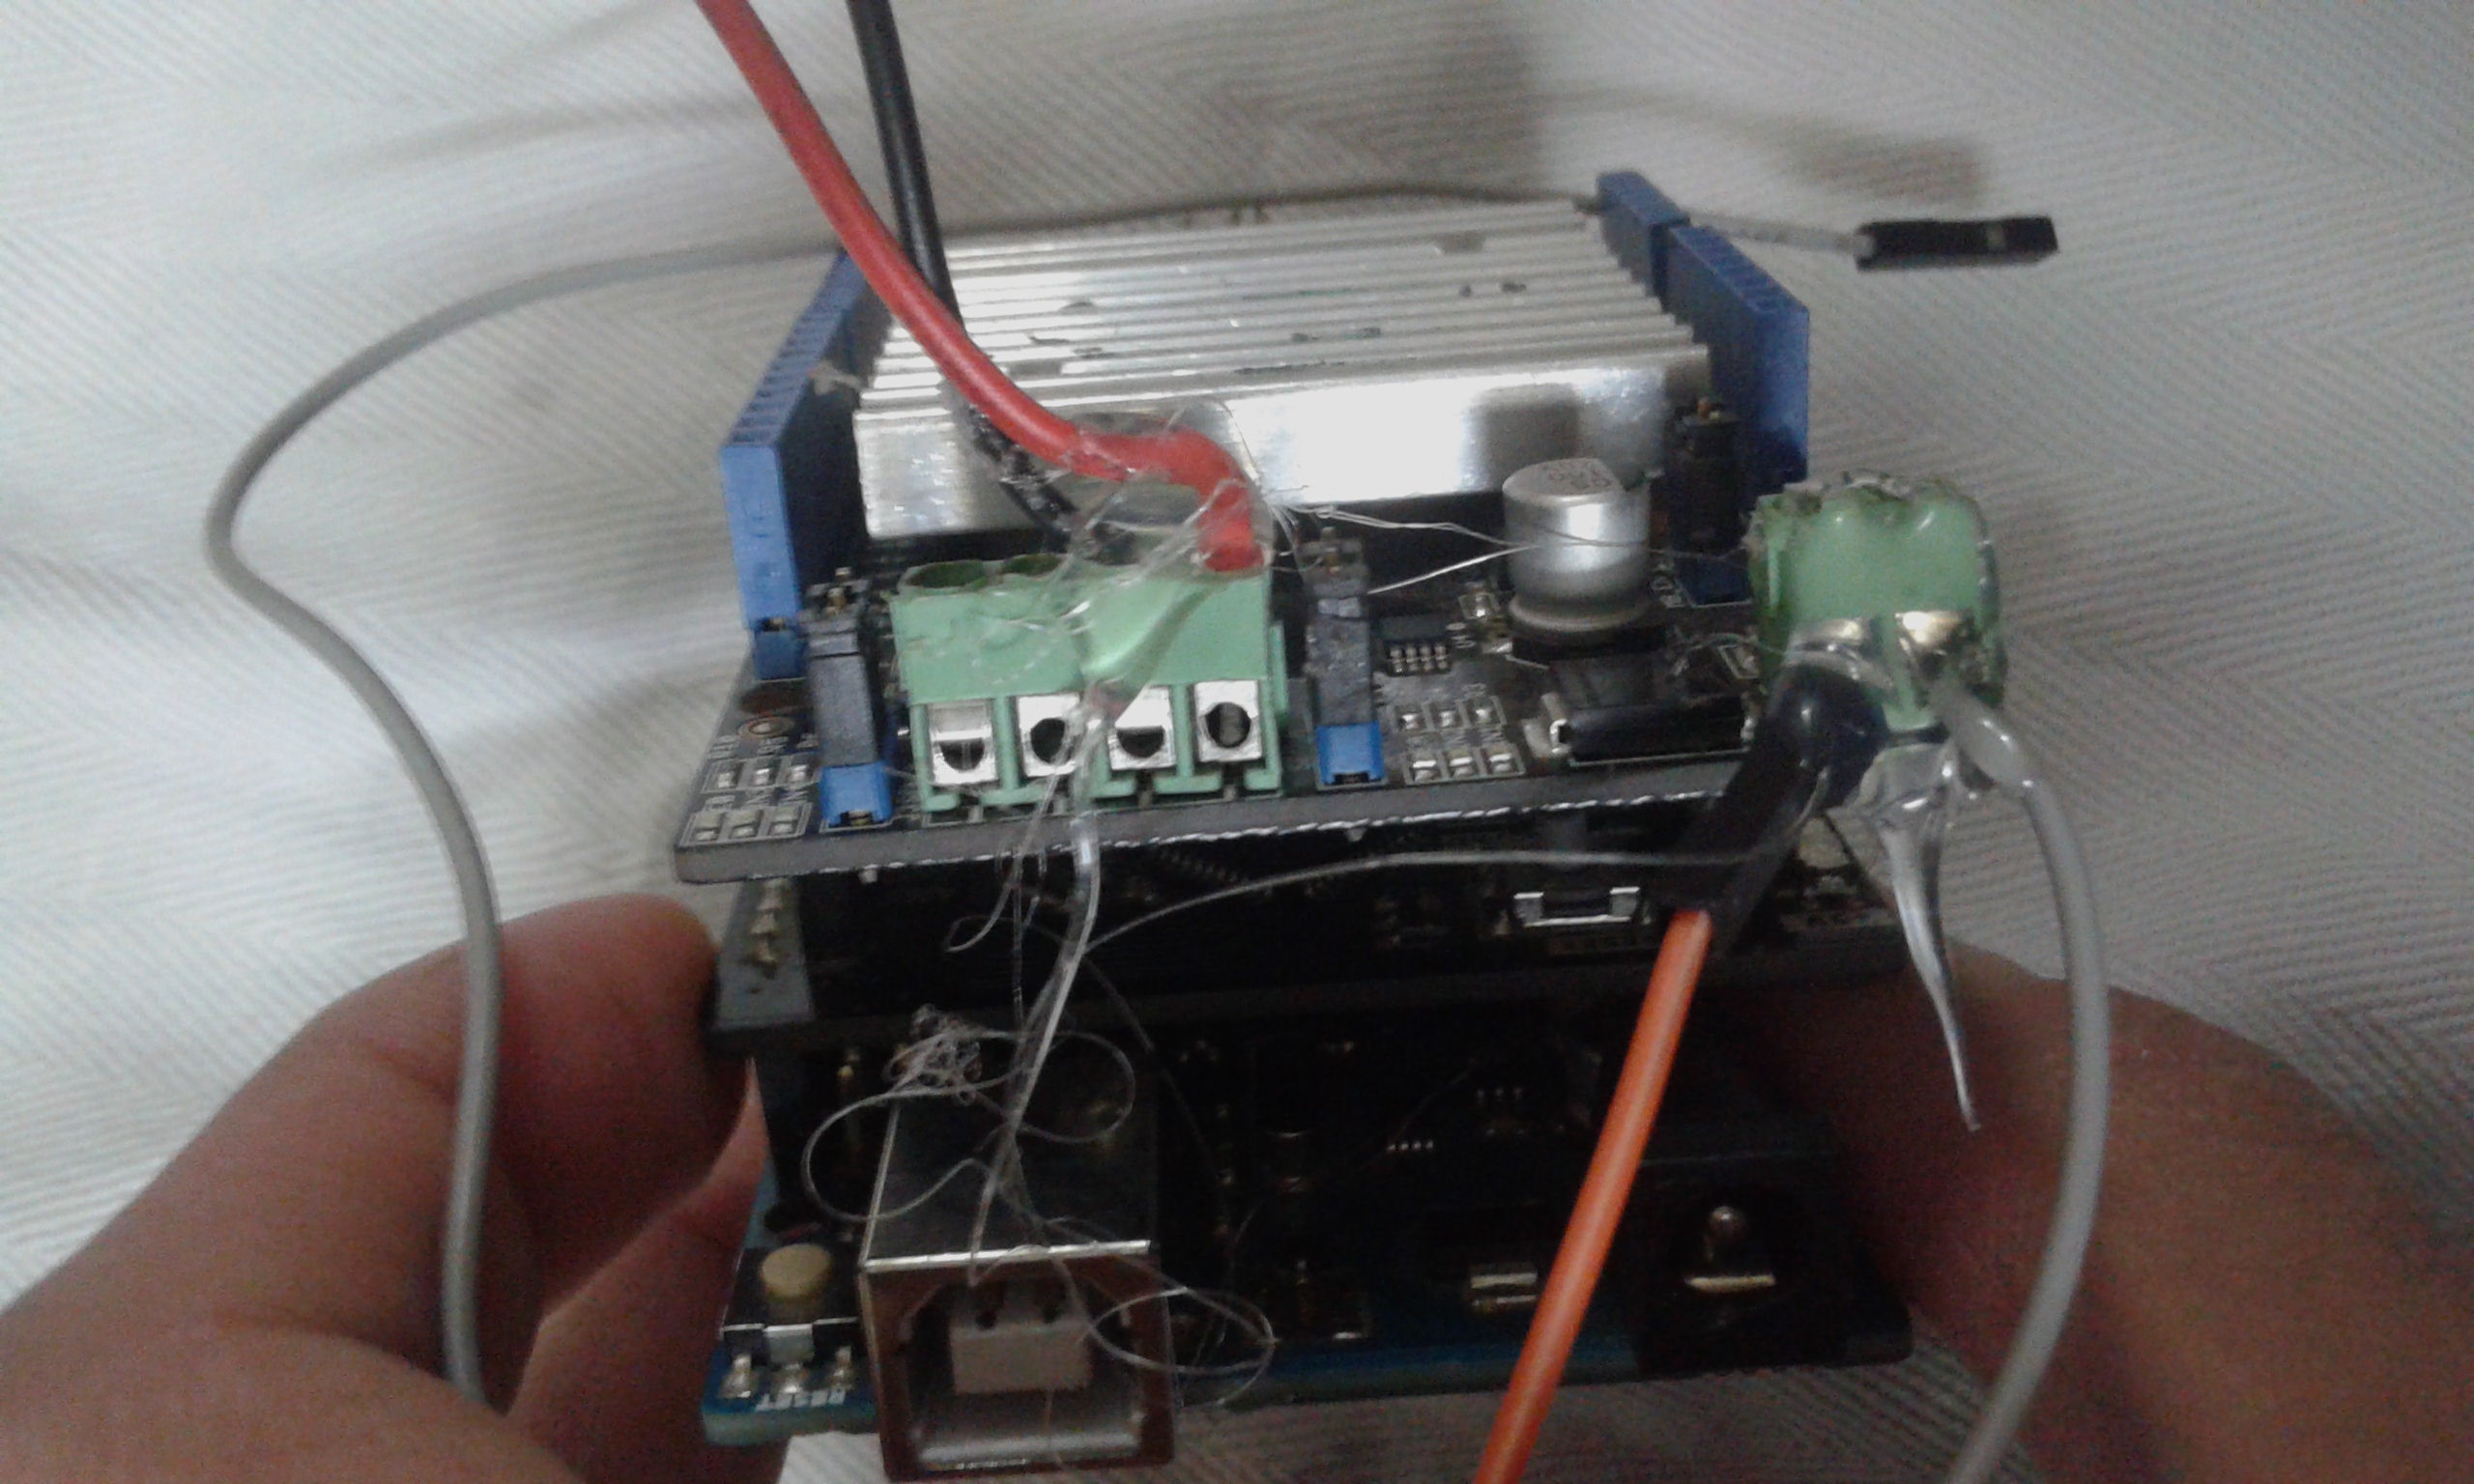
STEP 3: Connect the Pump
Connect the pump with the motor driver to make the control for it. Standard Arduino pins cannot provide enough current for a water pump. By using a dedicated Motor Shield V2.0, the project ensures the pump has enough "kick" to surprise the user effectively.
Note: Red wire is to M1+, black and red wire to M1-. Also, you can put switch for powering off or on.
Safety and Customization
While this is an "Easy" project, it emphasizes responsible pranking. The build includes a master power switch, allowing you to arm or disarm the device discretely.
STEP 5
After connecting the wires, upload the code that you will find in the code section.
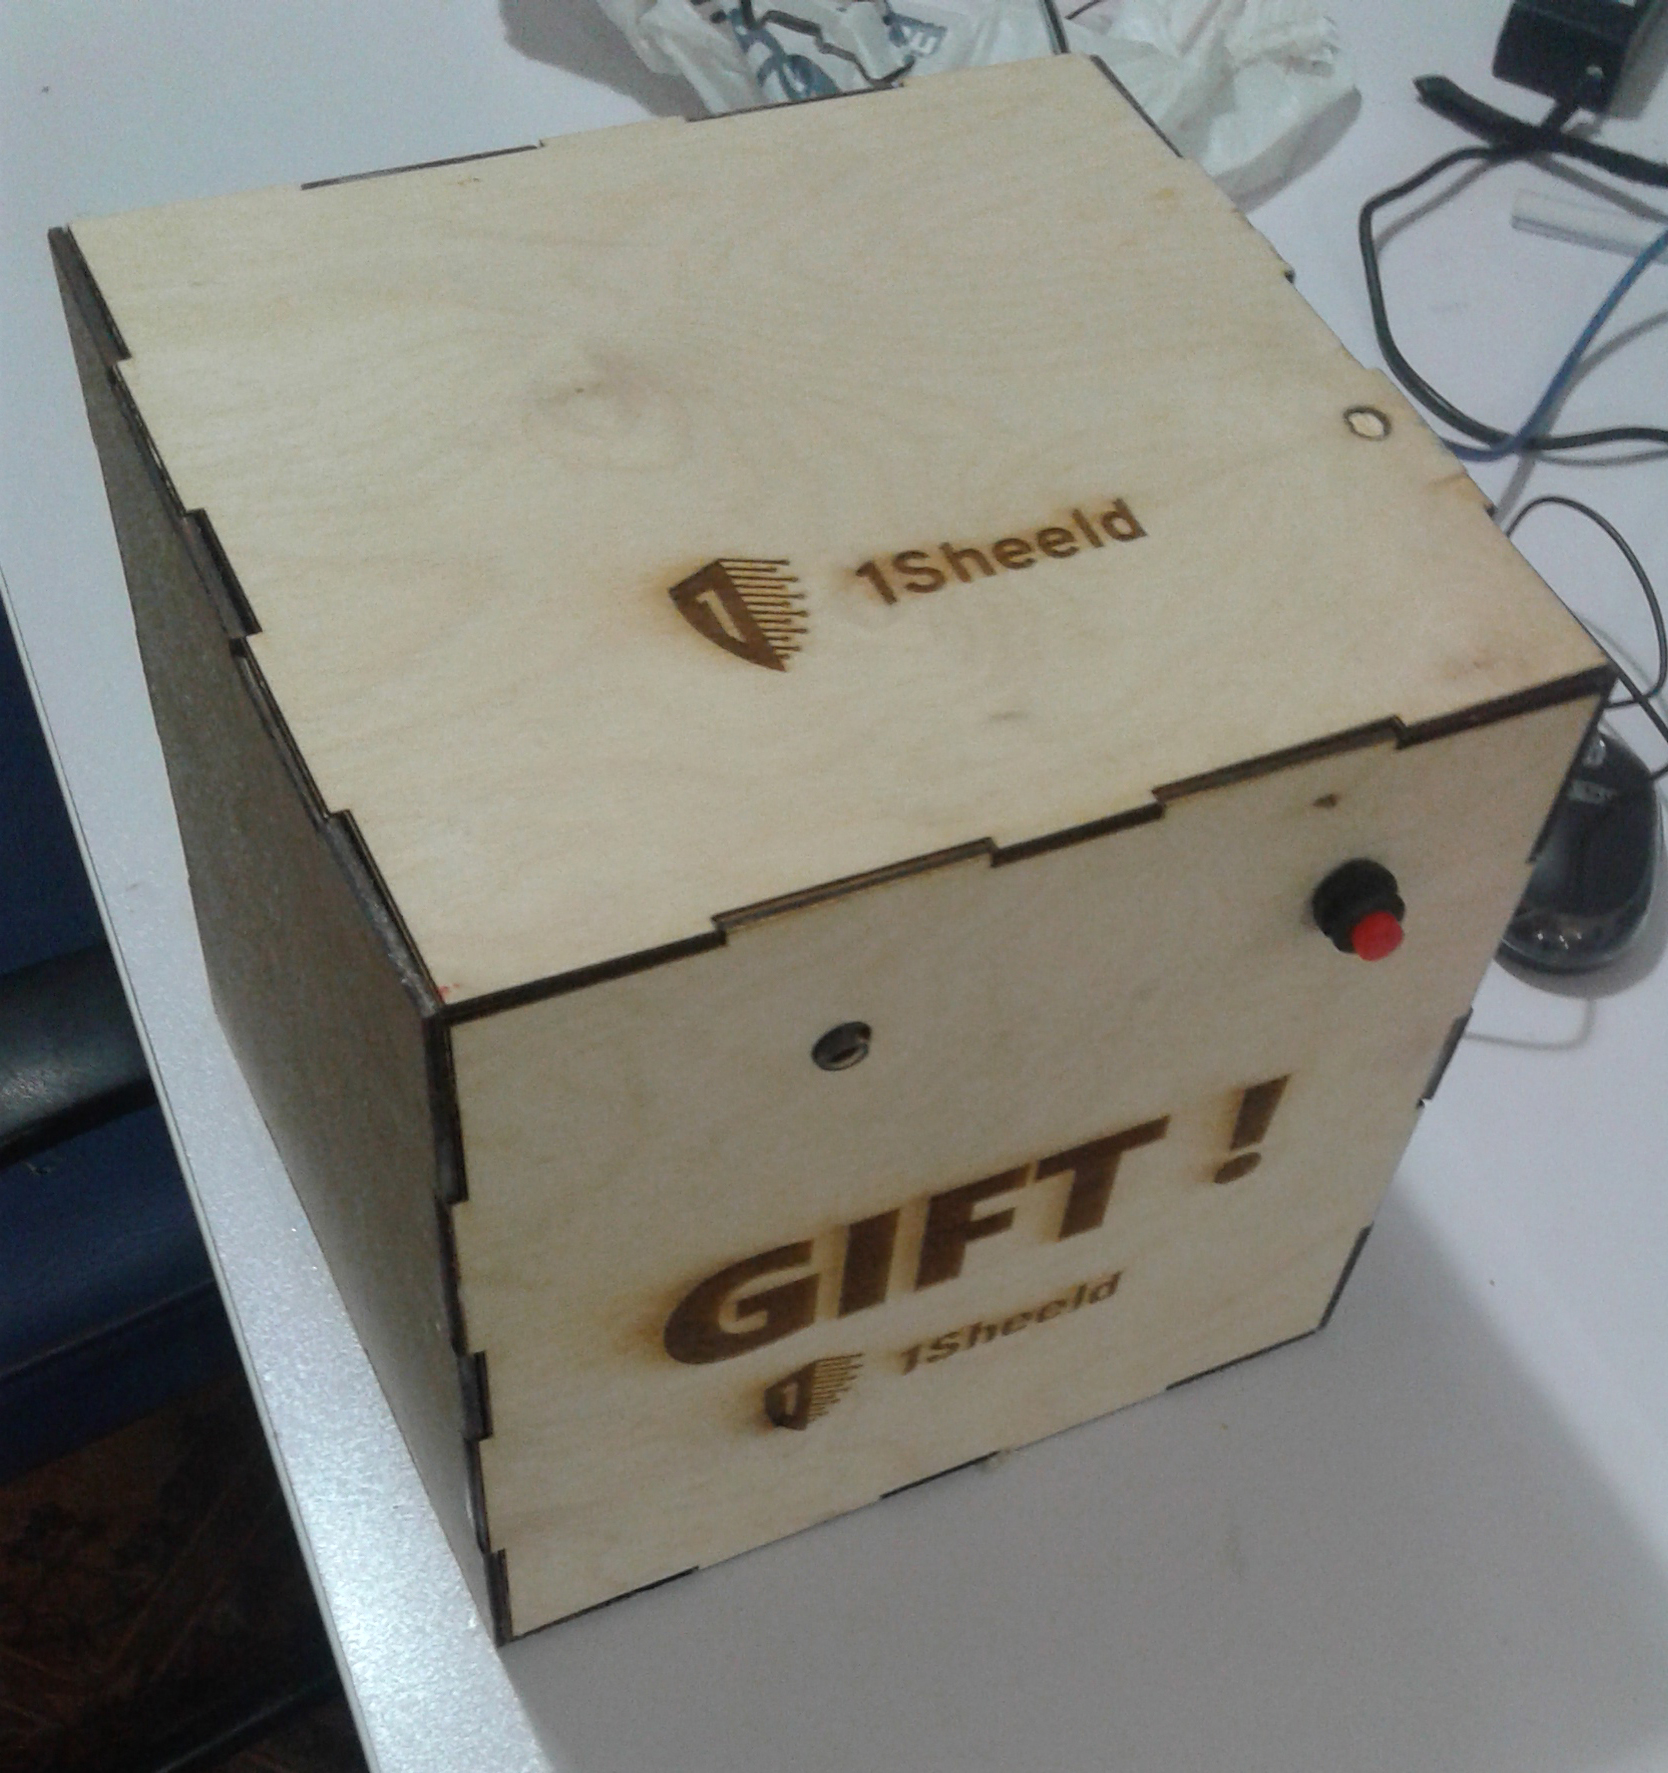
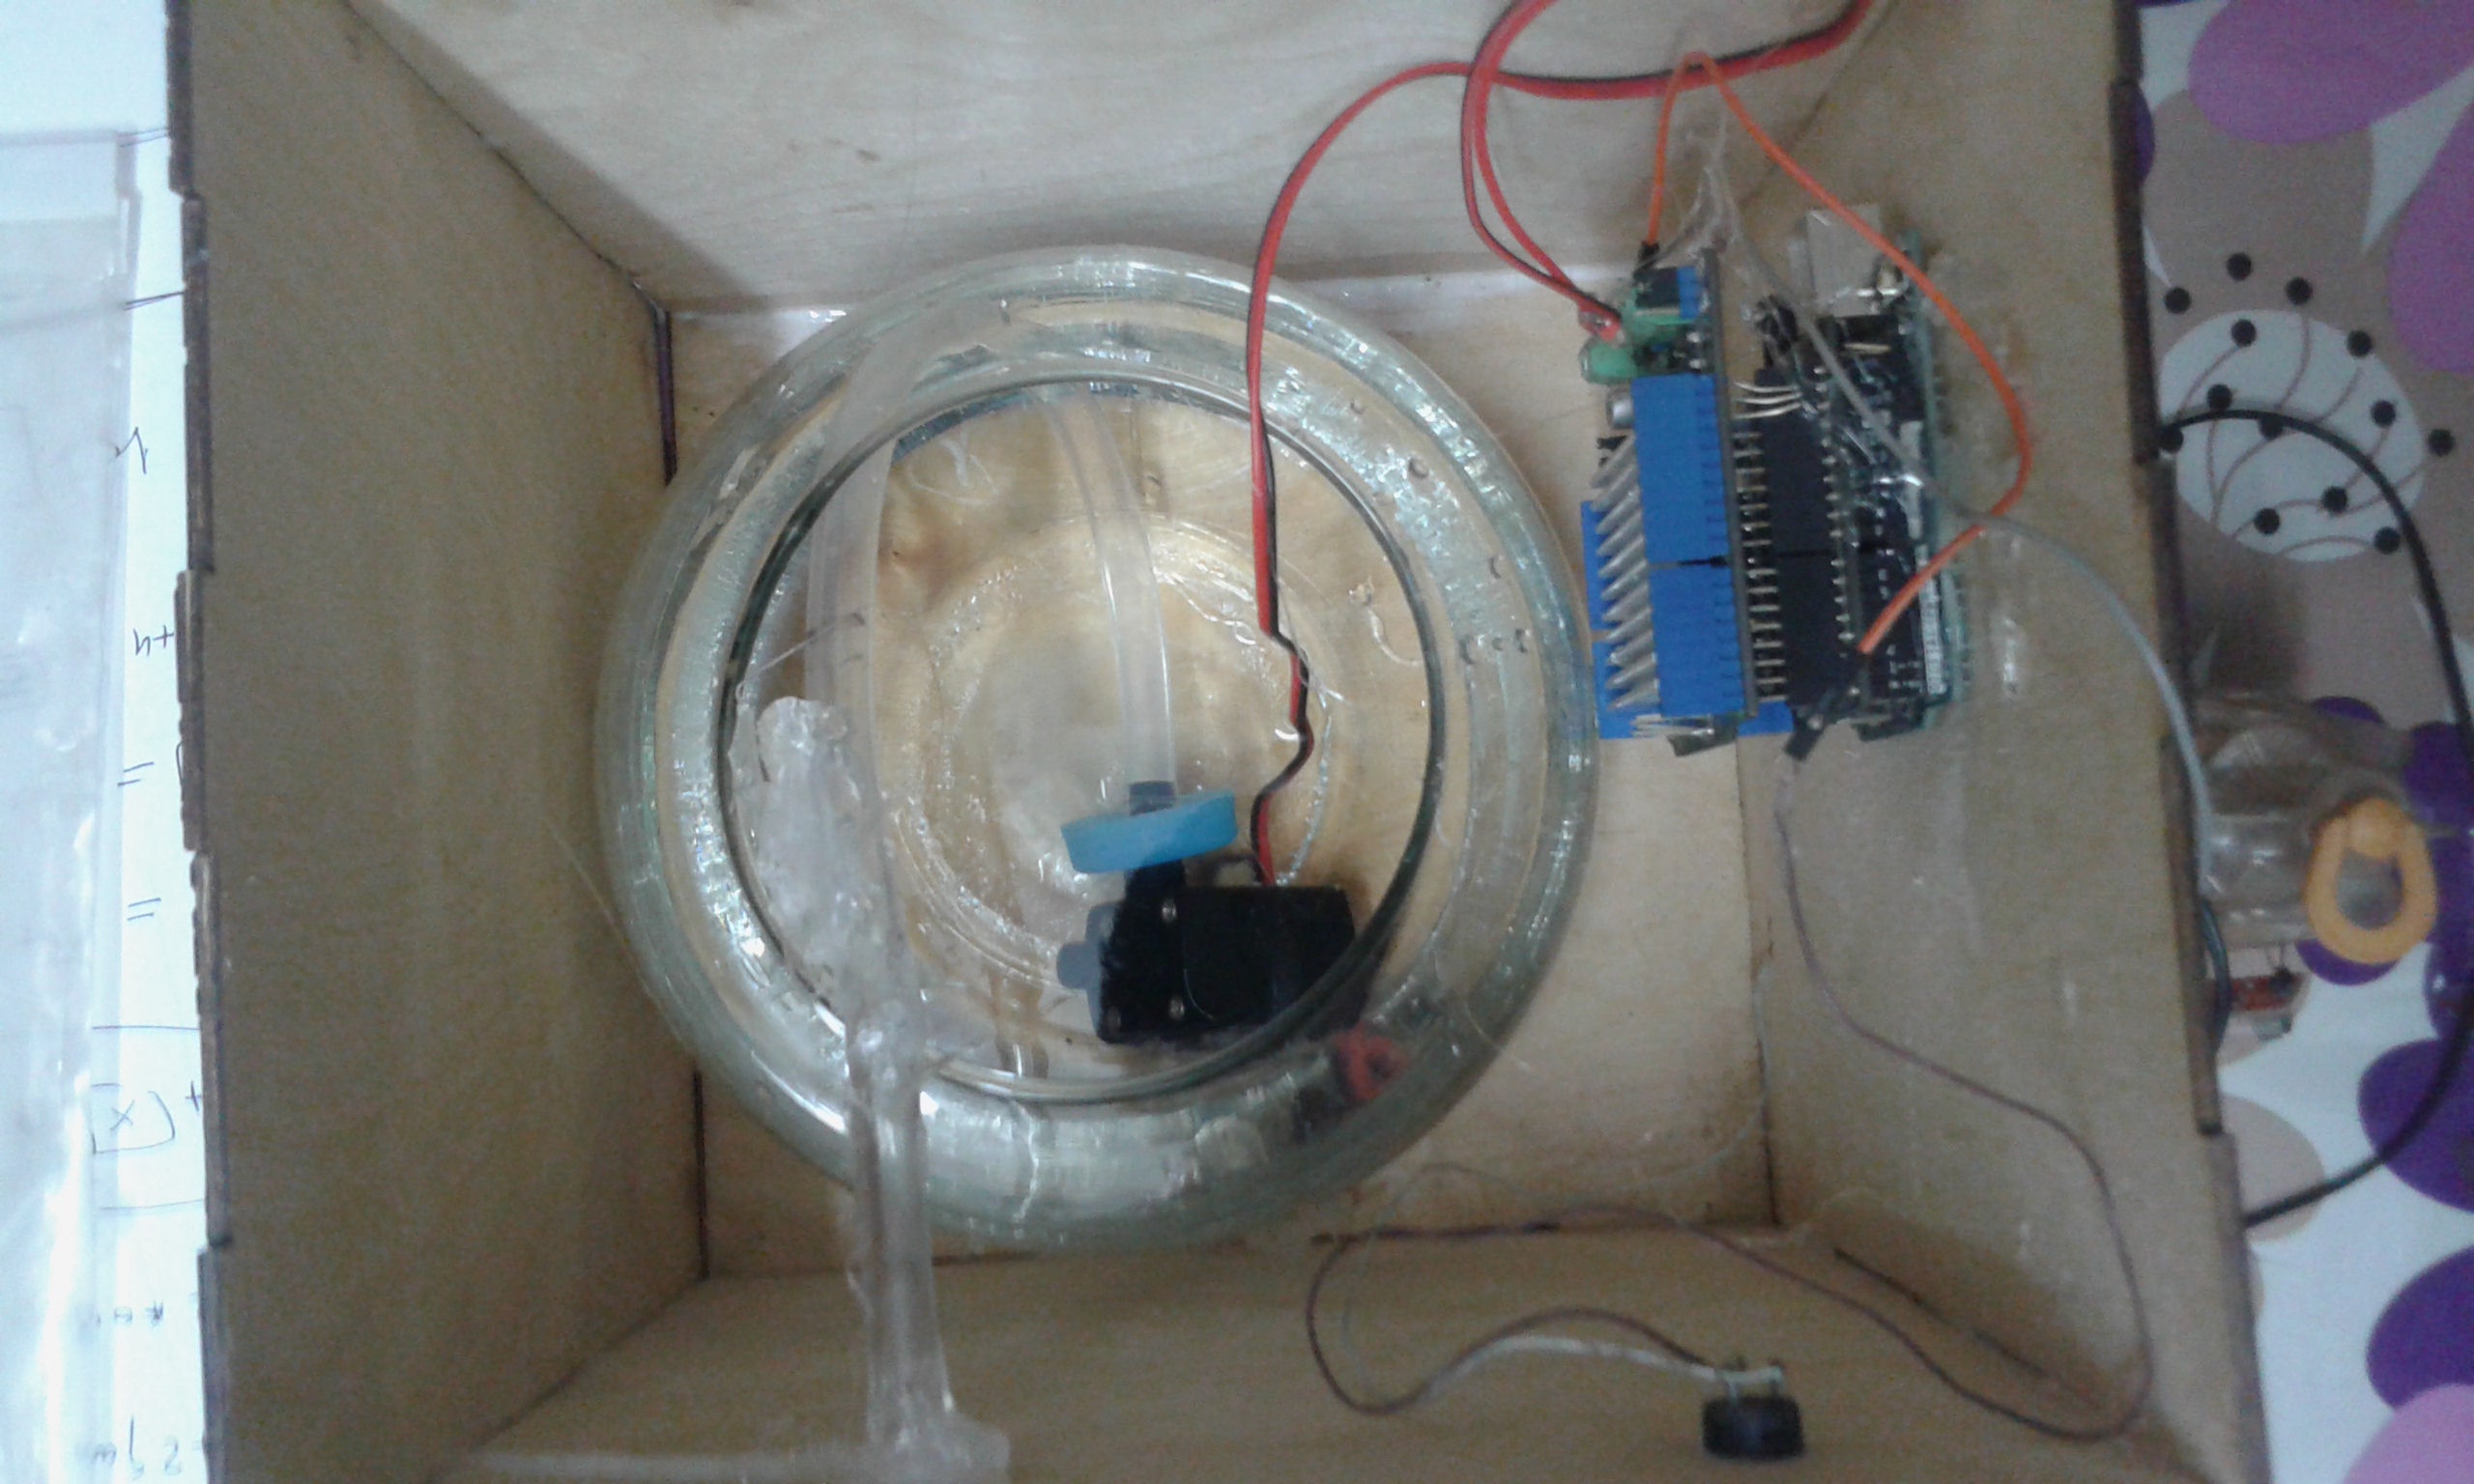
STEP 6: Final Assembly
With a hot glue gun, fix the boards together and fix the hosepipe in the hole on front side of the box. This hidden plumbing ensures that no leaks damage the Arduino or the 1Sheeld while maintaining a perfectly aimed spray.

Now test the project!
This project proves that with a bit of wood, a few shields, and a sense of humor, you can turn sophisticated IoT technology into an unforgettable experience for your friends (and enemies).