Story
So from the beginning... I created this project in order to save time on watering plants and so that, for example, when we leave the house, our plants are properly watered all the time.
In an era where everything is becoming "Smart," even plant care can be simplified with automated systems. This project was born from the inspiration to solve a common problem we've all encountered: "forgetting to water plants" or "being away from home for extended periods," leading to our beloved plants wilting and dying. This system is designed to act as a "personal caretaker" for your plants, precisely measuring soil moisture in real-time and triggering watering when the soil moisture level drops to a predefined threshold.
In short
The design was built as simple as possible based on an arduino nano r3 microcontroller that uses a soil moisture sensor, relay module, oled display and a water pump.

Circuit description:
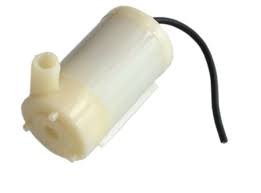
1.Mini water pump 3-6v
I used this water pump because it can be powered with an arduino, namely a 5v pin, so you do not need to connect an external power supply to the relay module, it has a lot of performance for its use, the model I have can pump 100 liters per hour. The essential component for moving water, this pump features low power consumption and can receive 5V directly from the Arduino (or via a relay for circuit safety). It has a flow rate of approximately 100 liters per hour, which is sufficient for caring for small to medium-sized potted plants.
2.Soil moisture sensor with i2c
This checks the soil moisture content in the plant and sends this information to the arduino nano. It detects the amount of water in the soil by sending an Analog signal to the Arduino. The read value is converted into a number, indicating whether the soil is "dry" or "wet."
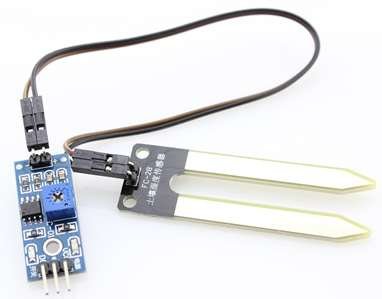
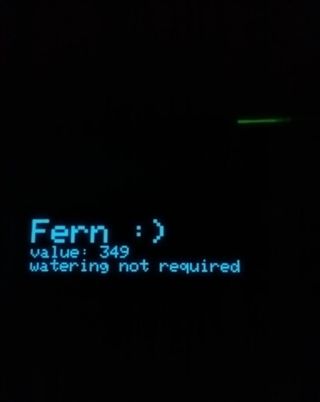
We can check the soil moisture information either in the serial port monitor or on the oled display. This data is then sent to the Serial Monitor and the OLED screen for display.
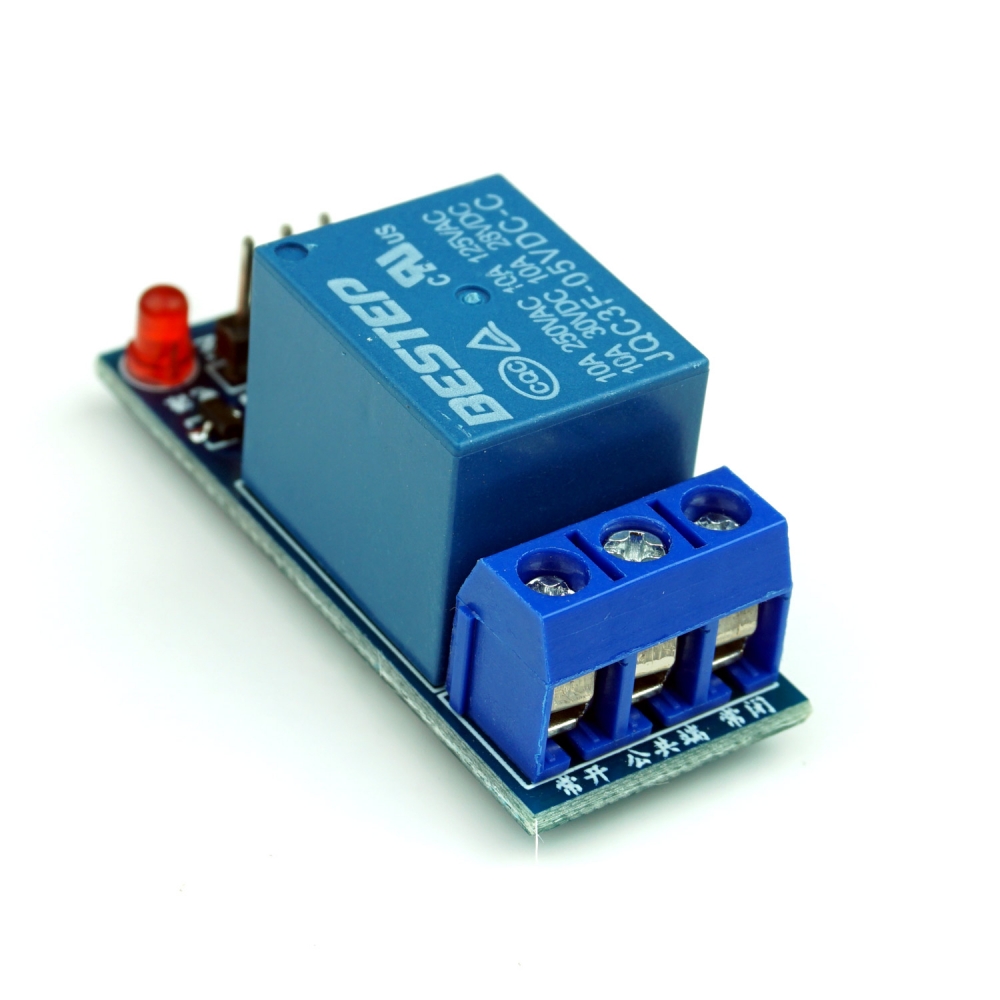
3. Relay module
Our water pump turns on a reliable relay module, I used it, among other things, so that when we have a pump that requires more voltage, then we can connect an external power supply and our project will work without any problems. The relay acts as an electronic switch, isolating the control circuit (Arduino) from the power circuit (water pump) to prevent interference and current surges. A key advantage of using a relay is that if you wish to upgrade to a larger water pump in the future (e.g., 12V or 220V), you can immediately connect an external power supply without altering the main control system's structure.
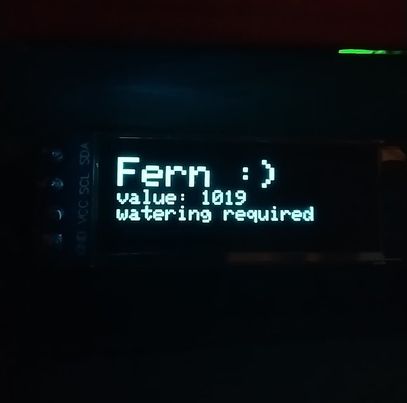
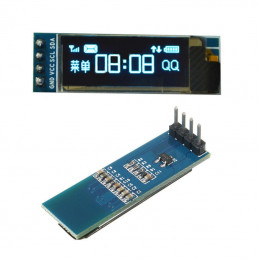
4.Oled display
To display the information I used an oled display based on the ssd106 driver with dimensions of 128x32, I used it because it is very minimalist and very simple to program to program this display we use the Adafruit_GFX and Adafruit_SSD1306 library. A 128x32 pixel display is used, driven by an SSD1306 chip and connected via the I2C protocol, which only requires 2 signal wires (SDA/SCL). This significantly saves Arduino pins. This screen continuously shows current statuses like "Hello," "Loading," and the real-time moisture value.
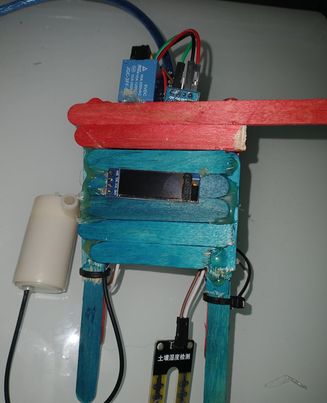
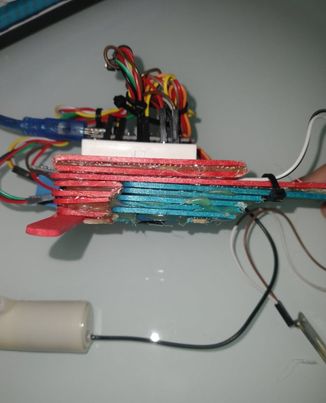
5.Case
I made the casing by hand from painted ice-cream sticks, toothpicks and cable ties. A unique aspect of this project is the creation of a handmade case from everyday materials like painted popsicle sticks, toothpicks, and cable ties, reflecting creativity in blending engineering with craftsmanship.
How it Works?
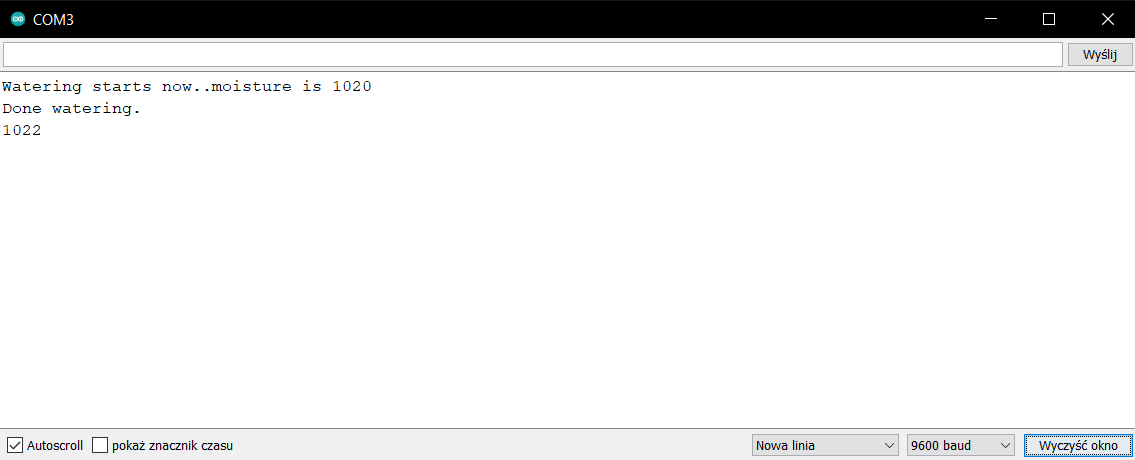
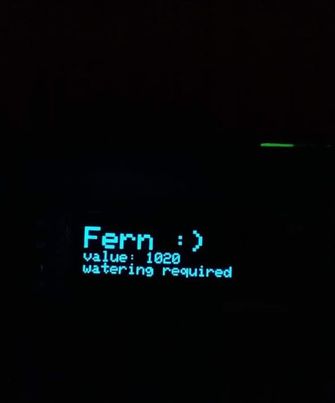
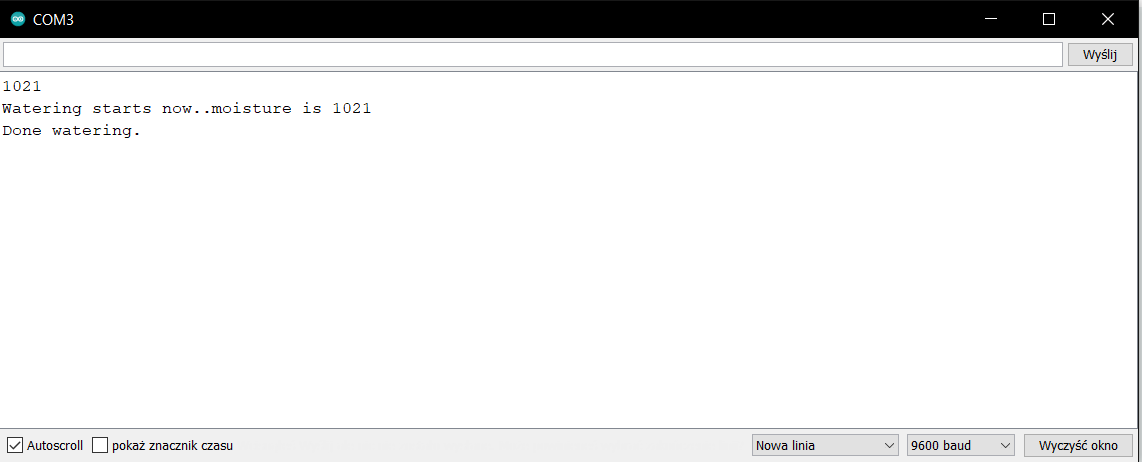
So how does it work? The soil moisture sensor in the plant checks the humidity and sends this information to the arduino, if the value is higher than 500, the serial port monitor and the display show the information that the plant has too little water and the signal goes to the relay module which turns on the water pump and starts.
This system operates on a **"Check-Wait-Action"** logic:
- Initialization (Setup): At startup, the system initializes the OLED display and shows "Hello," followed by a "Loading..." animation (ellipsis) to perform a System Health Check before actual operation begins.
- Sensor Reading (Sensing): In the `loop()` function, the system reads Analog values from pin `A0` (Soil Sensor) every 1 second. The obtained value is then displayed on the OLED.
- Watering Condition (Threshold Logic): According to the command `const int dry = 500;`, if the read moisture value is **greater than or equal to 500** (which indicates the soil is starting to dry out on this sensor's scale):
- The Arduino will set pin 10 to `LOW` (because it's an Active Low relay) to activate the water pump.
- The pump will operate for 2 seconds (`delay(2000)`).
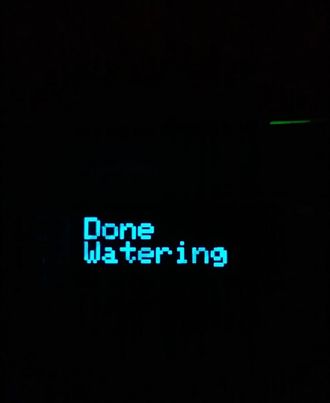
- After that, the system will set it to `HIGH` to stop watering and display "Done Watering."
- Repeat Processing: After watering is complete, the system will loop back to check the moisture value again. If the value has not dropped below 500 (meaning the soil is not yet sufficiently moist), the system will repeat the process until the moisture reaches a safe threshold.
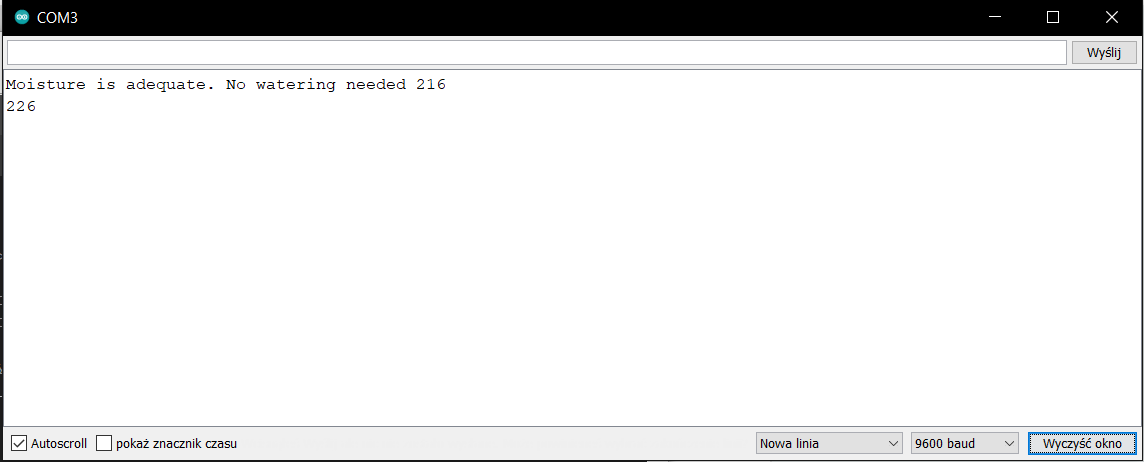
After two seconds pouring water after 2 seconds, the sensor checks again whether the humidity is appropriate, if it is not repeated again until it succeeds, while when this value drops to less than or equal to 500, the plant stops being watered and every few seconds the oled display is given soil moisture information.
When the system is operational, if the sensor detects that the soil is too dry, the water pump will immediately start watering. All data is reported neatly via the screen, ensuring that plants consistently receive an appropriate amount of water – neither too much, leading to root rot, nor too little, causing them to wither and die.
and that's it, easy right? This is an excellent beginner-friendly project because it covers Analog value reading, Output control via relays, and screen communication via I2C, all of which are fundamental to Embedded Systems!