About
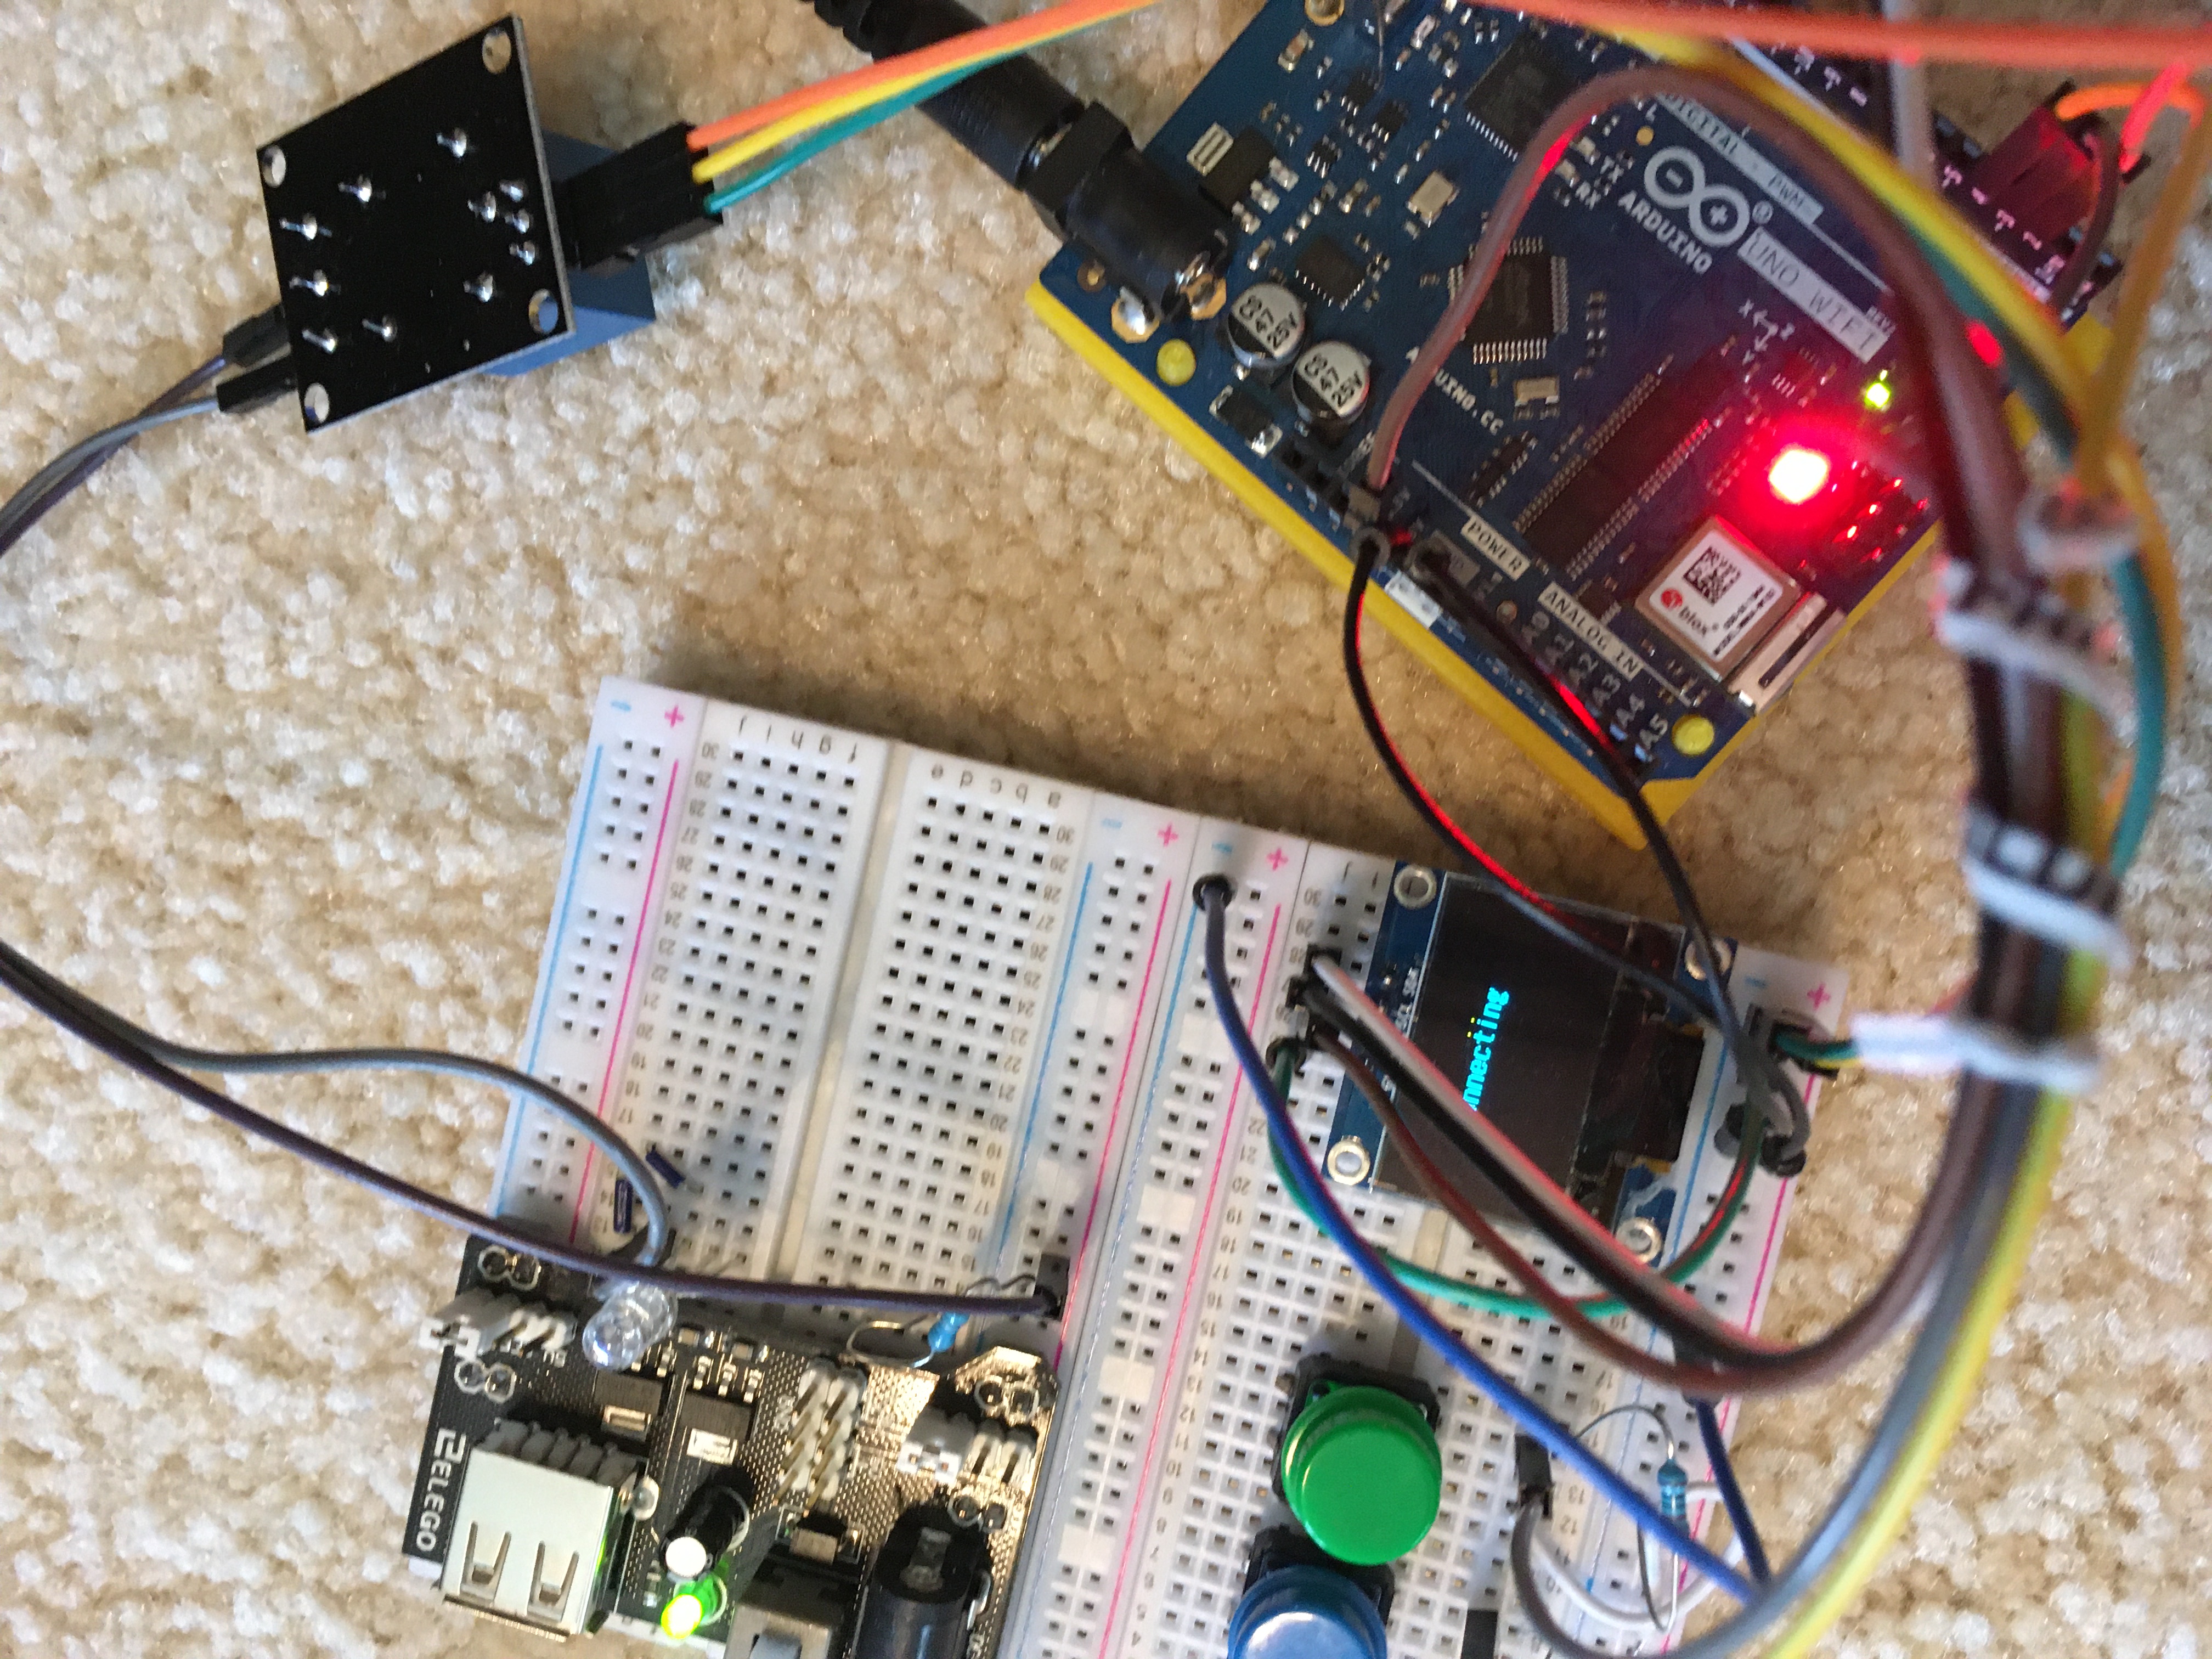
This is a project I decided to attempt to automate the lights in my room from anywhere in the house. It uses the new Arduino MKR IoT Carrier, Arduino MKR WiFi 1010, Arduino WiFi Rev2, some jumper wires, an LED (as an example, working on getting it actually into the lights, ) a 220 ohm resistor, and finally, a relay.
How it works
This project uses Blynk to communicate between three devices -- the WiFi Rev2, the MKR WiFi 1010, and your phone. It uses a Bridge widget to communicate between the two Arduinos, and the Blynk.virtualWrite() function to communicate with the phone/mobile device through Blynk.
Displays
- On the WiFi Rev2:
Light on/off data, if it is disconnected/reconnecting, and if auto reconnect is on/off.
-On the mobile device:
The Blynk app section of this project has an LCD widget controlled by the MKR board, three gauges, and a button. The LCD widget simply says "Light on"/"Light off." The gauges show the WiFi strength of each device, and the battery percent of the MKR board. The button will toggle the lights.
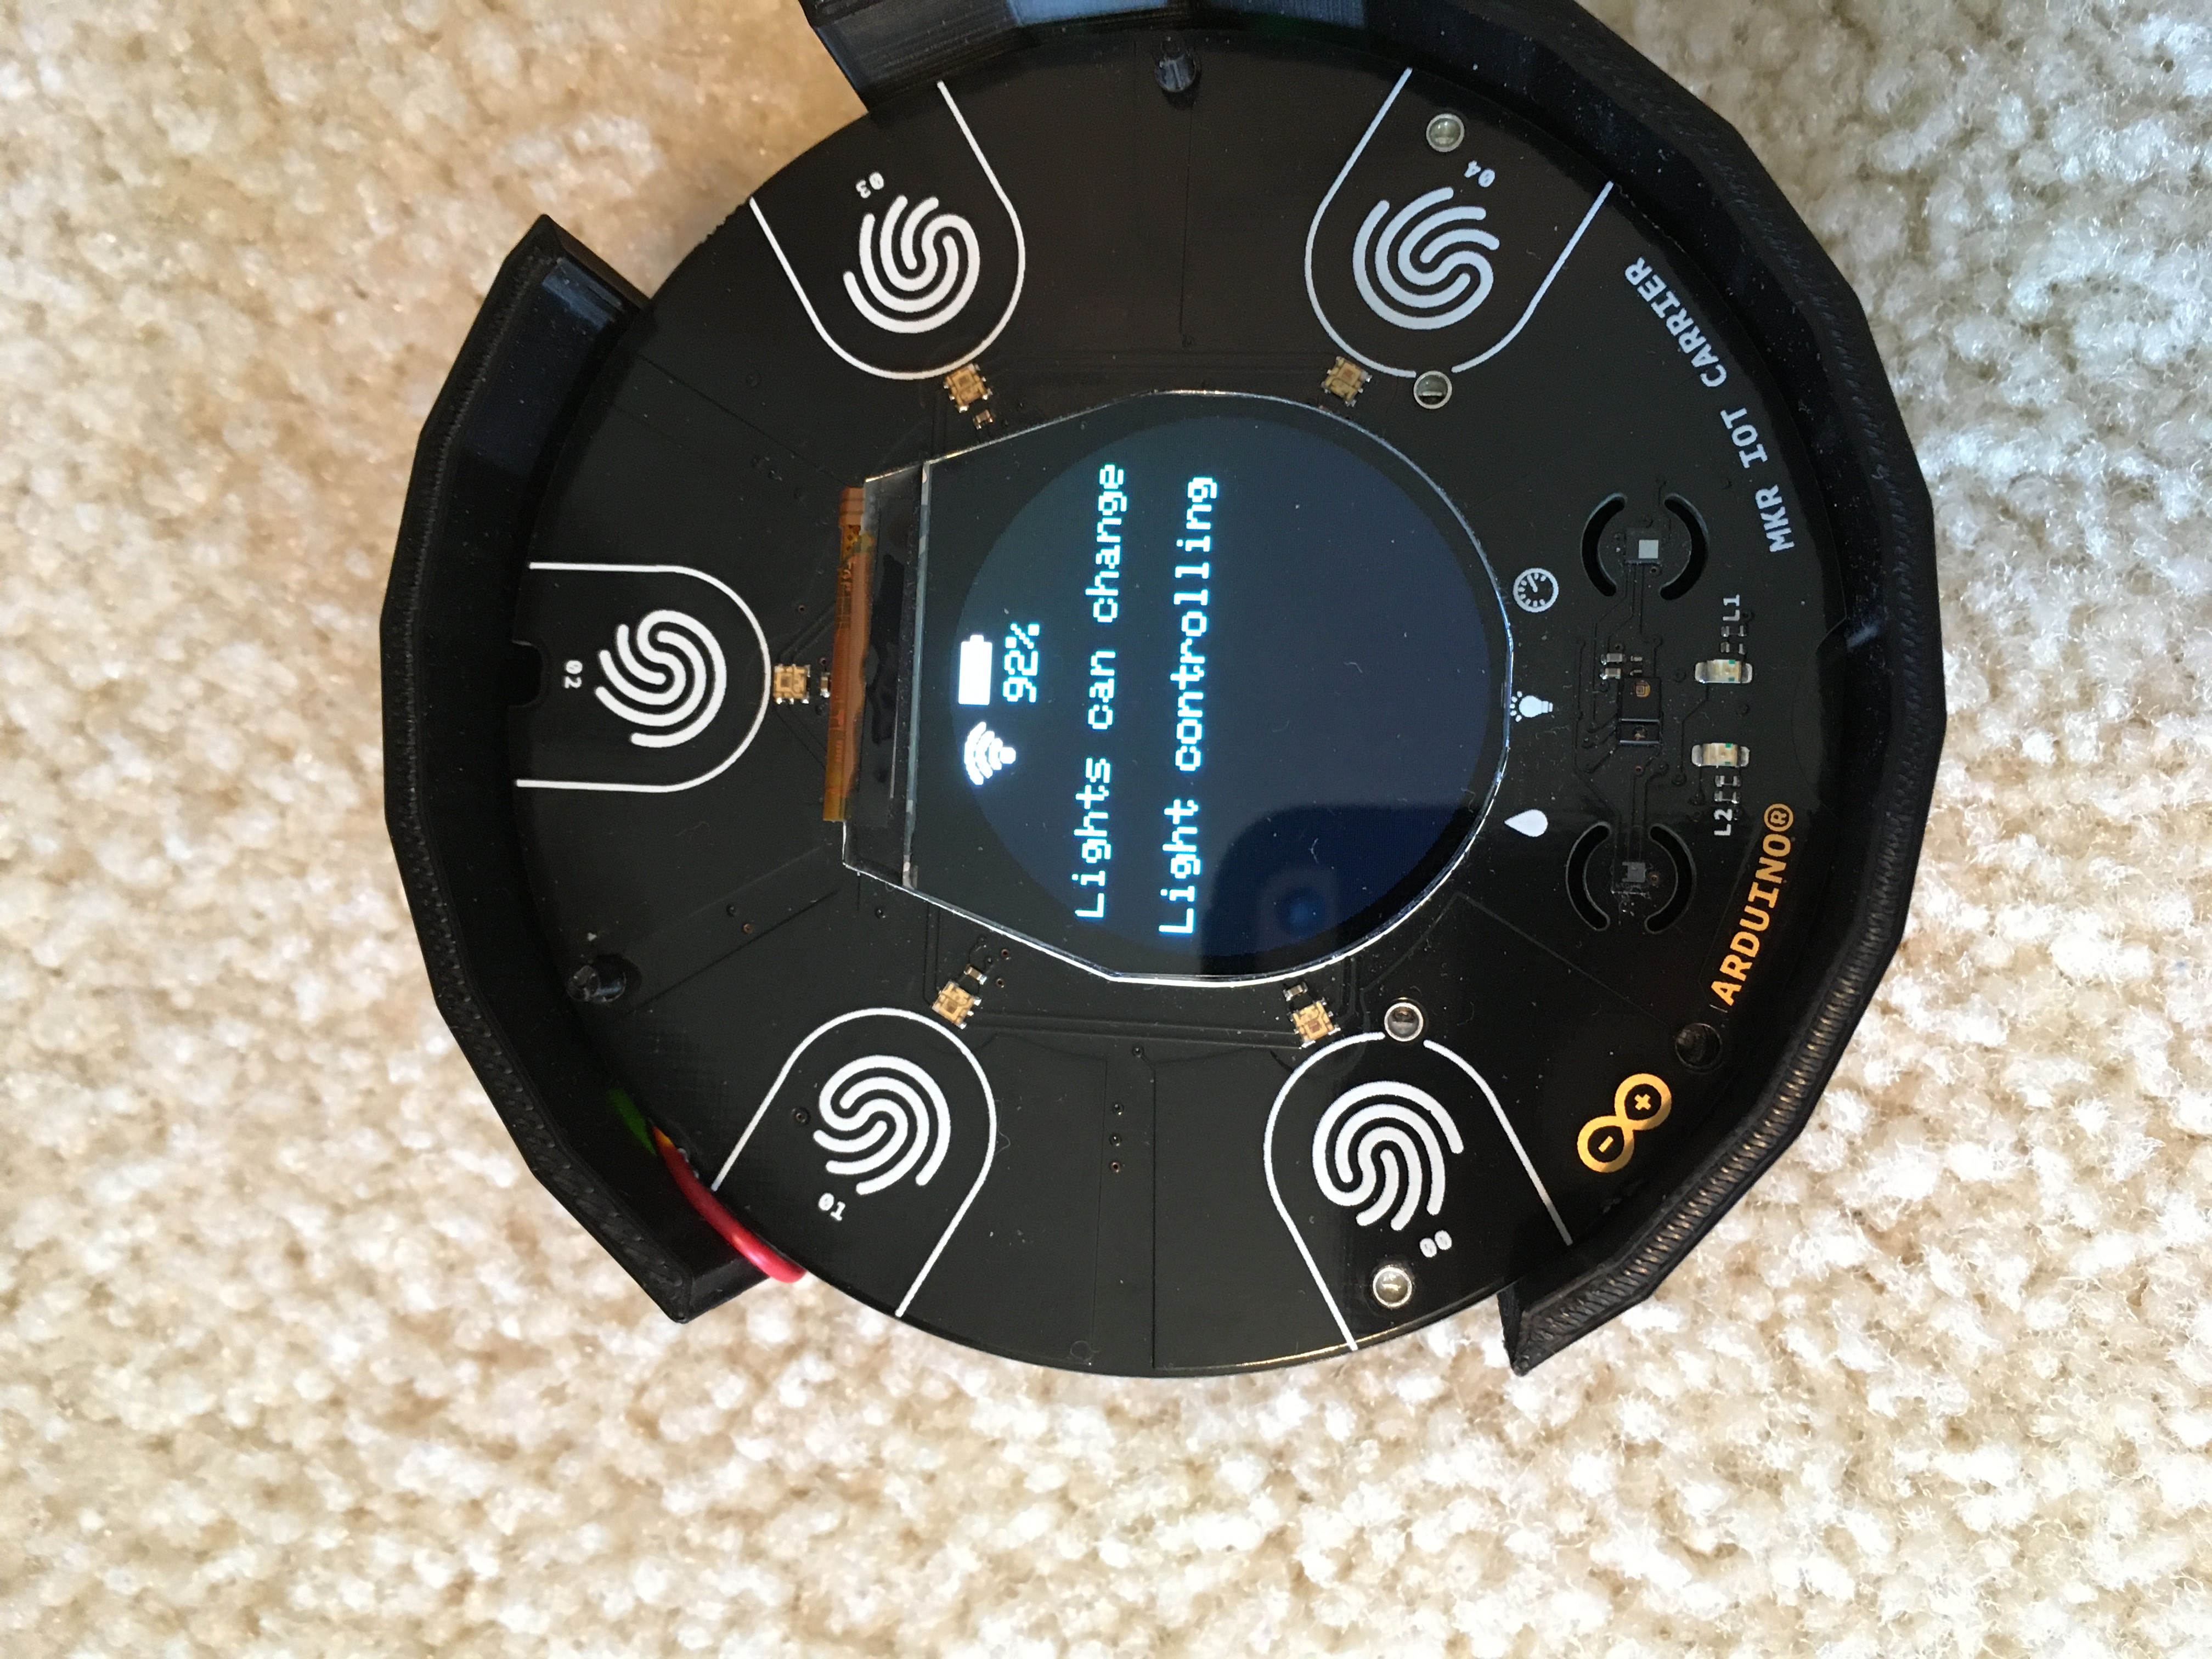
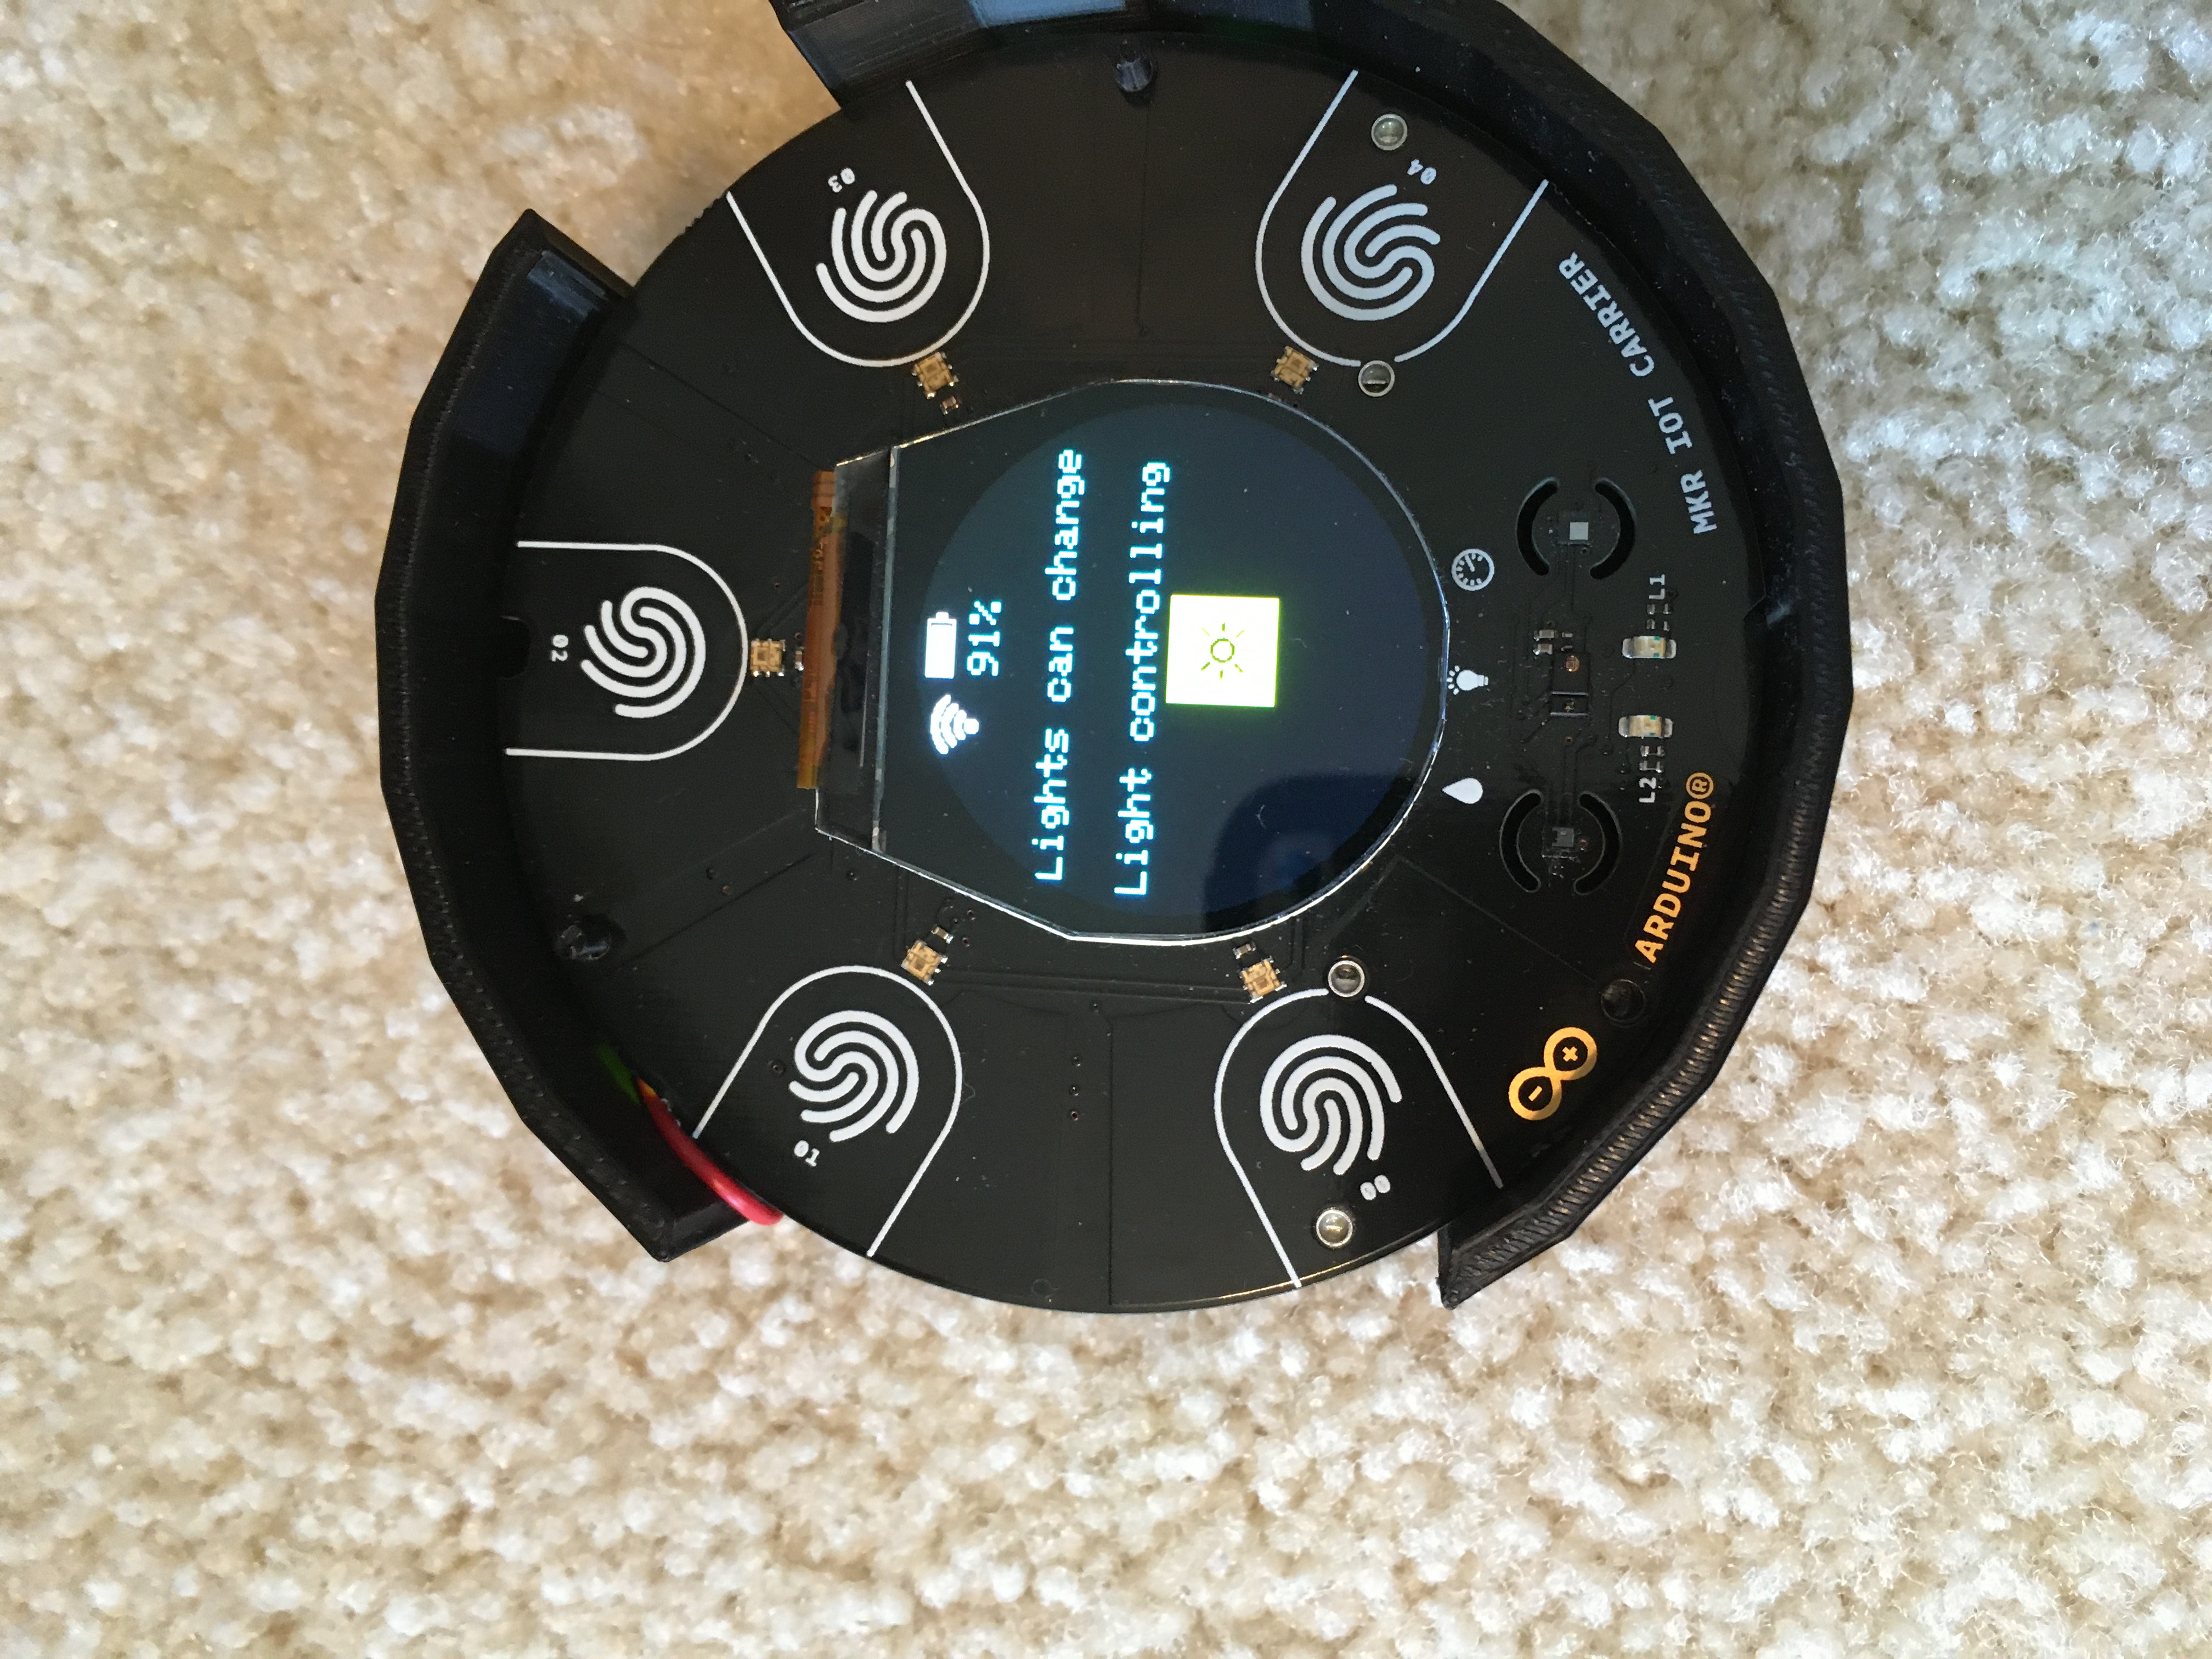
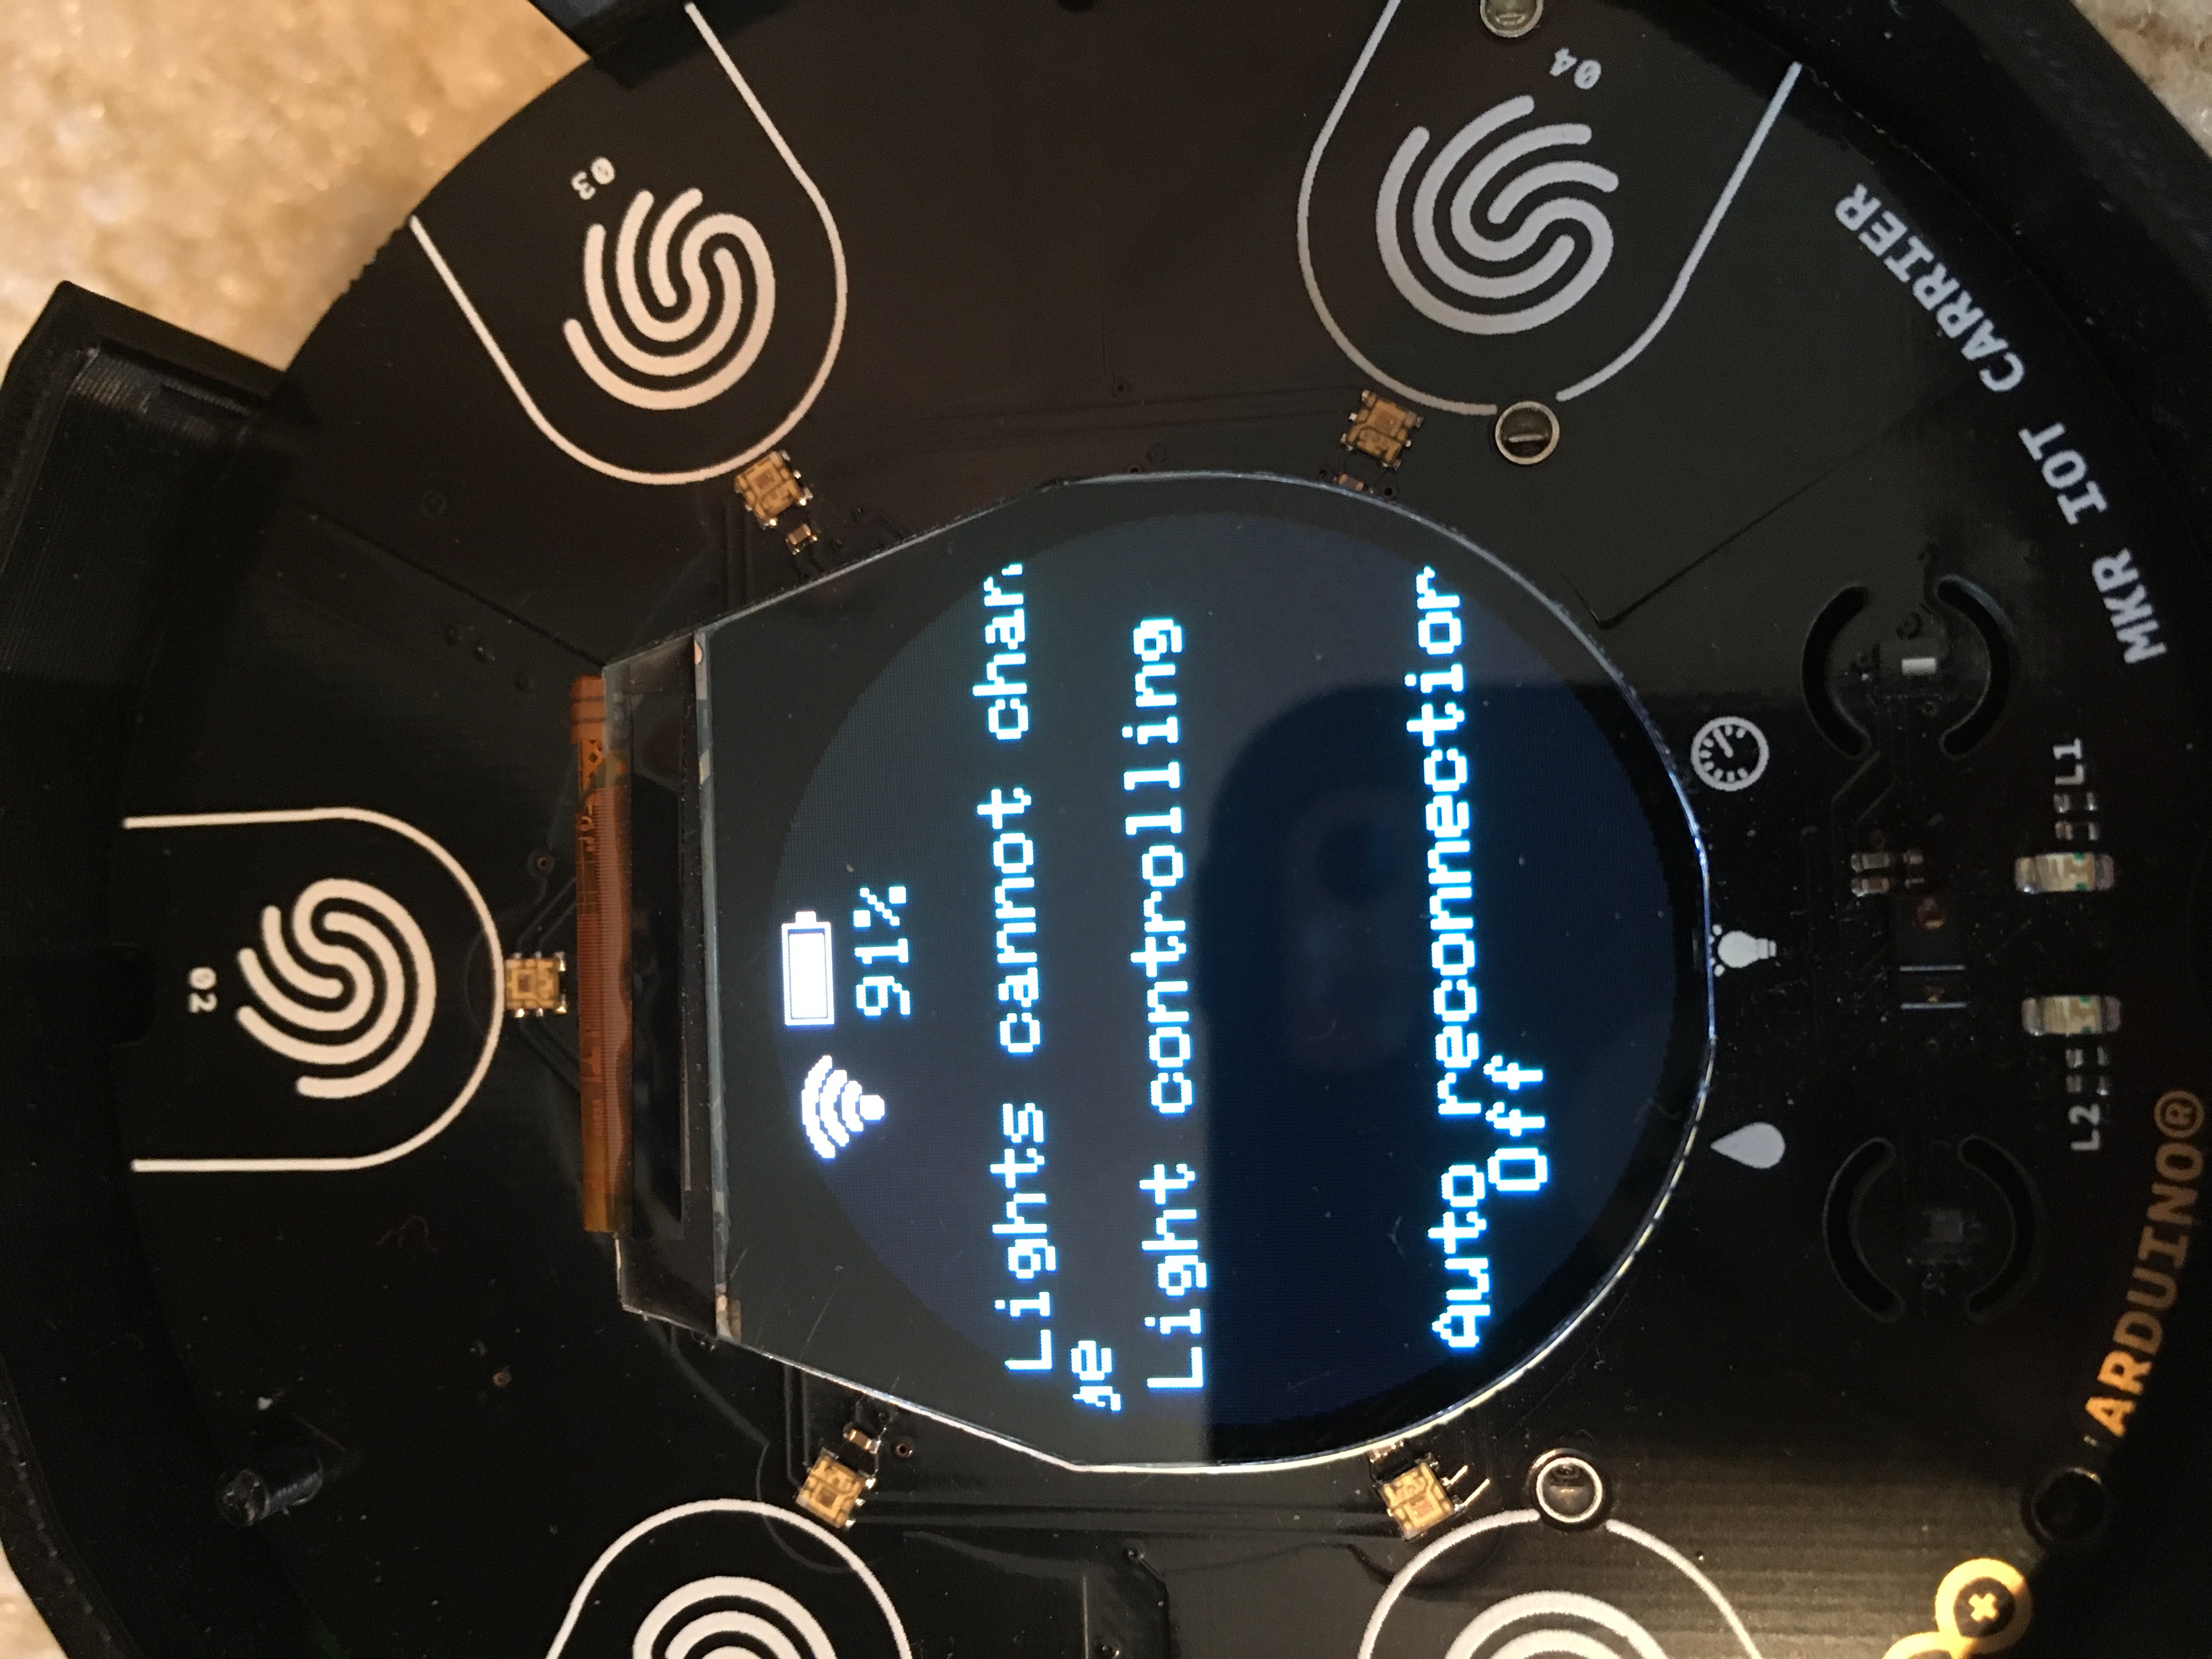
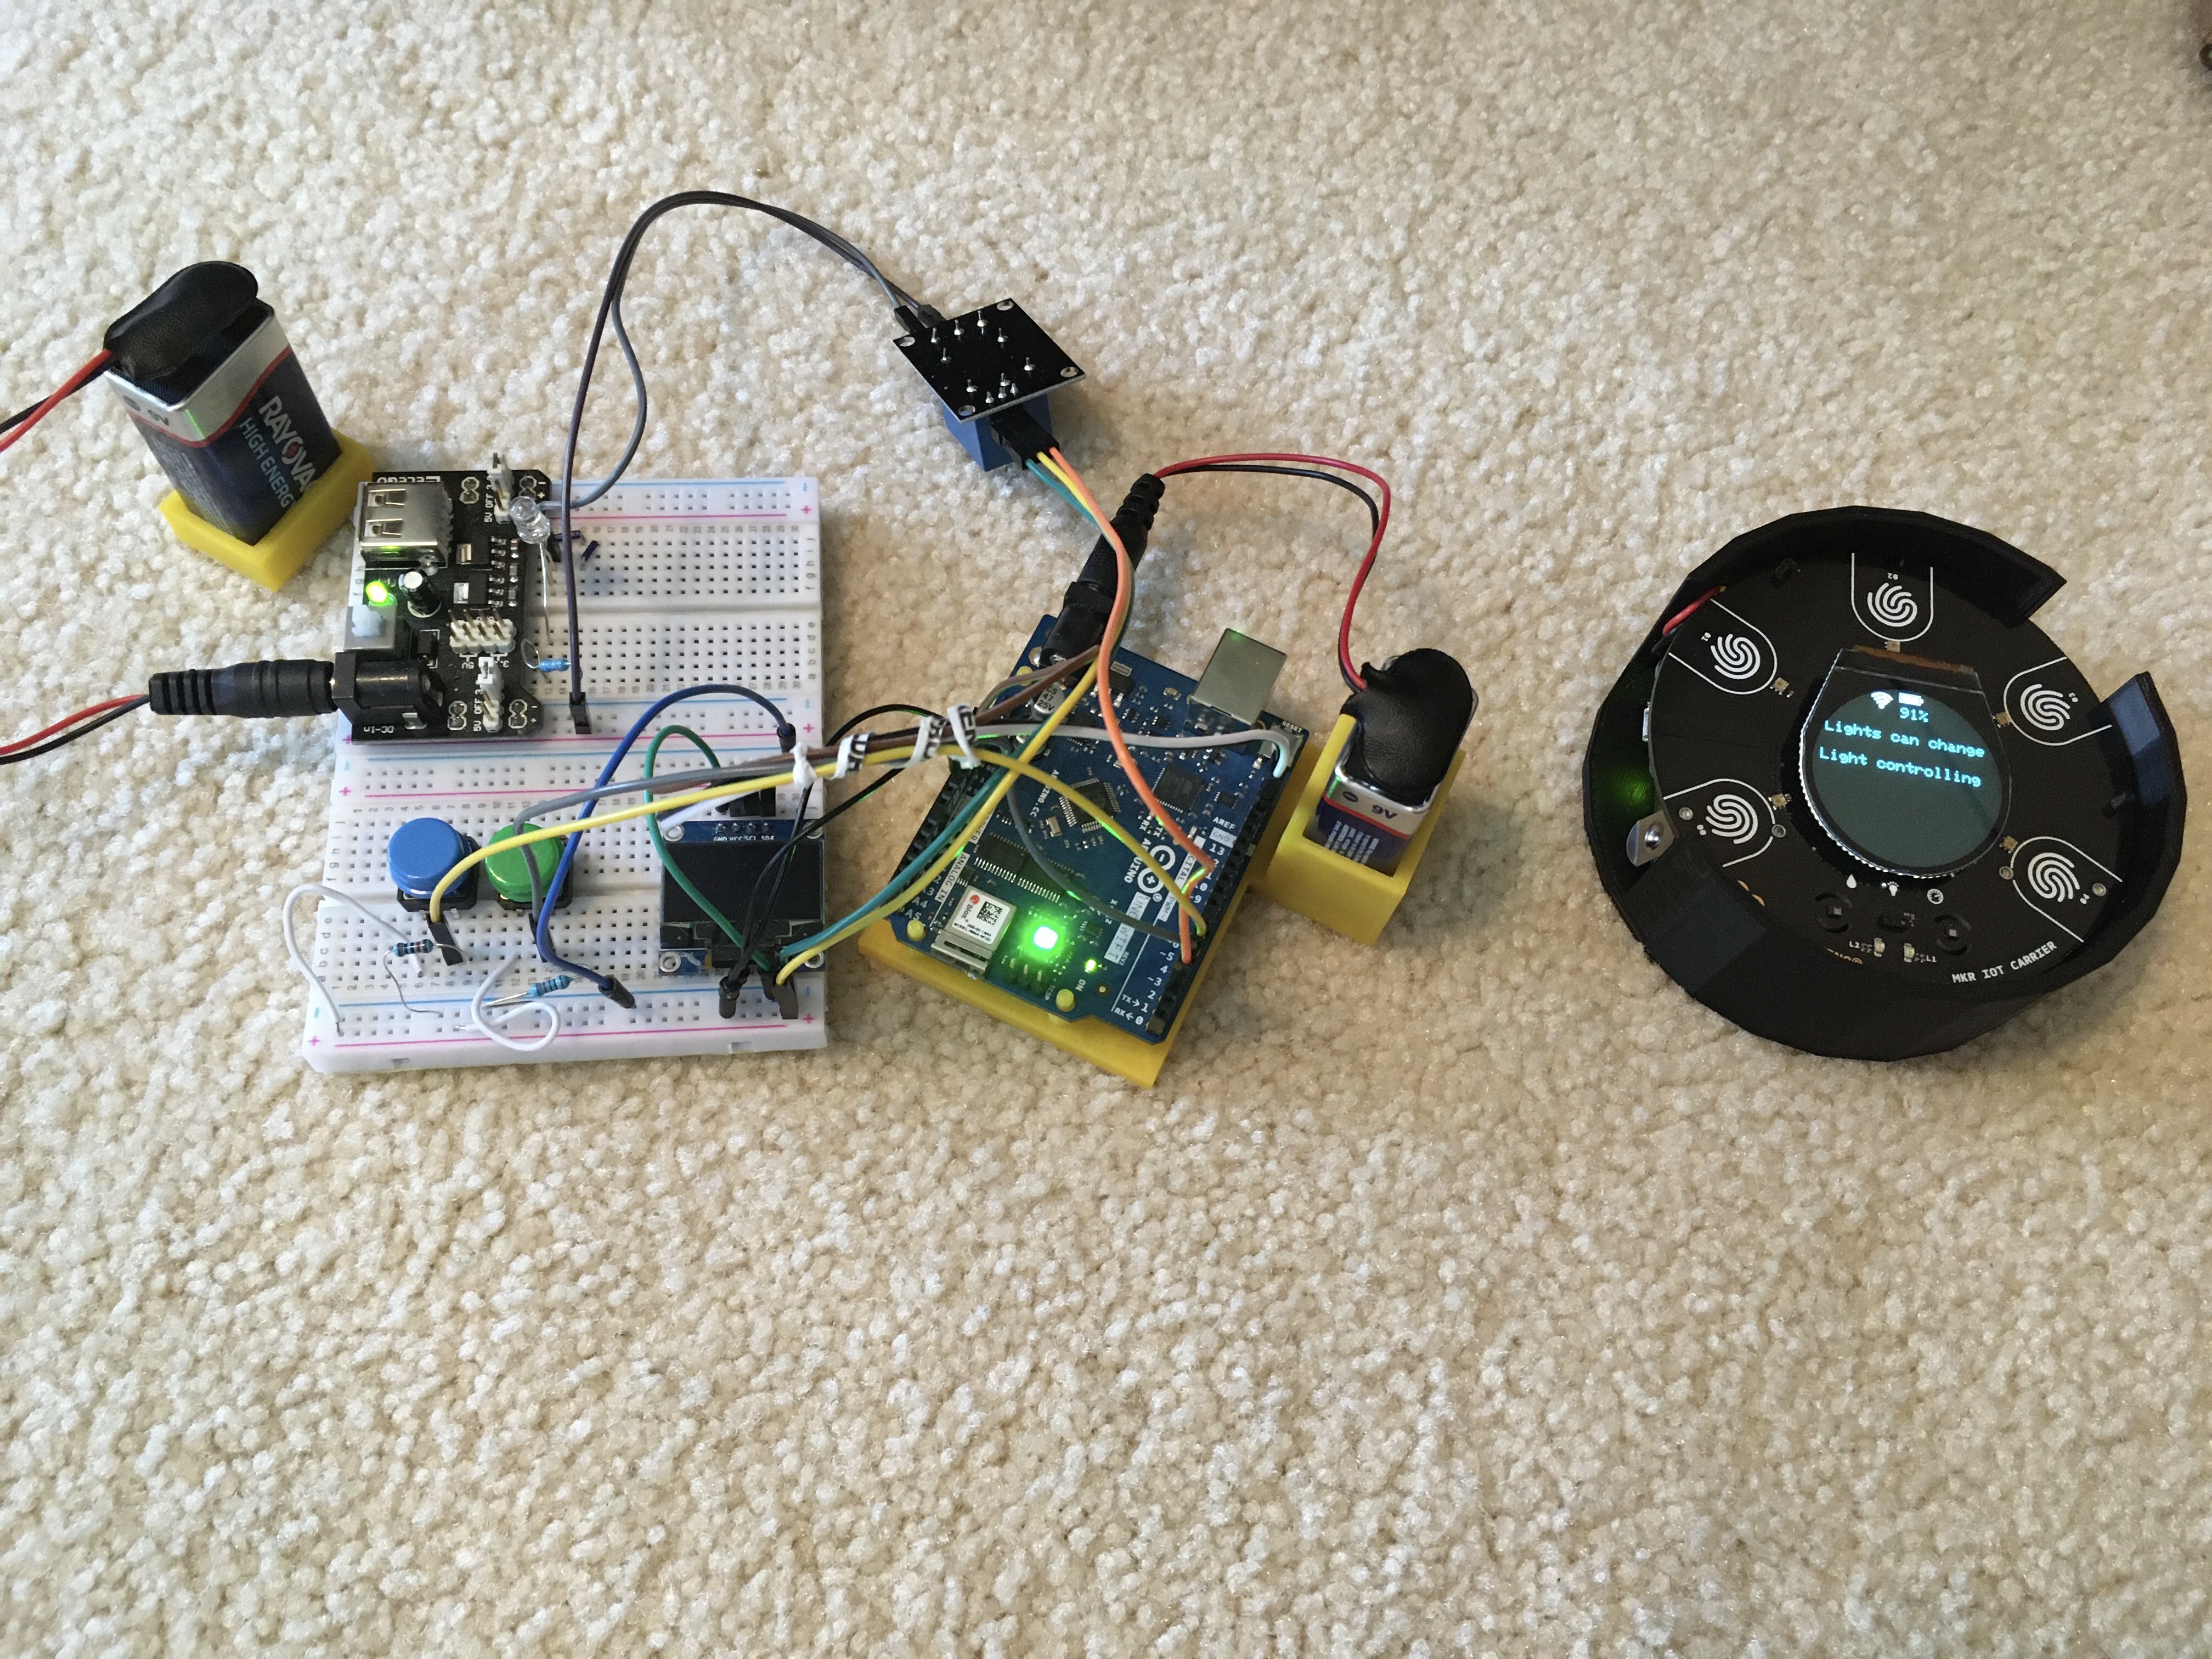
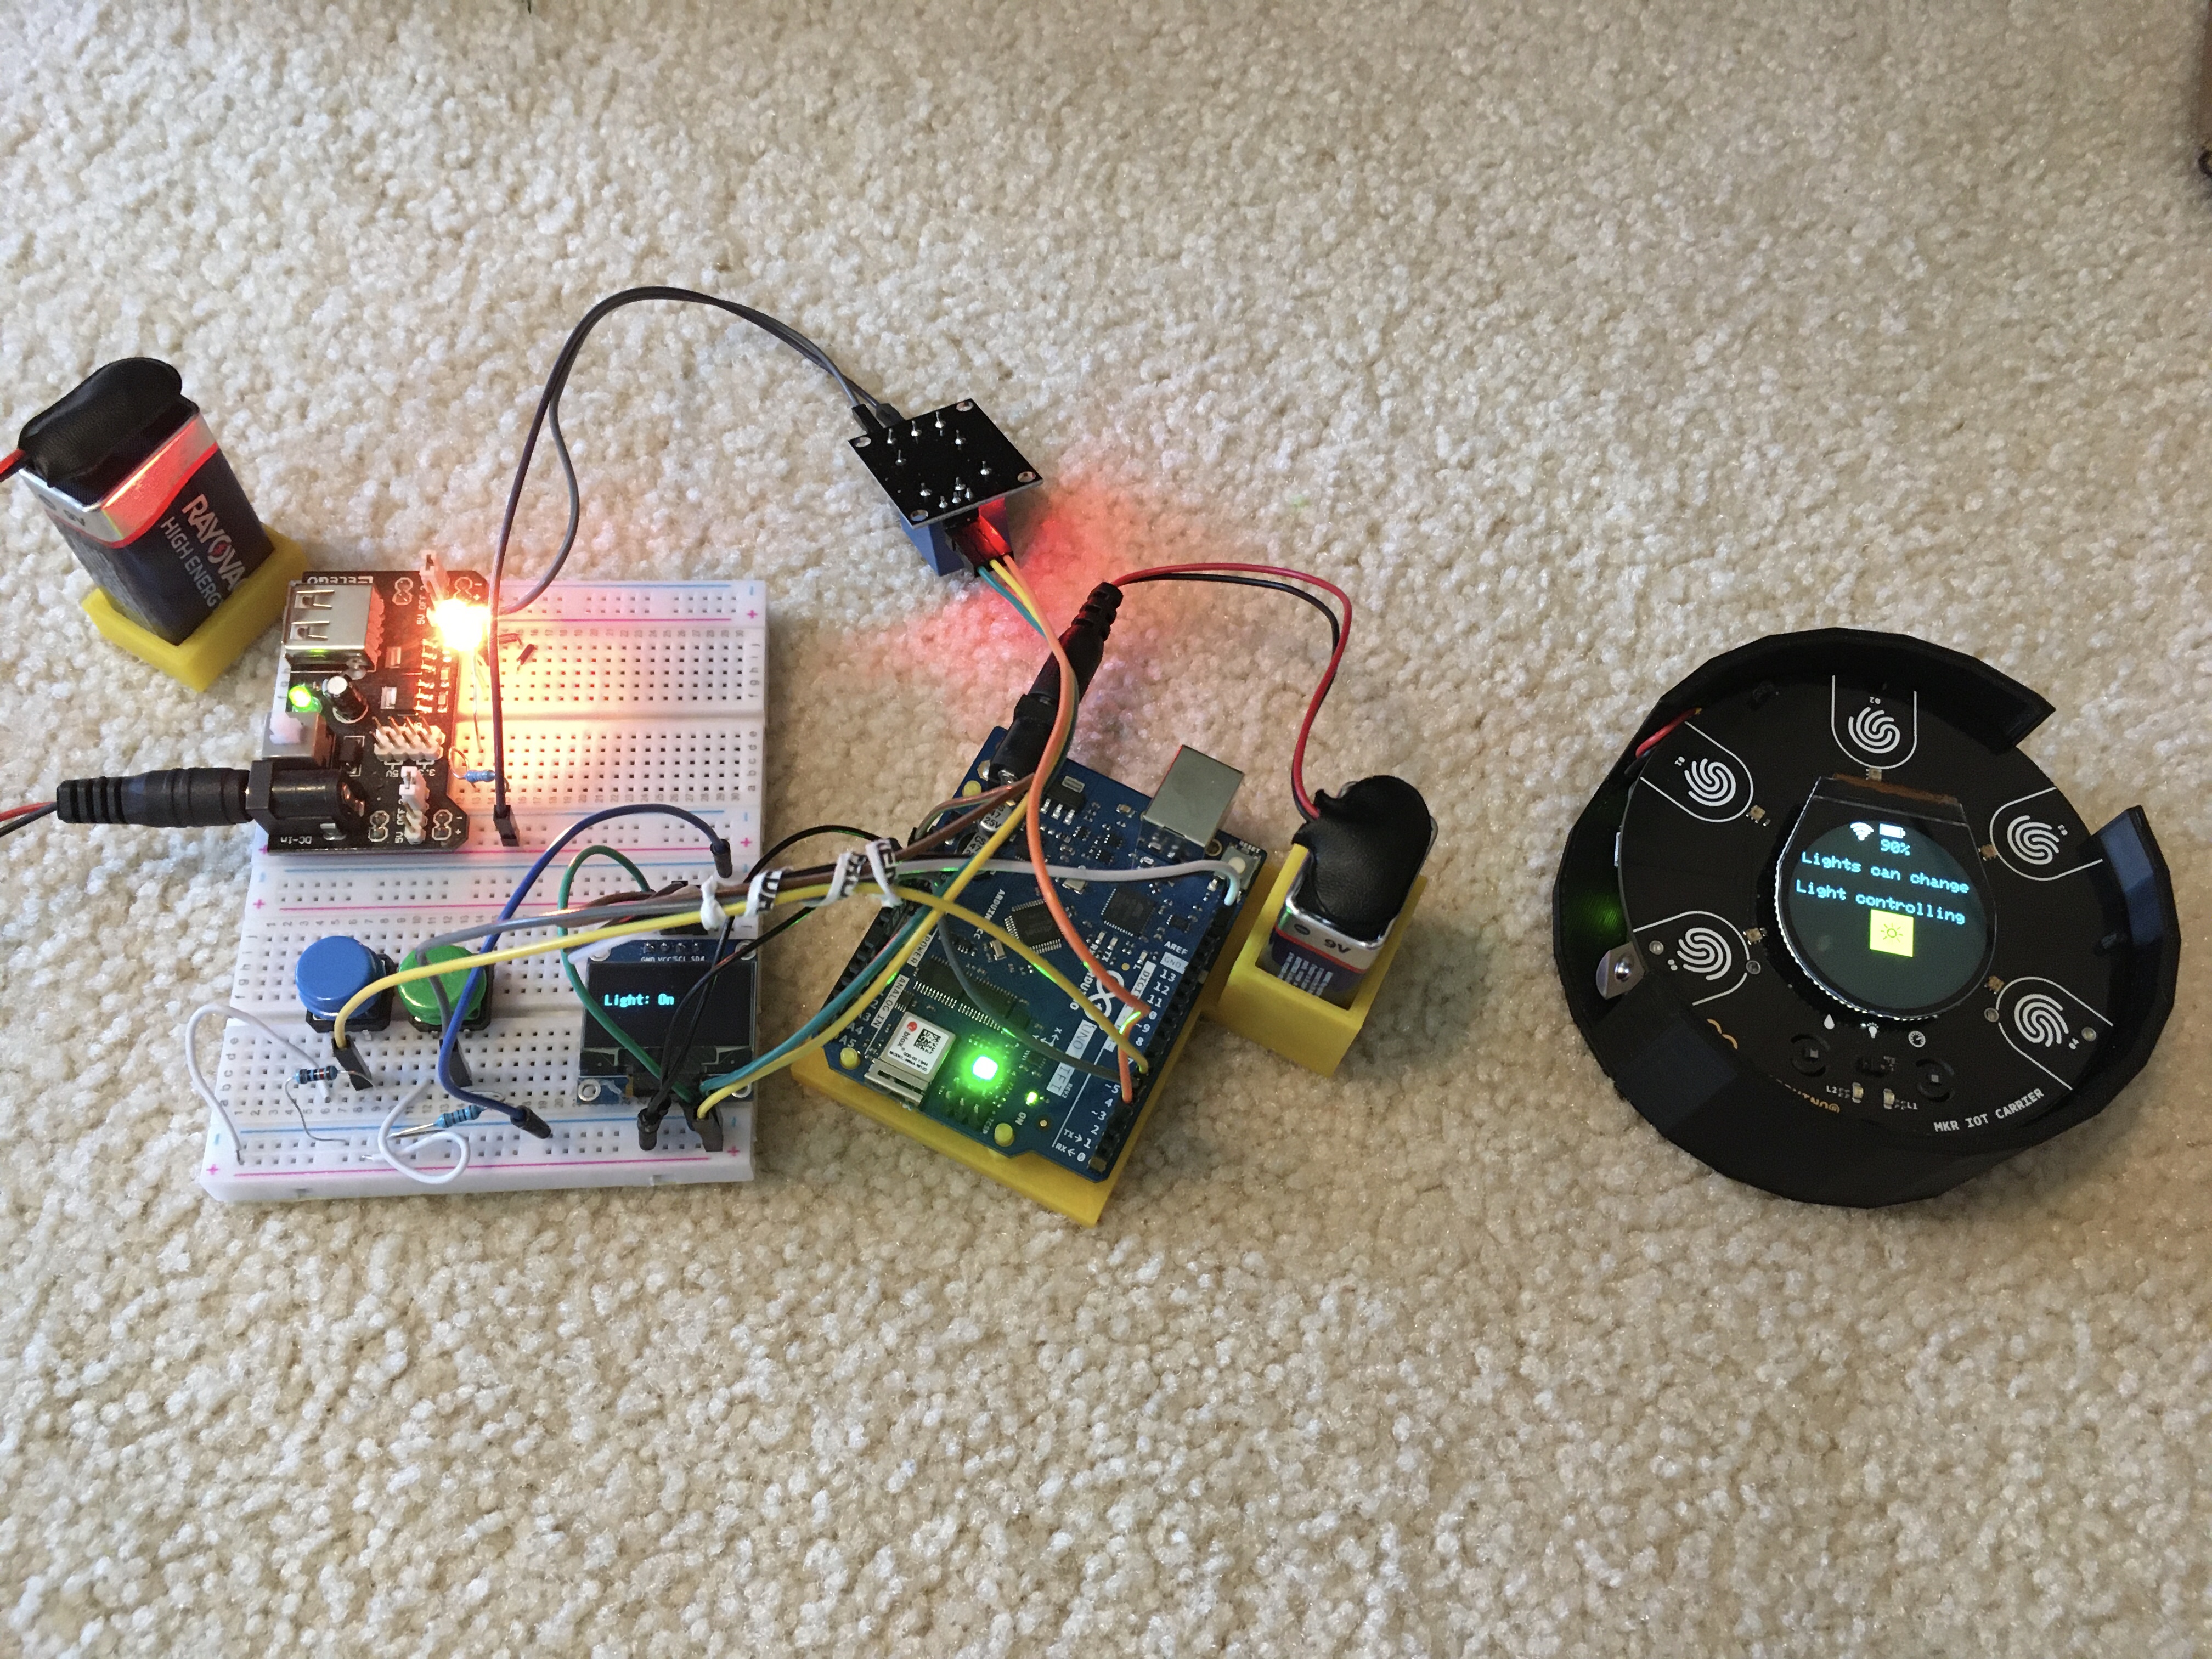
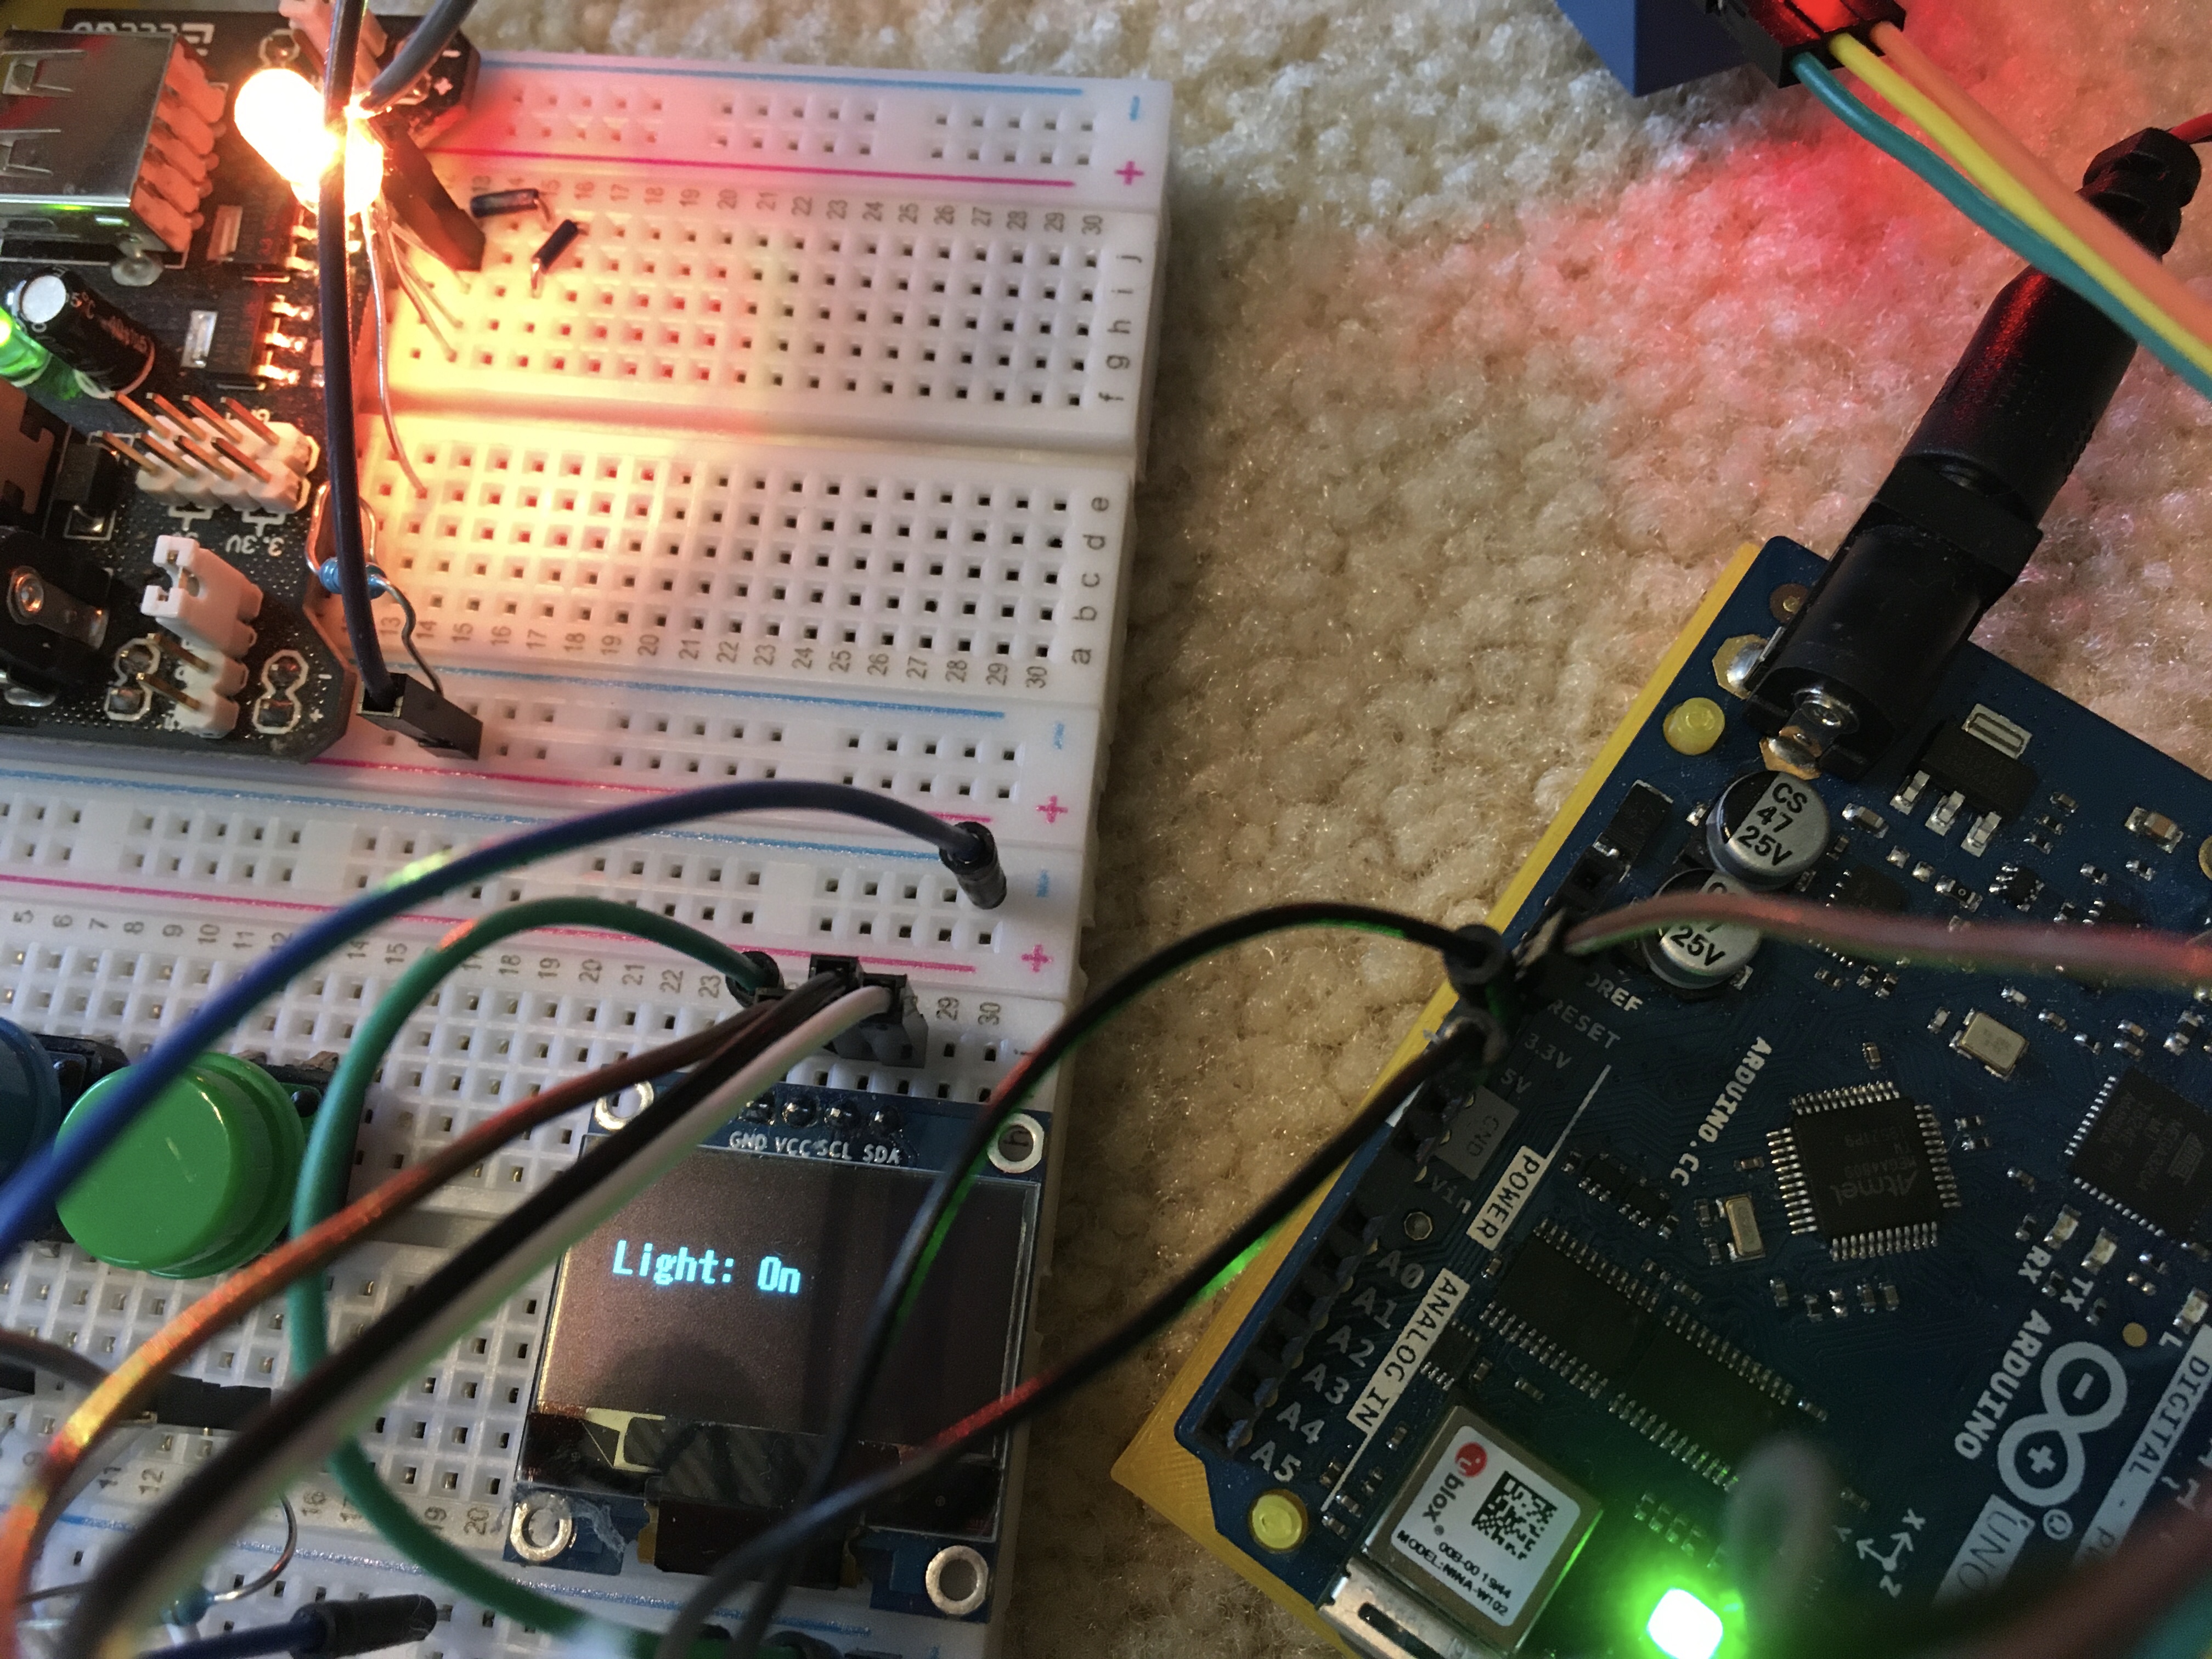
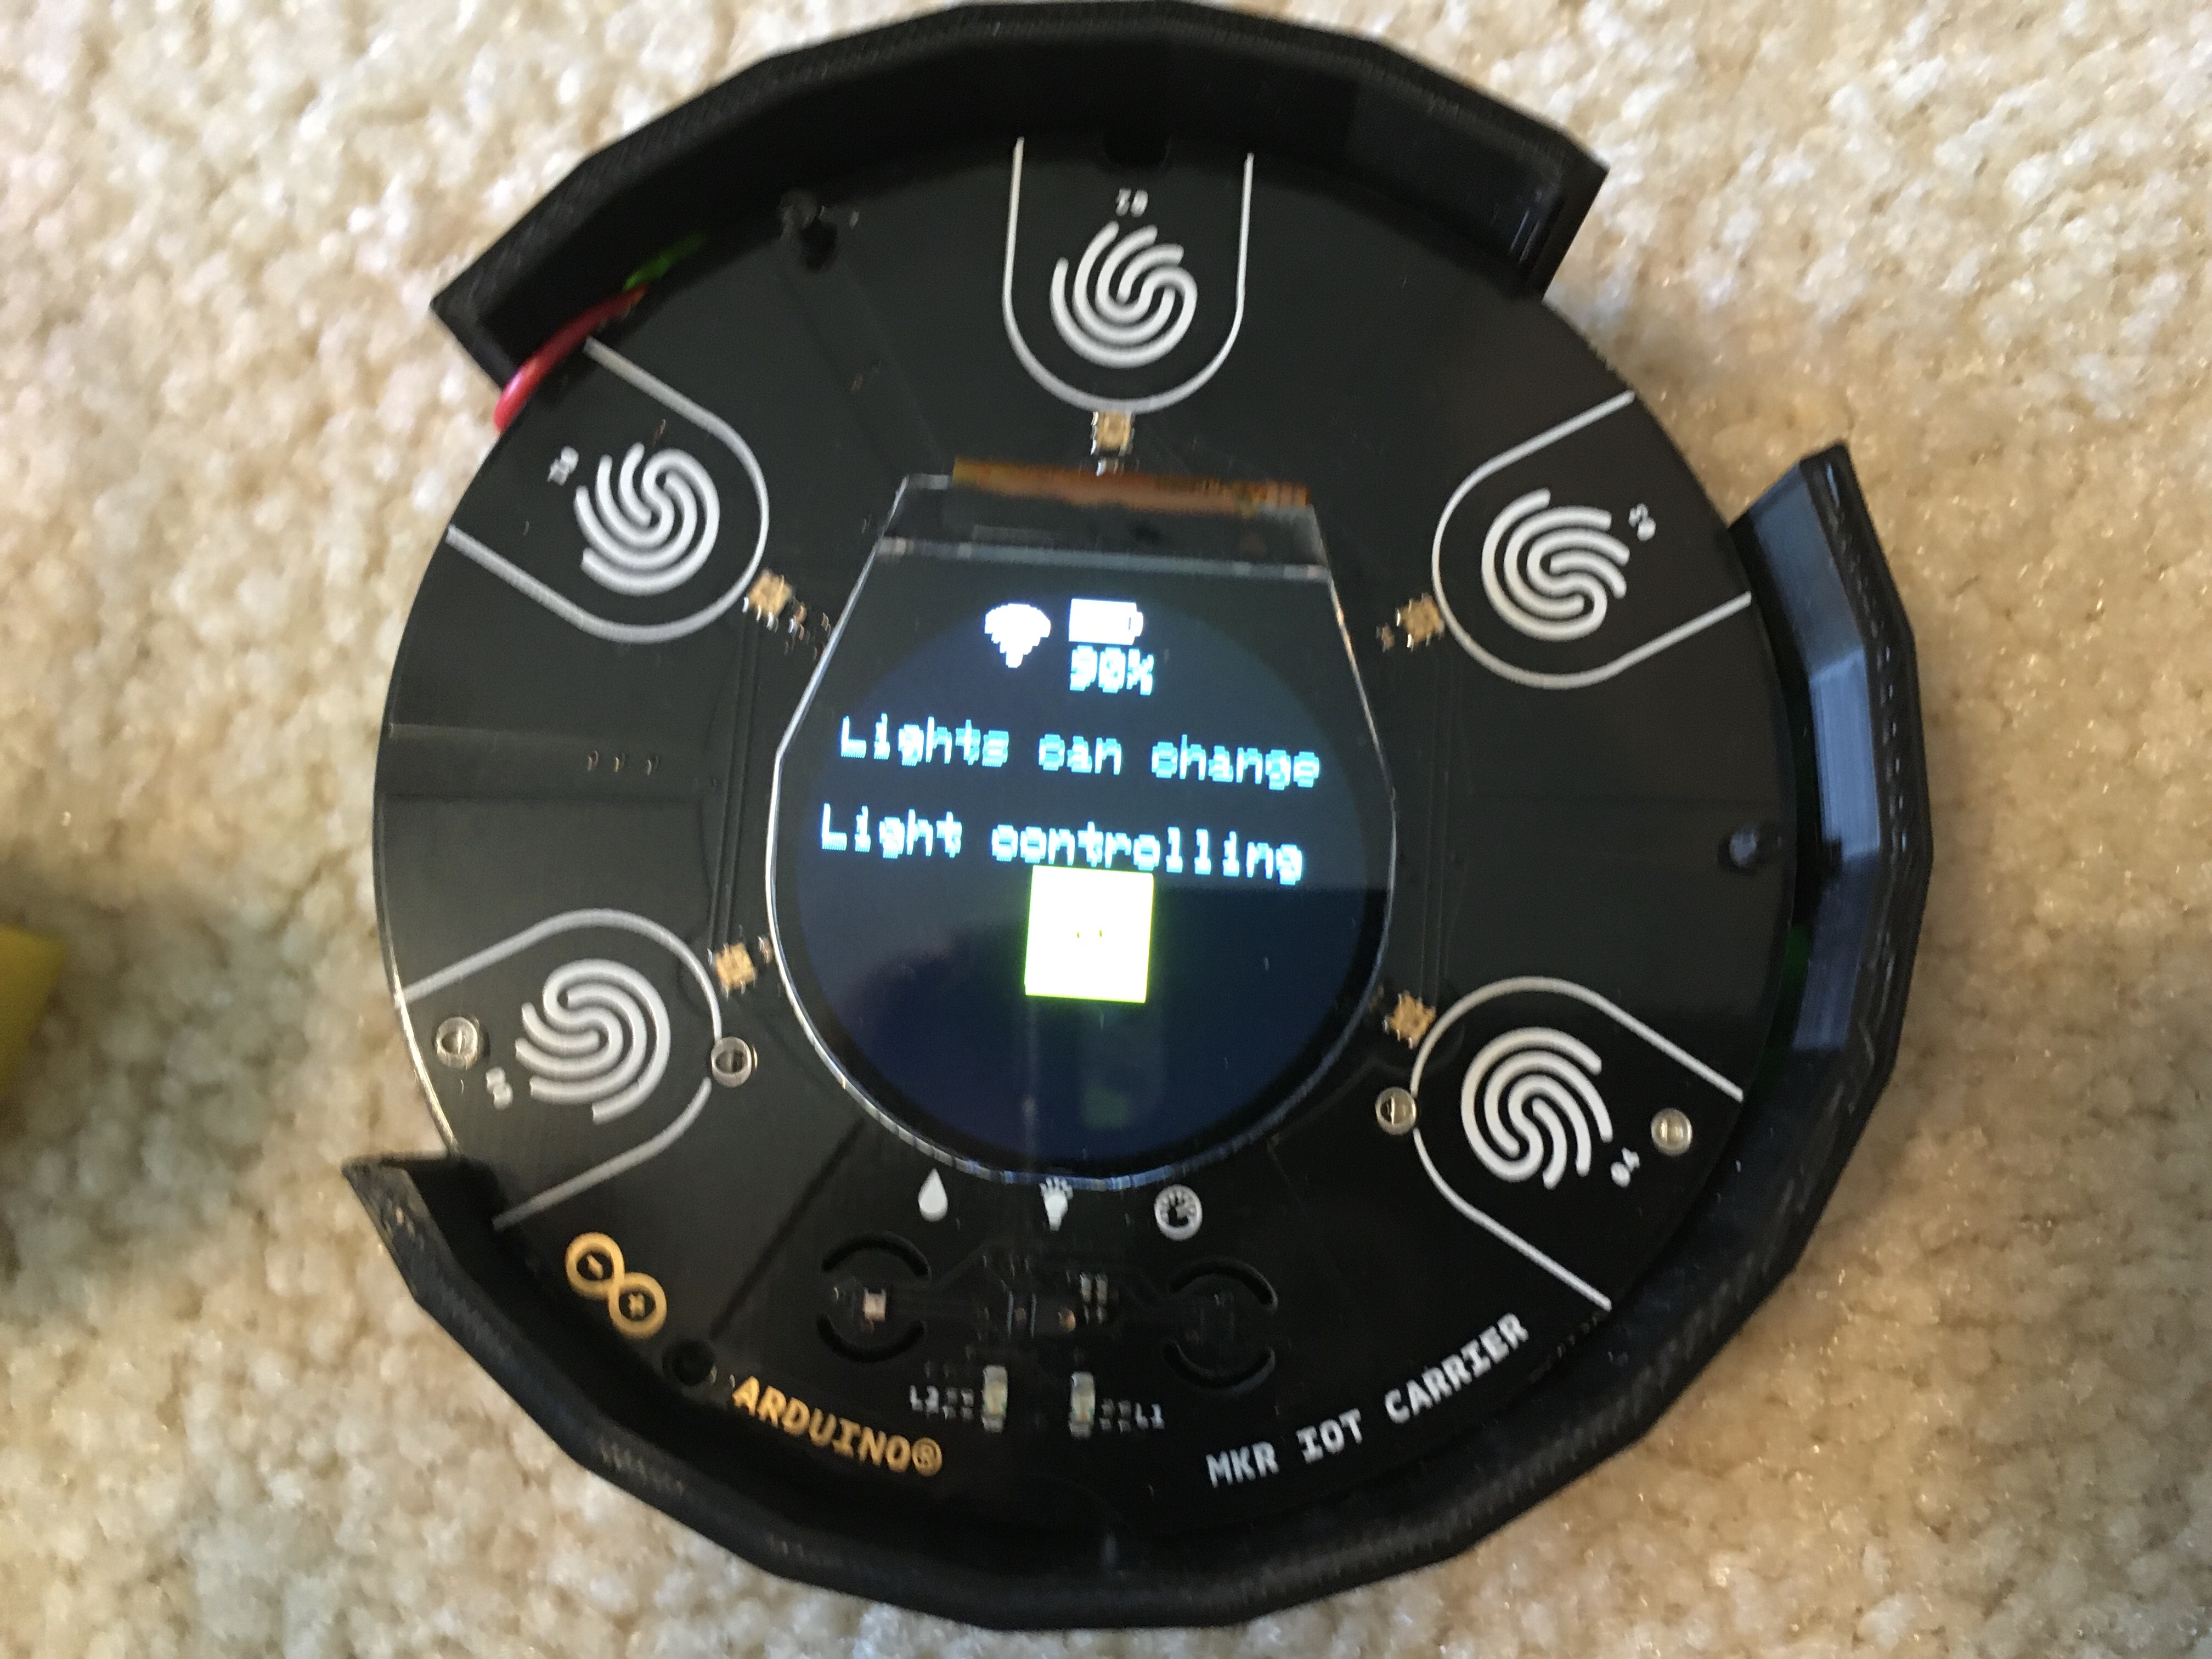
-On the MKR IoT Carrier:
The IoT Carrier's built-in display will show a WiFi icon if connected to WiFi, a battery graphic, if the lights can be toggled or not, a line of text that says "Light controlling, " a sun graphic if the light is on, and auto reconnect status.
Human interfaces (buttons, proximity, etc)
MKR IoT Carrier
The IoT Carrier uses 4 of the 5 buttons in this project.
Button 1 - Toggle auto reconnect. This will show at the bottom of the display
Button 2 - Nothing
Button 3 - Toggle lights
Button 4 - Toggle if the lights can be changed on the carrier
Button 5 - Toggle the flashlight (RGB LEDs on white, brightness is changeable in the code. Brightness is currently set to about 1/2)
Proximity - If anything gets close, (proximity value 150) it will toggle the lights
WiFi Rev2
Button 1 - Toggle light (sends data to MKR board)
Button 2 - Toggle auto-reconnect. (Will show on the display)
Mobile device
The button on the mobile device should be connected to V1, and it will toggle the lights.
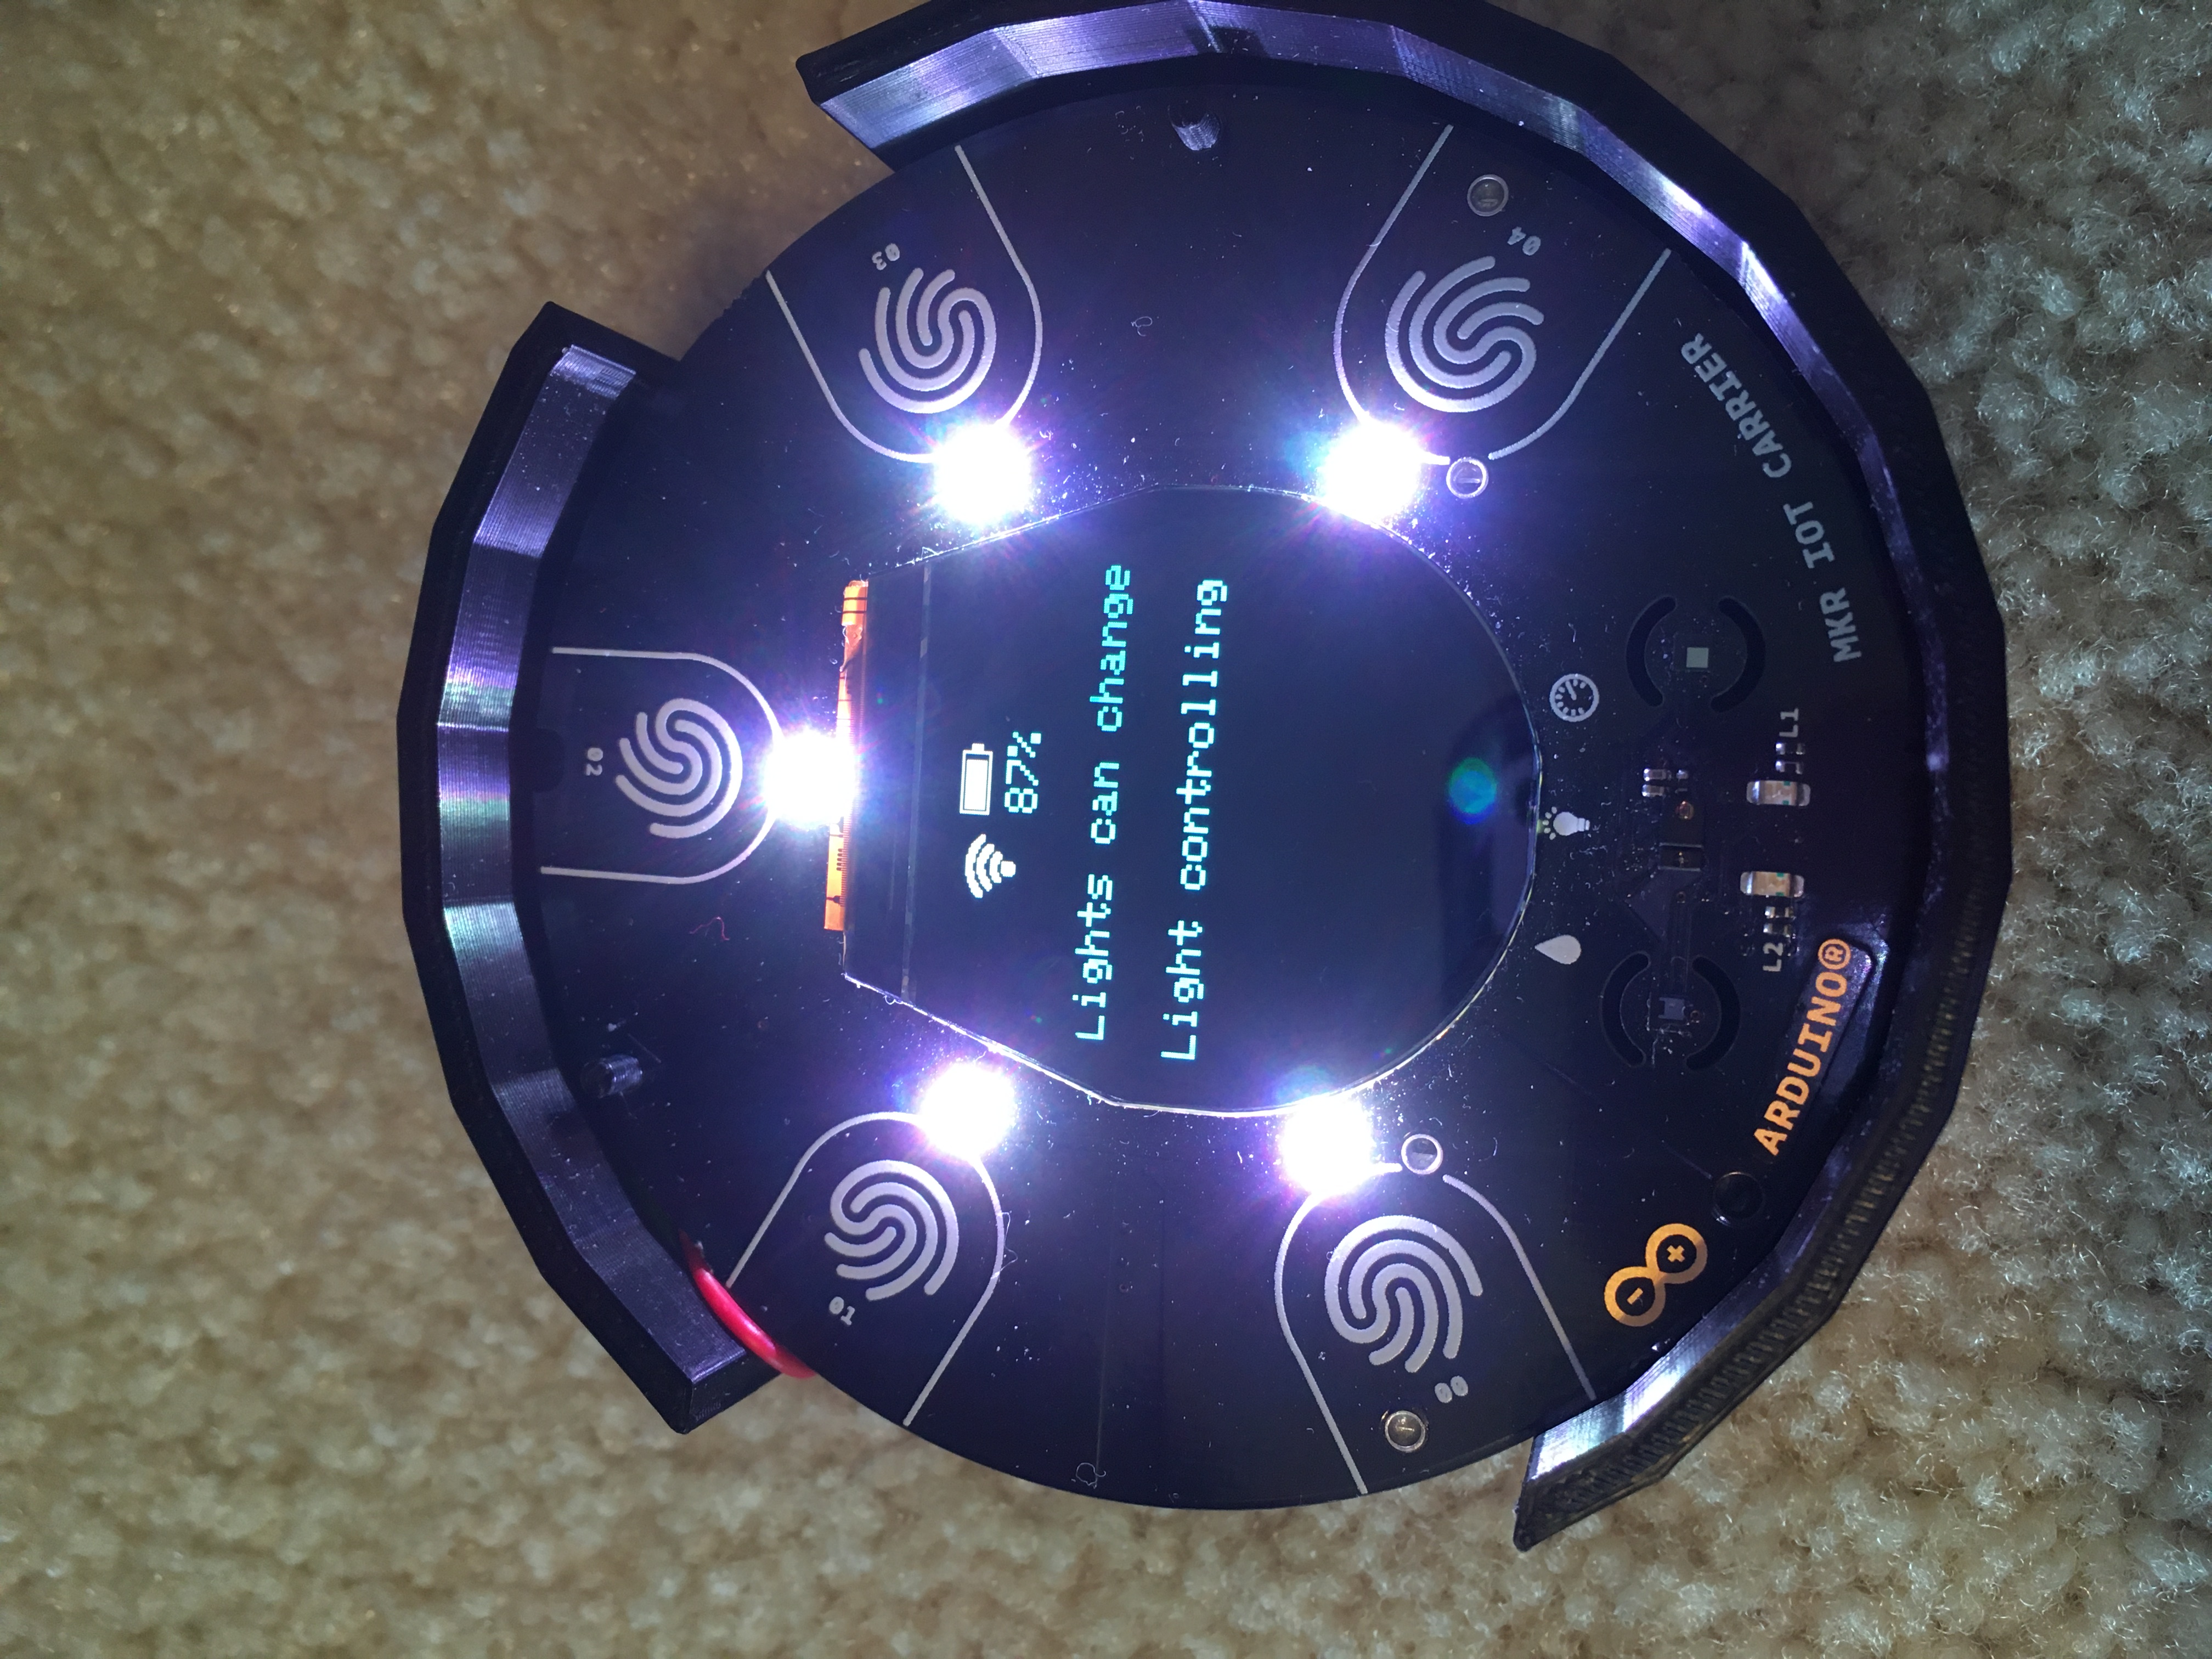
Images of the project:
Some images to show what it looks like.

EXPANDED TECHNICAL DETAILS
High-End IoT Ecosystem
This project utilizes the Arduino MKR IoT Carrier, which acts as a powerful hub for household lighting management.
- Integrated Environment: The Carrier comes pre-equipped with temperature, humidity, and atmospheric pressure sensors. The Arduino uses these to create "Atmospheric Light Scenes" (e.g., changing colors based on room temperature).
- OLED Control Pad: Features an onboard 1.3" OLED and capacitive touch buttons for local, tactile control of the lighting network.
Cloud Synchronization
- Blynk & Arduino IoT Cloud: Seamlessly pushes data to the cloud. Users can set schedules, create "Sleep Modes," or monitor the total energy consumption of their lighting setup from a centralized mobile app.