OVERVIEW:
This project aims to grasp the fundamentals of ROS1, understanding the workings of publishers and subscribers. Although the line follower isn't exceptionally fast, it serves as a practical example of utilizing rosserial on an Arduino board. To do this project, a foundational understanding of ROS is necessary, including concepts such as creating workspaces, packages, and scripts.
WORKING:
The Arduino gathers data from the IR sensors (e.g., 0000, 10000, etc.) and publishes it to the ROS node. The ROS node subscribes to this data and executes a script. Based on the received IR sensor data, the script issues commands to the line follower (e.g., forward, right, stop). The Arduino subscribes to these commands and changes the line follower's movements accordingly.
STEPS:
1] Create a Workspace.
2] Create a package inside the src folder of your workspace
3] Create a script folder inside src folder of your package
4] Copy paste the script which i attached (in code section) and save it
5] Then catkin_make your workspace
after doing these steps, follow the "line_follower_steps.txt" file attached in downloads section.
and you are done!!
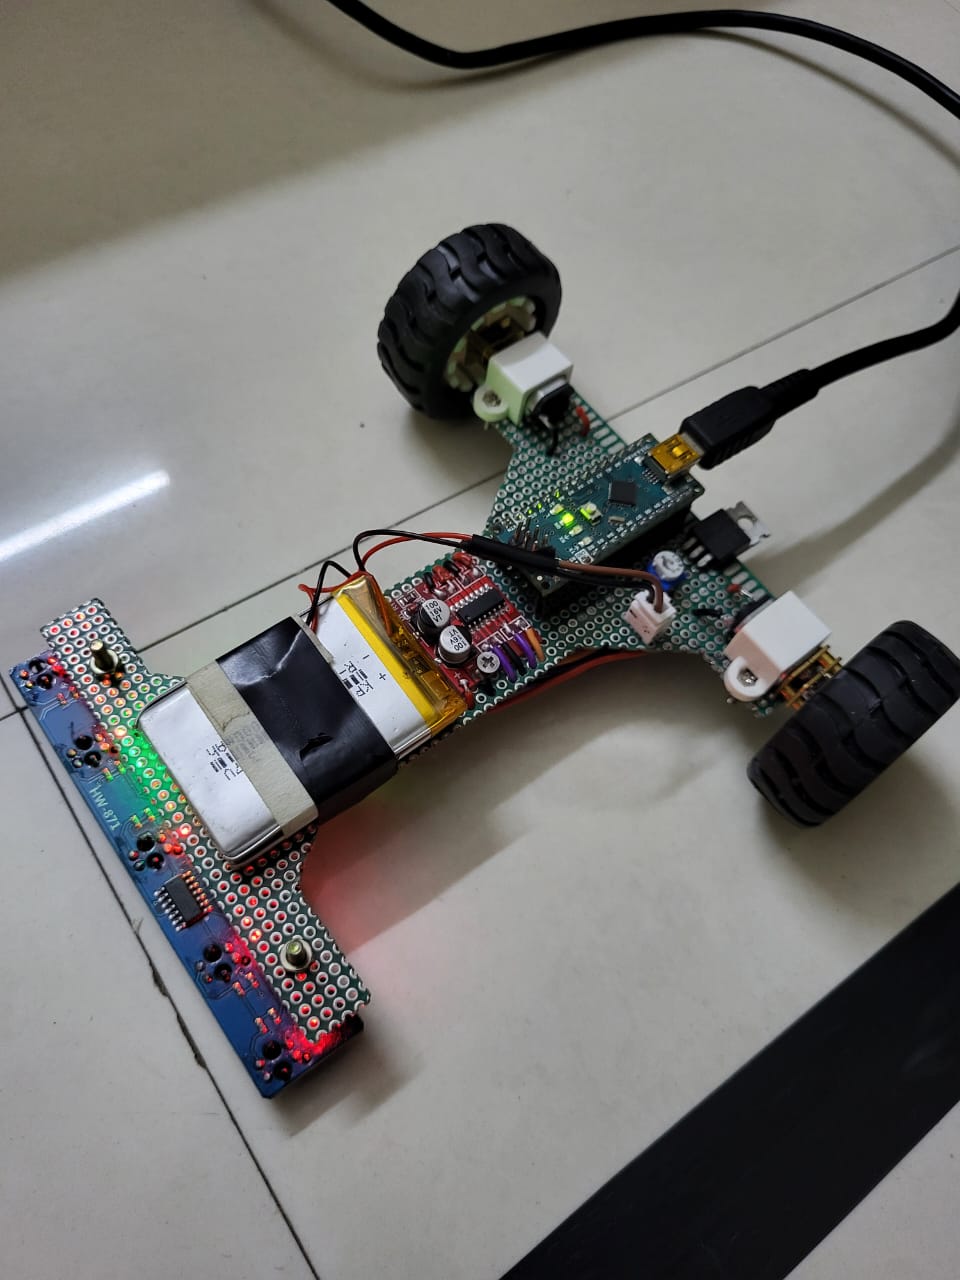
PHOTOS:
WORKING VIDEO:
EXPANDED TECHNICAL DETAILS
Robot Operating System (ROS) Integration
This advanced line follower bridges the simple Arduino hardware with the powerful ROS1 (Robot Operating System) ecosystem for complex path planning.
- rosserial Protocol: The Arduino acts as a ROS Hardware Node. It gathers data from a 5-channel Infrared (IR) sensor array and publishes it to the ROS master (typically running on a Raspberry Pi or PC) as a
/sensor_datatopic. - Distributed Computing: The high-level "Velocity" commands are calculated in ROS using a PID or path-following node and sent back to the Arduino via the
/cmd_veltopic, which then drives the motors.
Educational Impact
- Architecture Visualization: Students can use RViz to visualize the robot's sensor data and state in 3D in real-time, providing a professional industry-standard workflow for embedded robotics development.