Hi everyone!
Most of us use loads of services where a login is required. Therefore we have passwords that we have to remember. As it is bad practise to use the same password everywhere, it might become difficult to remember all the difficult combinations. So I decided to use an Arduino to automate the password-typing process and stored the password securely in the microcontroller. Note that once a microcontroller has a sketch in it, it is impossible to access any information within the uploaded sketch and so hackers can't get access to the passwords stored in the microcontroller's memory.
The reason this device offers high security is that once we upload the Sketch (code) to the microcontroller, the data stored in Flash Memory is compiled into Machine Code. This makes it extremely difficult for external parties to access or retrieve the original plaintext data, preventing hackers from stealing passwords through software vulnerabilities, unlike on a typical computer.
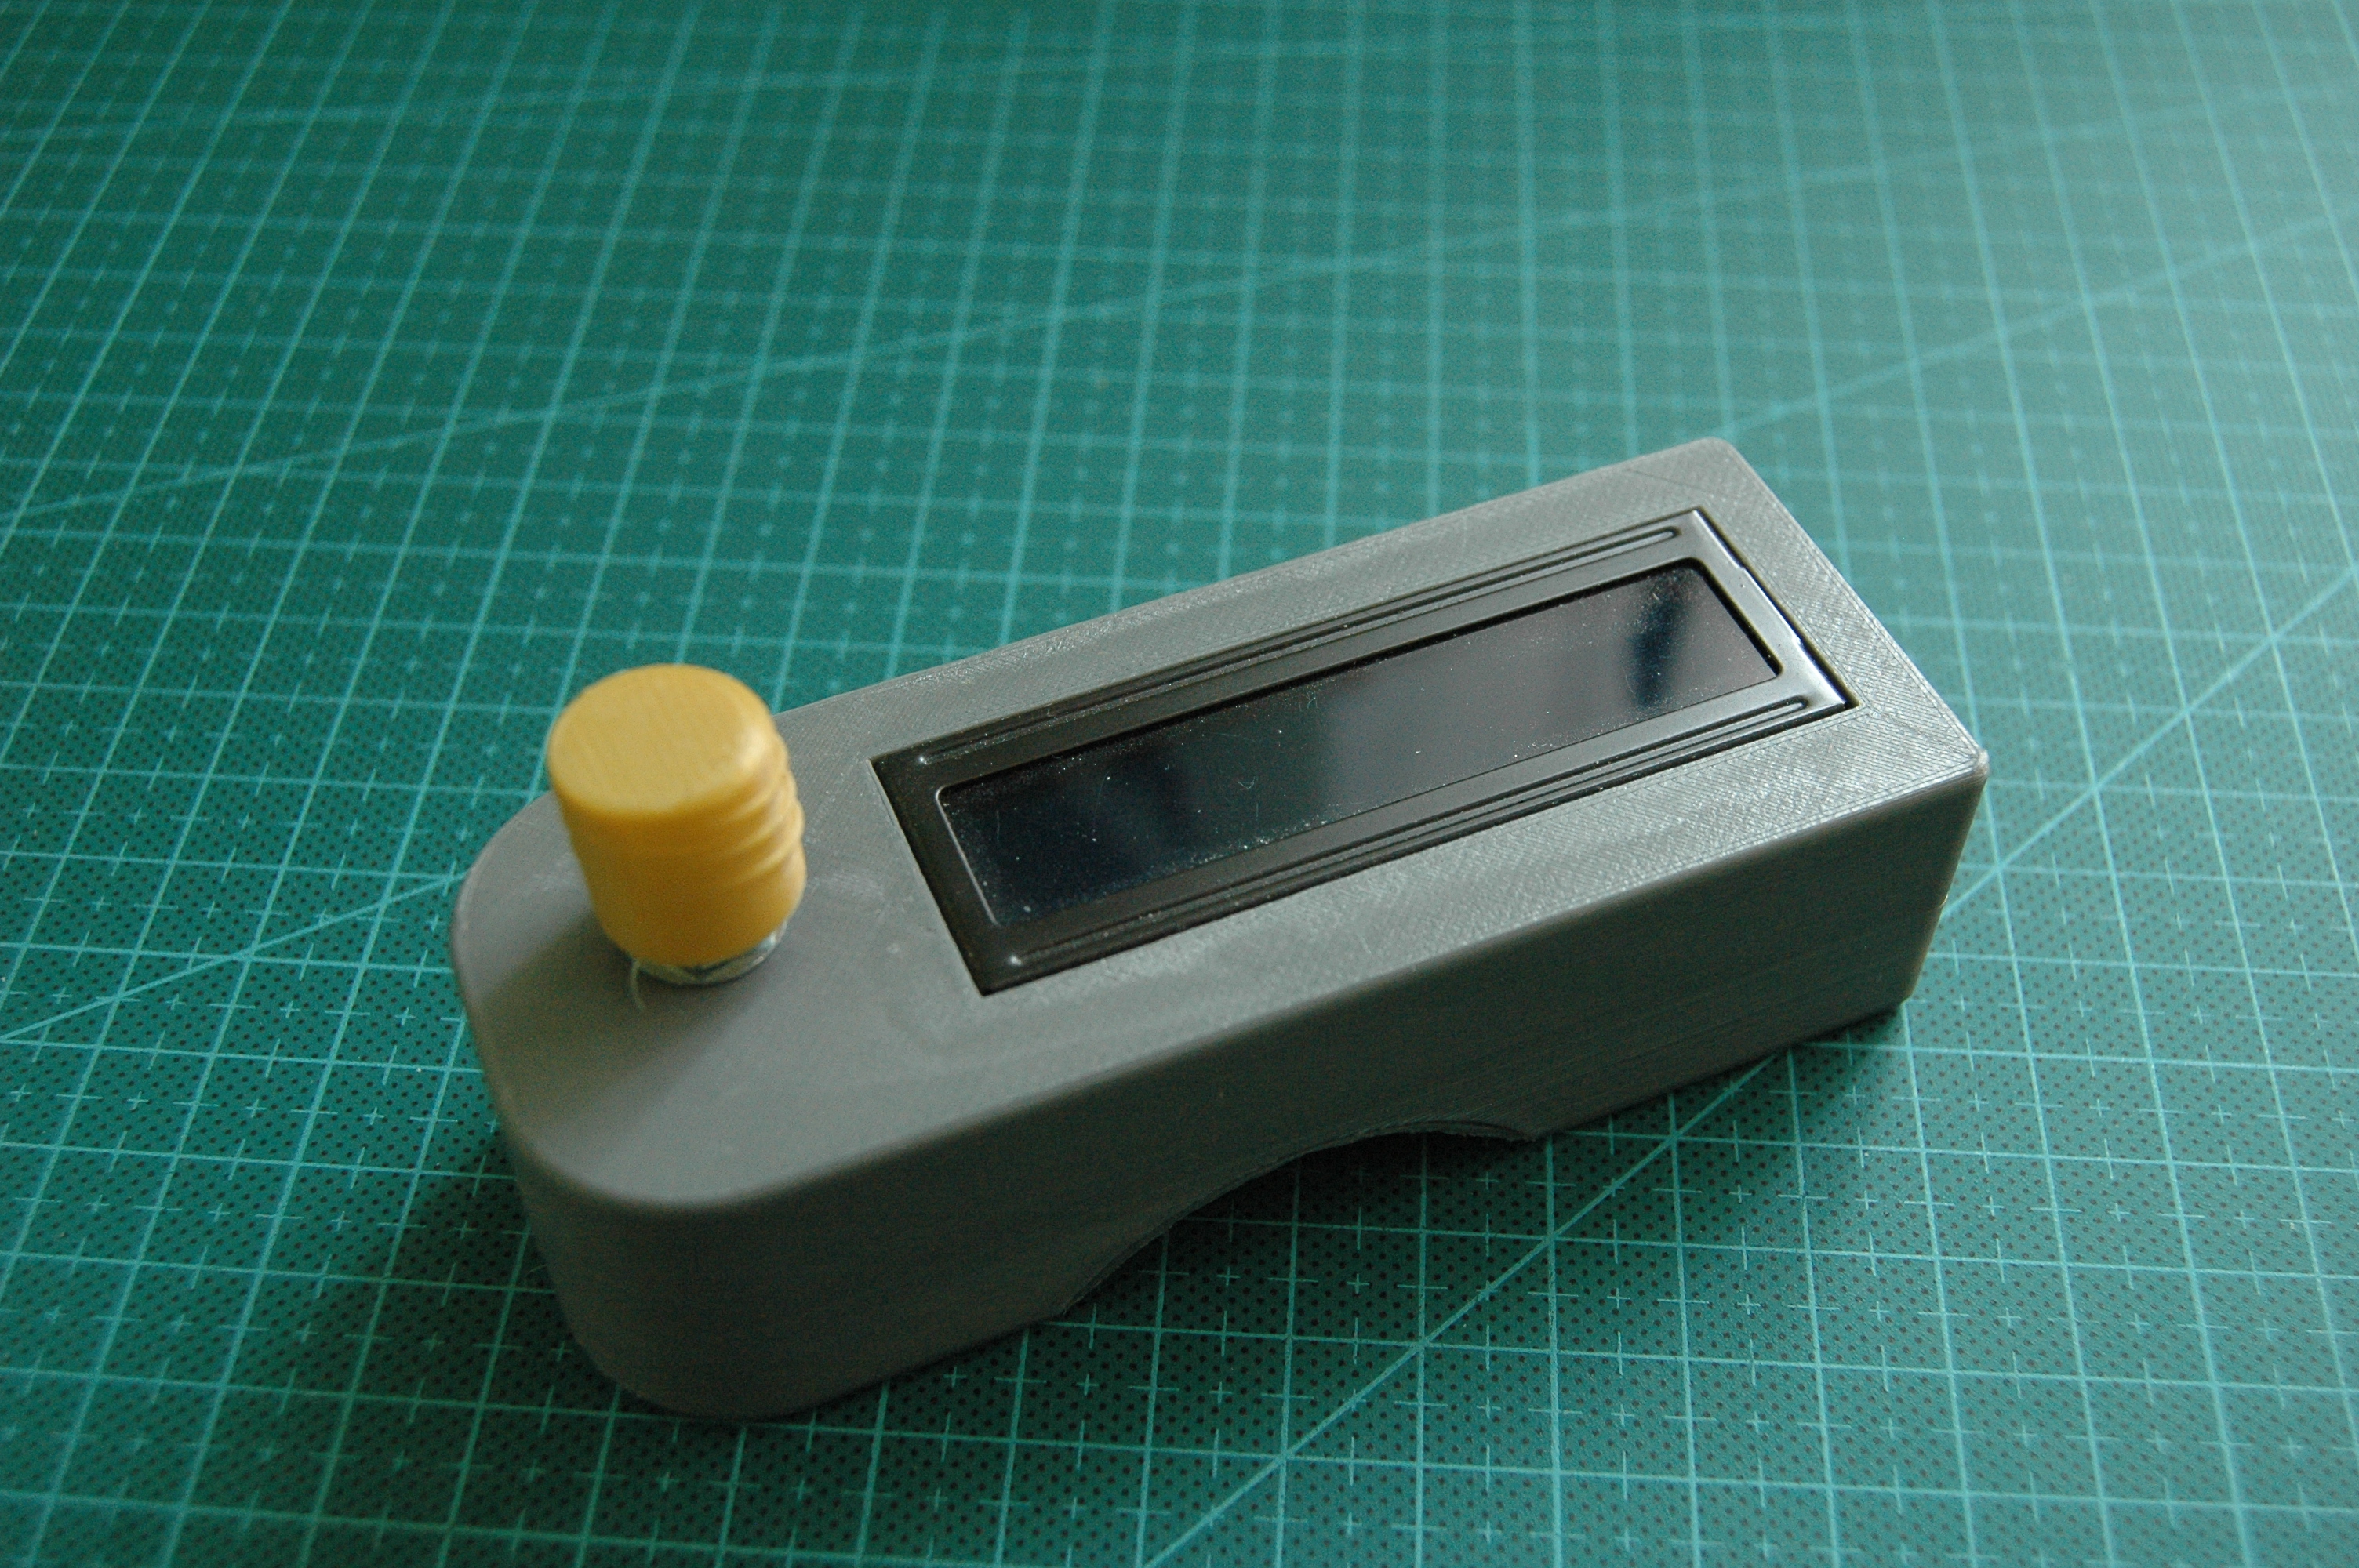
The device looks like this:
Hardware Architecture and Key Components
It doesn't have any power source inside, which is not necessary, because it only works in combination with the computer. This device is designed to be simple and compact, requiring no external power supply as it draws power directly from the computer's USB port (Bus-powered). The heart of this project is the Arduino Pro Micro, which utilizes the ATmega32U4 chipset.
The special feature of the ATmega32U4, which sets it apart from the ATmega328P found in Arduino Uno or Nano, is its integrated USB Communication module. This allows the computer to recognize this Arduino as a HID (Human Interface Device). In simpler terms, the computer perceives it as a standard keyboard. This capability enables us to command the Arduino to "type" any text directly into password fields.
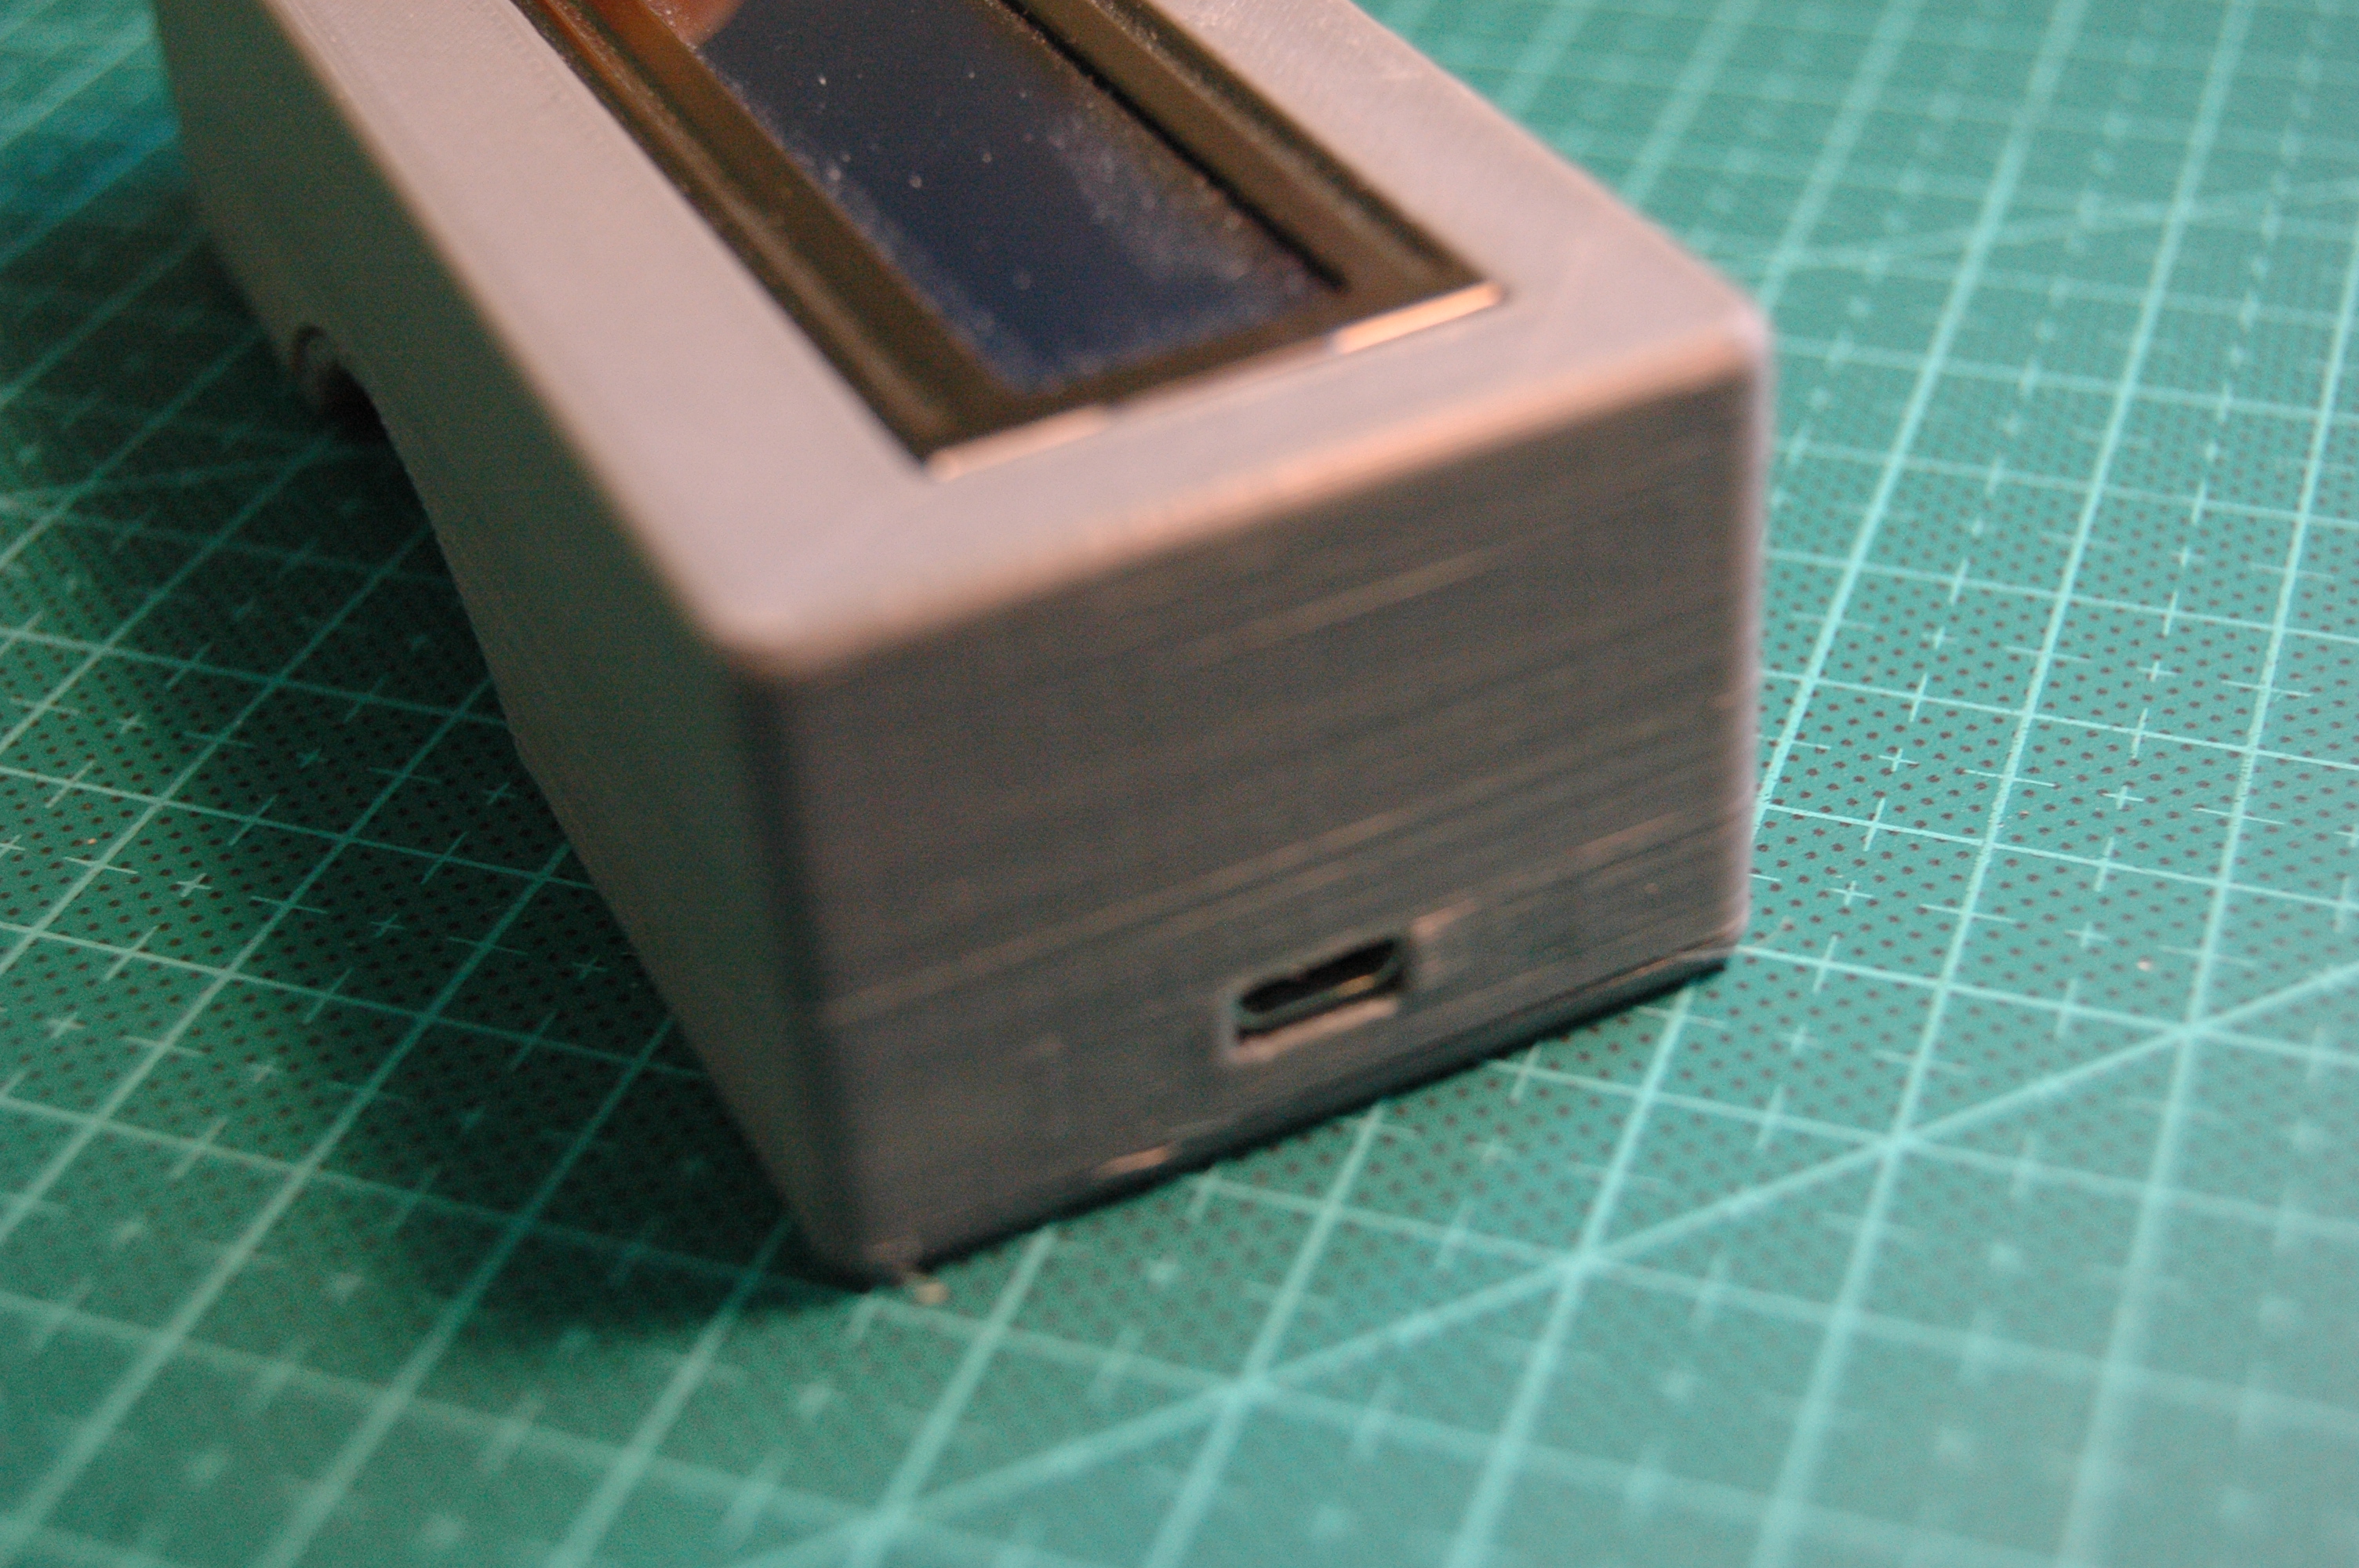
To connect the device to the computer we need a standard smartphone charging cable (USB micro).
Security and Control System
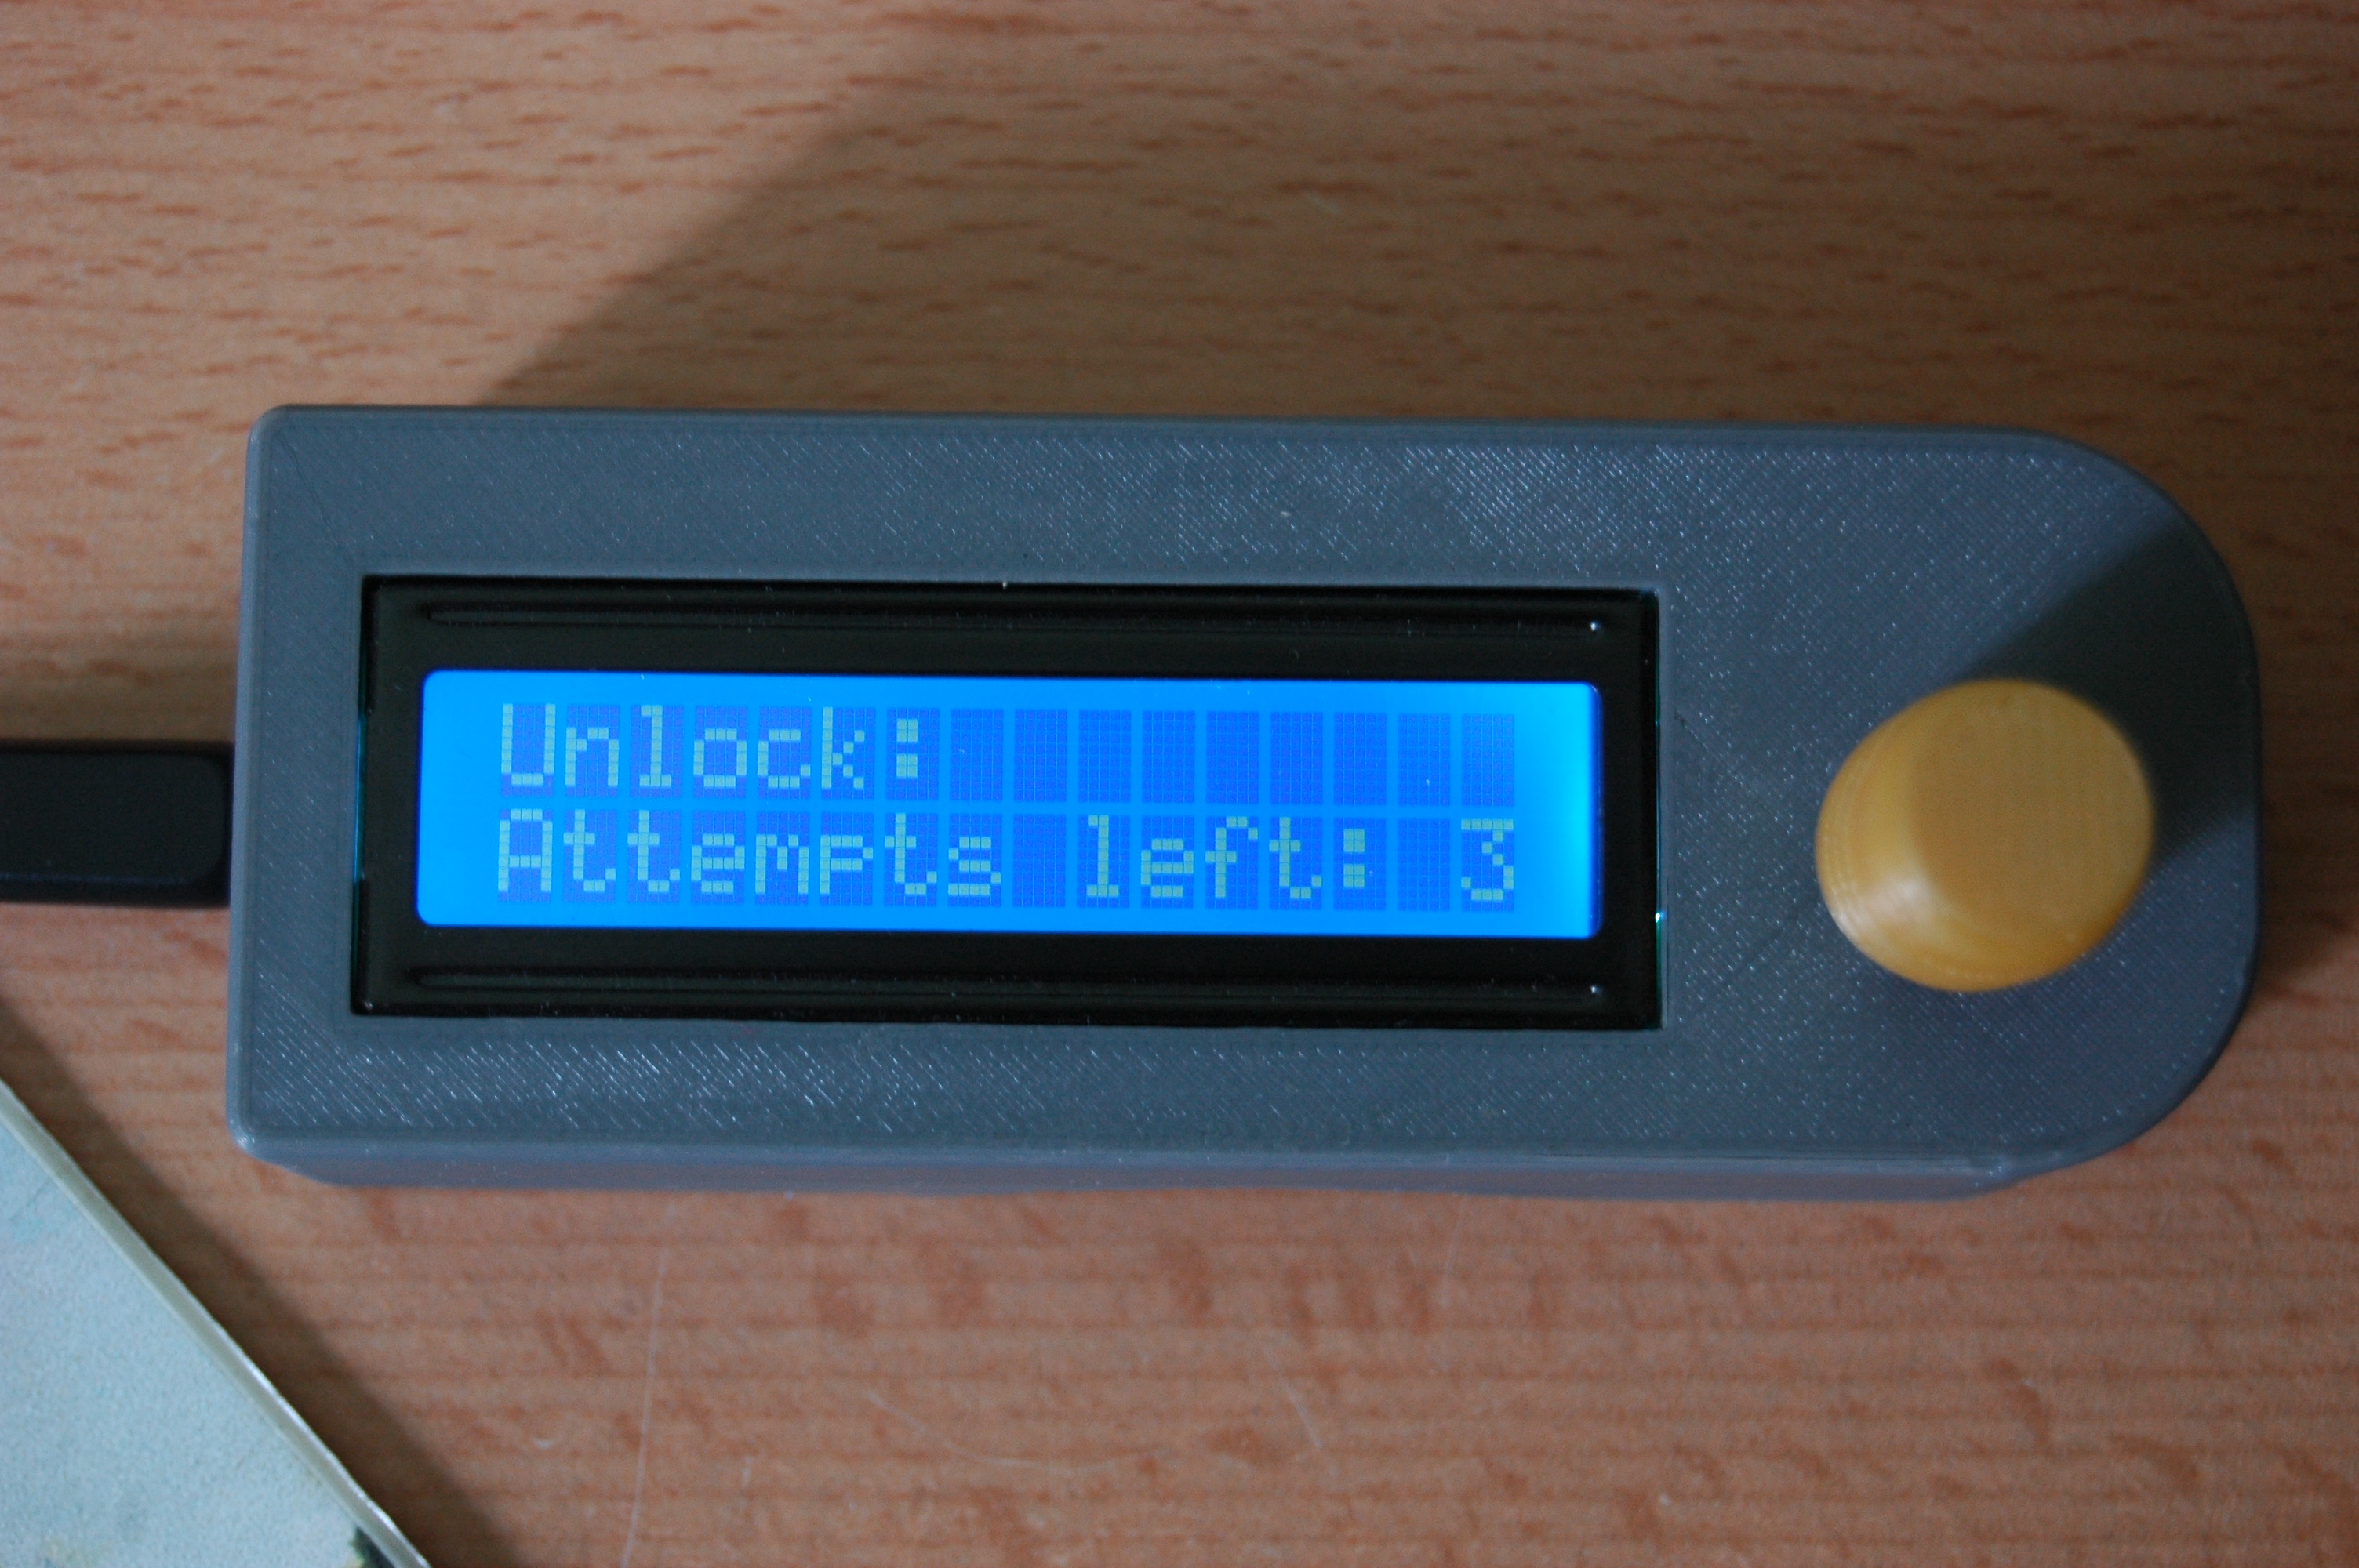
Once connected you have to type in only one password to get access to the other ones. You can change it in the sketch. The password is the rotation clicks of the encoder in the right direction the right number of times. It is difficult to understand, just watch the video to see what I am writing about)
To ensure that only you can access your saved passwords, I've designed a second layer of locking using a "physical password" entered via a Rotary Encoder before accessing the main menu.
The working principle of a Rotary Encoder is to send Quadrature pulse signals (Phase A and Phase B signals offset from each other) as we rotate its shaft. The Arduino code detects the direction of rotation (clockwise or counter-clockwise) and counts the number of "clicks" that occur. The password you set in the Sketch won't be alphanumeric characters, but rather a sequence of rotations in the correct directions, such as "3 clicks right, 5 clicks left." This method is difficult to guess for anyone unfamiliar with the device.
Code Operation (Logic Breakdown)
In the software section, I've utilized the <Keyboard.h> library, which is a standard library for boards using the 32U4 chip. The core structure of the code is divided into three main parts:
- State Machine: Controls the device's states, ranging from 'Locked' (waiting for password rotation), 'Menu' (selecting services), and 'Typing' (sending passwords to the computer).
- Encoder Logic: Employs Interrupt techniques or Digital Scan of signals to accurately read the Encoder's position, preventing skipping steps during rotation.
- Keyboard Emulation: When a menu item is selected, the code invokes the command
Keyboard.print("YourSecretPassword");, which instantly transmits ASCII codes via the USB HID protocol to the computer, as if you were typing with your own fingers.
Use the encoder to navigate through the menu and press the encoder to enter password into the computer.
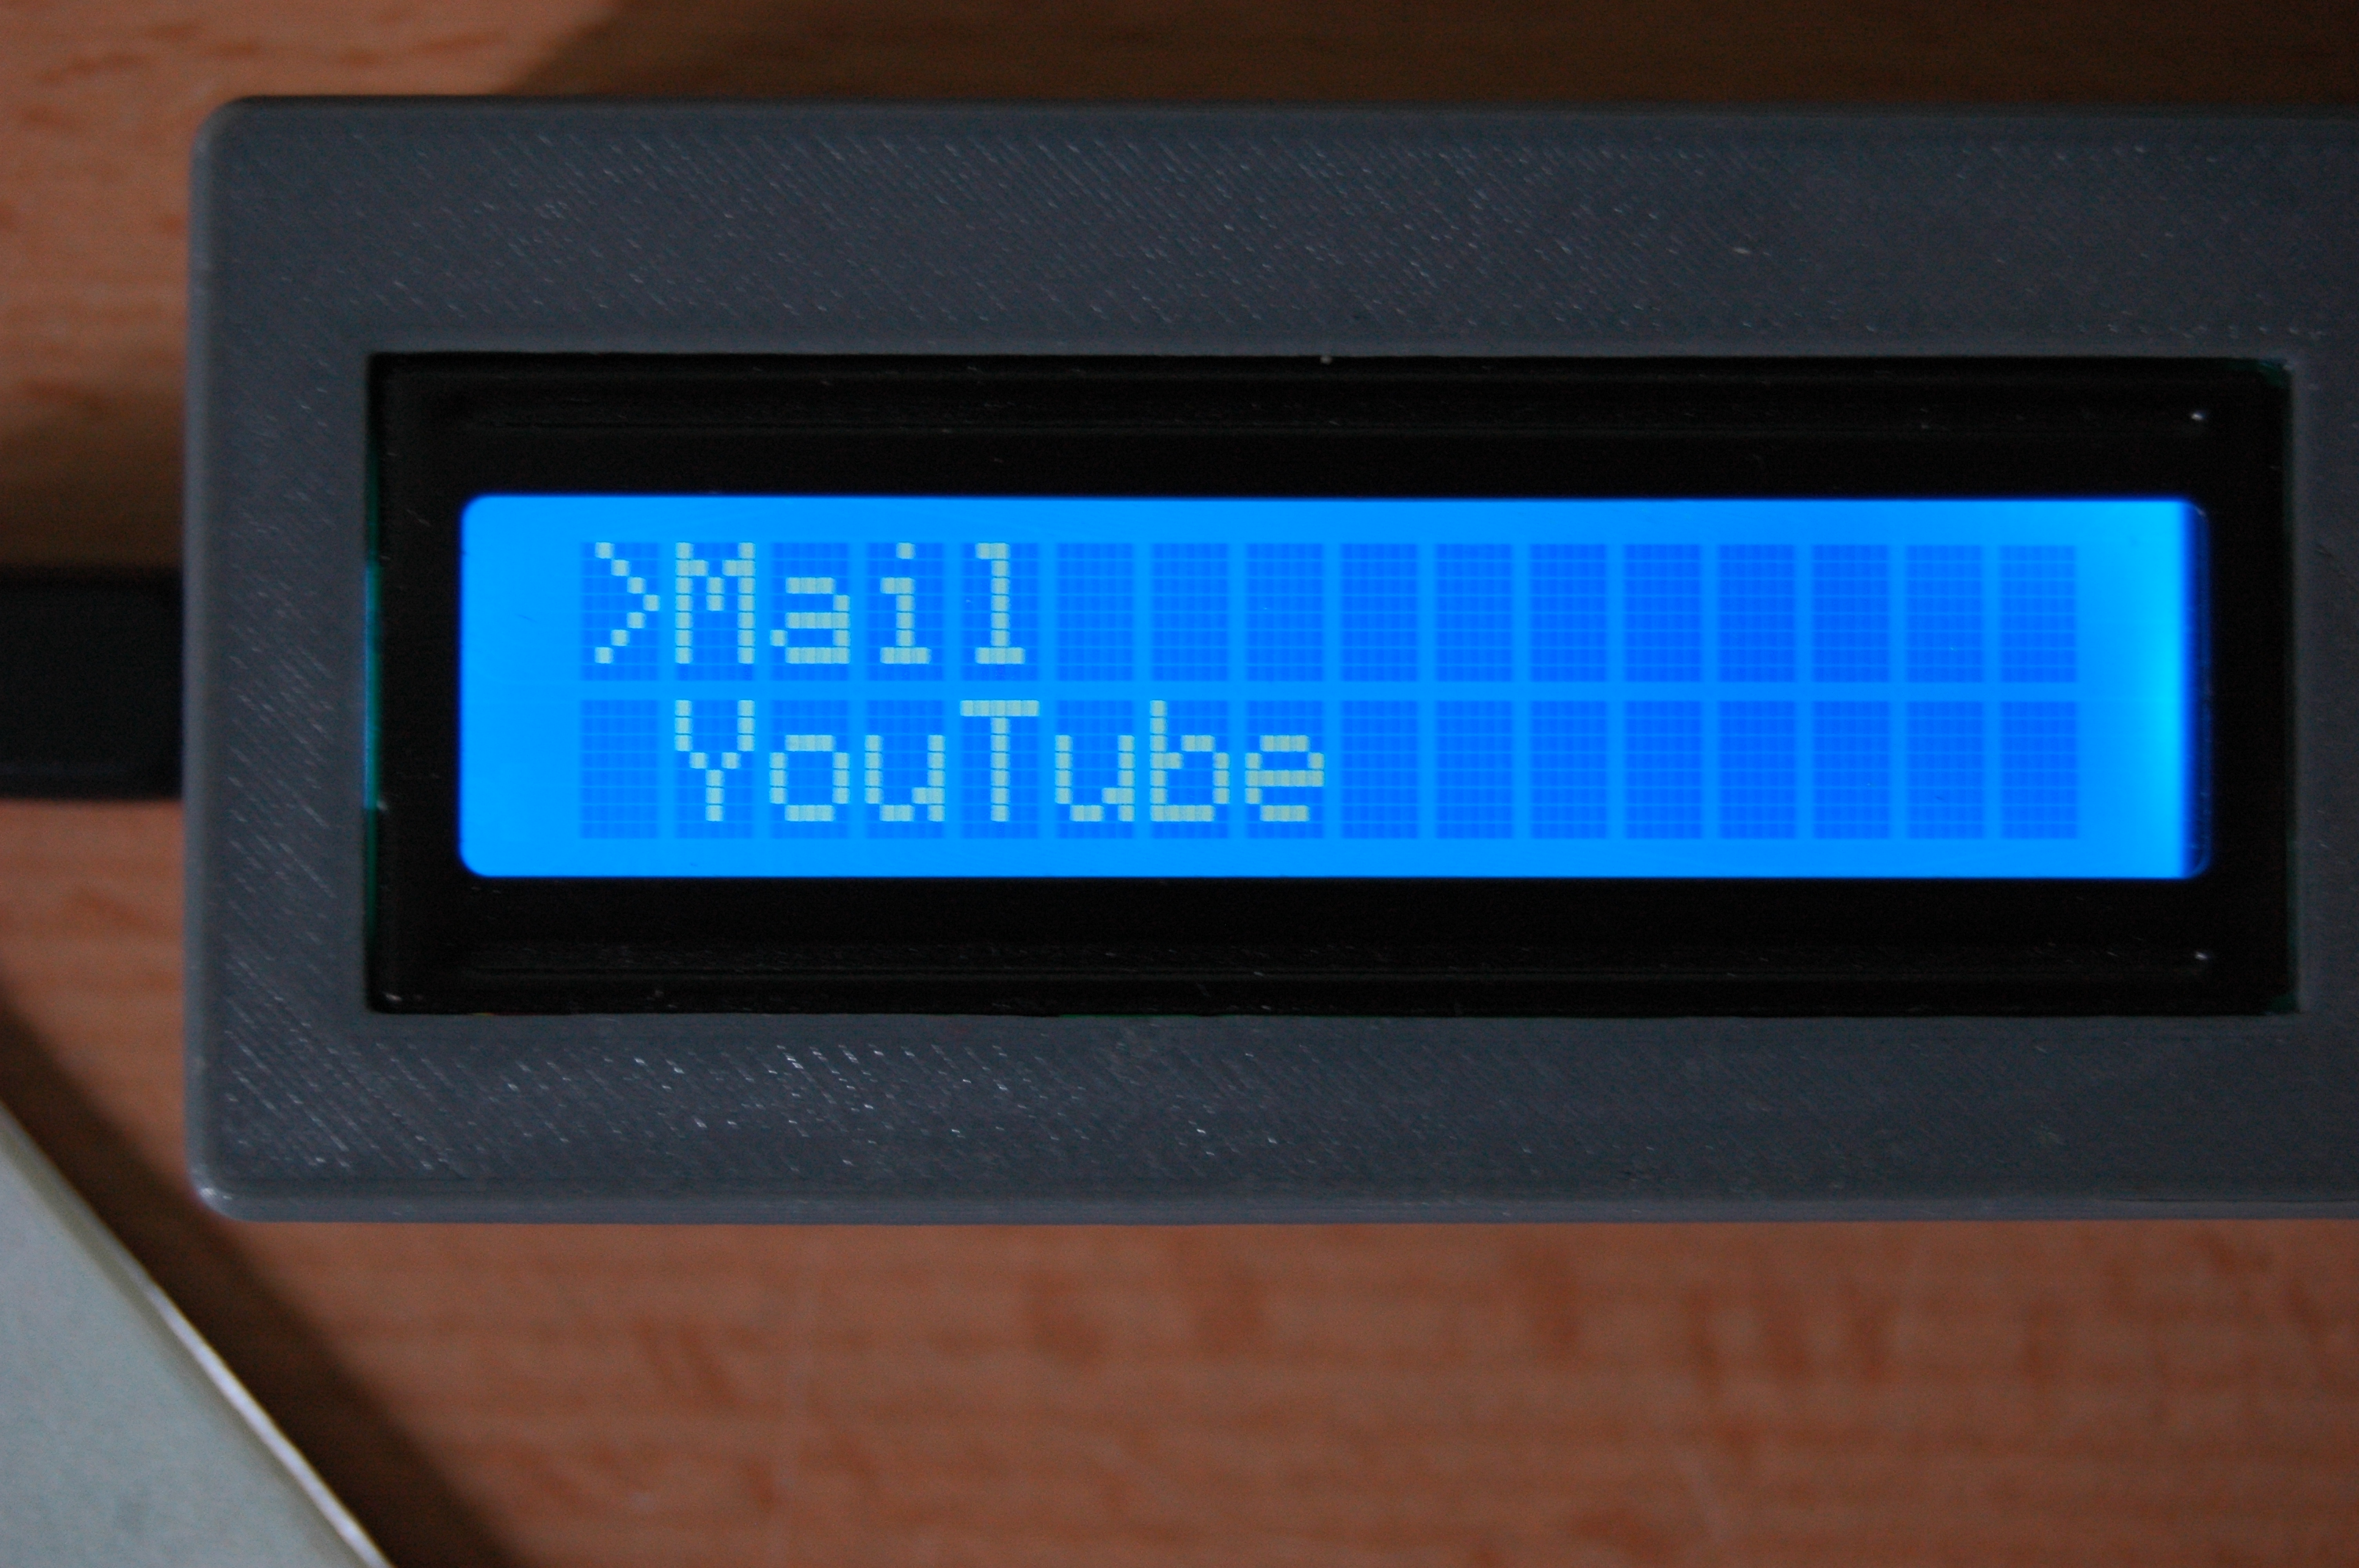
In actual use, it's incredibly smooth. Just rotate, select, and press, and your password will be entered into the desired field in a fraction of a second.
Here is the video where I am building it. Watch it please and leave a like! For anyone who wants to see the detailed build and assembly process, as well as how to write the code and set up passwords, you can watch the video below. I've compiled all the steps, from circuit wiring to real-world testing. If this video is helpful, don't forget to hit like to show your support!
This really supports me.
For the components check out my website: https://www.allmakers.net/
Join my Facebook group: https://www.facebook.com/groups/1135972269910811/
I am open for any kind of questions and suggestions. Feel free to comment!