Environment Reaction: The Auto Night Light
The Automatic Night Light is a classic first-step into environmental robotics. It teaches the fundamental principle of taking an analog input (environmental state) to trigger a digital threshold (actuation), acting as a basic dawn-to-dusk sensor.
Analog-to-Digital Conversion (ADC)
The Arduino "sees" light through an LDR (Light Dependent Resistor).
- The Voltage Divider: You must pair the LDR with a fixed resistor (e.g., 10k-ohm) in a circuit. As light changes, the resistance of the LDR changes, which alters the voltage hitting Arduino pin A0.
- The Read: The
analogRead(A0)function takes that 0-5V voltage and converts it into a number between0and1023.- Bright light =
900 - Pitch black =
150
- Bright light =
The Control Threshold
Instead of a complex equation, you create a simple logical threshold boundary:
int lightThreshold = 400; // Calibrate this number based on your room

if (analogRead(A0) < lightThreshold) {
  digitalWrite(ledPin, HIGH); // Turn lights ON in the dark
} else {
  digitalWrite(ledPin, LOW); // Turn lights OFF in the light
}
Adding Smooth Fades
For a premium touch, instead of instantly snapping the light on (digitalWrite), you can use the map() function. You link the darkness level directly to an analogWrite(PWM) pin. As the sun slowly sets, the LED will slowly fade brighter and brighter in a perfectly smooth transition!
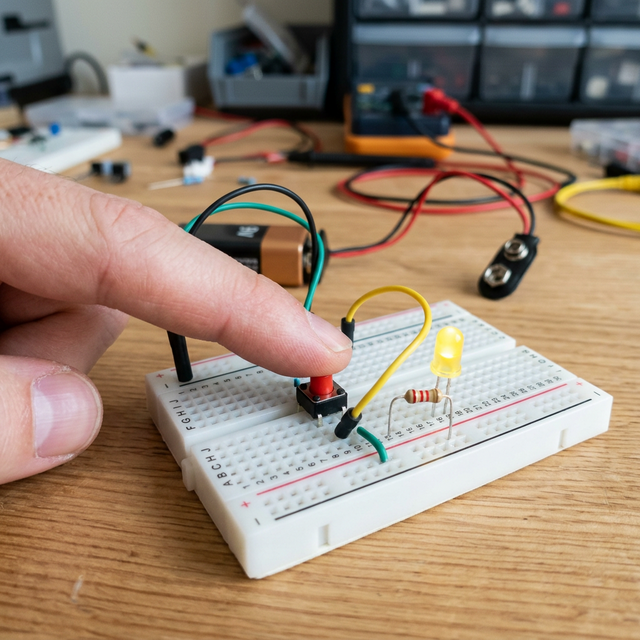
Basic Hardware Requirements
- Arduino Uno/Nano: The logic gate.
- LDR (Photoresistor).
- 10k-ohm Resistor: Essential for the voltage divider.
- LED or small 5V Relay module.