ABOUT THIS PROJECT

Automatic watering system
A device that helps reduce labor time in watering trees morning and evening, using a temperature calibrator to determine the function.
EXPANDED TECHNICAL DETAILS
The Automatic Watering System is a foundational step in practical robotics. Unlike internet-connected weather systems, this builds an incredibly robust, standalone mechanical system. It must operate flawlessly for weeks while you are on vacation without requiring Wi-Fi.
Soil Moisture Mapping
A moisture sensor does not return a percentage; it returns an analog voltage from 0 to 1023 based on electrical resistance in the dirt.
- The Calibration Phase: You insert the sensor into bone-dry dirt and note the Serial output (e.g., 850). You then submerge the sensor in a glass of water and note the number (e.g., 300).
- The Logic Trap: The biggest mistake beginners make is writing
if (moisture > 800) { water(); }. - If the pump runs for exactly 1 second, the water hasn't had time to sink down to the sensor. The Arduino checks again, thinks it's still dry, and waters it again, quickly flooding your living room!
- The Watering Delay: You must enforce a hard delay.
Water_Pump_ON(); delay(3000); Water_Pump_OFF(); delay(300000);(Wait 5 full minutes before checking the dirt again!).
Physical Pumping Hardware
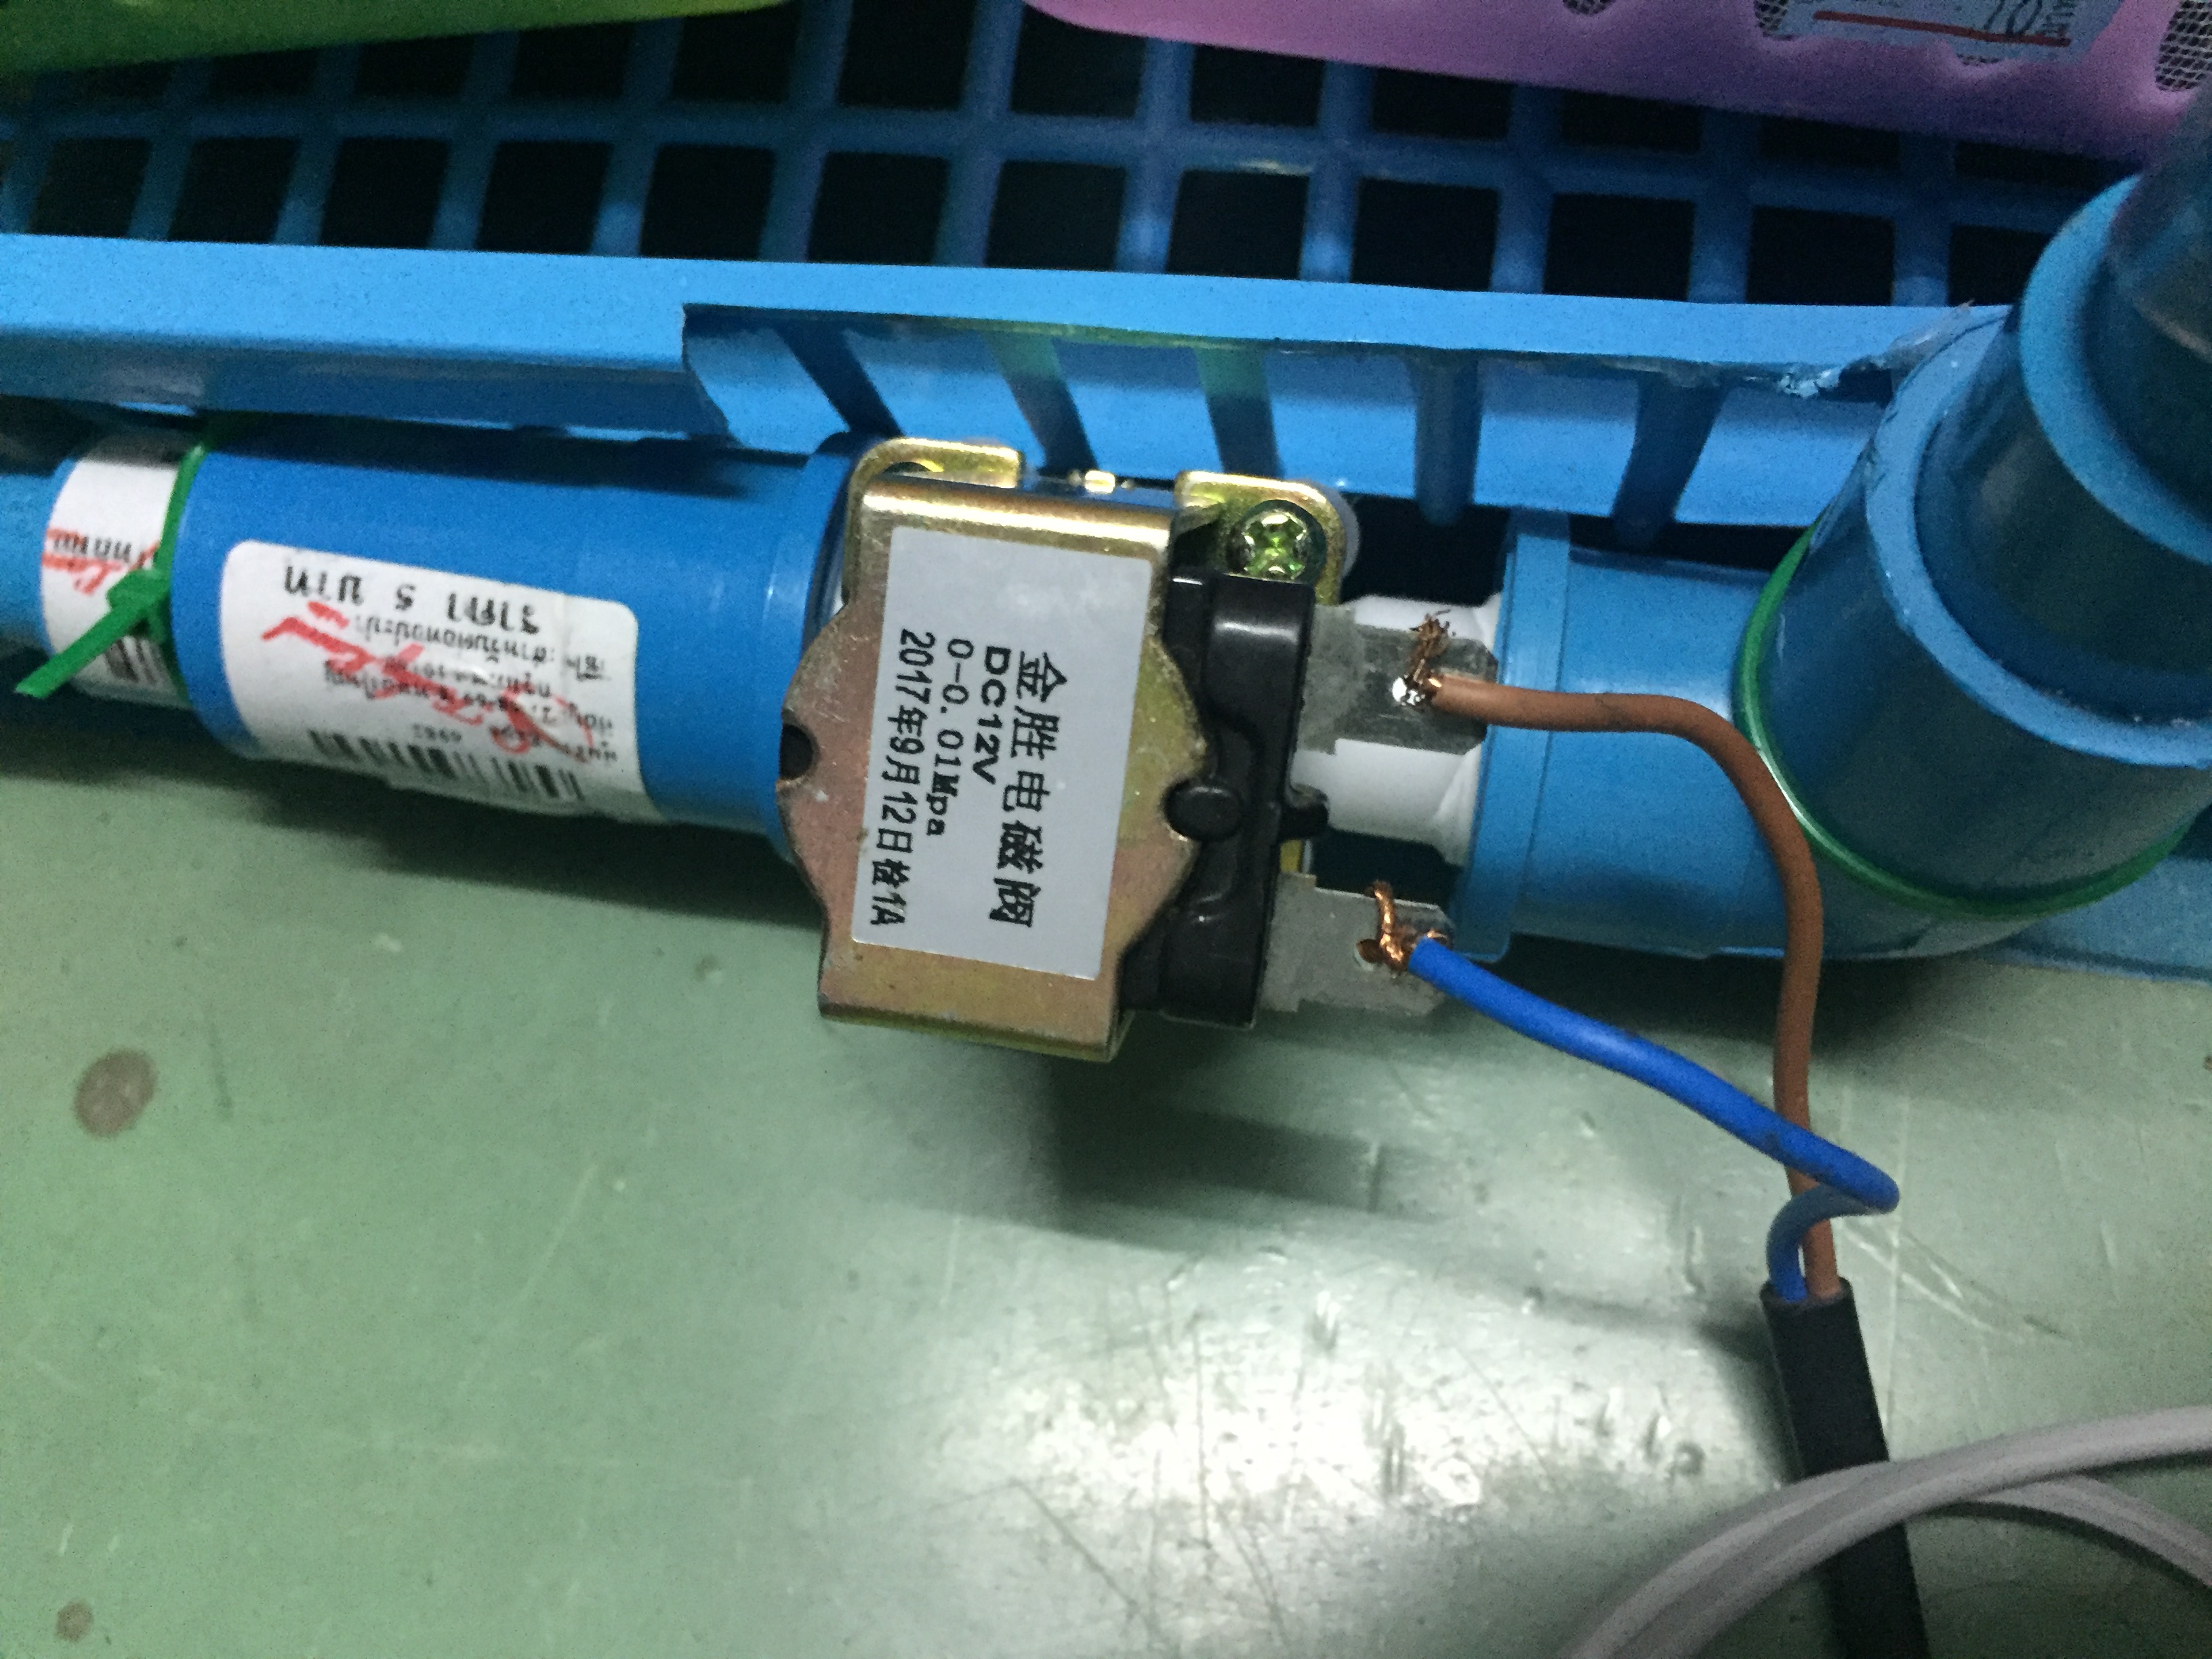
- You use a cheap, 5V or 12V Mini Submersible Water Pump. You drop it directly into a 1-gallon jug of water hidden under the table.
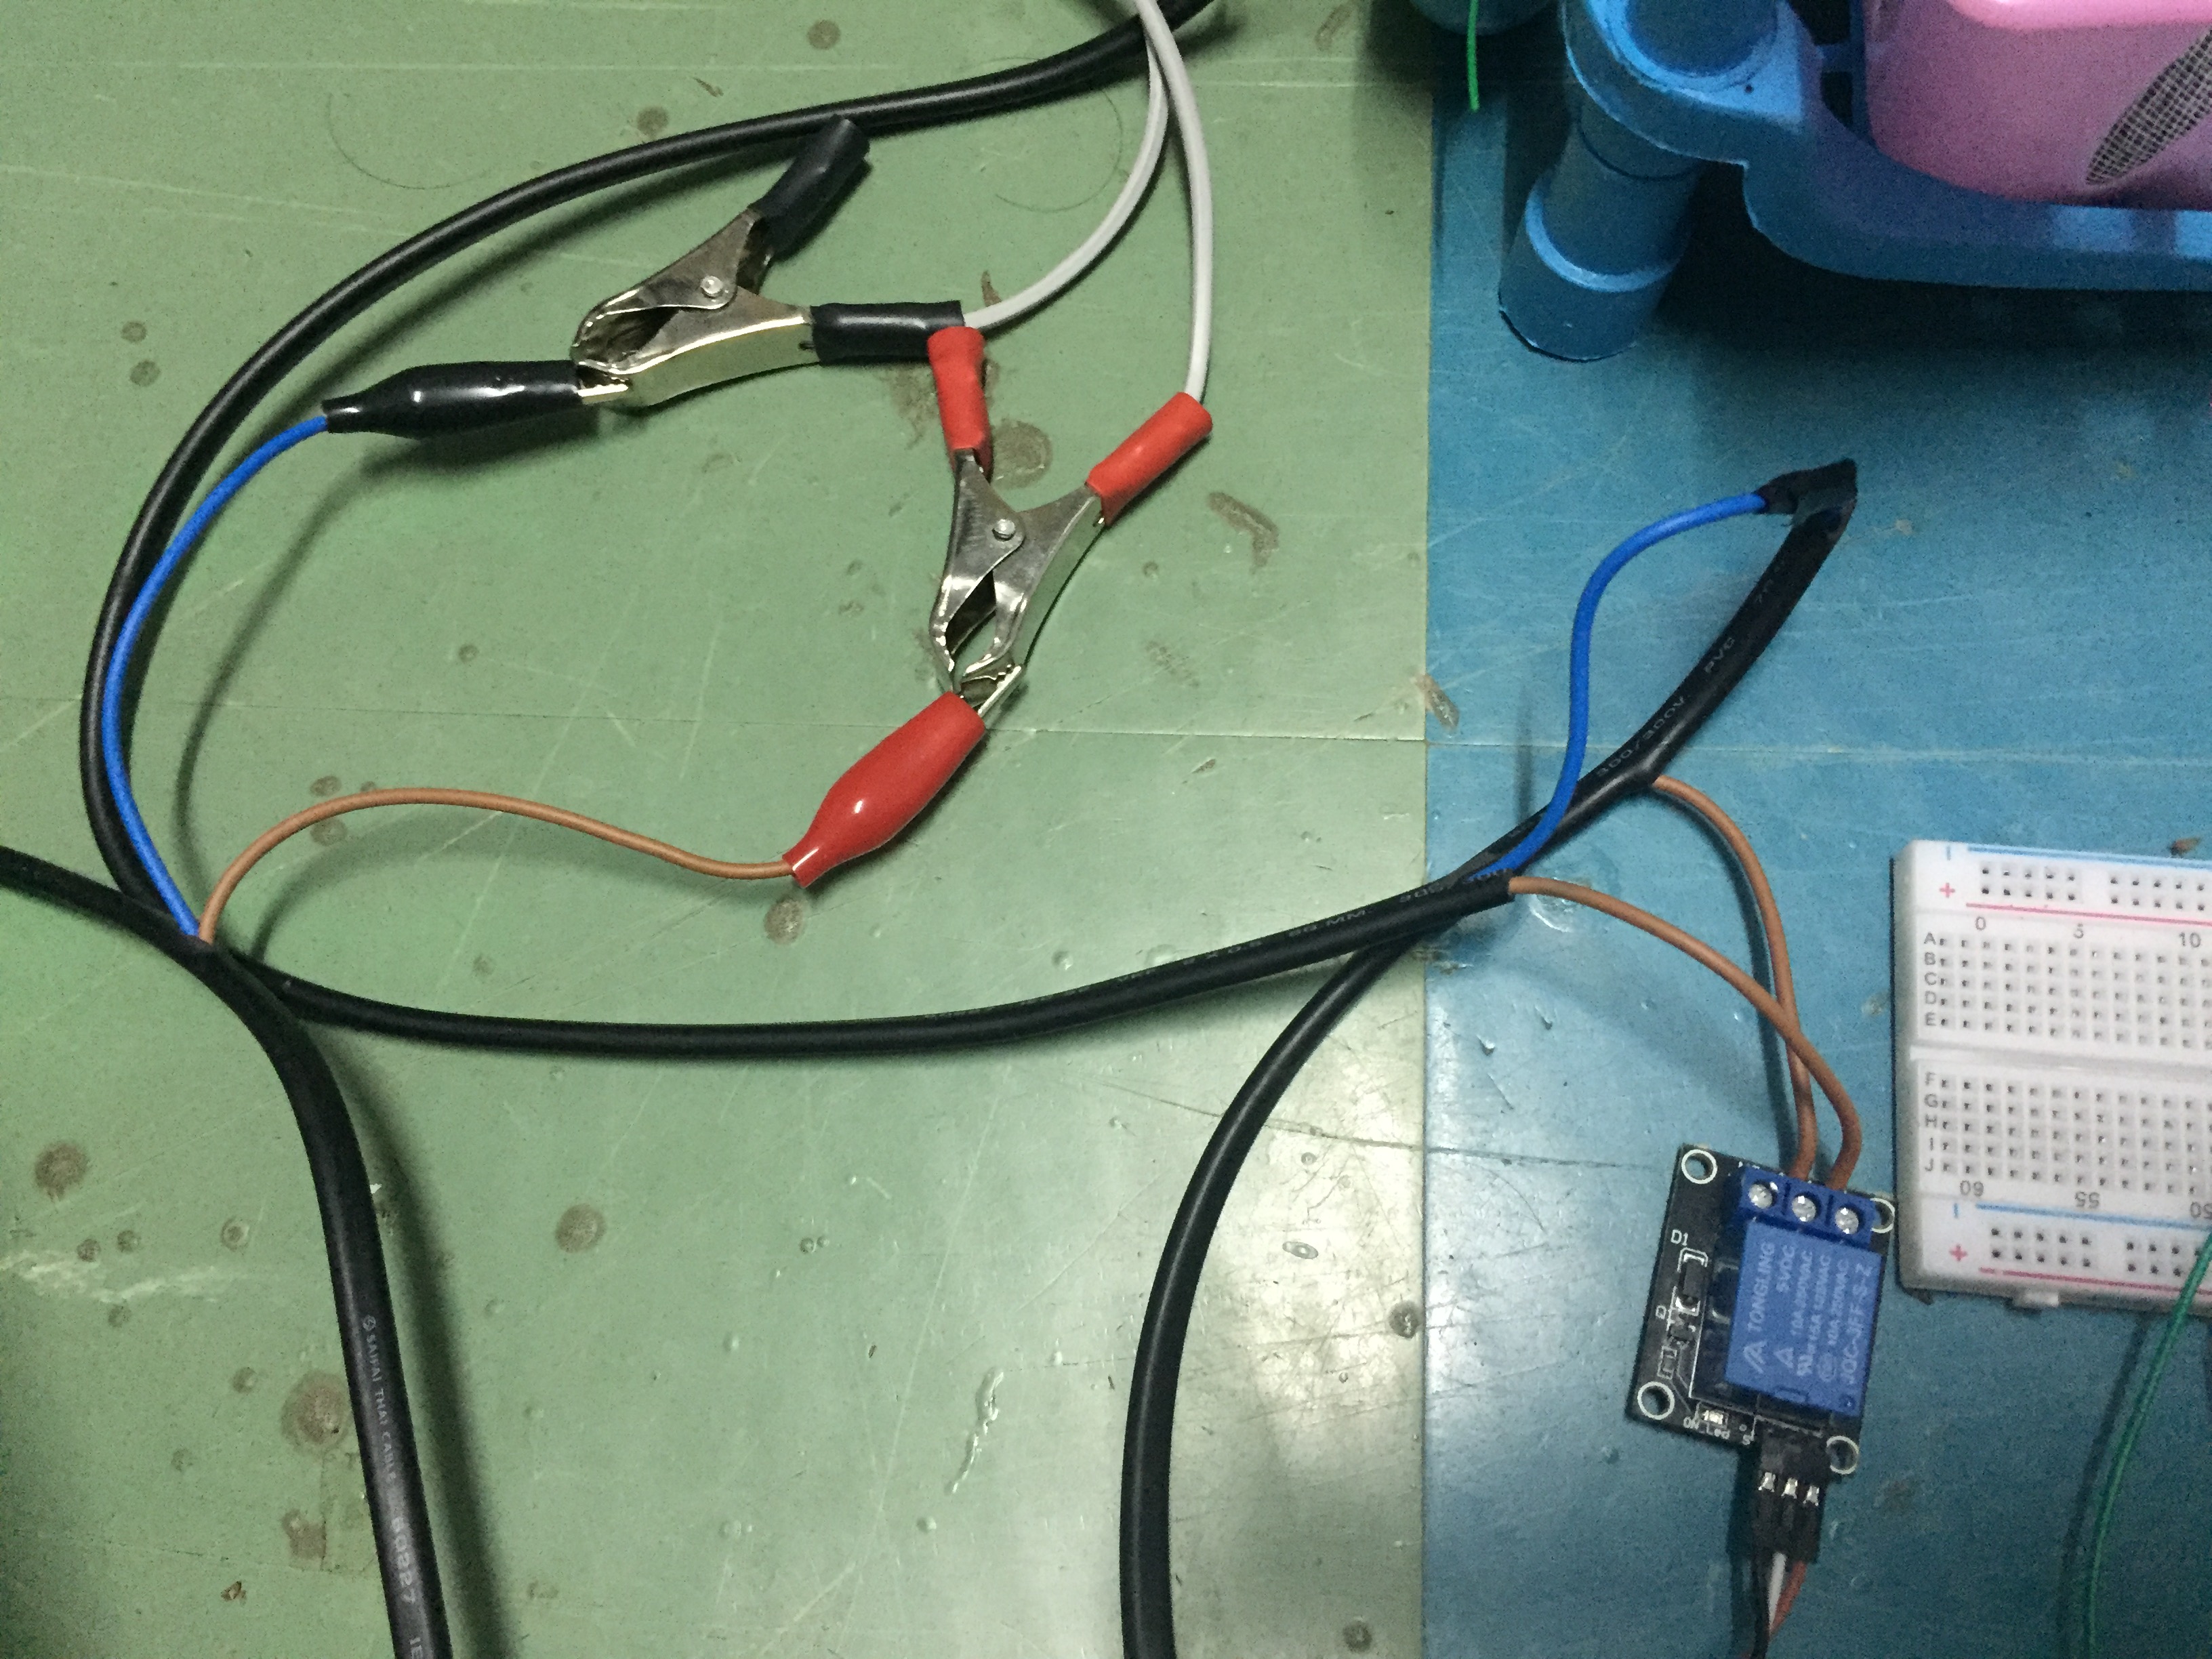
- The Relay Board: The Arduino clicks a 5V relay module to switch the heavy current to the motor.
- The Check Valve: If your water jug sits higher than the plant pot, turning off the motor won't stop the flow! A gravity siphon will form and dump the entire gallon. You must ensure the hose end sits higher than the water level, or install a mechanical one-way check valve!
Needed Build Output
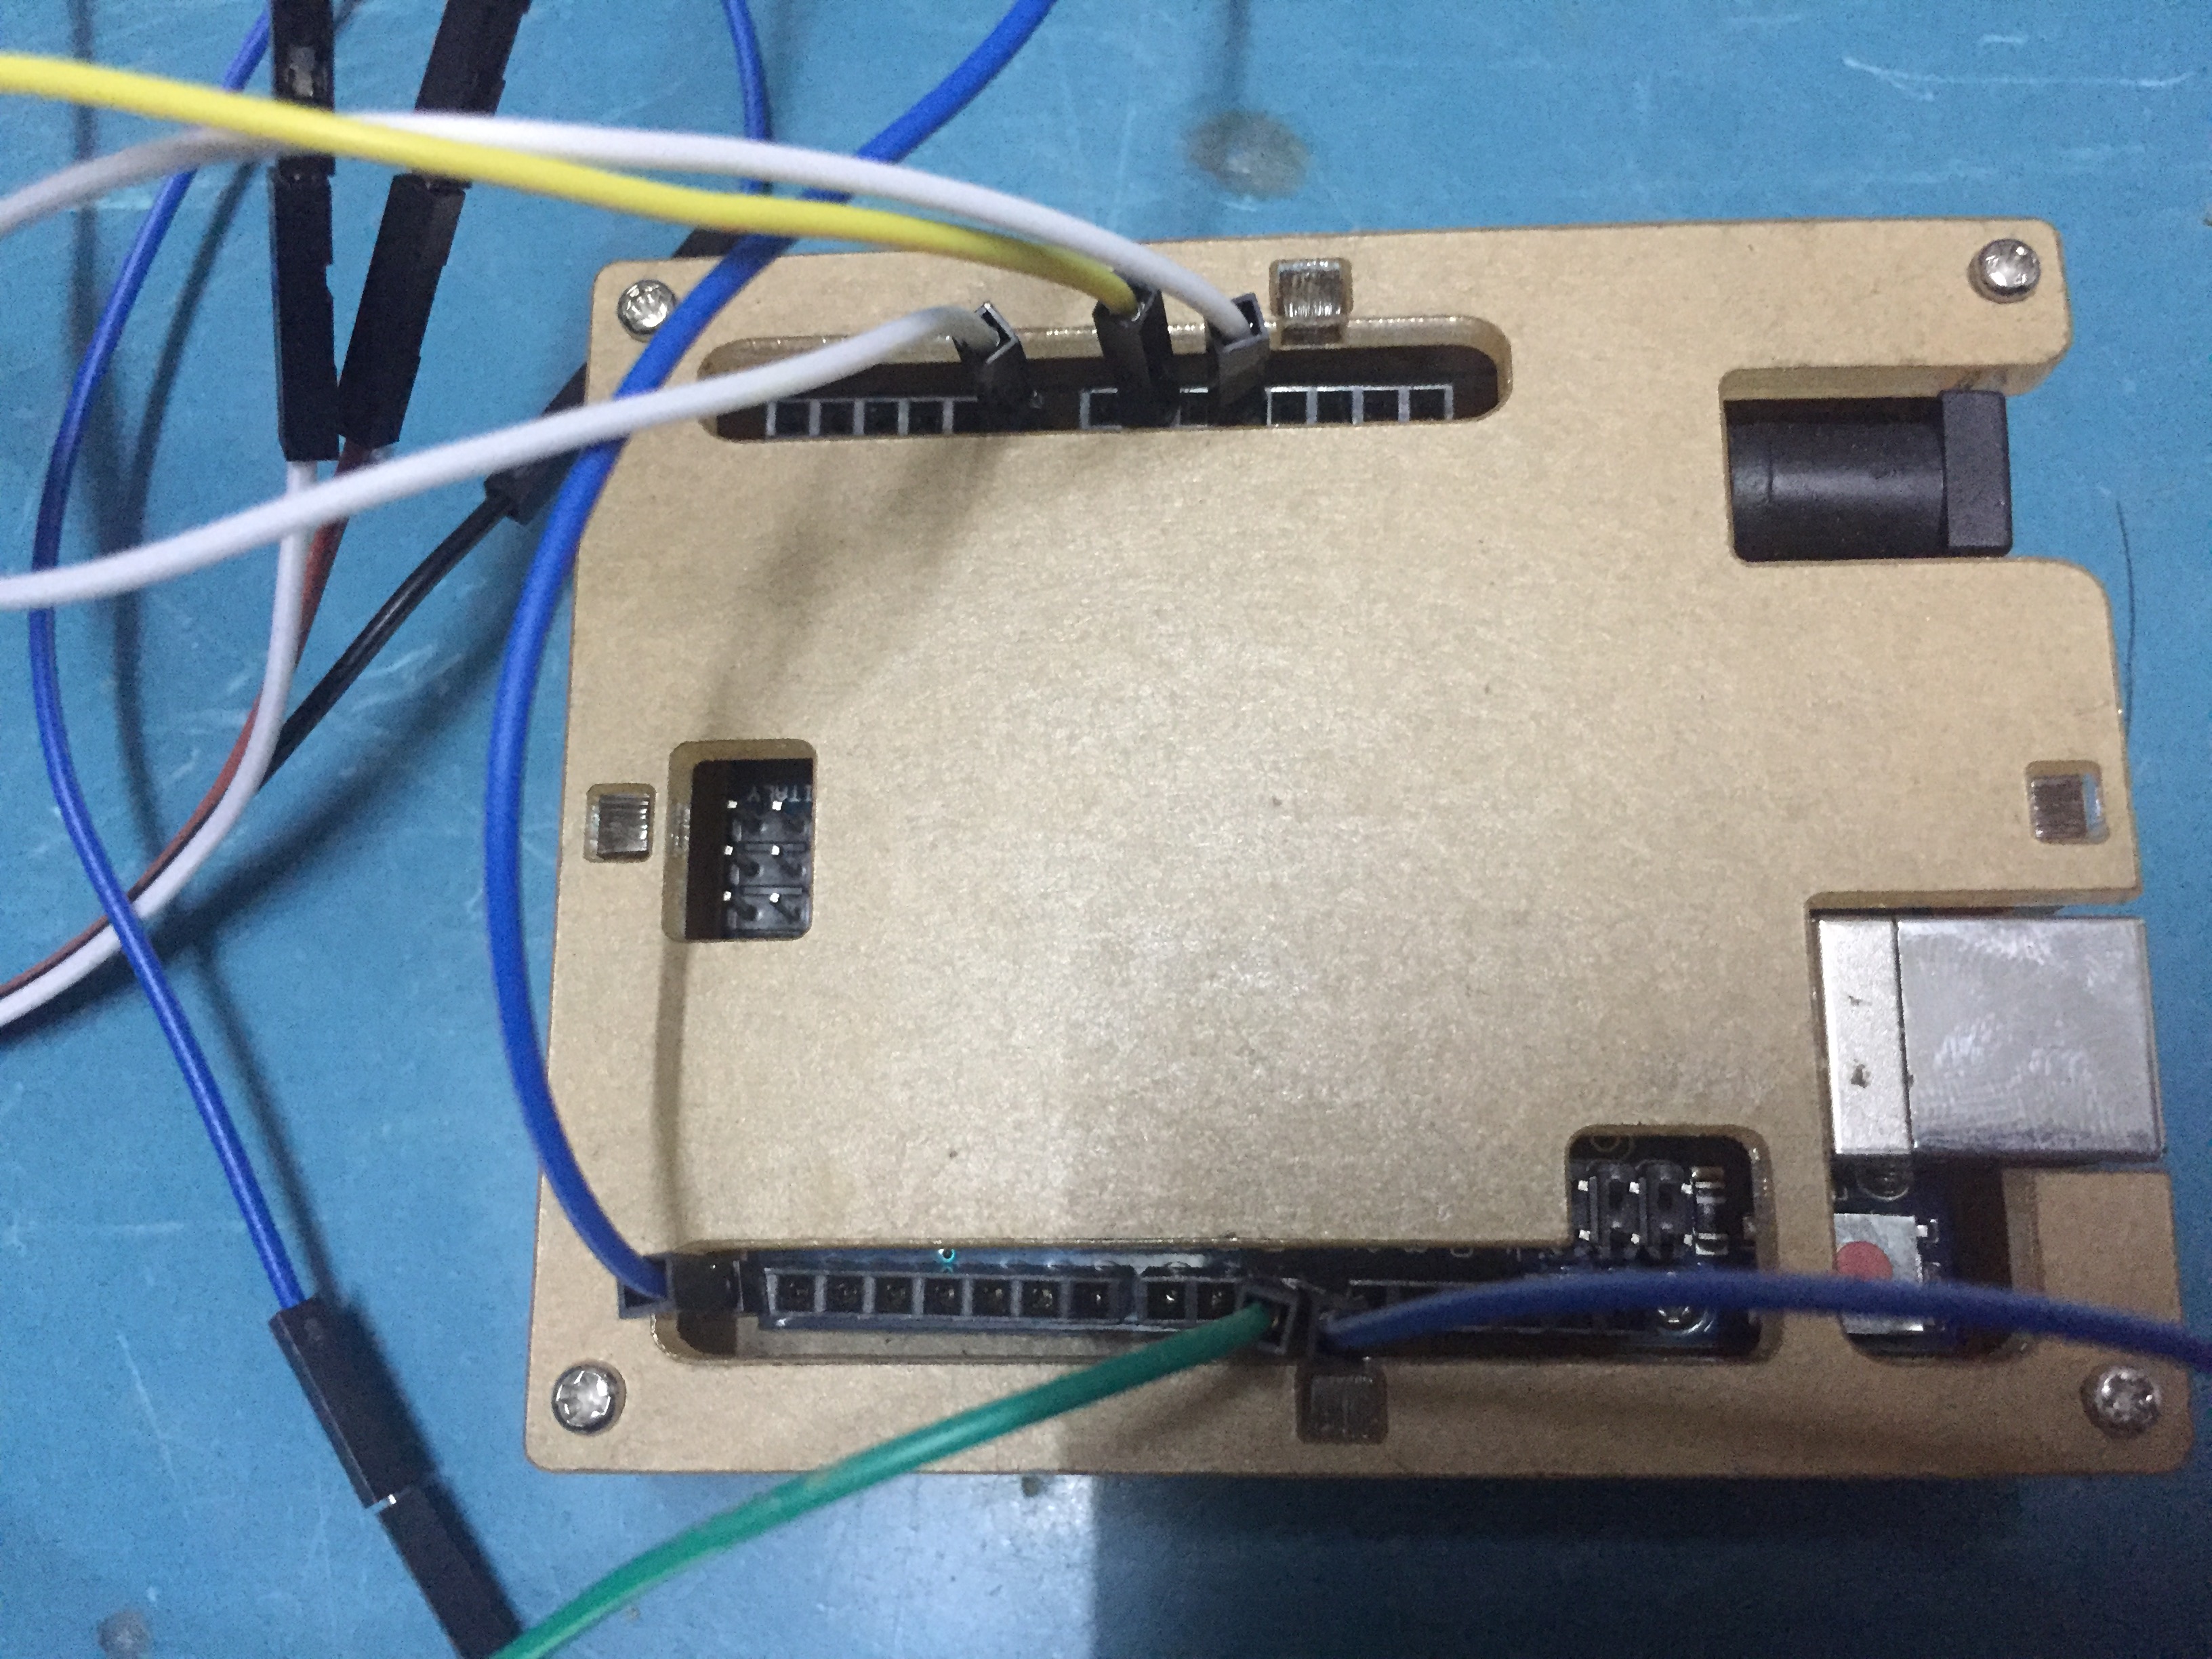
- Arduino Uno/Nano: The logic manager.
- Capacitive Soil Moisture Sensor v1.2 (Avoid resistive sensors that corrode).
- 5V Relay Module and Submersible Pump.
- Flexible PVC Tubing (e.g., 8mm diameter).
Step
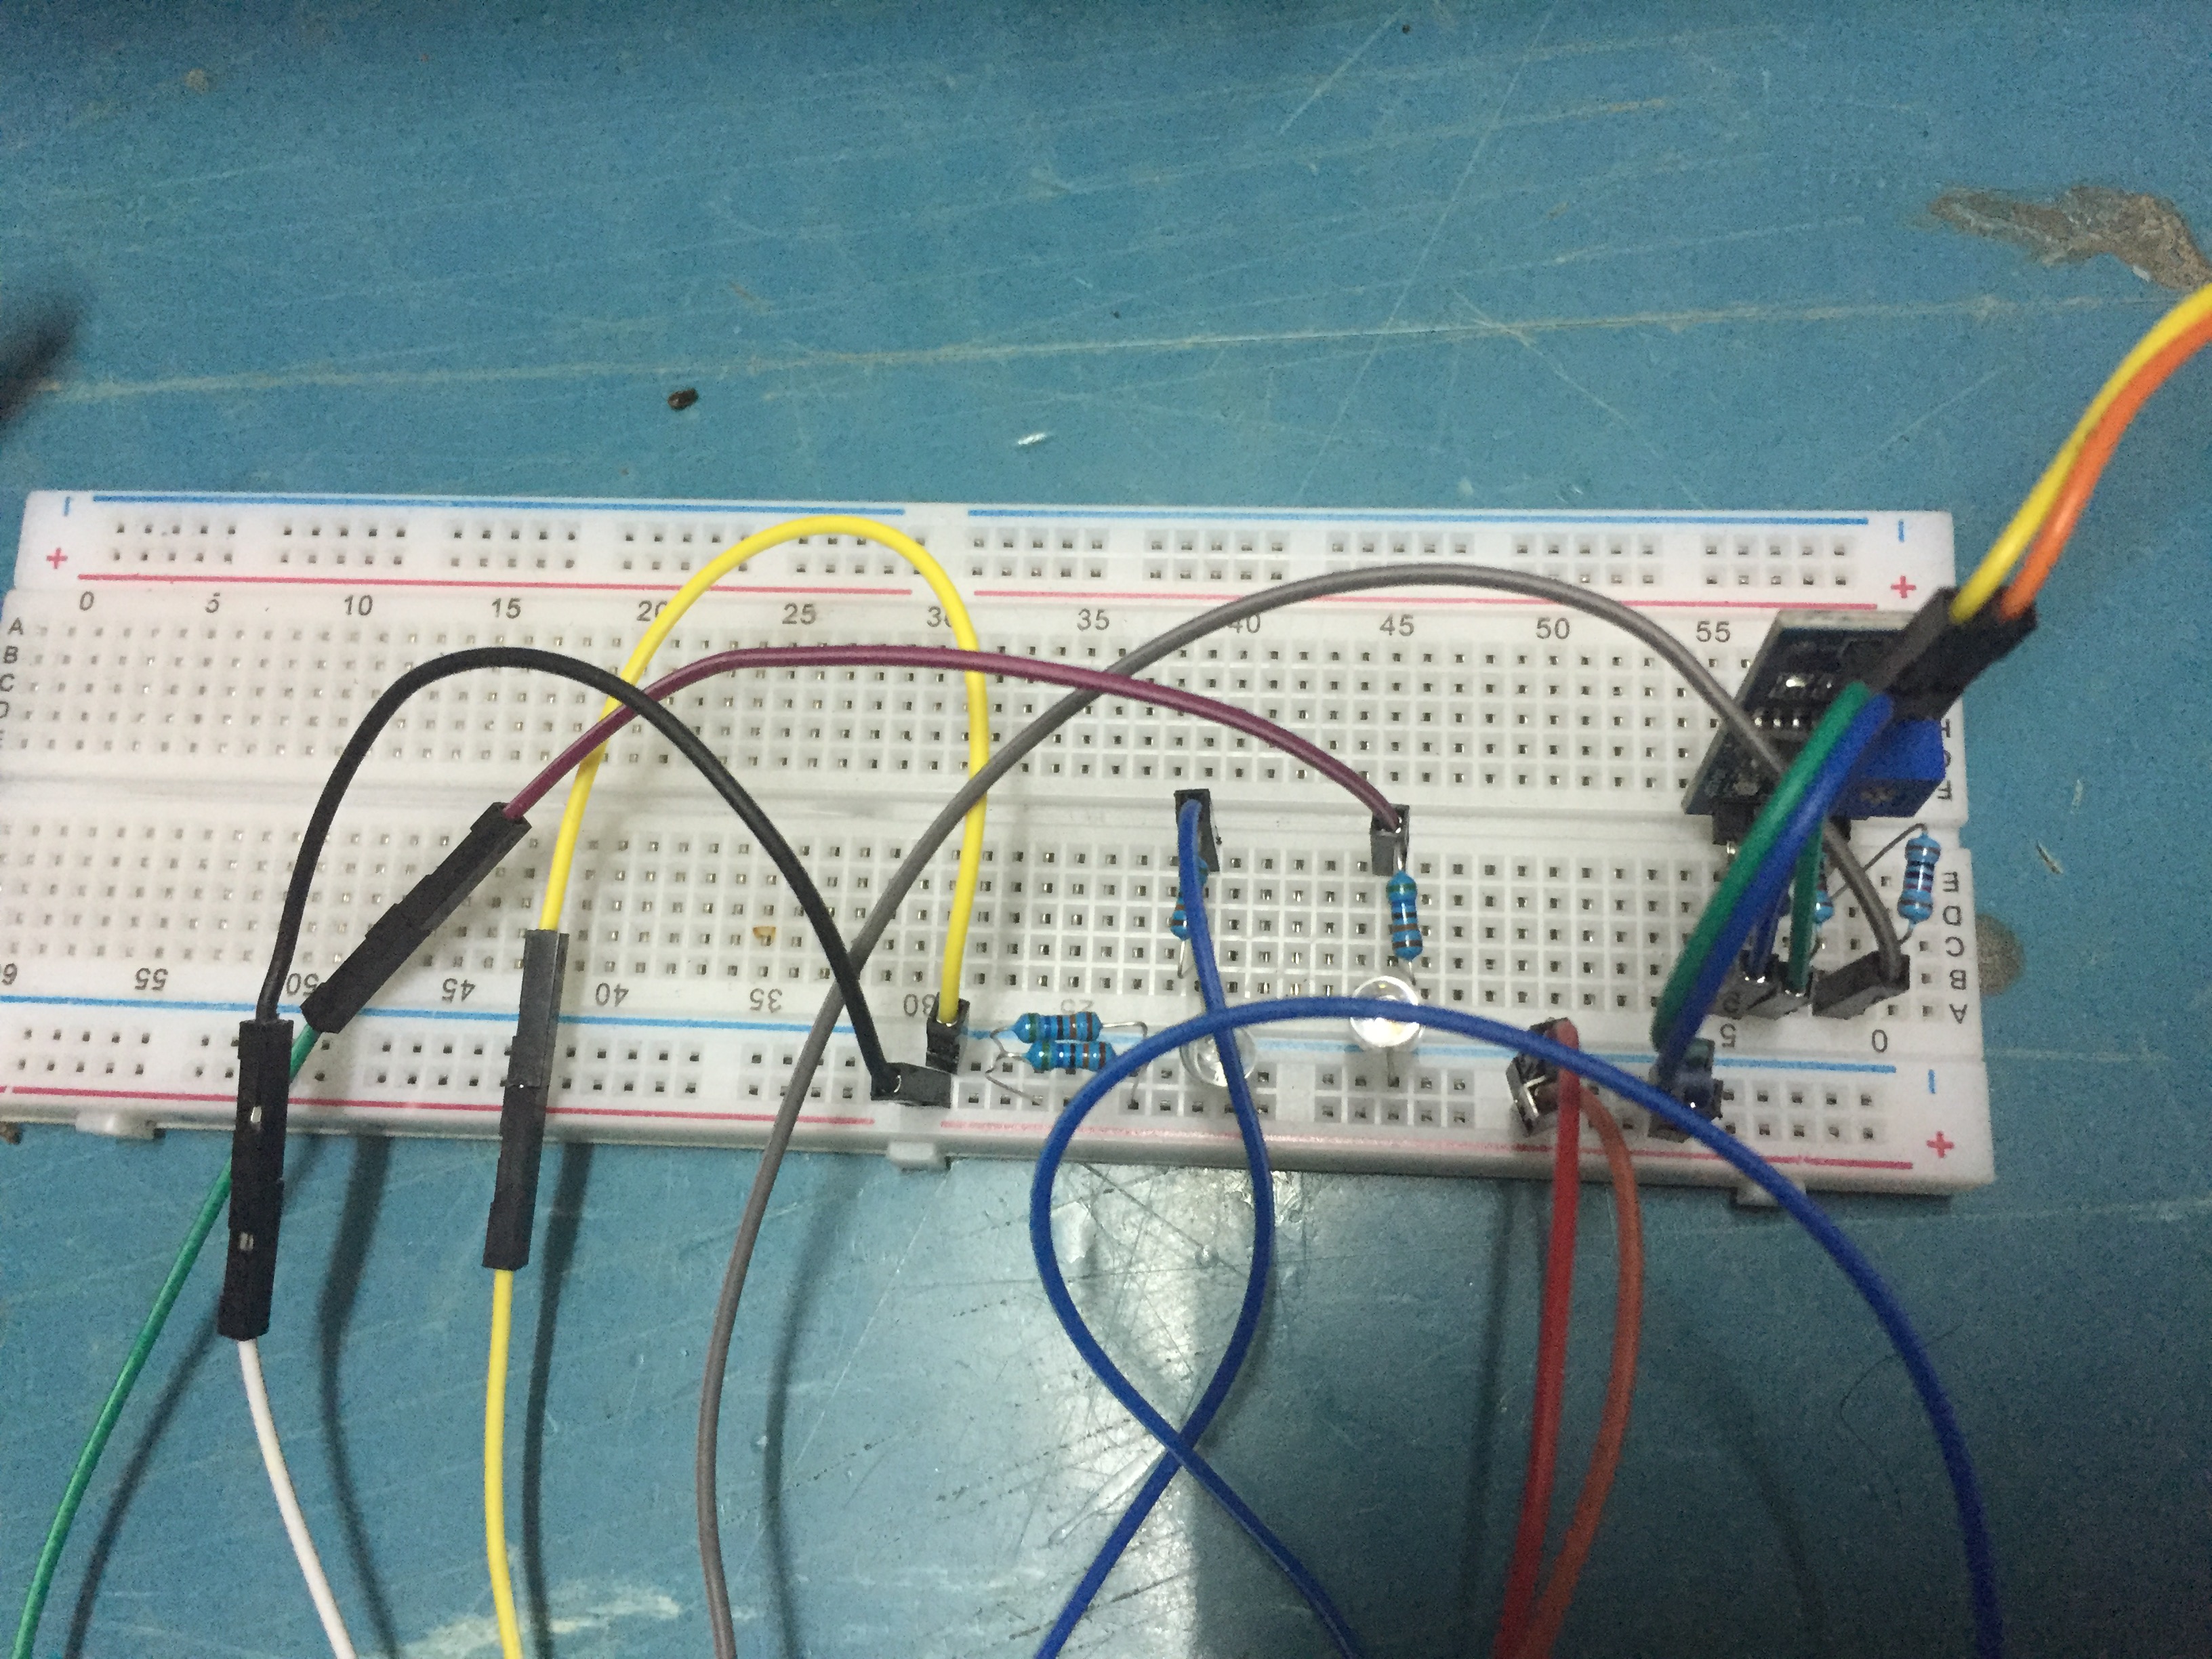
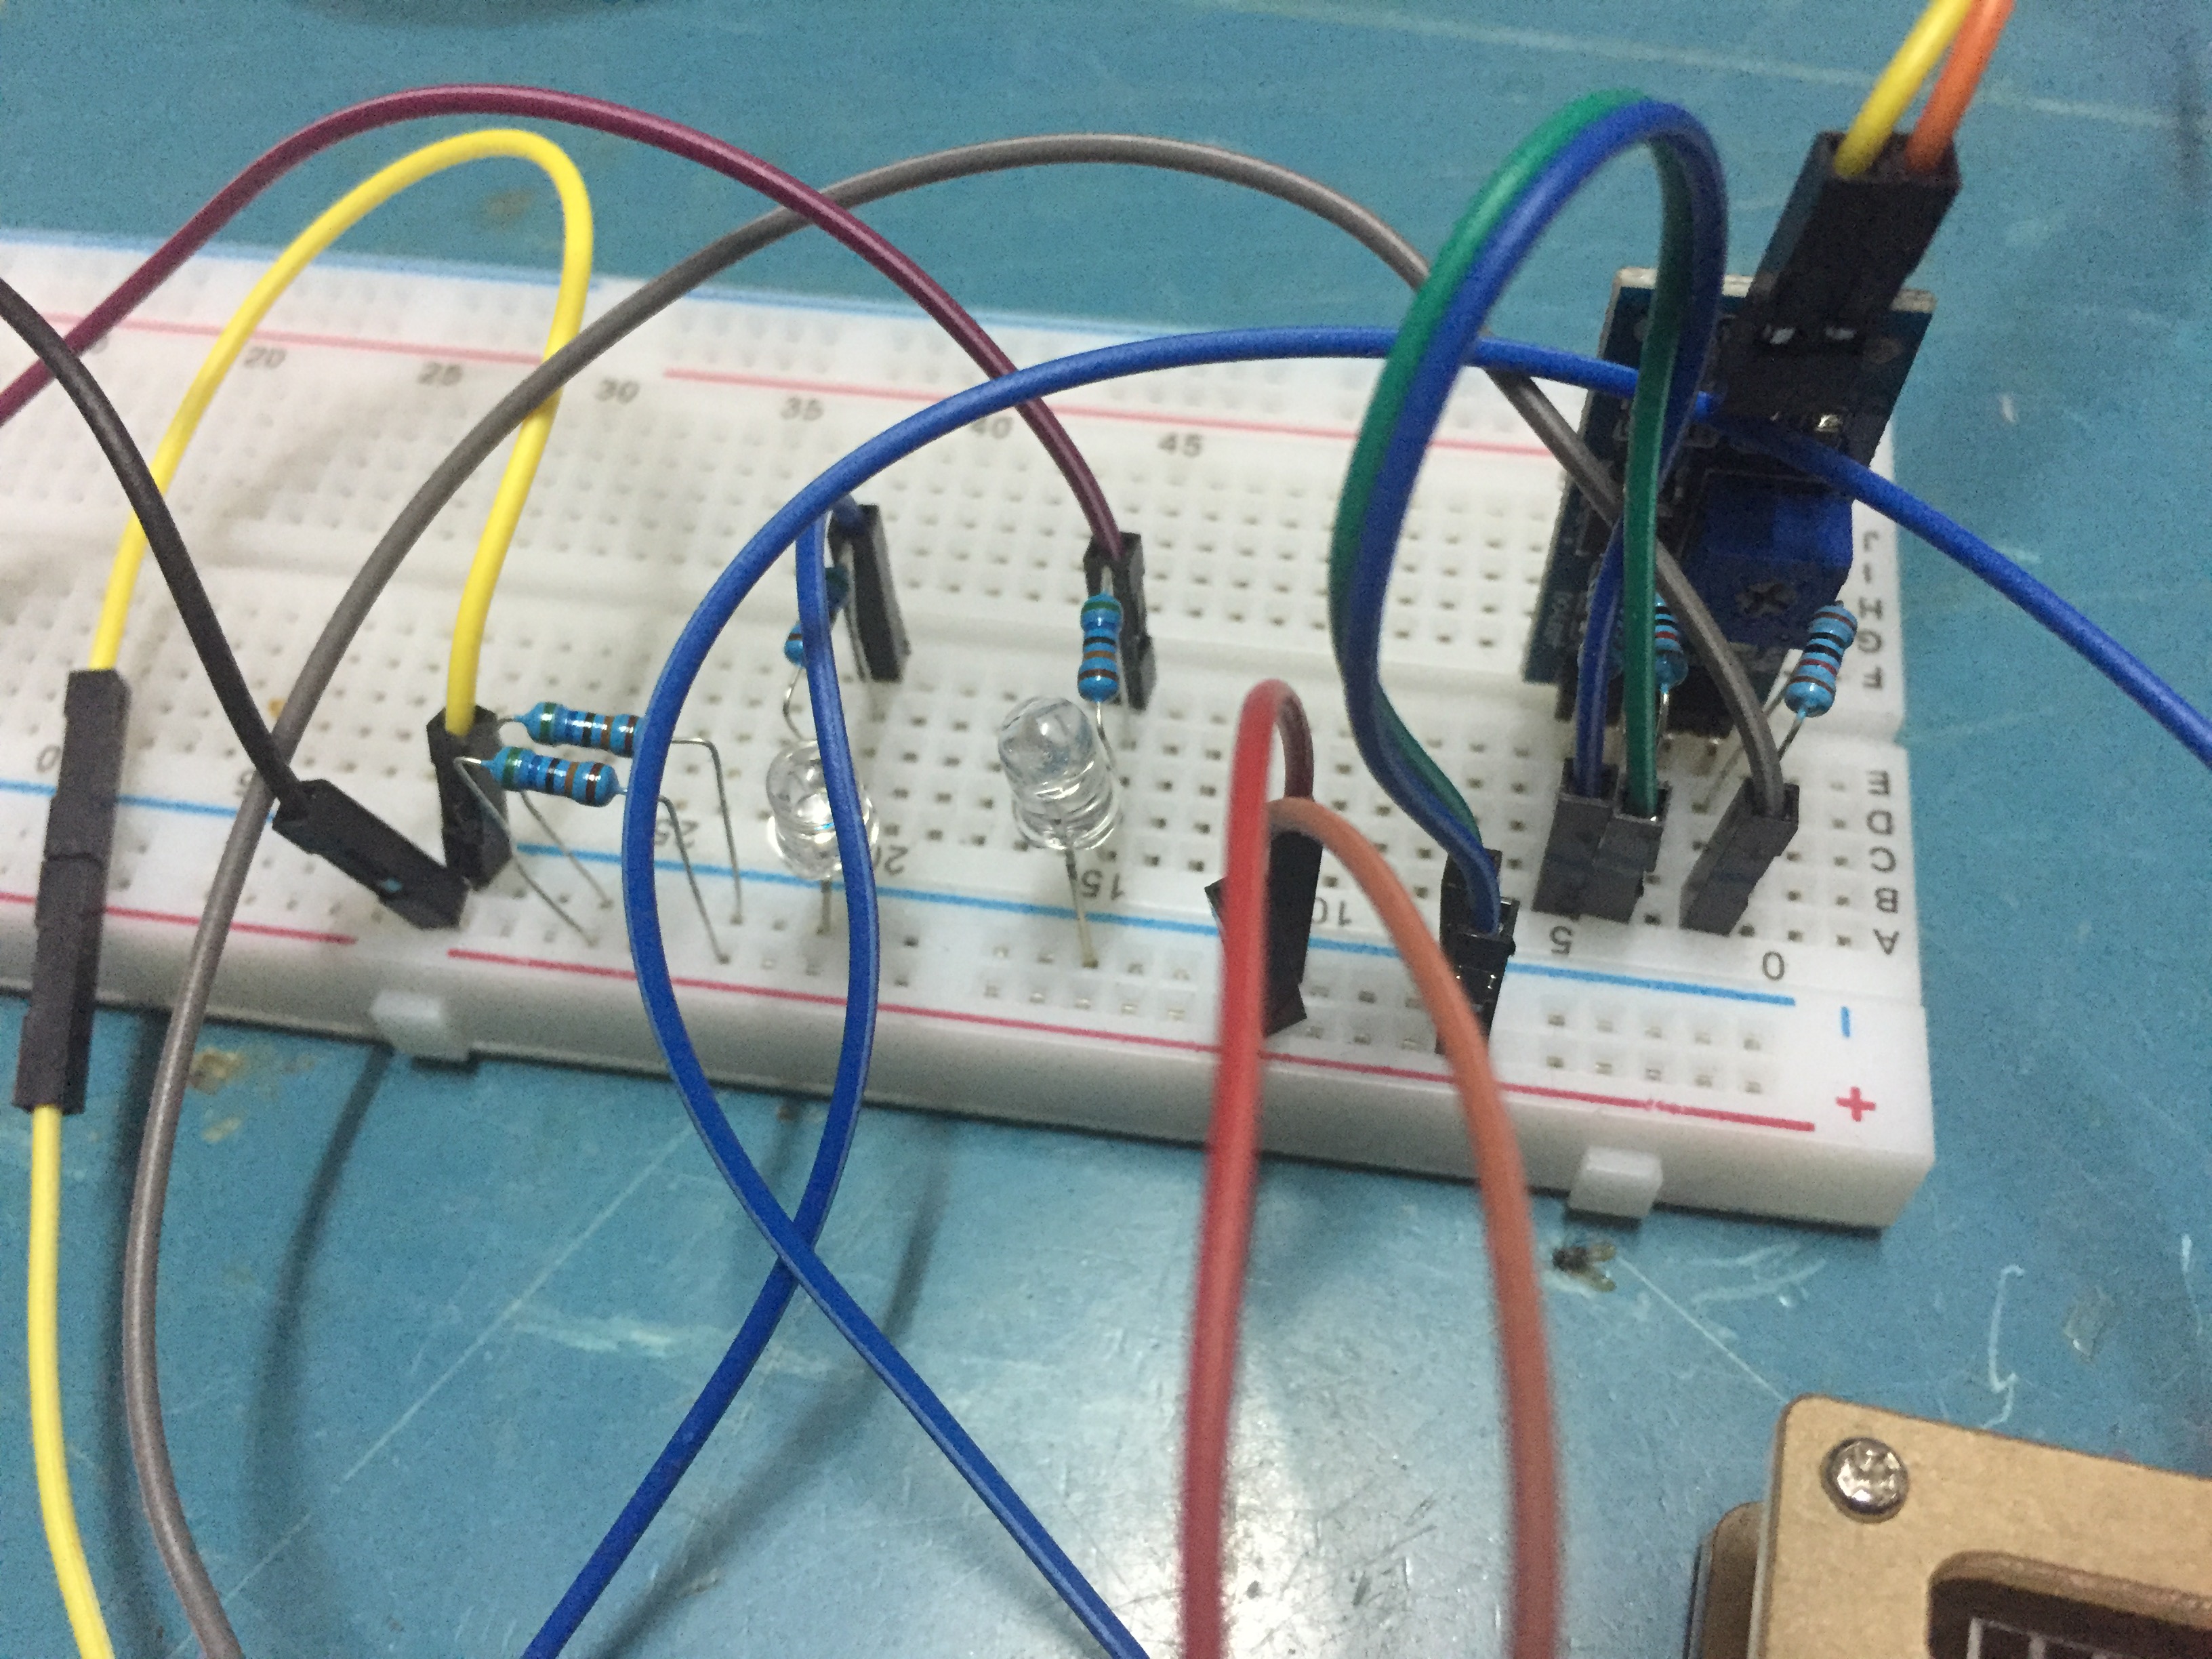
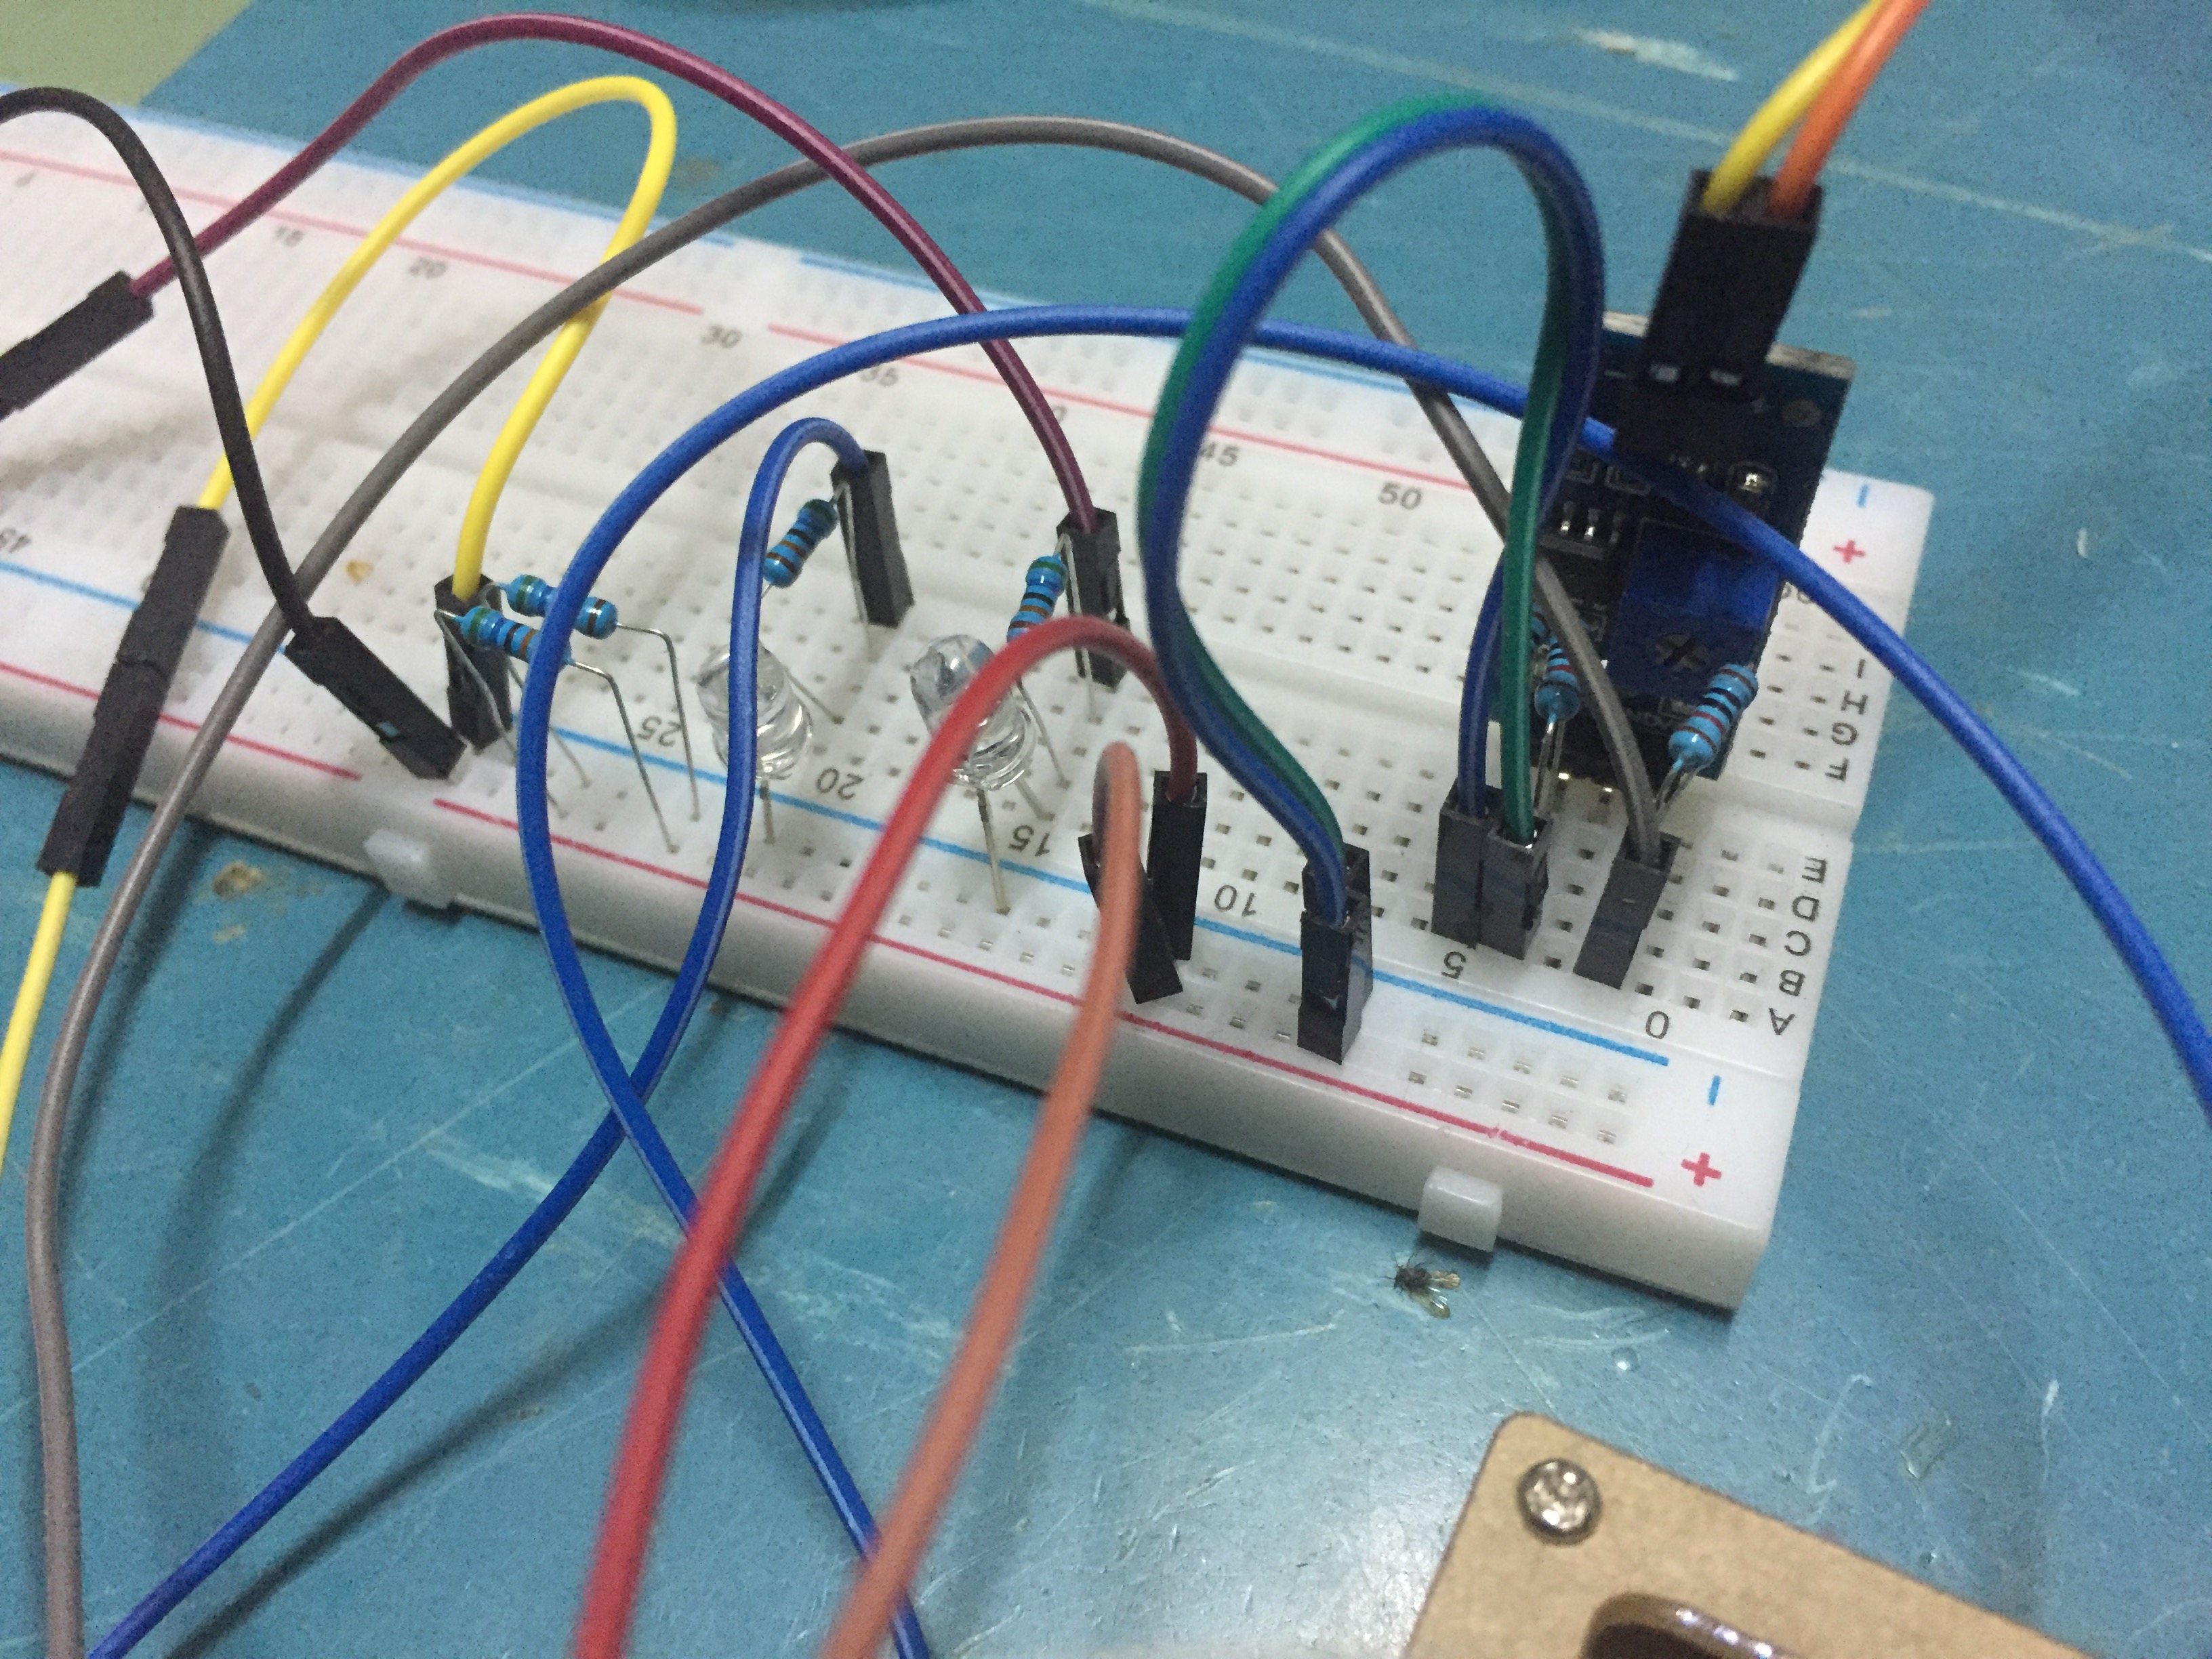
Step 1
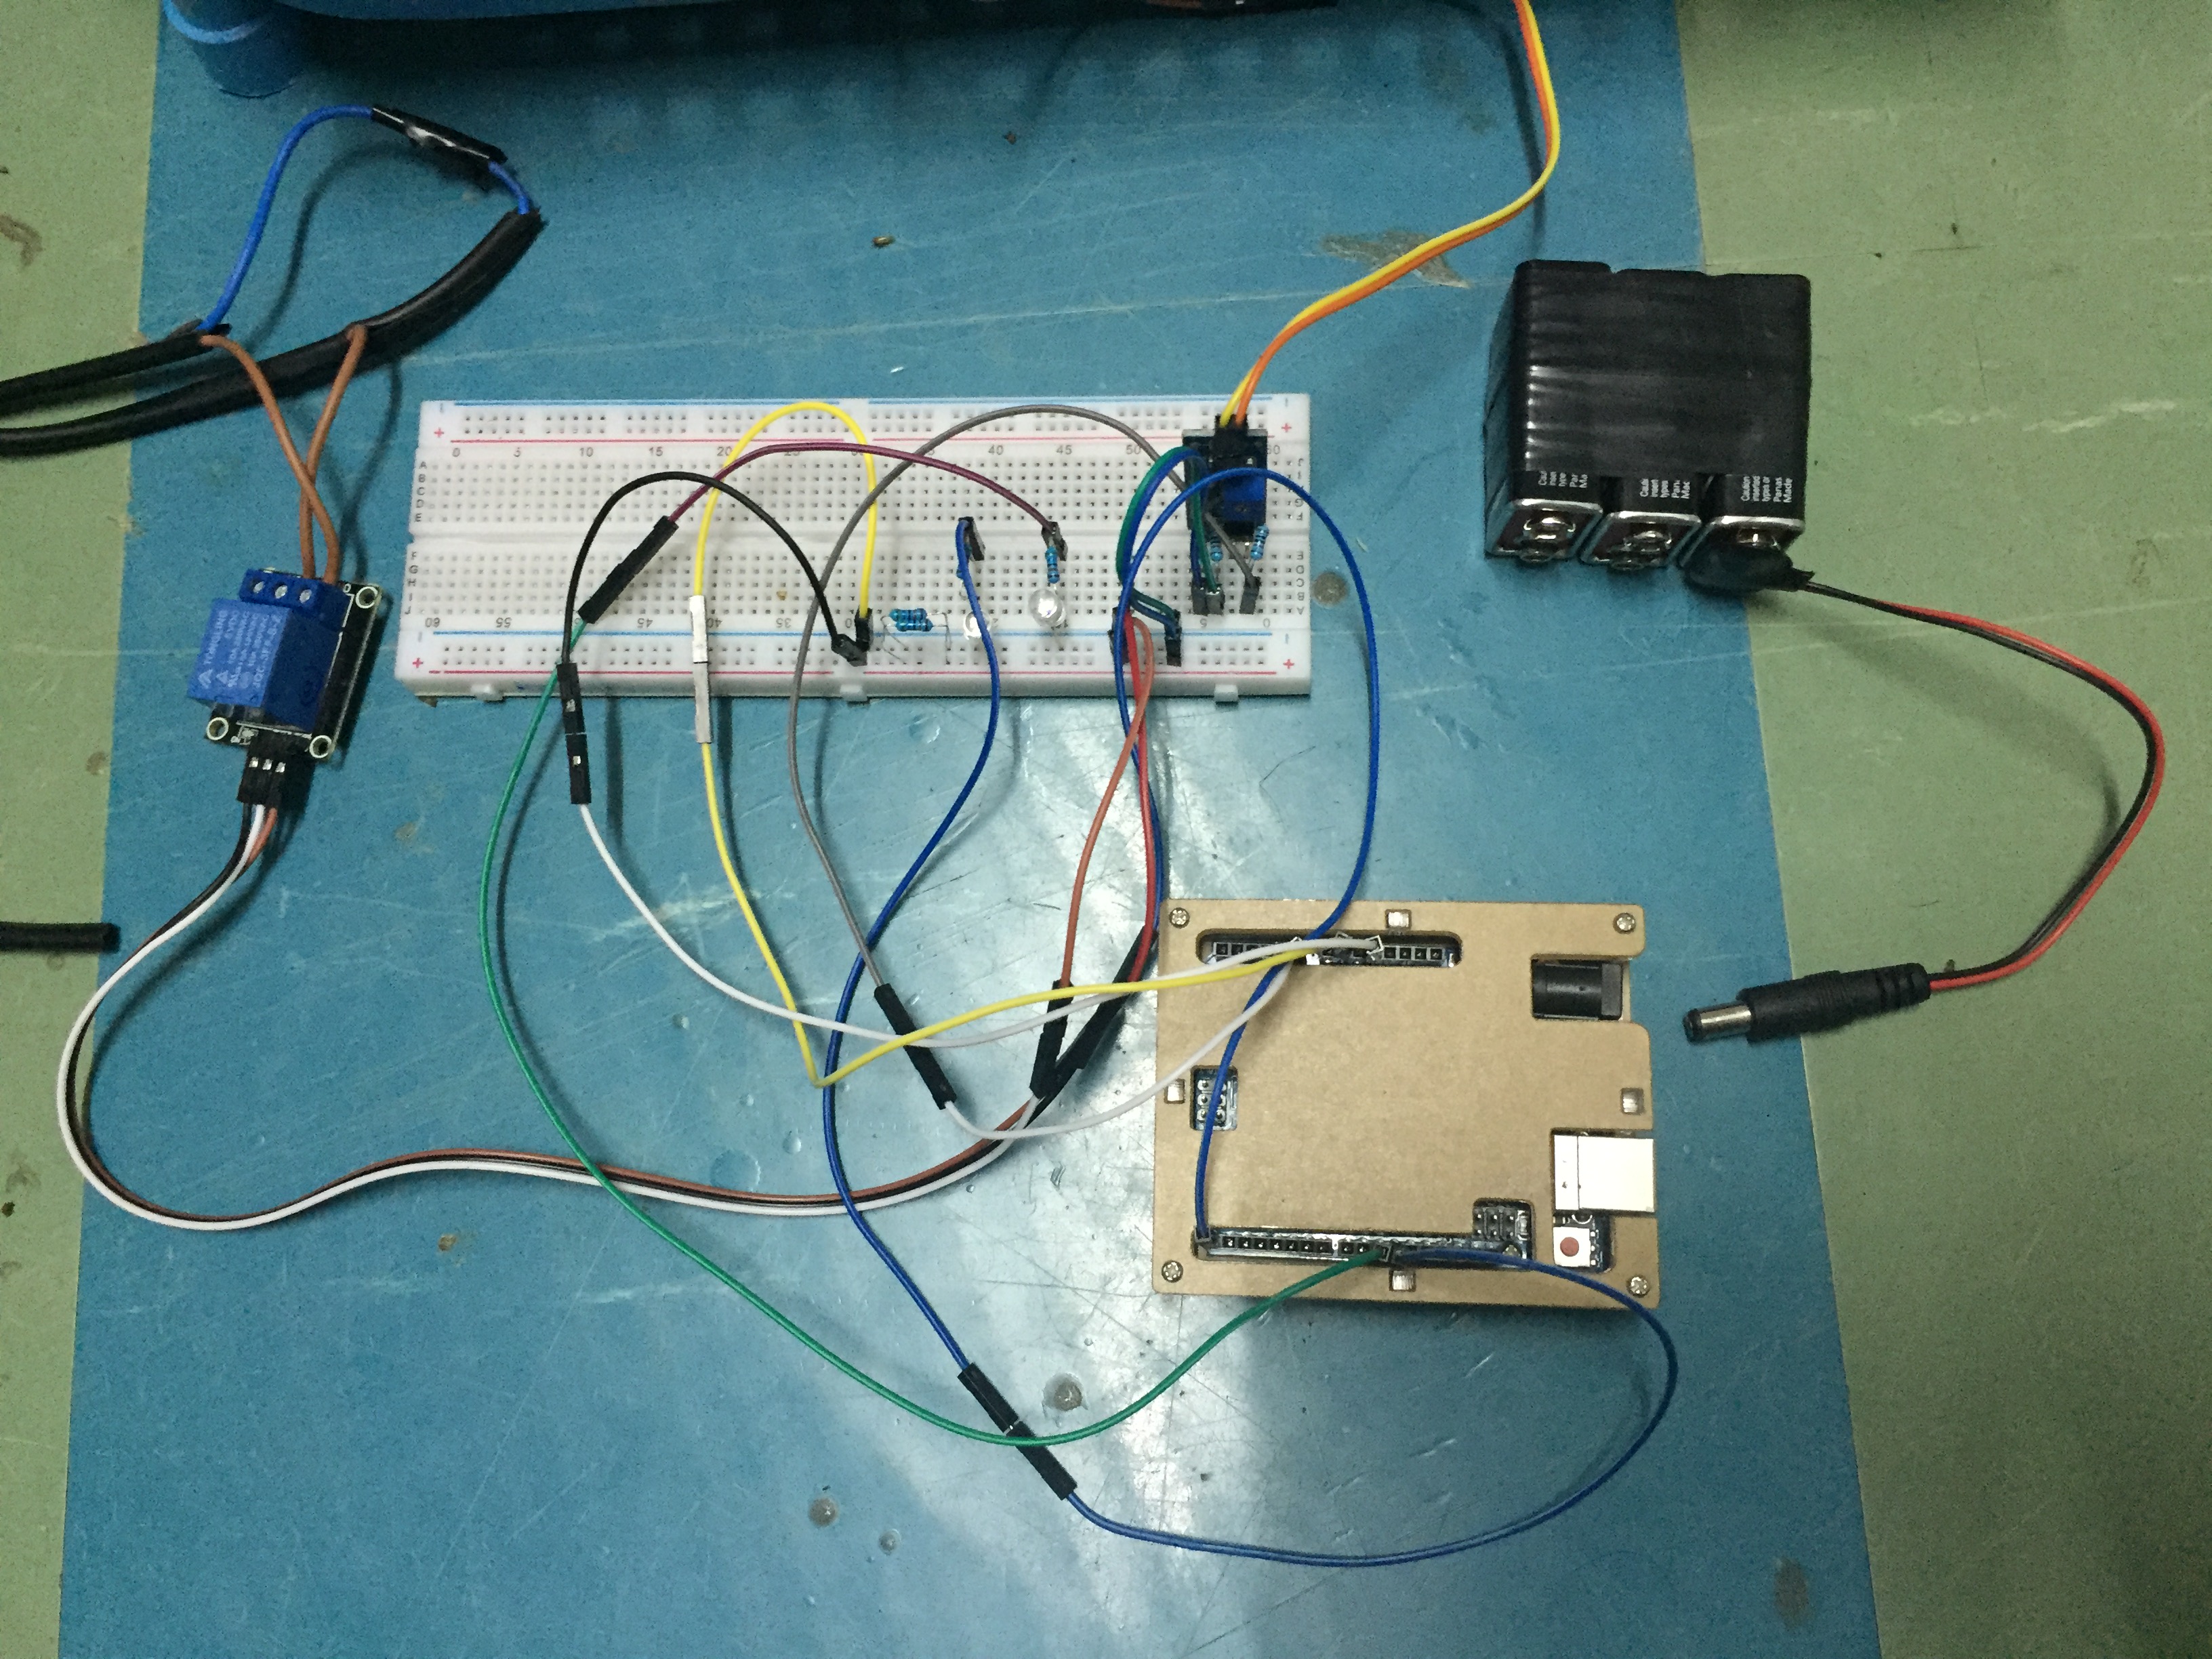
- In order to use it, we have assembled the circuit we need to work in each part of the device.
Step 2
- Once assembled, we will put the code into the Arduino program.
Step 3
- When Run Code The command is as follows:
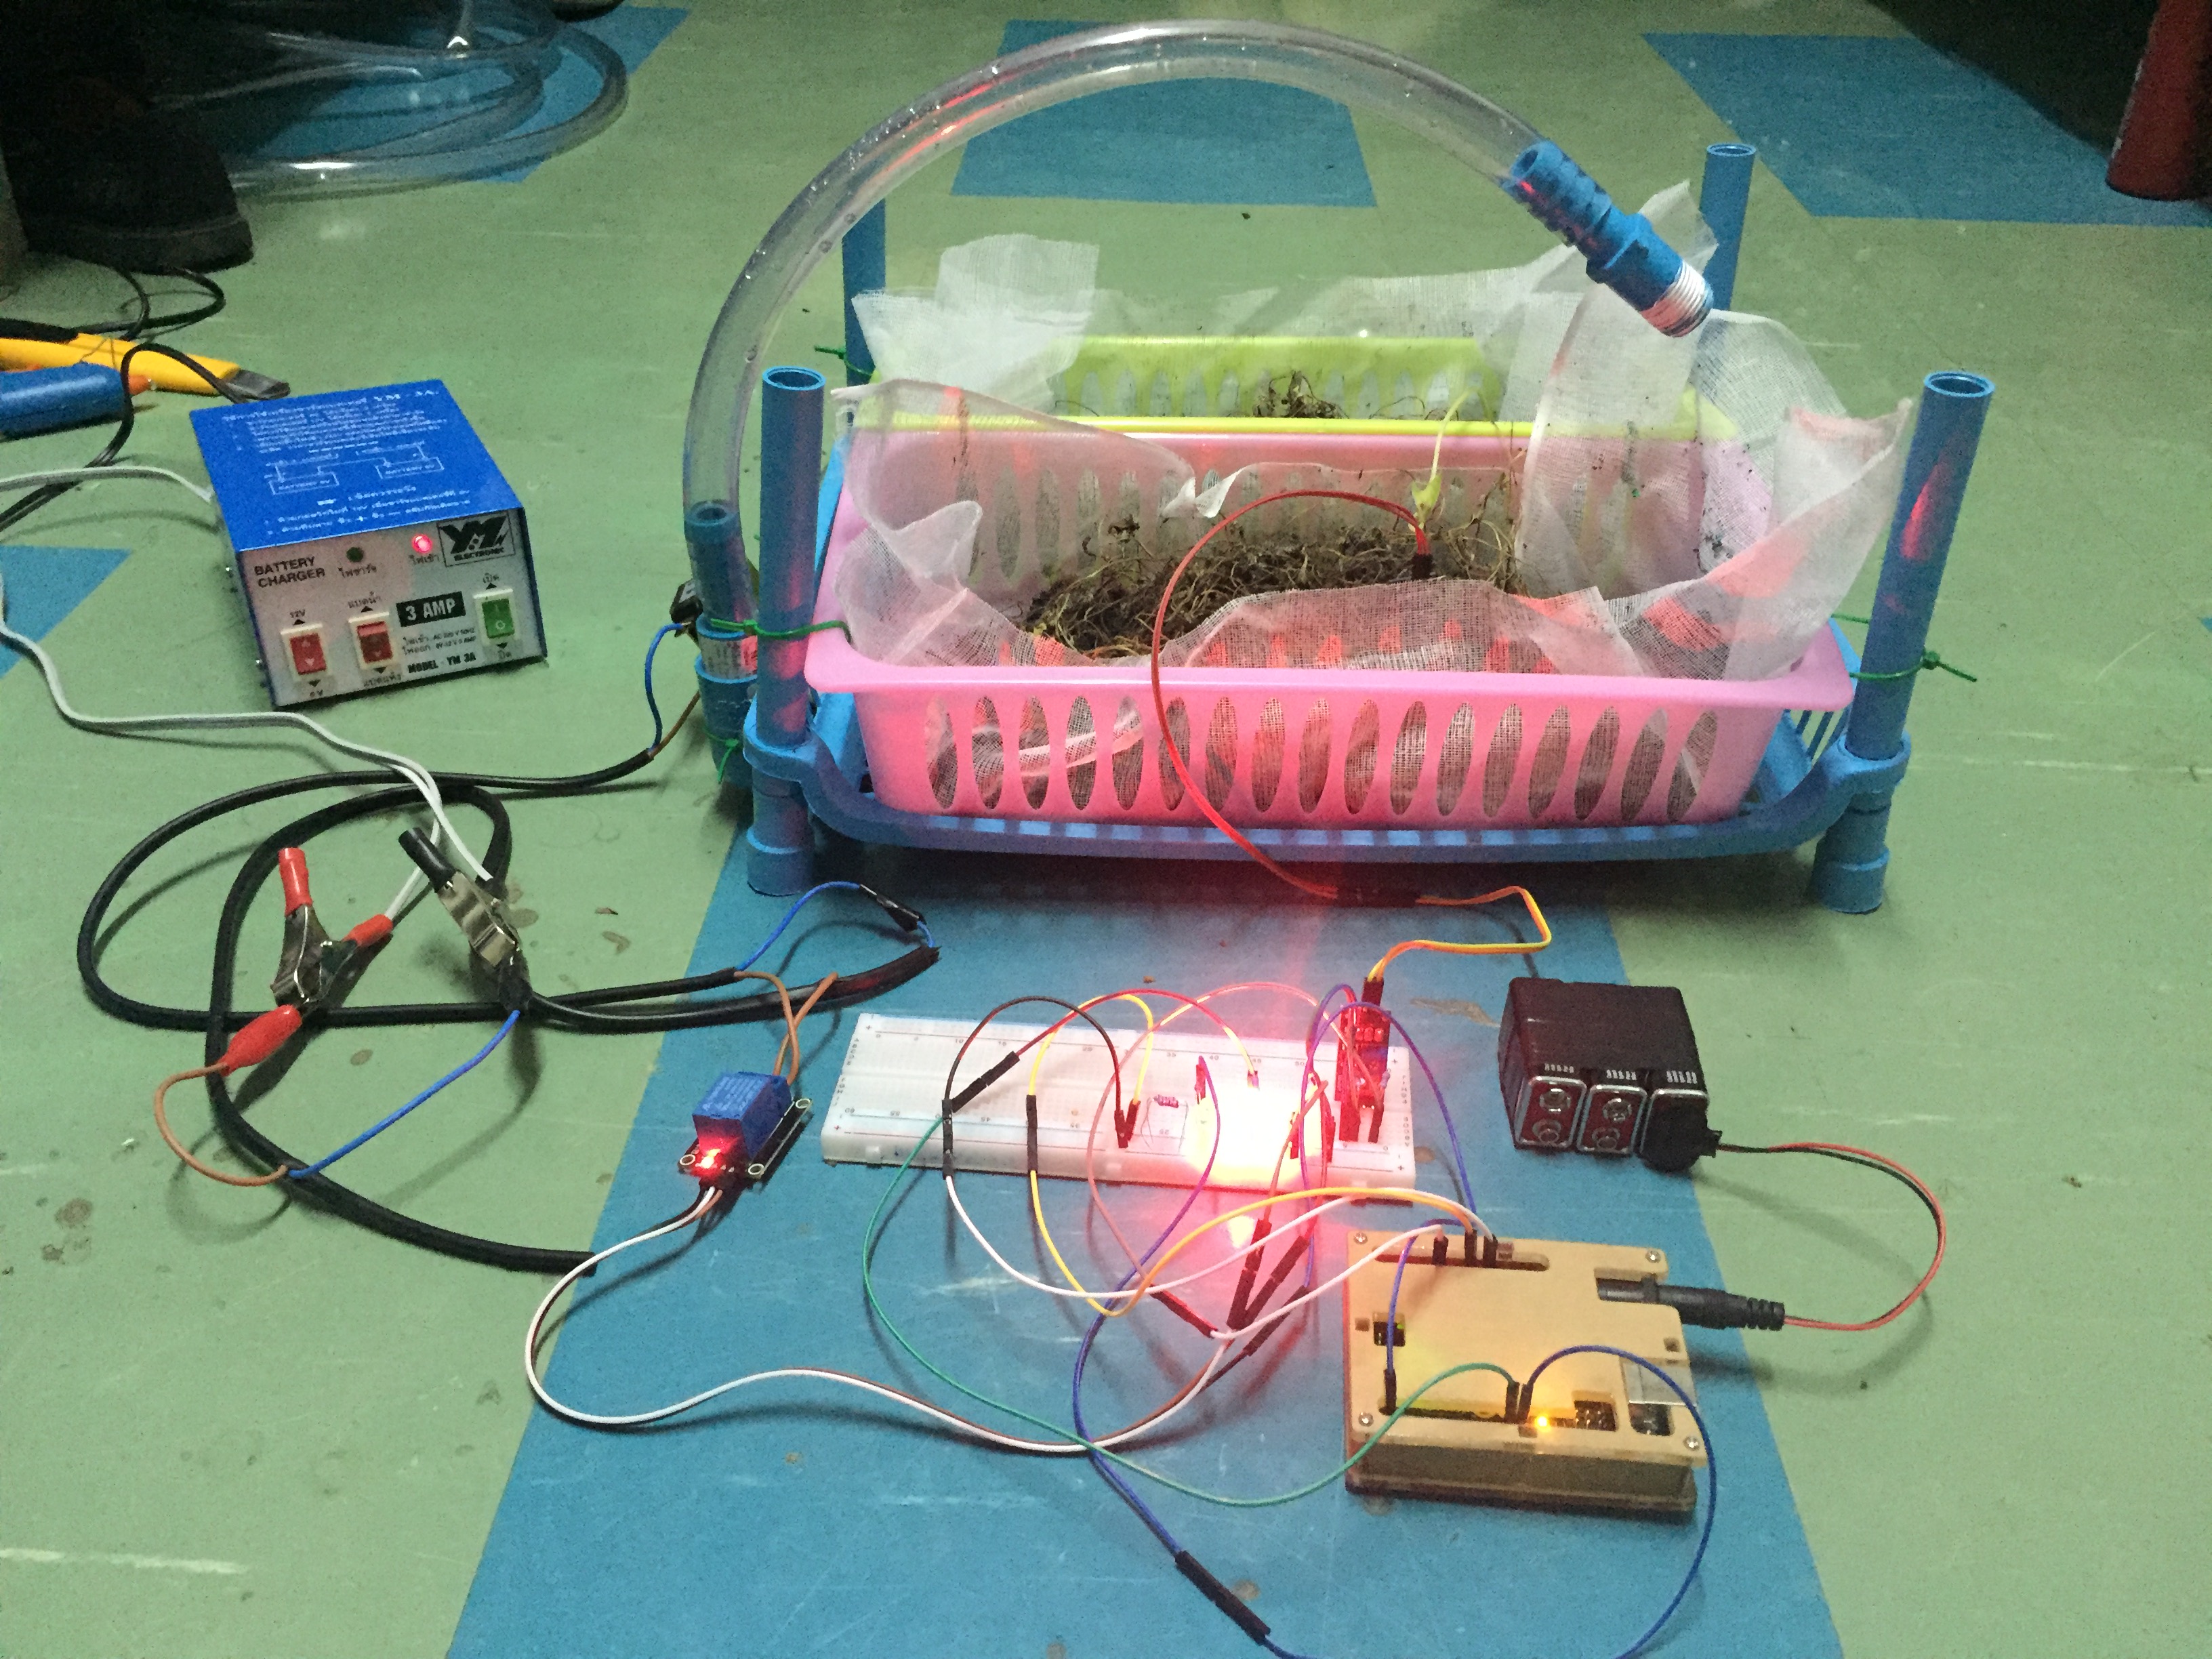
- 3.1 When the value of the gauge is greater than the set value, a red light will appear.
- 3.2 When the value of the gauge exceeds the set value, the watering system will activate.