Moreinfo and updates in https://rogerbit.com/wprb/2024/06/beeper/
In this tutorial, you will learn how to configure and use an ESP32 device to receive Telegram messages and display them on an SH1106 display. We will also include the functionality of a button and a buzzer to interact with the system.
Cellular Intercept: The ESP32 Telegram Beeper
Using Bluetooth restricts you to a radius of 30 feet. The Beeper with Telegram Bot scales IoT engineering globally! By directly manipulating the Telegram Messenger Bot API infrastructure across an encrypted Wi-Fi tunnel, you can physically sit in Tokyo, type "sound the alarm" on your smartphone app, and an ESP32 processor sitting in a garage in Brazil will violently wake up and blast a 120-decibel siren locally!
Requirements
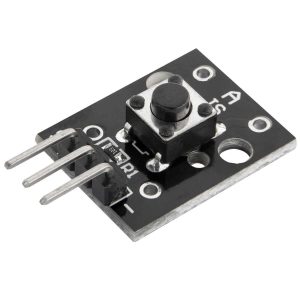
An ESP32. An SH1106 display (128×64) with I2C interface. A buzzer. A button. Connection cables. Arduino IDE library installed.
Step 1: Installing the Necessary Libraries
Open the Arduino IDE and make sure you have the following libraries installed:
WiFi.h for WiFi connection. WiFiClientSecure.h for the secure connection. UniversalTelegramBot.h to interact with the Telegram bot. U8g2lib.h to manage the SH1106 display.
You can install them from the Arduino IDE Library Manager by searching for the library names.
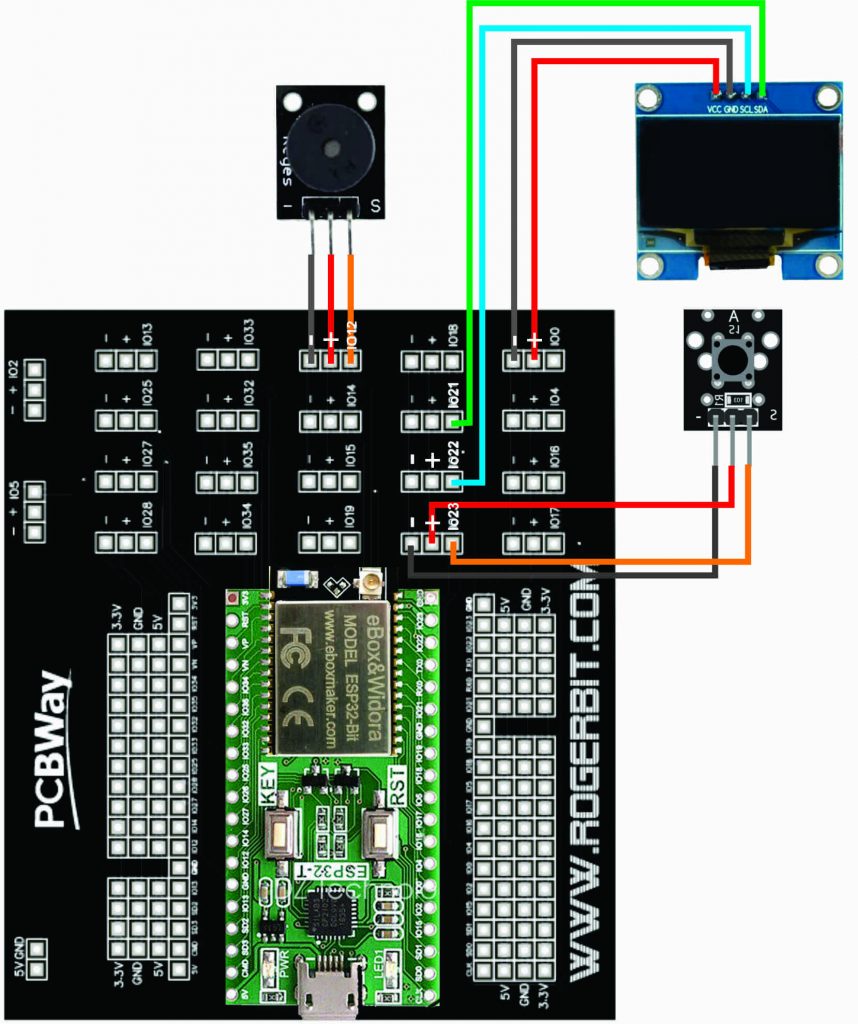
Step 2: Hardware Connection
Connect the components according to the following diagram:
Display SH1106: VCC a 5V del ESP32. GND a GND del ESP32. SCL a GPIO 22 del ESP32. SDA a GPIO 21 del ESP32. Buzzer: Positive terminal to GPIO 12 of the ESP32. Negative terminal to GND of the ESP32. Button : A terminal to GPIO 23 of the ESP32. Another terminal to GND of the ESP32.
Step 3: Telegram Bot Configuration
Registering the Global BotFather Token
You do not write a UI for this project. The Telegram Messaging app IS the UI.
- The programmer opens Telegram on their iPhone and talks to the famous "BotFather." They violently register a new Bot identity
(e.g., @MakerBuzzerBot). - The Telegram mainframe generates a massive, completely secret 46-character API string:
718919:AAEfH8T_f2yqX0wXG-5HqP_L-p3X... - If anyone else steals this string, they obtain absolute, tyrannical control over your ESP32 hardware!
Create a bot on Telegram using BotFather and get the Bot Token. Replace TOKEN_BOT in the code with the obtained token. Replace ssid and password with your WiFi network name and password.
Step 4: Load the Code into the ESP32
Connect the ESP32 to your computer. Select the ESP32 Dev Module board from the Tools -> Board menu. Select the correct port from the Tools -> Port menu. Click Upload to upload the code to the ESP32.
Step 5: System Test
Once the code is loaded, open the Serial Monitor in the Arduino IDE to see the debugging messages. On the SH1106 display, the message “Waiting for message!” should appear. Send a message to your Telegram bot. The message should appear on the display and the buzzer should sound.
Polling the JSON Array (UniversalTelegramBot)
The ESP32 does not passively listen. It violently requests data!
- The
<UniversalTelegramBot.h>library commands the ESP32WiFiClientSecureto connect toapi.telegram.orgutilizing a 100% encrypted HTTPS tunnel! - Like a heartbeat, every 3 seconds, the ESP32 executes:
bot.getUpdates(bot_last_message_received + 1); - The Payload Logic: If someone sent a text message in Telegram!
if (text == "/beep") {
  bot.sendMessage(chat_id, "EXECUTING SIREN PROTCOL!", "");
  tone(buzzerPin, 4000, 5000); // Blast a deafening 4kHz noise for 5 seconds locally!
}
else if (text == "/status") {
  bot.sendMessage(chat_id, "The Buzzer Array is currently online and fully connected to Azure nodes.", "");
}
Advanced IoT Webhook Component Arsenal
- ESP32 Core Microcontroller (Absolutely required. The ESP8266 struggles immensely to compute the massive HTTPS SSL/TLS encryption certificates required by Telegram's strict API protocols, often crashing under the math load alone!).
- UniversalTelegramBot Library.
- A piezo buzzer, heavy relay, or a massive 120dB 12V SIREN hooked into a Mosfet array!
- Telegram installed on your iPhone/Android device.
Electronic components
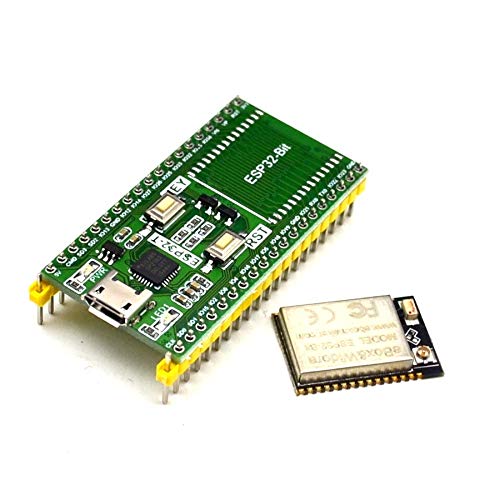
An Esp32
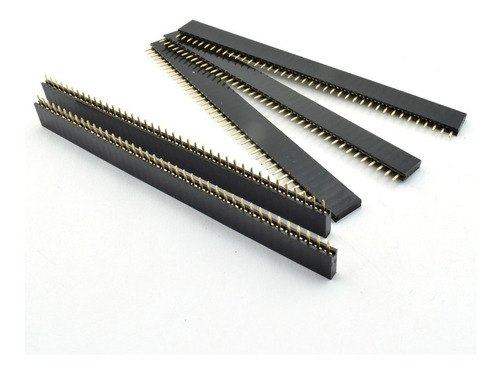
female pins
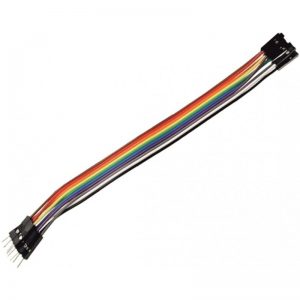
Male female dupont cables
Display oled sh1106
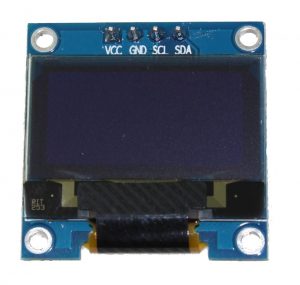
It is a 128x64 dot monochrome OLED display module with I2C interface. It has several advantages compared to LCD screens, and we can highlight its high brightness, very good contrast, a wider viewing angle, and low consumption. of energy. It is compatible with Arduino Rasberry Pi and PIC microcontrollers among others. It works with logic levels from 3.3V to 5V and has a viewing angle greater than 160 degrees. Screen Size is 1.3 inches. It is powered with a voltage of 3.3V to 5V. It can be used in applications such as smart watches, MP3s, thermometers, instruments, and various projects, etc.
Characteristics
Interface: I2C(3.3V / 5V logic level)
Resolution: 128 x 64
Angle of view: >160 degree
Display color: Blue
Display size: 1.3 inch
Driver IC: SH1106
Power supply: DC 3.3V5V
Operating temperature: -2070’C
Application: smart watch, MP3, thermometer, instruments, DIY projects, etc.
Buzzer Module
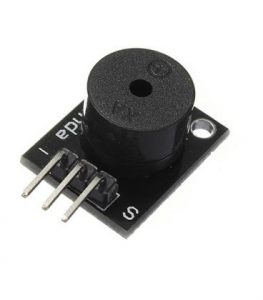
Module ky-004
PCB
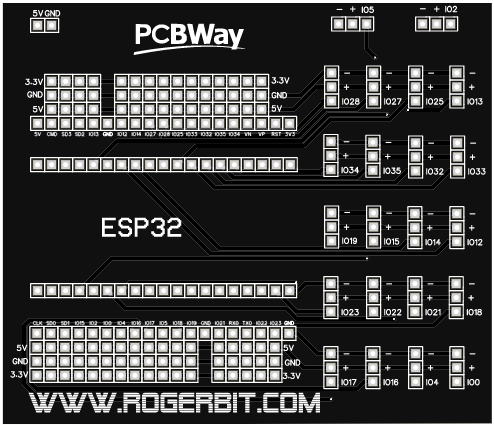
Download gerber file –> https://rogerbit.com/wprb/wp-content/uploads/2021/11/Gerber_esp32.zip
Circuit