I built this project as an introduction into the world of robotics and Arduino. What better way than to have a little fun by taking a classic physics project, a catapult, and using the motion to recreate a belt whip.
You can keep up to date with my journey through my YouTube channel:
https://www.youtube.com/channel/UCYt-FhSLXeQrROdbLOBCZUw
Check it out in action here:
Technical Implementation: Tension Loading and Servo Triggers
The project reveals the hidden layers of simple motion-to-whip interaction. At its core, the Arduino Uno acts as the system's brain, managing the high-resolution timing and coordination of the entire launch cycle. It uses its digital pins to send precise control signals.
The actuation is handled by two key components:
- A High-Torque MG996R Servo provides reliable mechanical feedback for the "Hold/Release" function, typically moving between 0 and 90 degrees to secure or free the catapult arm.
- An L298N Motor Driver provides the high-current, reliable power required by the drill motor for the reset-pull mission.
The Arduino code follows a "state machine" logic, interpreting the launch sequence and matching motor and servo states to ensure a safe and rhythmic mechanical operation. Status updates are sent to the Serial Monitor for calibration and coordination.
Hardware-Robotic Infrastructure
- Arduino Uno: The central controller.
- MG996R Servo: The high-precision release mechanism.
- L298N Driver: The high-capacity power interface for the drill.
- Bungee Cords: Provide the energy-efficient tension for each launch pulse.
- Drill Motor: Provides the physical force to reset the catapult arm.
- Micro-USB Cable: For programming and powering the Arduino.
Building and Automating the Catapult
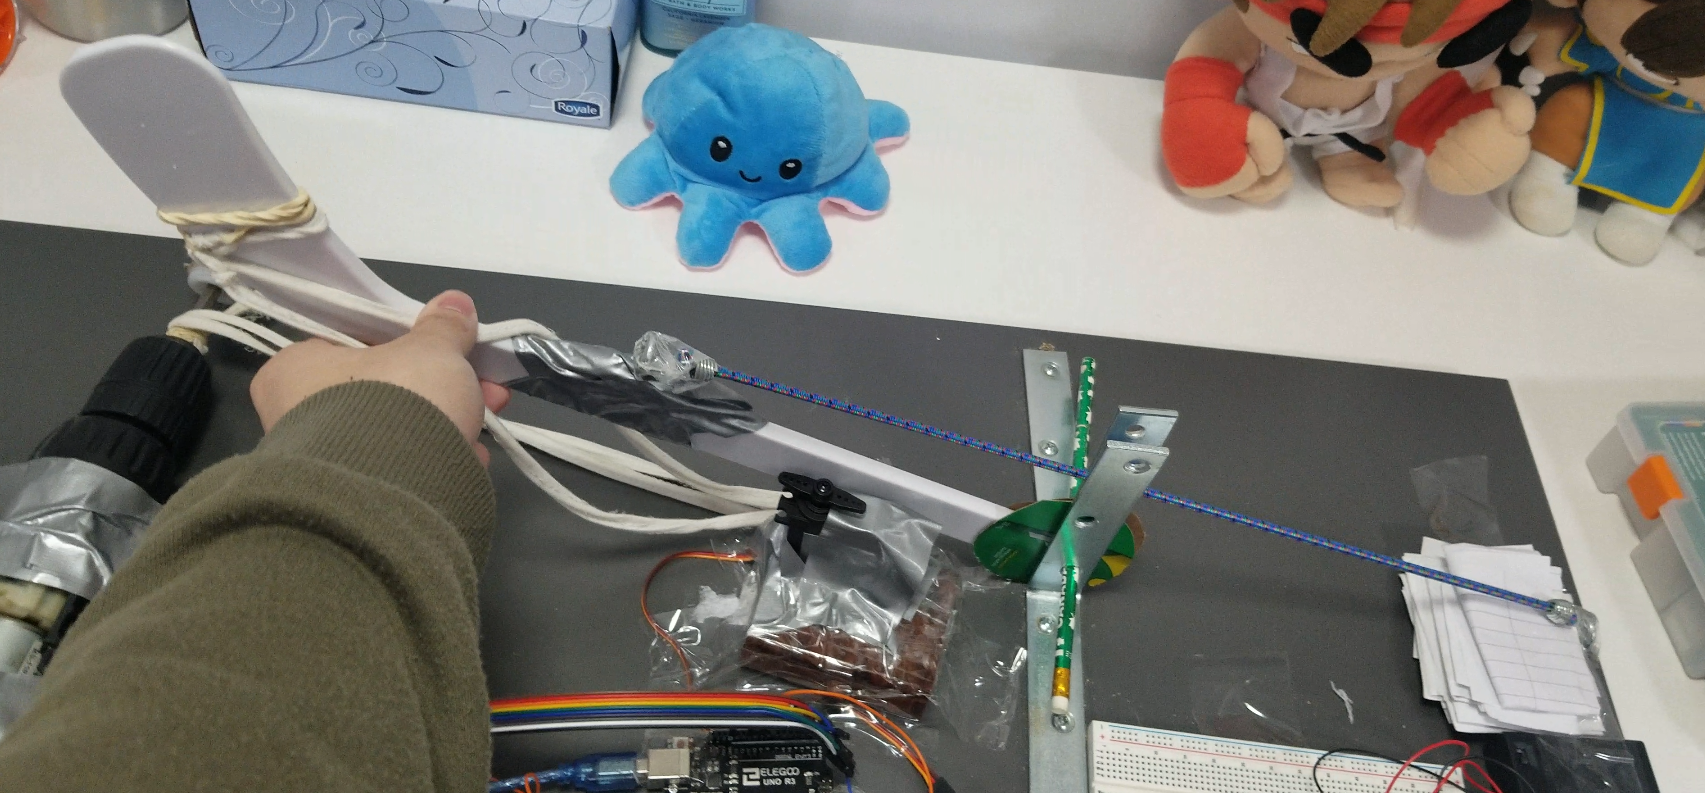
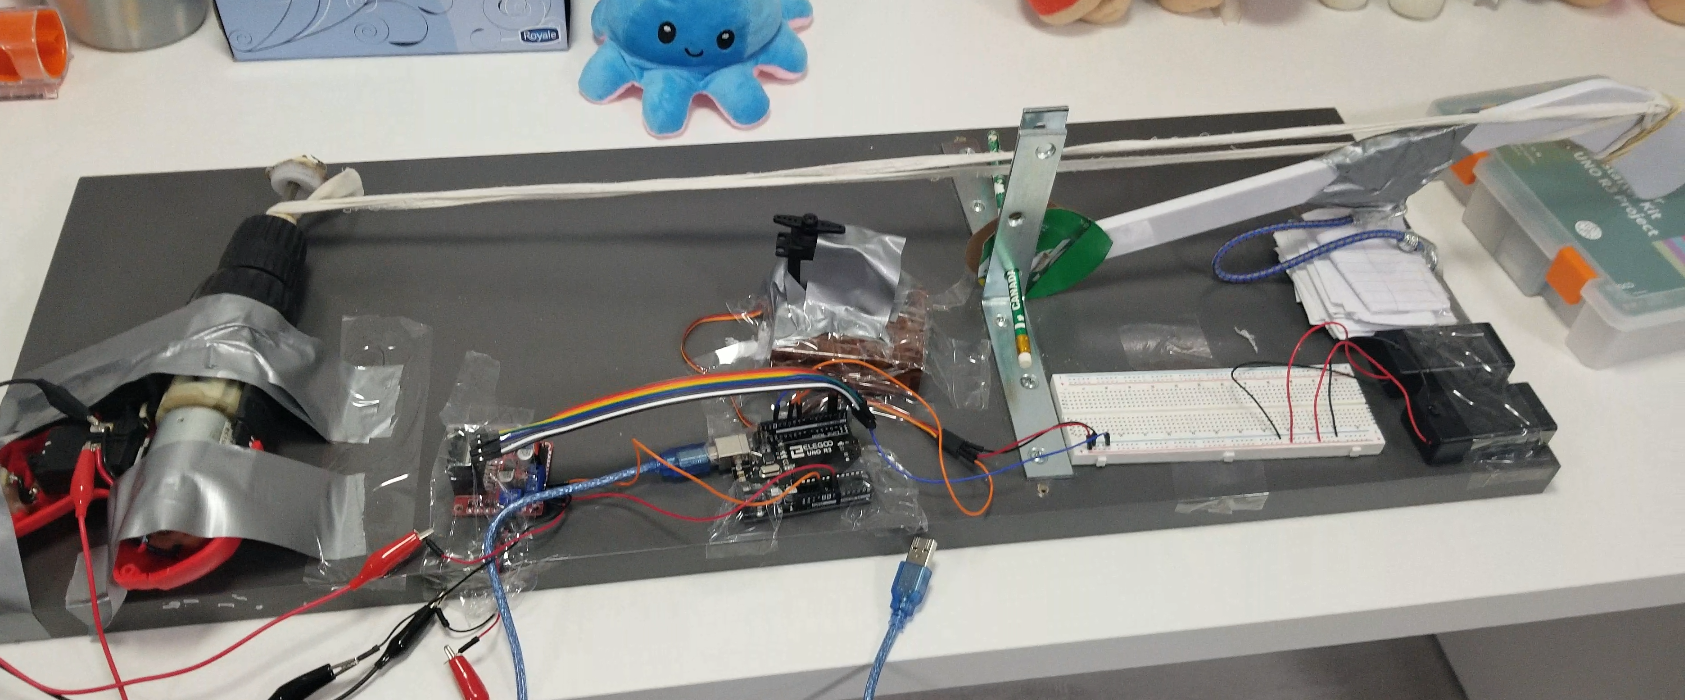
To start off the project, I made a catapult without any electronics as this will represent the movement of the robot. There are many ways to build a catapult but I chose a simple way by taking a bookshelf and drilling L brackets into it. You can then stick anything straight, chopsticks, poles, or a pencil through the hole to act like a fulcrum. In between the two brackets should be what you want to use as your arm of the catapult. I used a hockey stick.
Now for the fun part of the catapult. The launching motion. This is done by having 2 eye hooks, one drilled at the end of the bookshelf and another one on your arm. Attached to the hooks are bungee cords which are perfect in this case.
After this, you should be able to launch your catapult at will. It was a lot stronger than I thought and obviously the more tension/bungee cords you add the stronger it will be. Now it's onto automating the process in resetting the catapult as well as launching it.
The belt-whip catapult automation process is designed to be user-friendly:
- Initialize Workspace: Correctly mount your drill and servo on the catapult frame and connect them to the Arduino via the L298N driver and servo pins.
- Setup Output Sync: In the Arduino sketch, initialize the
servo.attach()function and define the motor pull-delay timings in thesetup()routine. - Internal Dialogue Loop: The system constantly performs timing checks and updates its status in real-time based on the launch sequence logic.
- Visual and Data Feedback: You can watch the system operate and monitor its status via the Serial Monitor, which pulses with updates.
To reset the catapult back to starting position, I used a power drill controlled by a L298N motor driver. Any DC motor that is capable of pulling a strong load will work however. Attaching a string from the drill to the hockey stick will allow the drill to pull back the catapult into a "Ready-to-fire" position. But before we fire we need to release the tension on the string or else the drill will also go flying.
A servo motor is used to hold the hockey stick in place while the drill releases the tension on the string. Once this is done, the catapult is ready to fire and the servo rotates launching the catapult and whipping the belt.
This process can be done indefinitely for maximum punishment ;)
If you're still questioning how it all comes together, see the short video:
Future Expansion
- OLED Identity Dashboard Integration: Add a small OLED display to the base to show "Launch Count" or "Battery %."
- Multi-sensor Sync: Connect an ultrasonic sensor to perform higher-precision "Target Detection."
- Cloud Interface: Add a web dashboard accessible via smartphone over WiFi/BT to precisely track and log total launch history.
- Advanced Velocity Customization: Add code to allow trigger timings to be adjusted automatically for personalized launch speeds!
Belt Whip Catapult Robot is a perfect project for any science enthusiast looking for a more interactive and engaging robotics tool!
[!IMPORTANT] The Drill Motor is a high-current component; always use an external battery pack (e.g., 12V) through the L298N driver to avoid damaging the Arduino!