Bipolar Stepper Motor Library
Previously, I introduced a library for controlling Unipolar Stepper Motors, which allowed for precise control over speed, direction, number of revolutions, and rotation angle. However, the limitation of that library was that it was designed exclusively for Unipolar Stepper Motors. In engineering applications and real-world usage, Bipolar Stepper Motors are equally popular due to their higher Torque output for the same size. To address this, I have developed a new library specifically to support Bipolar Stepper Motors.
Therefore, I would like to introduce the bi_polar_Stepper library for Arduino, designed to support all models of Bipolar Stepper Motors. This library comprises 9 key functions that make motor control easy and flexible, adhering to Industrial Motion Control system requirements. Its outstanding features include:
- Compatible with all Bipolar Stepper Motor models.
- Independent control of rotation direction (Clockwise / Counter-Clockwise).
- Precise control over the number of revolutions, such as 1, 2, 3 revolutions, or more.
- Controls rotational speed in RPM (Revolutions Per Minute) with up to 95% accuracy.
- Controls rotation to a desired angle (0 – 360 degrees) with 80-100% accuracy, depending on the motor's resolution.
- Supports all Arduino board models, including Uno, Nano, and Mega.
In this article, I will explain the details of the library's various functions, along with practical application examples, demonstration videos, and circuit connection recommendations using the popular L293D IC, a Dual H-bridge Driver capable of efficiently driving current to the coils of a Bipolar Stepper Motor.
For installation, download the bi_polar_Stepper folder and place it in your Arduino libraries directory (e.g., C:\arduino-1.x.x\libraries) to start using it immediately in your Sketch.
Function Details in the Library (API Description)
To understand the in-depth operation, here is a description of each function designed for precise control:
bi_polar_Stepper(int pin1, int pin2, int pin3, int pin4): This is the Constructor for creating a motor instance. You must specify the 4 Arduino Digital Pins connected to the motor driver to send pulse signals to each coil phase.set_step_per_rev(int steps): This function is crucial for defining the number of Steps per revolution of the motor (e.g., a motor with a 1.8-degree Step Angle will have 200 Steps/Rev). This information will be used in calculations involving time to determine precise speed and angle.set_RPM(int rpm): Used to set the rotational speed. The library automatically calculates the Delay between steps to achieve the desired RPM as accurately as possible.rotate_CW(): Commands the motor to rotate continuously Clockwise. If you want continuous rotation, this function should be called withinloop().rotate_CCW(): Commands the motor to rotate continuously Counter Clockwise.rotate(int dir): A direction control function using a parameter. If the value is 1, the motor will rotate Clockwise; otherwise, it will rotate Counter-Clockwise.rotate_one_rev(int dir): Commands the motor to complete exactly one revolution in the specified direction (1 for CW, 0 for CCW).rotate_n_rev(int dir, int num): Commands the motor to rotate for the specified number of revolutions (num) in the desired direction.rotate_x_deg(int deg): An advanced function that calculates rotation by angle (0-360 degrees). The library converts the angle value into the number of steps required to reach the correct position.
Code Examples
1) Continuous Rotation in One Direction at 60 RPM
This example demonstrates basic usage, setting the motor to rotate clockwise continuously at a constant speed.
/* Continuous Bipolar Stepper Motor rotation program
* Step Angle 1.8 degrees (200 steps/rev) at 60 RPM
*/
#include <bi_polar_Stepper.h>

#define steps 200 // Adjust according to your motor's specifications
bi_polar_Stepper my_step_motor(8, 9, 10, 11);
int rpm = 60;

void setup() {
  Serial.begin(9600);
  Serial.println("Bipolar stepper motor library test program");
  my_step_motor.set_step_per_rev(steps); // Set motor resolution
  my_step_motor.set_RPM(rpm);            // Set speed
  Serial.println("Motor rotates clockwise");
}

void loop() {
  my_step_motor.rotate_CW(); // Rotate clockwise continuously
}
2) Alternating Direction, Revolution by Revolution
This example uses the rotate_one_rev function to control the motor to complete exactly one revolution, then pause and reverse direction.
/* Program to rotate motor 1 revolution clockwise and 1 revolution counter-clockwise
* at 30 RPM, alternating continuously
*/
#include <bi_polar_Stepper.h>
#define steps 200
bi_polar_Stepper my_step_motor(8, 9, 10, 11);
int rpm = 30;

void setup() {
  Serial.begin(9600);
  my_step_motor.set_step_per_rev(steps);
  my_step_motor.set_RPM(rpm);
}

void loop() {
  Serial.println("Motor rotates clockwise");
  my_step_motor.rotate_one_rev(1); // Rotate 1 revolution (CW)
  delay(1000);

  Serial.println("Motor rotates anti-clockwise");
  my_step_motor.rotate_one_rev(0); // Rotate 1 revolution (CCW)
  delay(1000);
}
3) Controlling Different Speeds in Each Direction
In industrial applications, sometimes different speeds are required for forward and reverse motion. This example demonstrates how to change RPM values in real-time.
#include <bi_polar_Stepper.h>
#define steps 200
bi_polar_Stepper my_step_motor(2, 3, 4, 5);
int i;

void setup() {
  Serial.begin(9600);
  my_step_motor.set_step_per_rev(steps);
}

void loop() {
  my_step_motor.set_RPM(100); // Set high speed at 100 RPM
  for(i=0; i<100; i++) my_step_motor.rotate(1); // Rotate clockwise 100 steps
  delay(2000);

  my_step_motor.set_RPM(50);  // Reduce speed to 50 RPM
  for(i=0; i<100; i++) my_step_motor.rotate(0); // Rotate counter-clockwise 100 steps
  delay(2000);
}
4) Defining a Specific Number of Revolutions (N Revolutions)
If you need the motor to perform multiple rotations, such as in a wire-winding machine, the rotate_n_rev function will make your code shorter and cleaner.
#include <bi_polar_Stepper.h>
#define steps 200
bi_polar_Stepper my_step_motor(2, 3, 4, 5);

void setup() {
  Serial.begin(9600);
  my_step_motor.set_step_per_rev(steps);
}

void loop() {
  my_step_motor.set_RPM(20);
  my_step_motor.rotate_n_rev(1, 4); // Rotate 4 revolutions clockwise
  delay(2000);

  my_step_motor.set_RPM(10);
  my_step_motor.rotate_n_rev(0, 2); // Rotate 2 revolutions counter-clockwise
  delay(2000);
}
5) Position Control by Degree (Degree Control)
This example demonstrates Angular Positioning, suitable for applications like Robot Arms or camera bases that require precise angles.
/* Rotate the motor to 90 degrees and return to the original position
*/
#include <bi_polar_Stepper.h>
#define motor_steps 200
bi_polar_Stepper my_step_motor(8, 9, 10, 11);

void setup() {
  Serial.begin(9600);
  my_step_motor.set_step_per_rev(motor_steps);
  my_step_motor.set_RPM(30);
}

void loop() {
  my_step_motor.rotate_x_deg(90);  // Go to 90 degrees
  delay(2000);
  my_step_motor.rotate_x_deg(270); // Continue rotating to the specified angle (Relative to step logic)
  delay(2000);
}
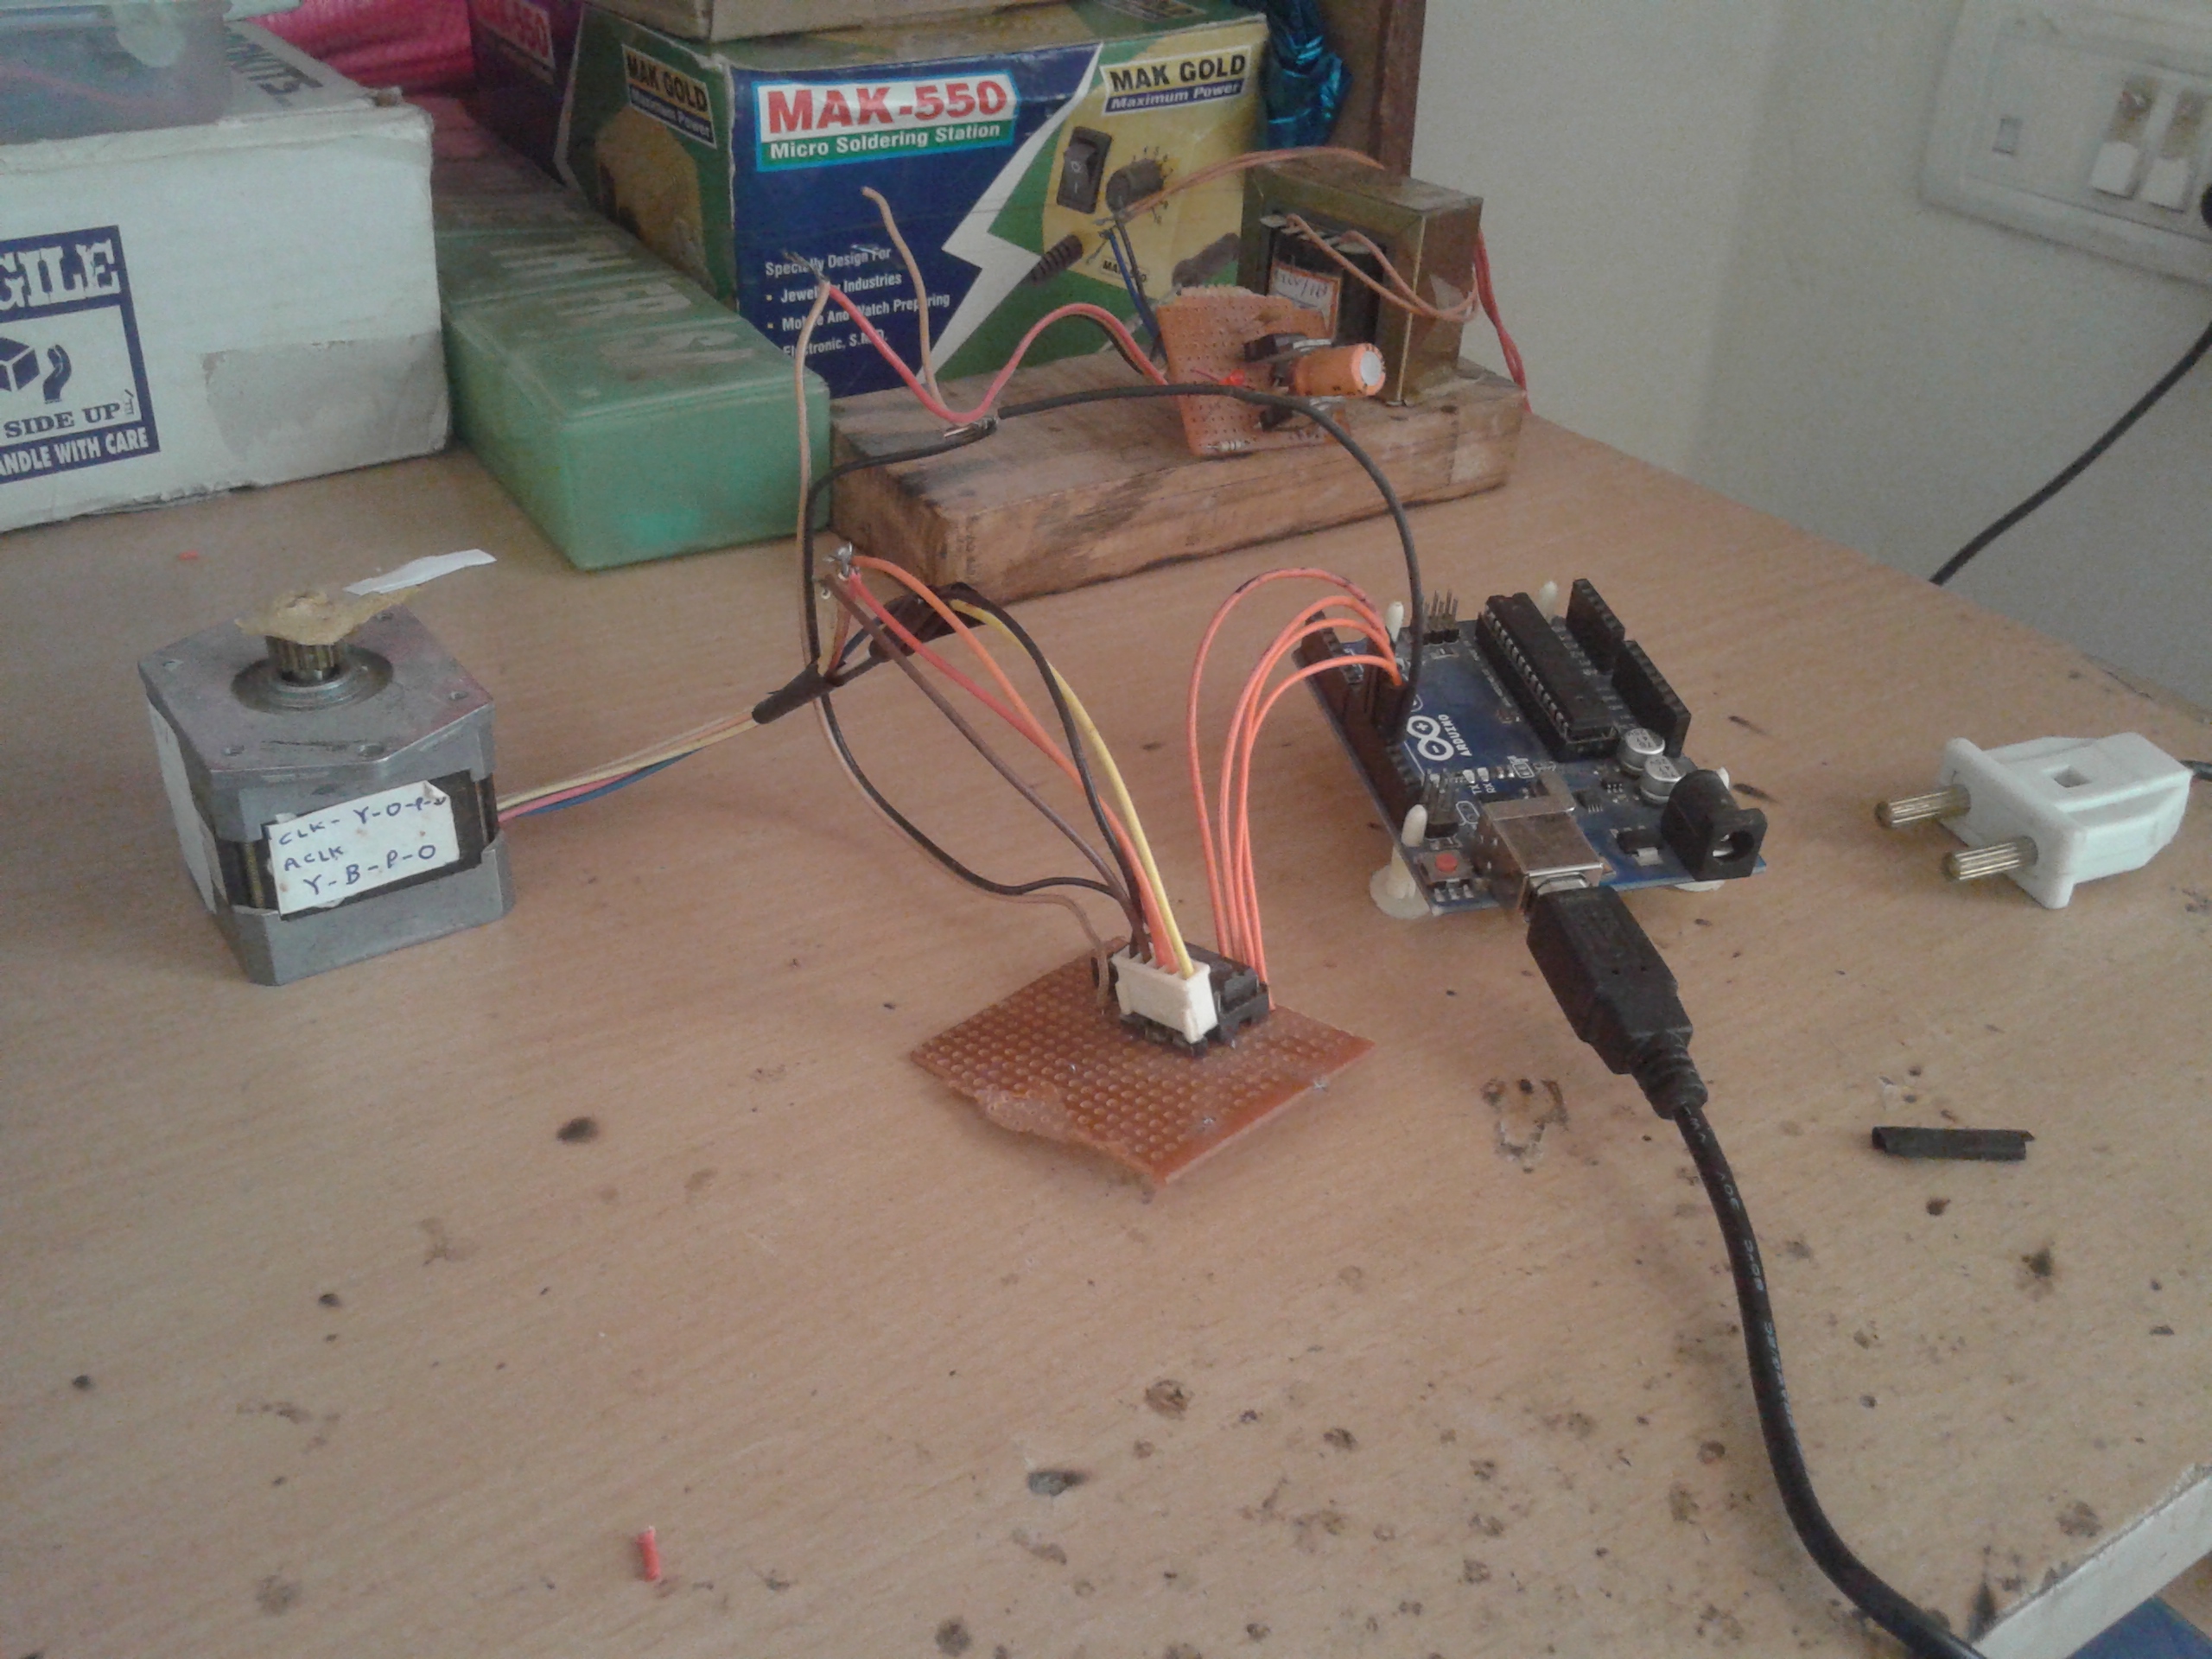
Hardware Implementation and Power Amplification Recommendations
Bipolar Stepper Motors differ from Unipolar types in that they do not have a "Center Tap" on their coils. Therefore, to reverse the current direction