The project uses a mobile phone to communicate with a robot via bluetooth. I always wanted to build a robot and control it via mobile phone. After a long gap of more than 12 years, I took up the task of building a robot and operate it. This is also my first project in the Arduino Project Hub. Electronics and robotics is one of my favourite hobbies and therefore I took the task of building the robot in this time of lockdown due to Covid19.
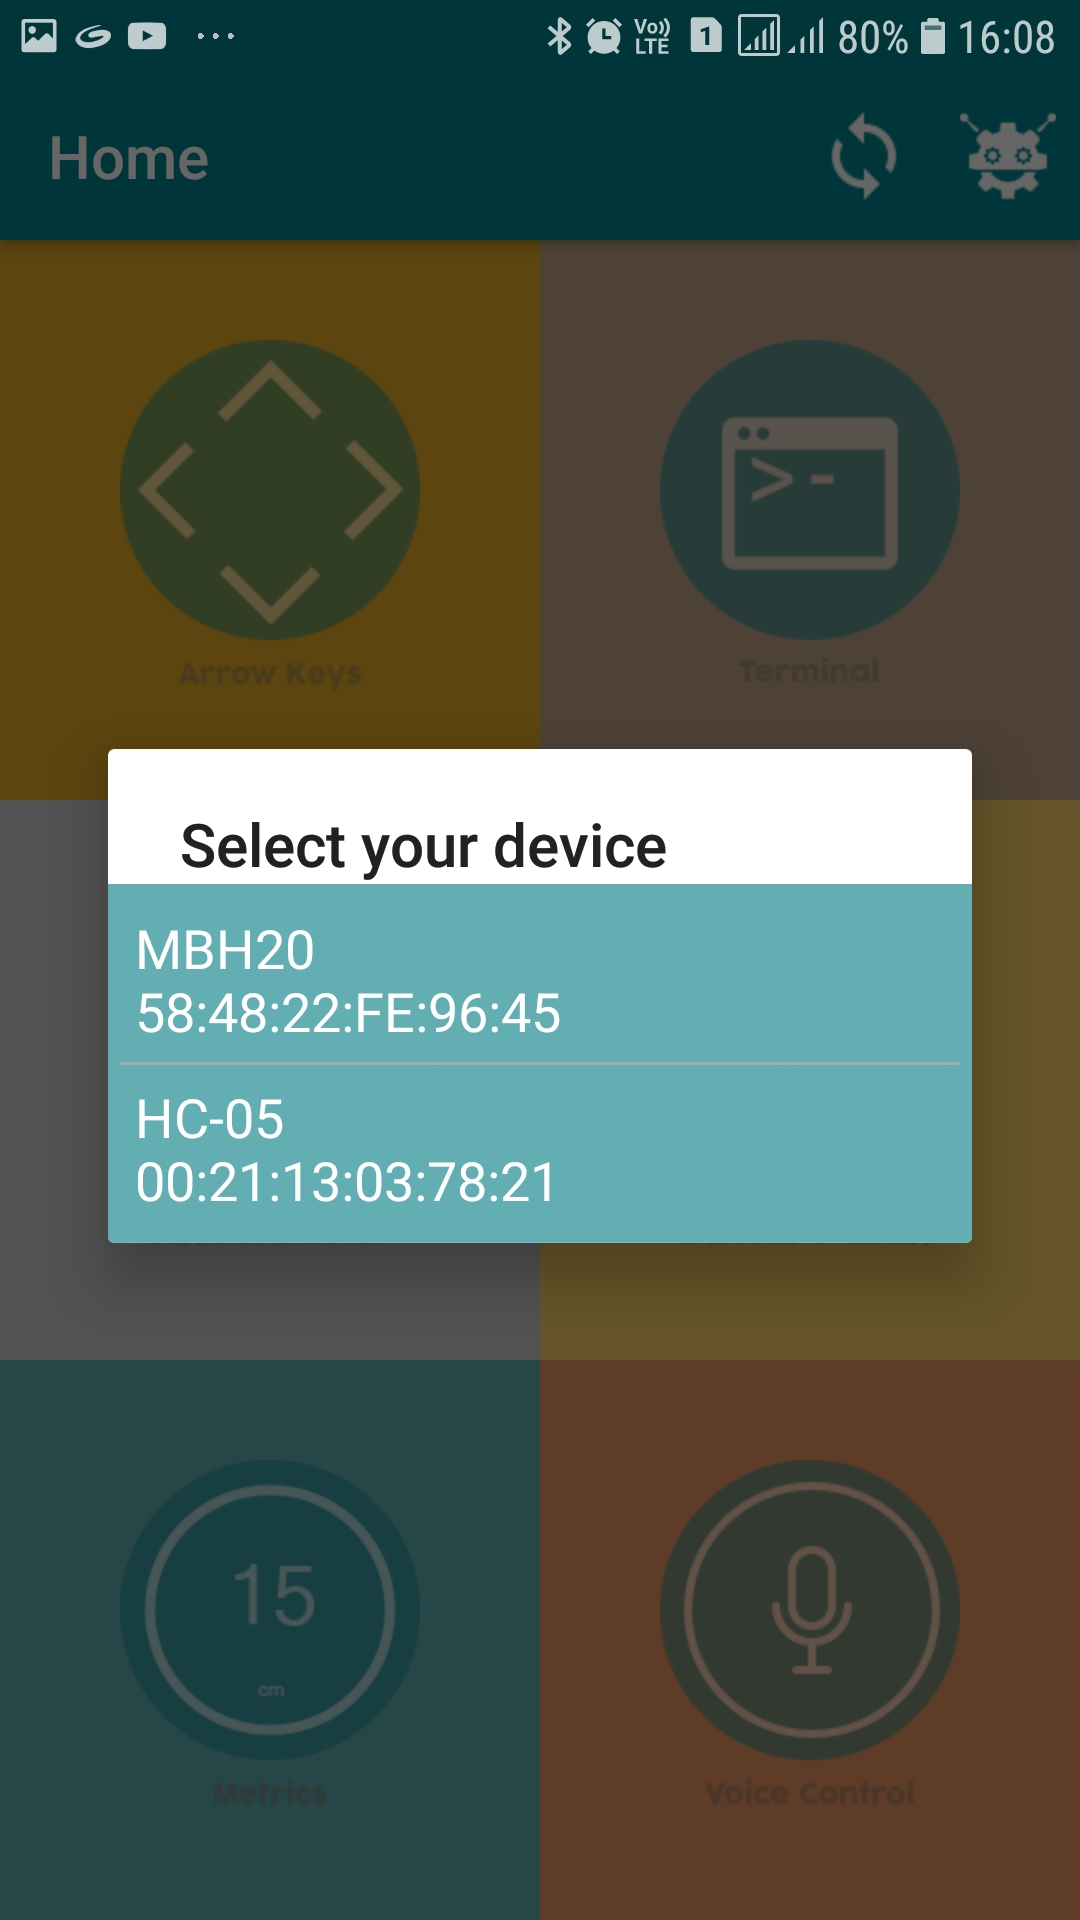
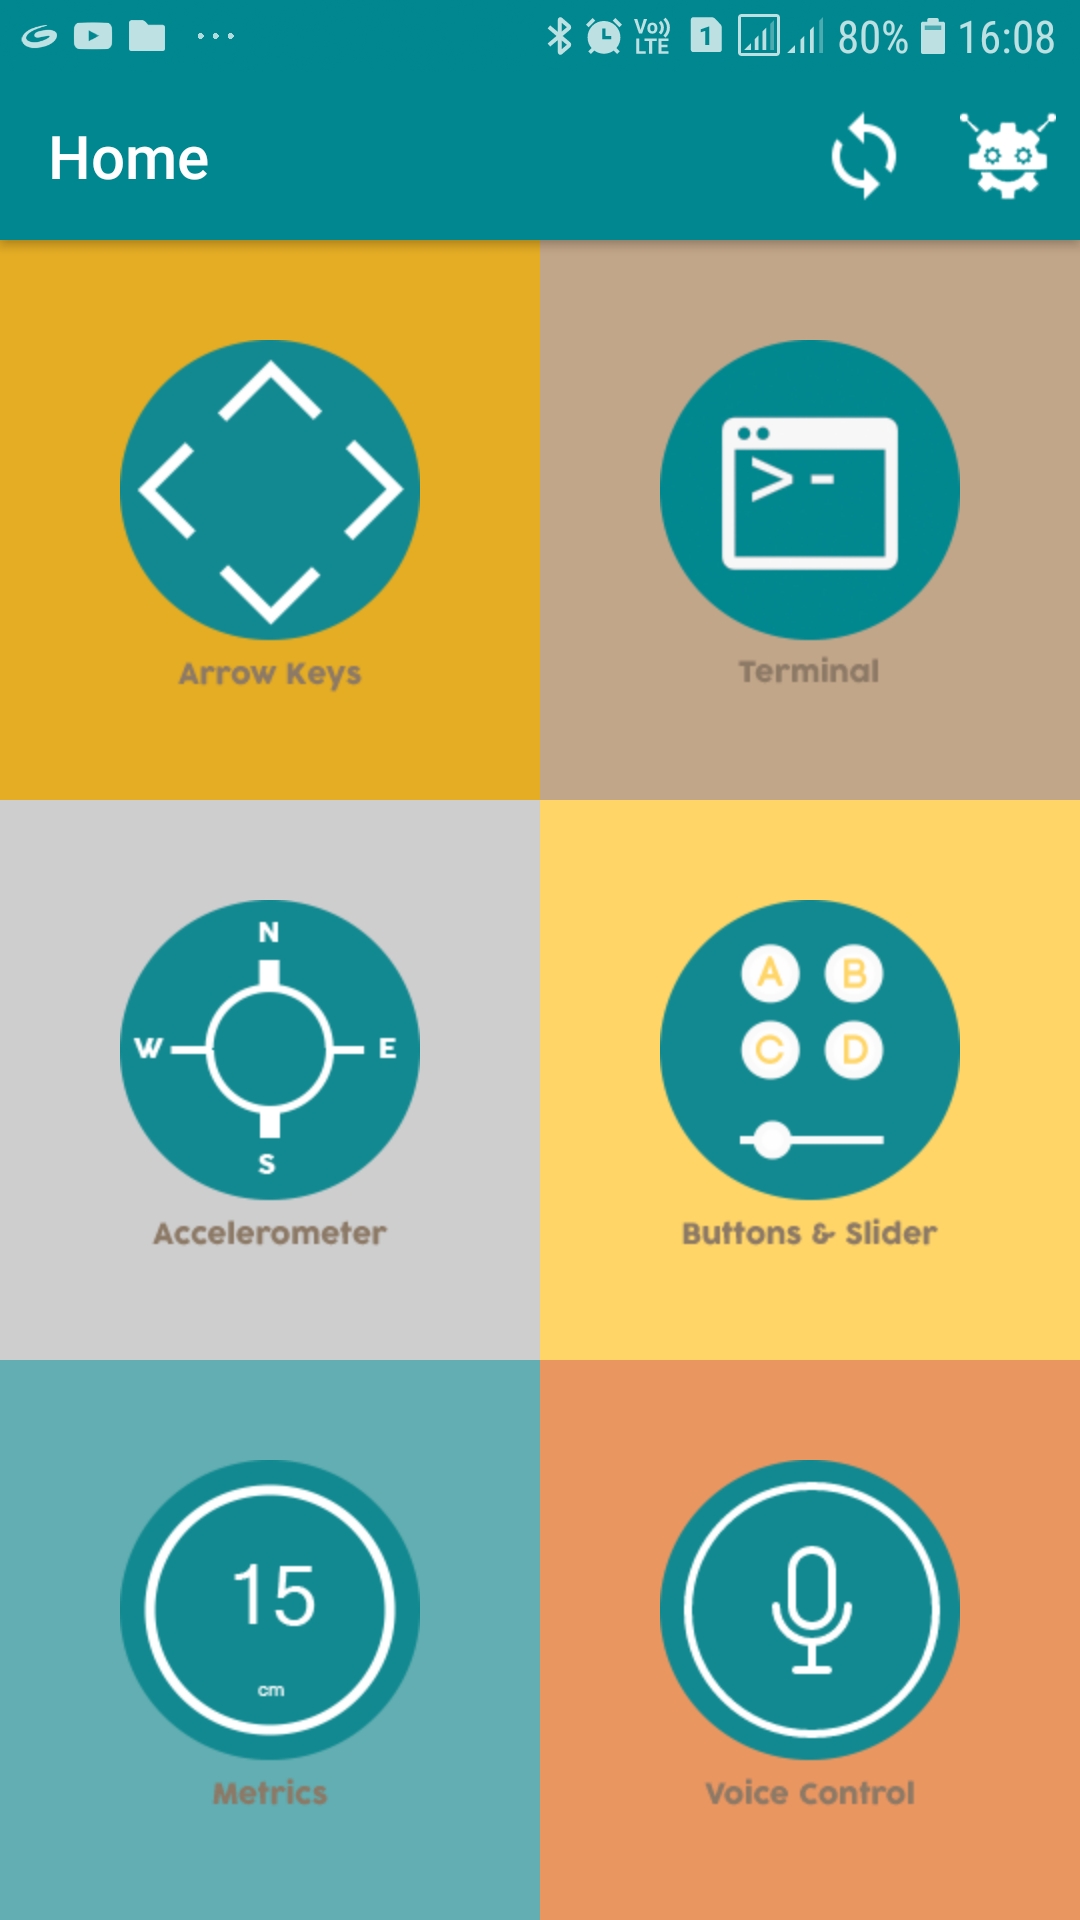
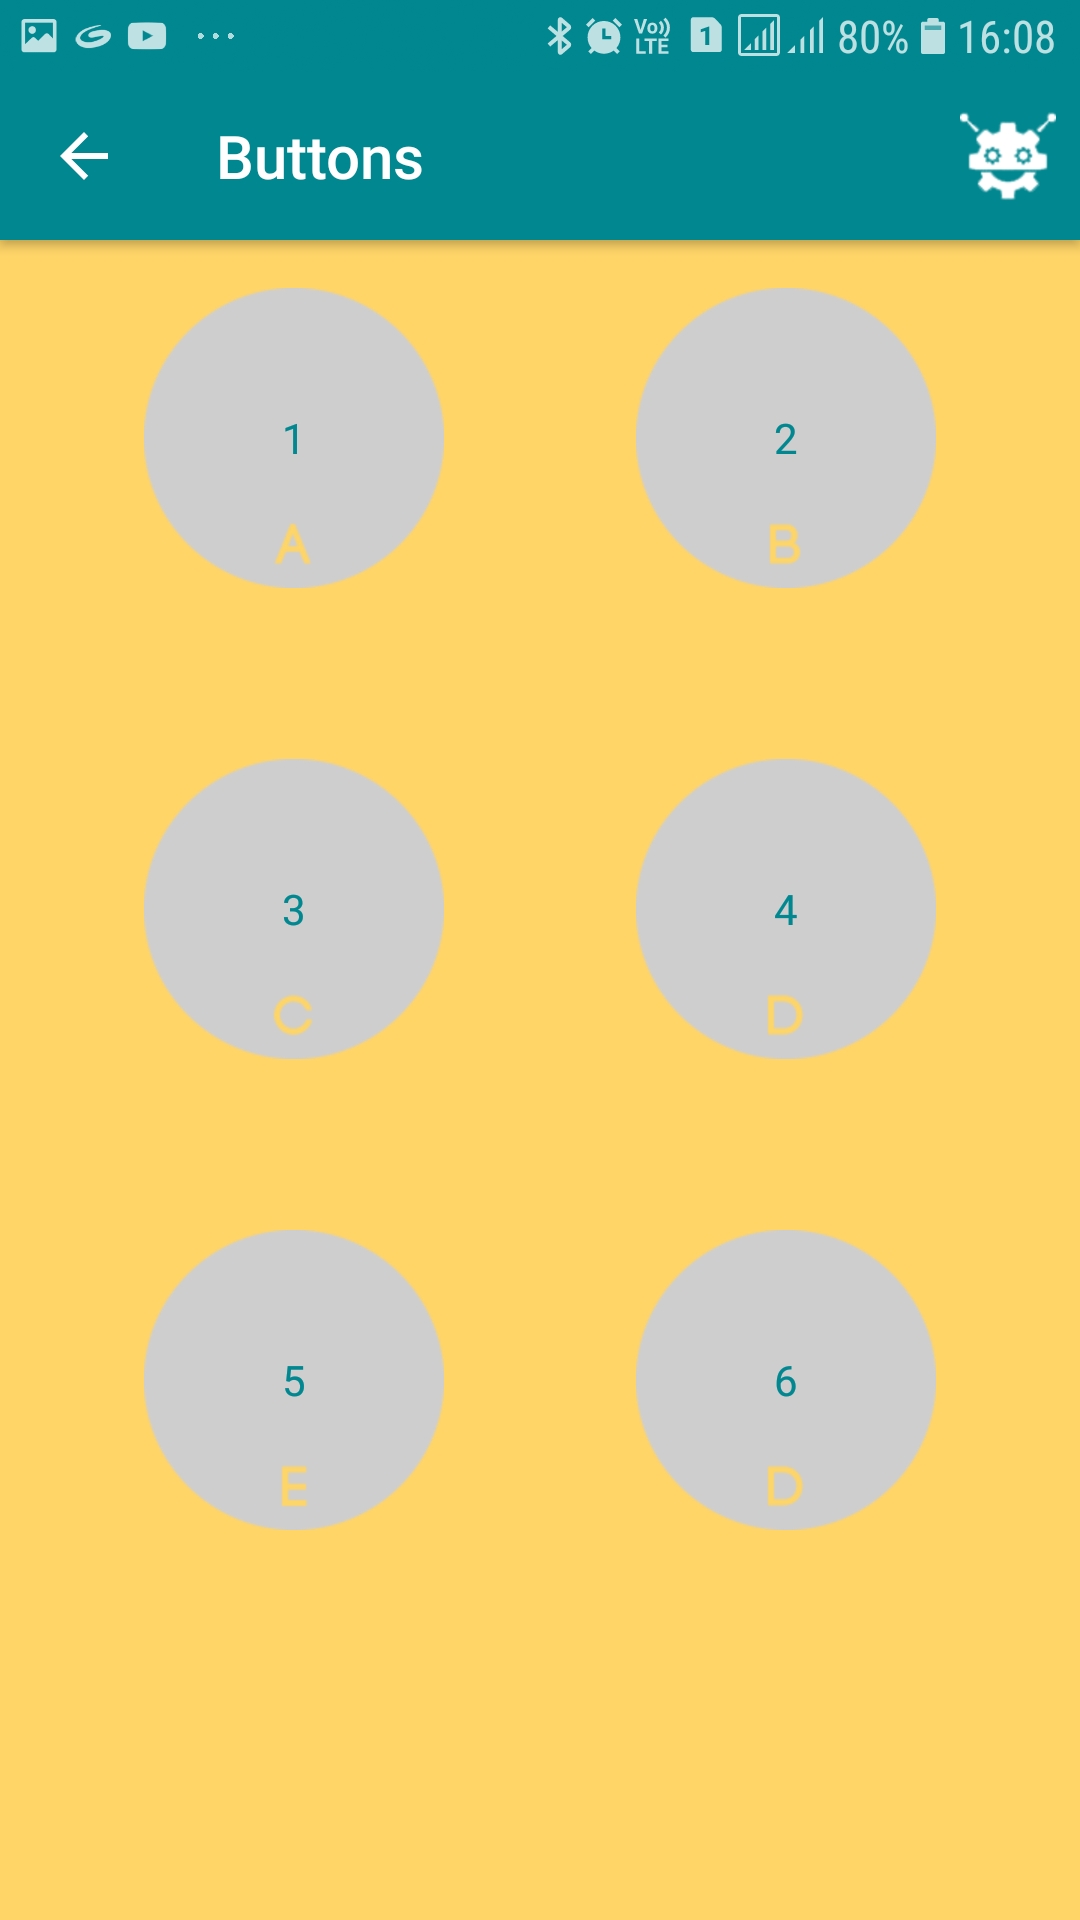
The robot senses bluetooth signals transmitted from the mobile phone. It uses the HC-05 bluetooth module to sense the command signals from the mobile phone and controls the robot. I used the ArduinoBlueControl app to control the robot.
The heart of the robot is the Arduino Nano. It receives the signals from the HC-05 module via serial communication and controls the motors via L298N motor driver module for motion in forward, reverse, left and right directions.
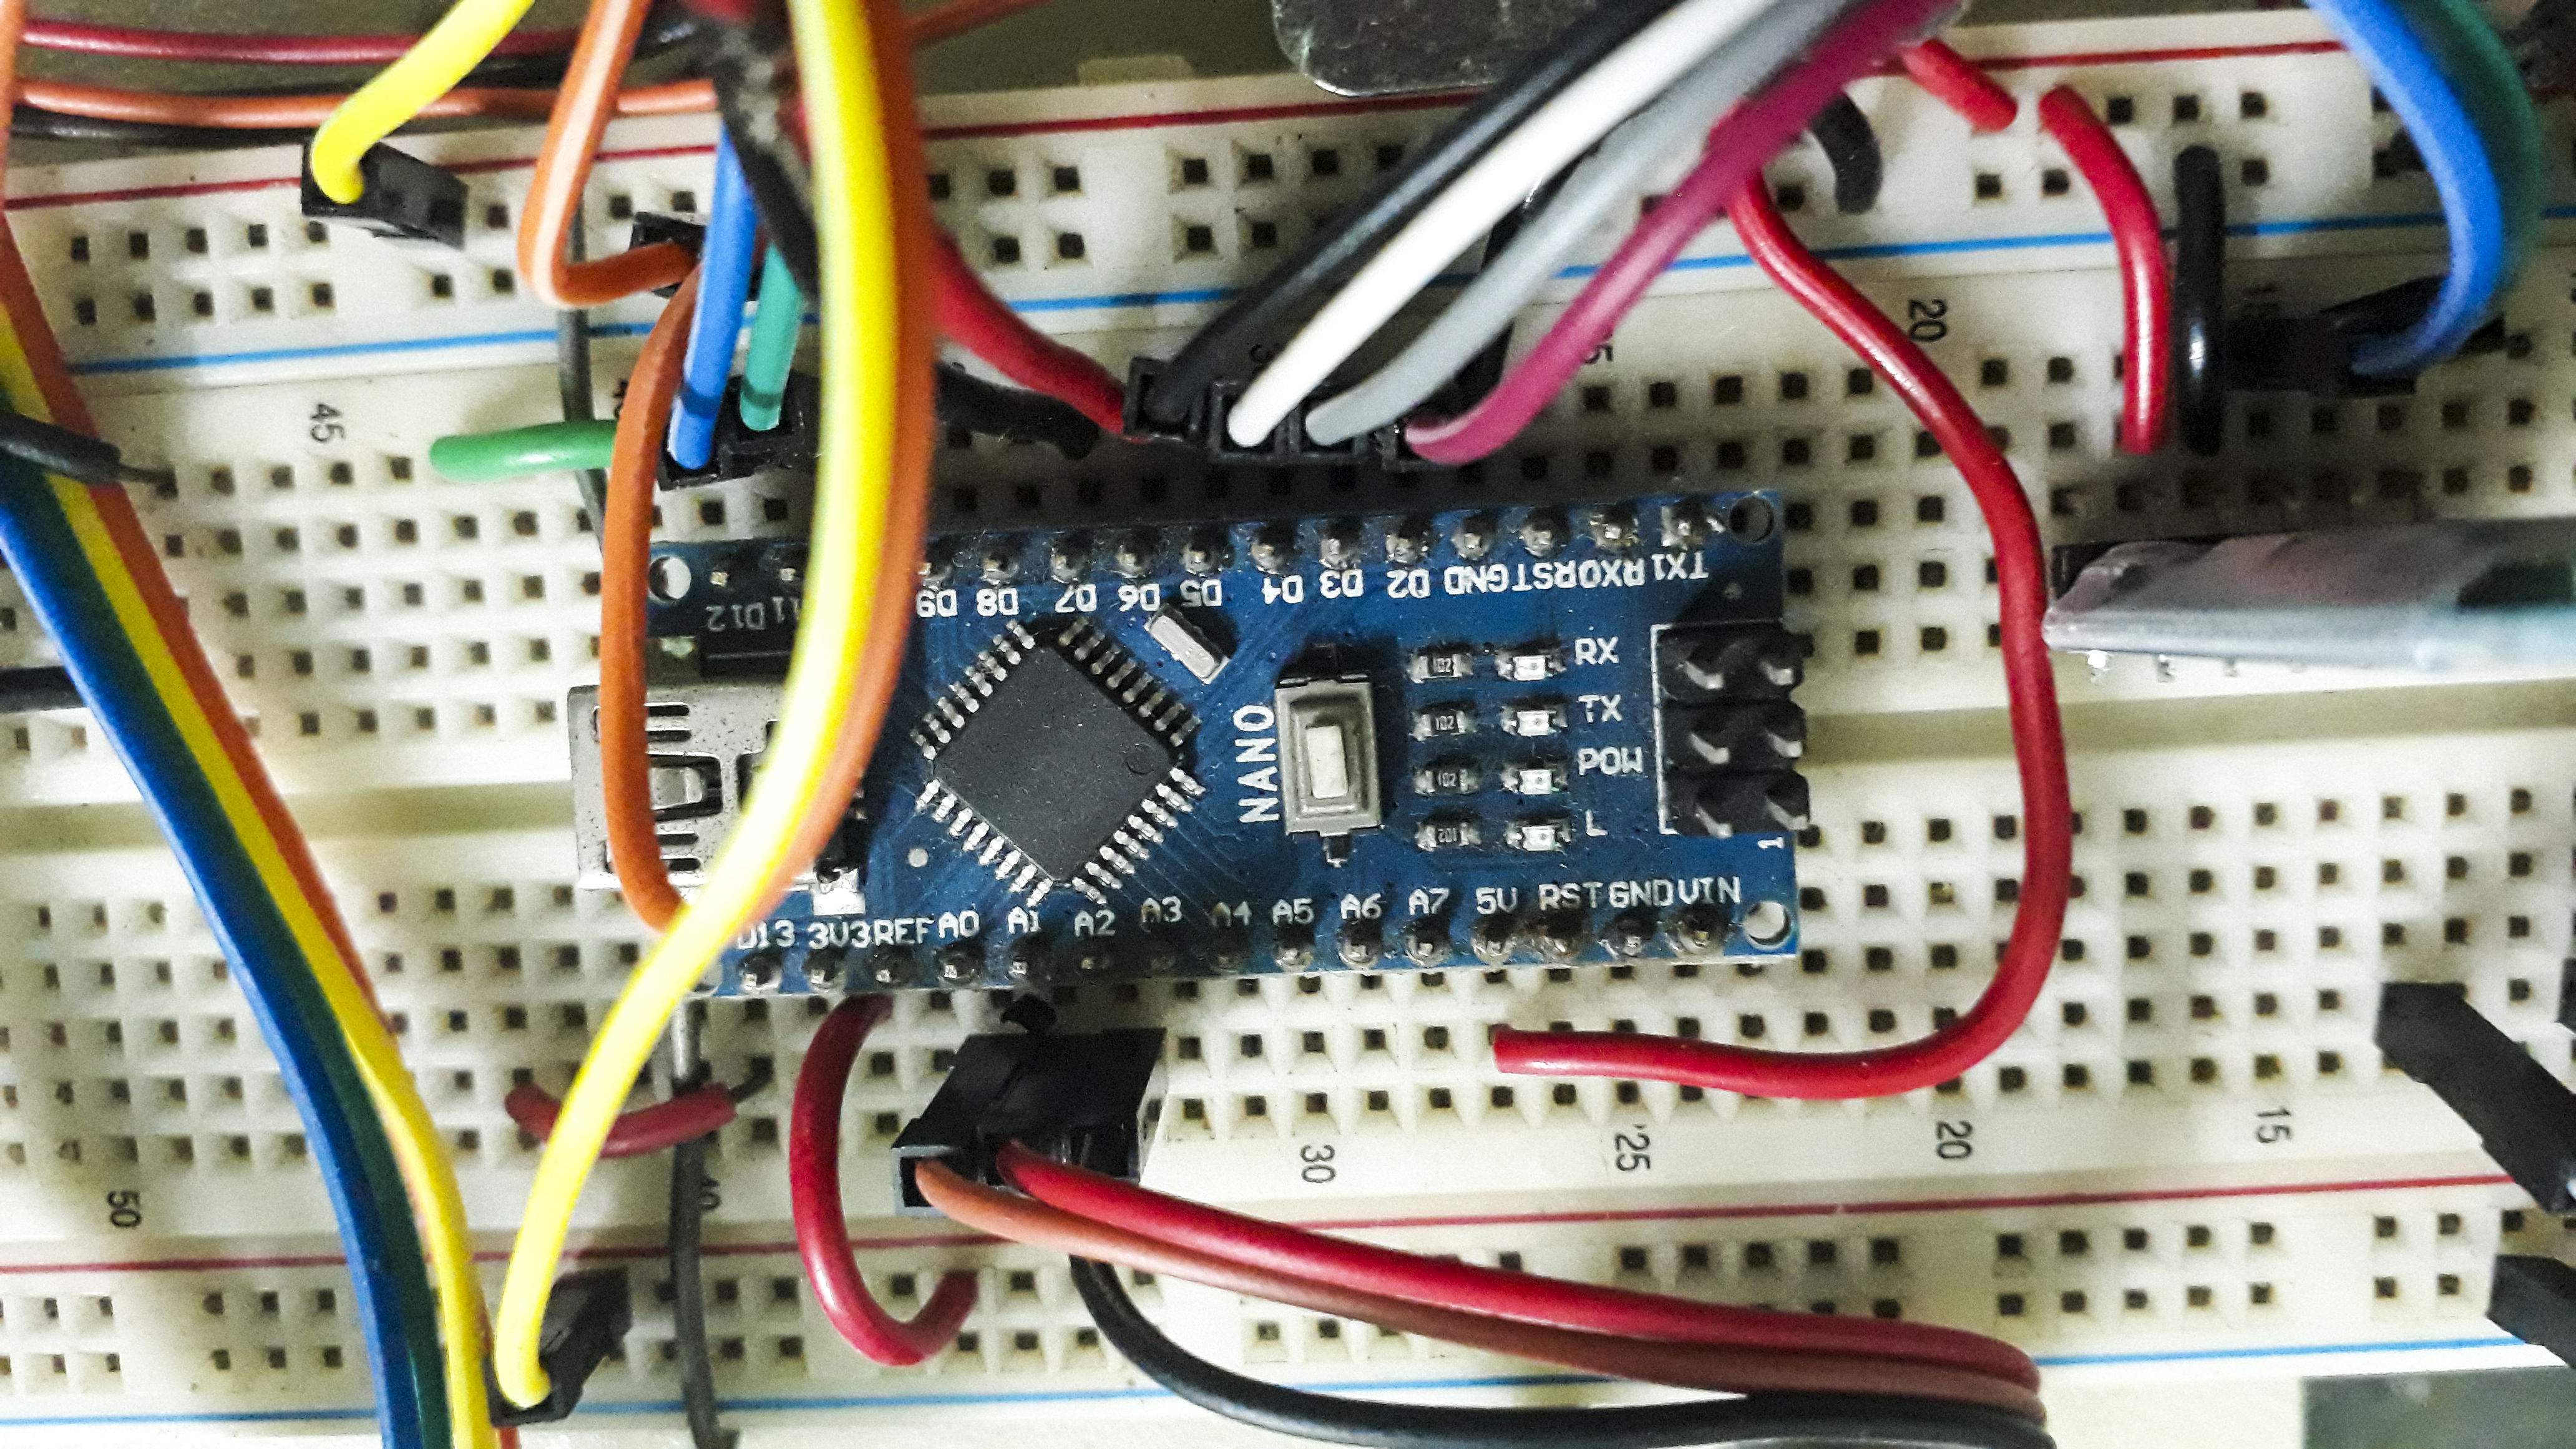
Care should be taken to connect the TX and RX pins of the HC-05 module with the Arduino Nano. A logic level converter is used for the same.
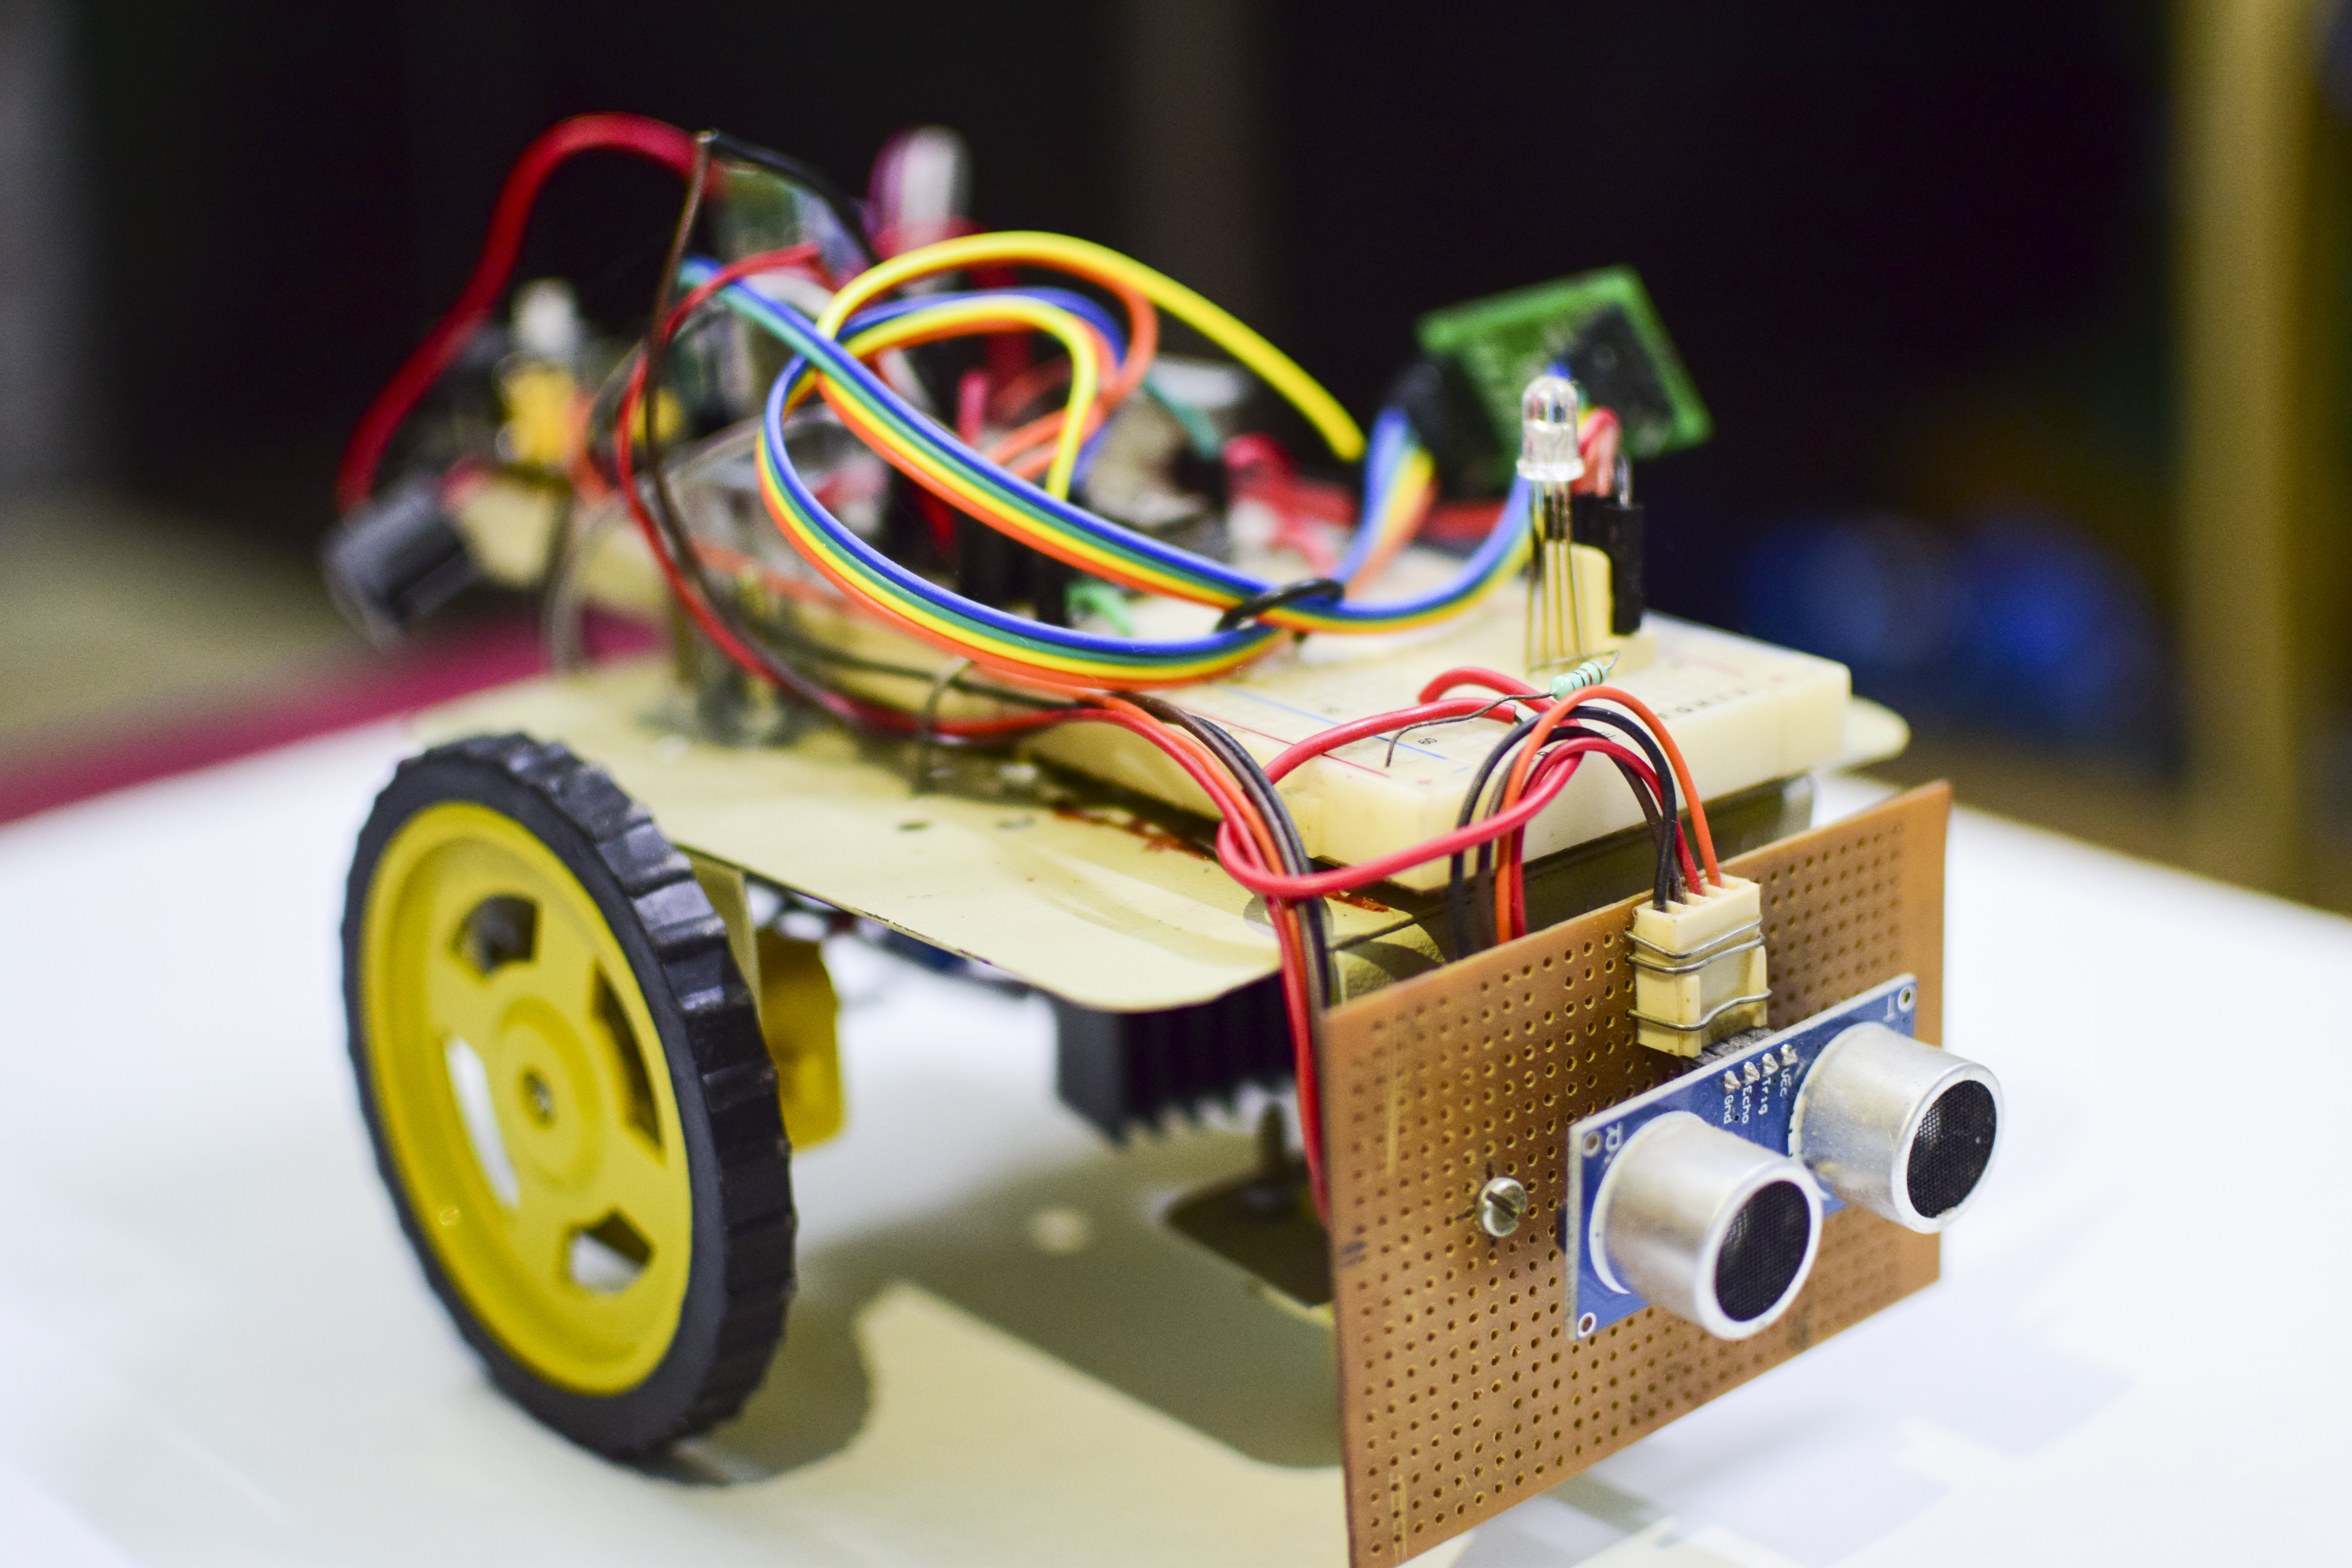
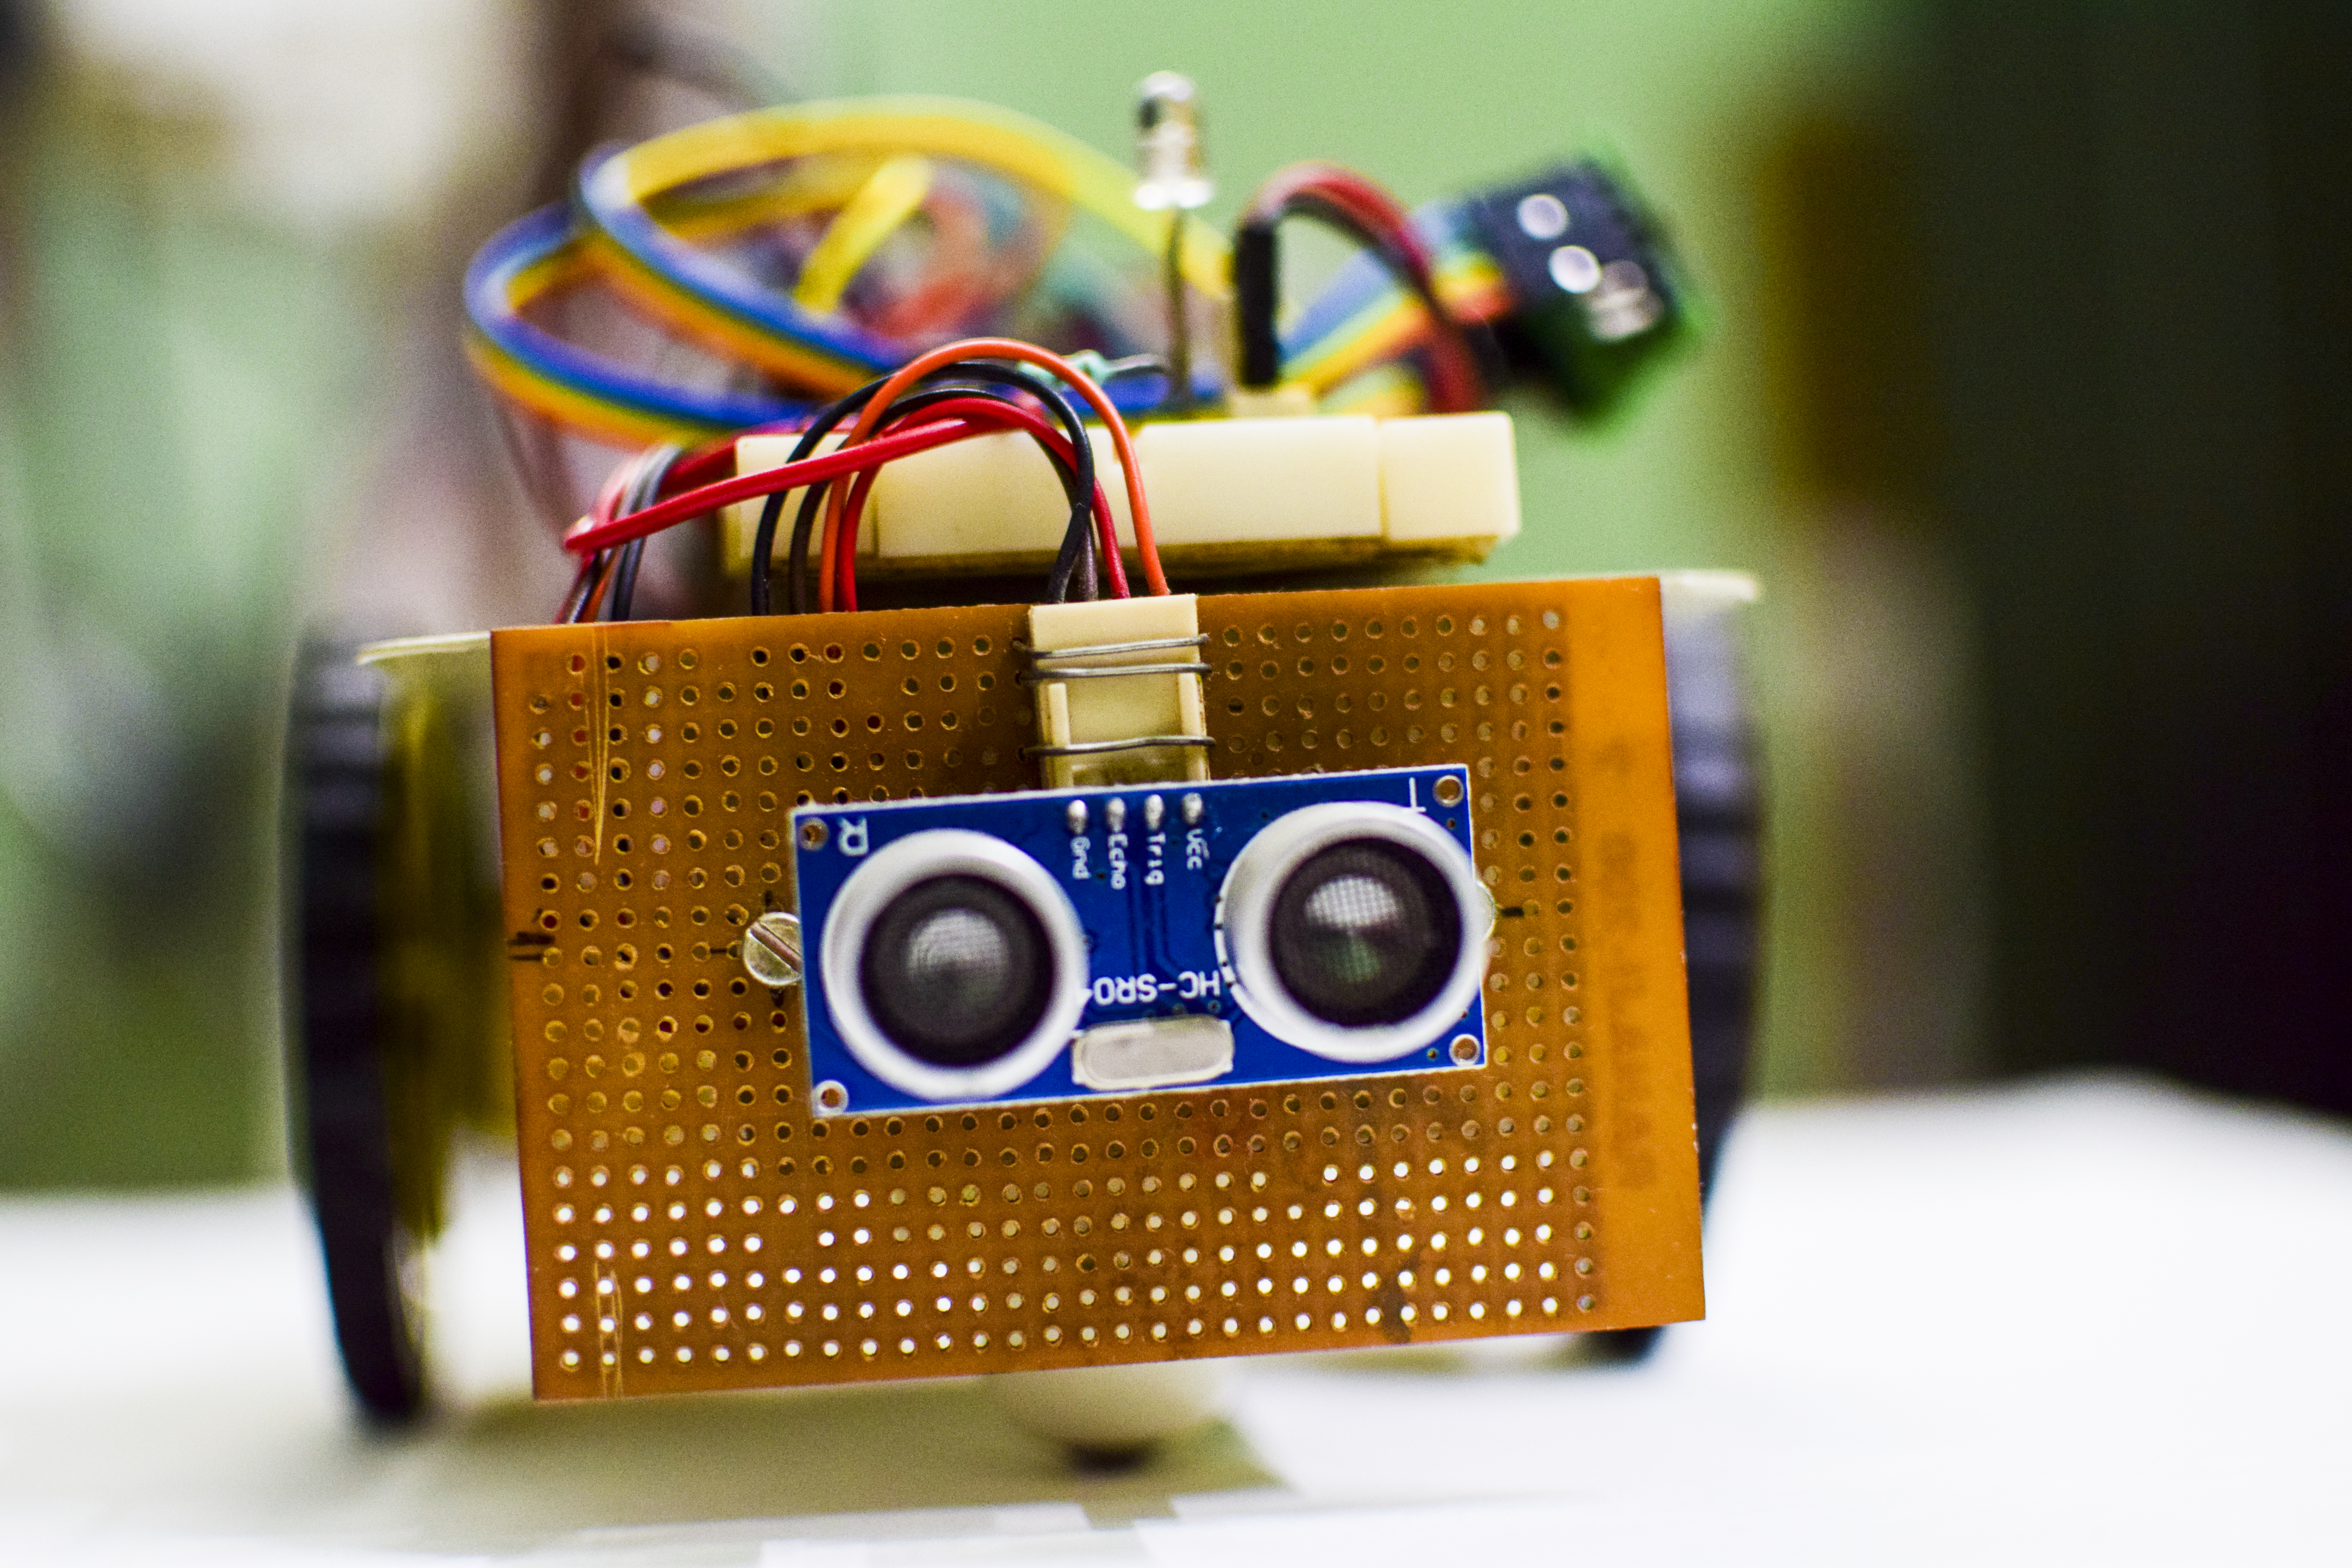
The robot uses HC SR-04 ultrasonic sensor module to detect obstacles in its path. On sensing any obstacle during its forward motion, the robot stops.An RGB LED is used to show the status of the robot.
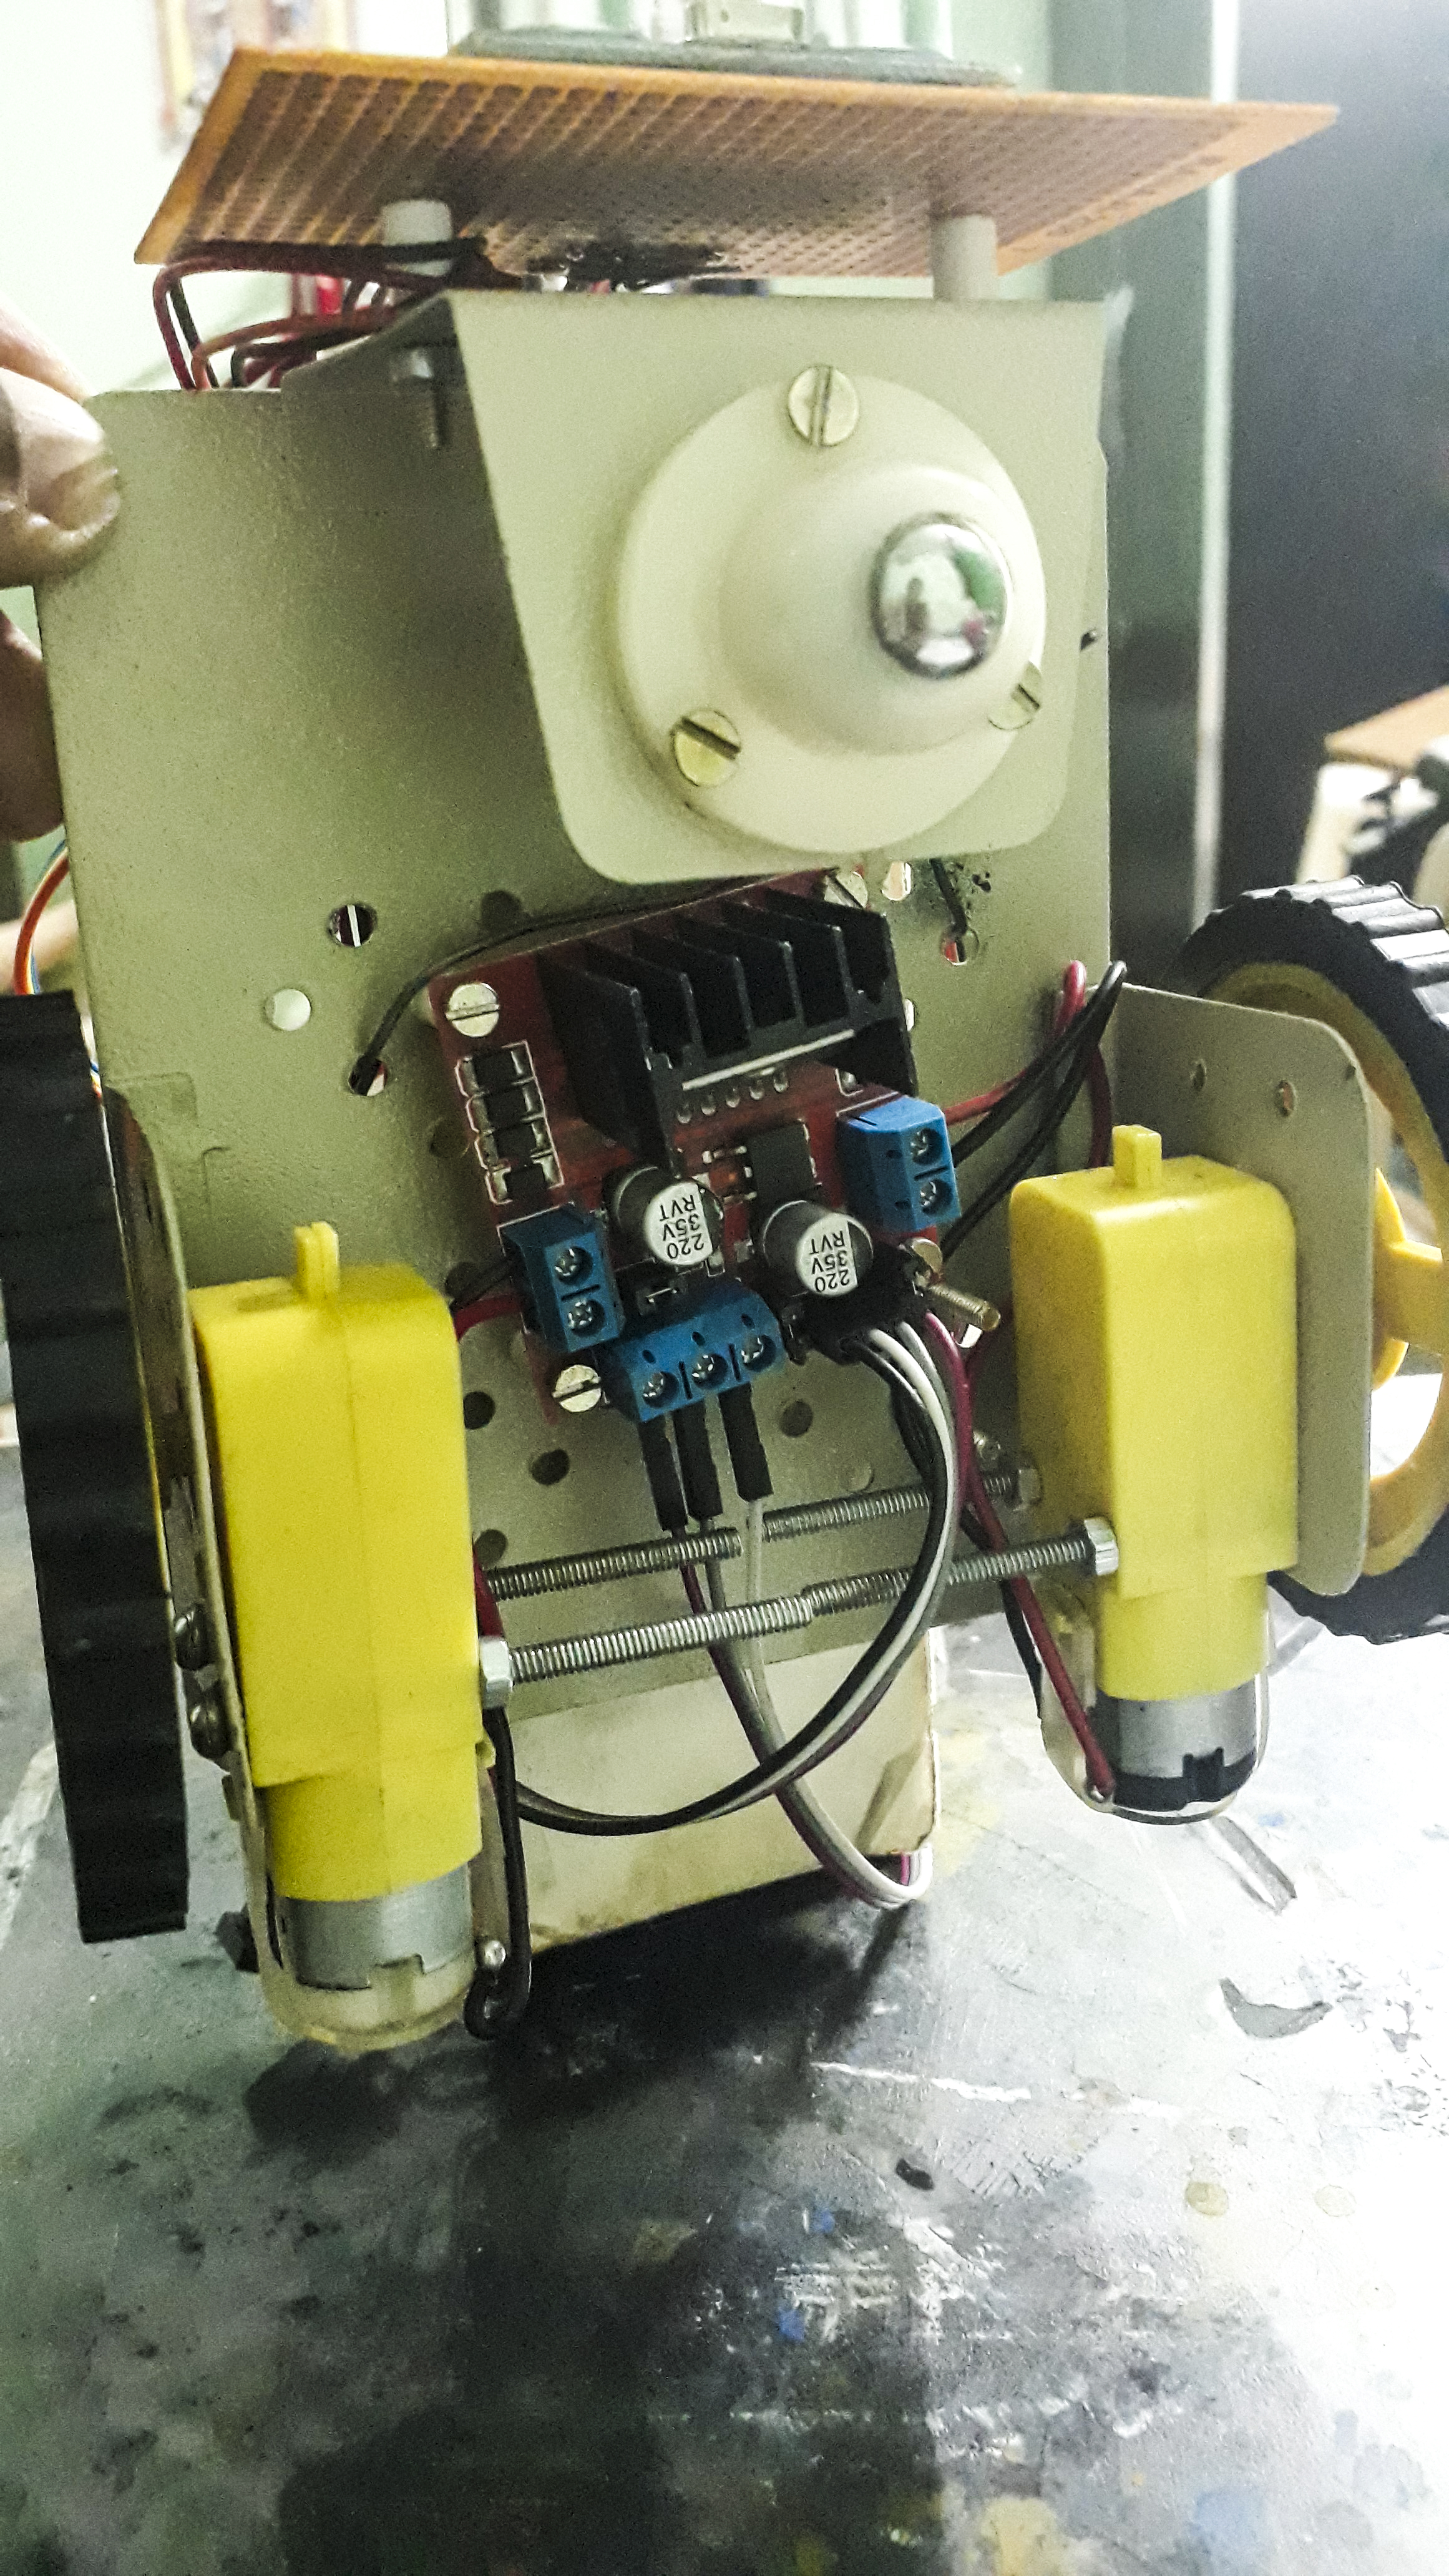
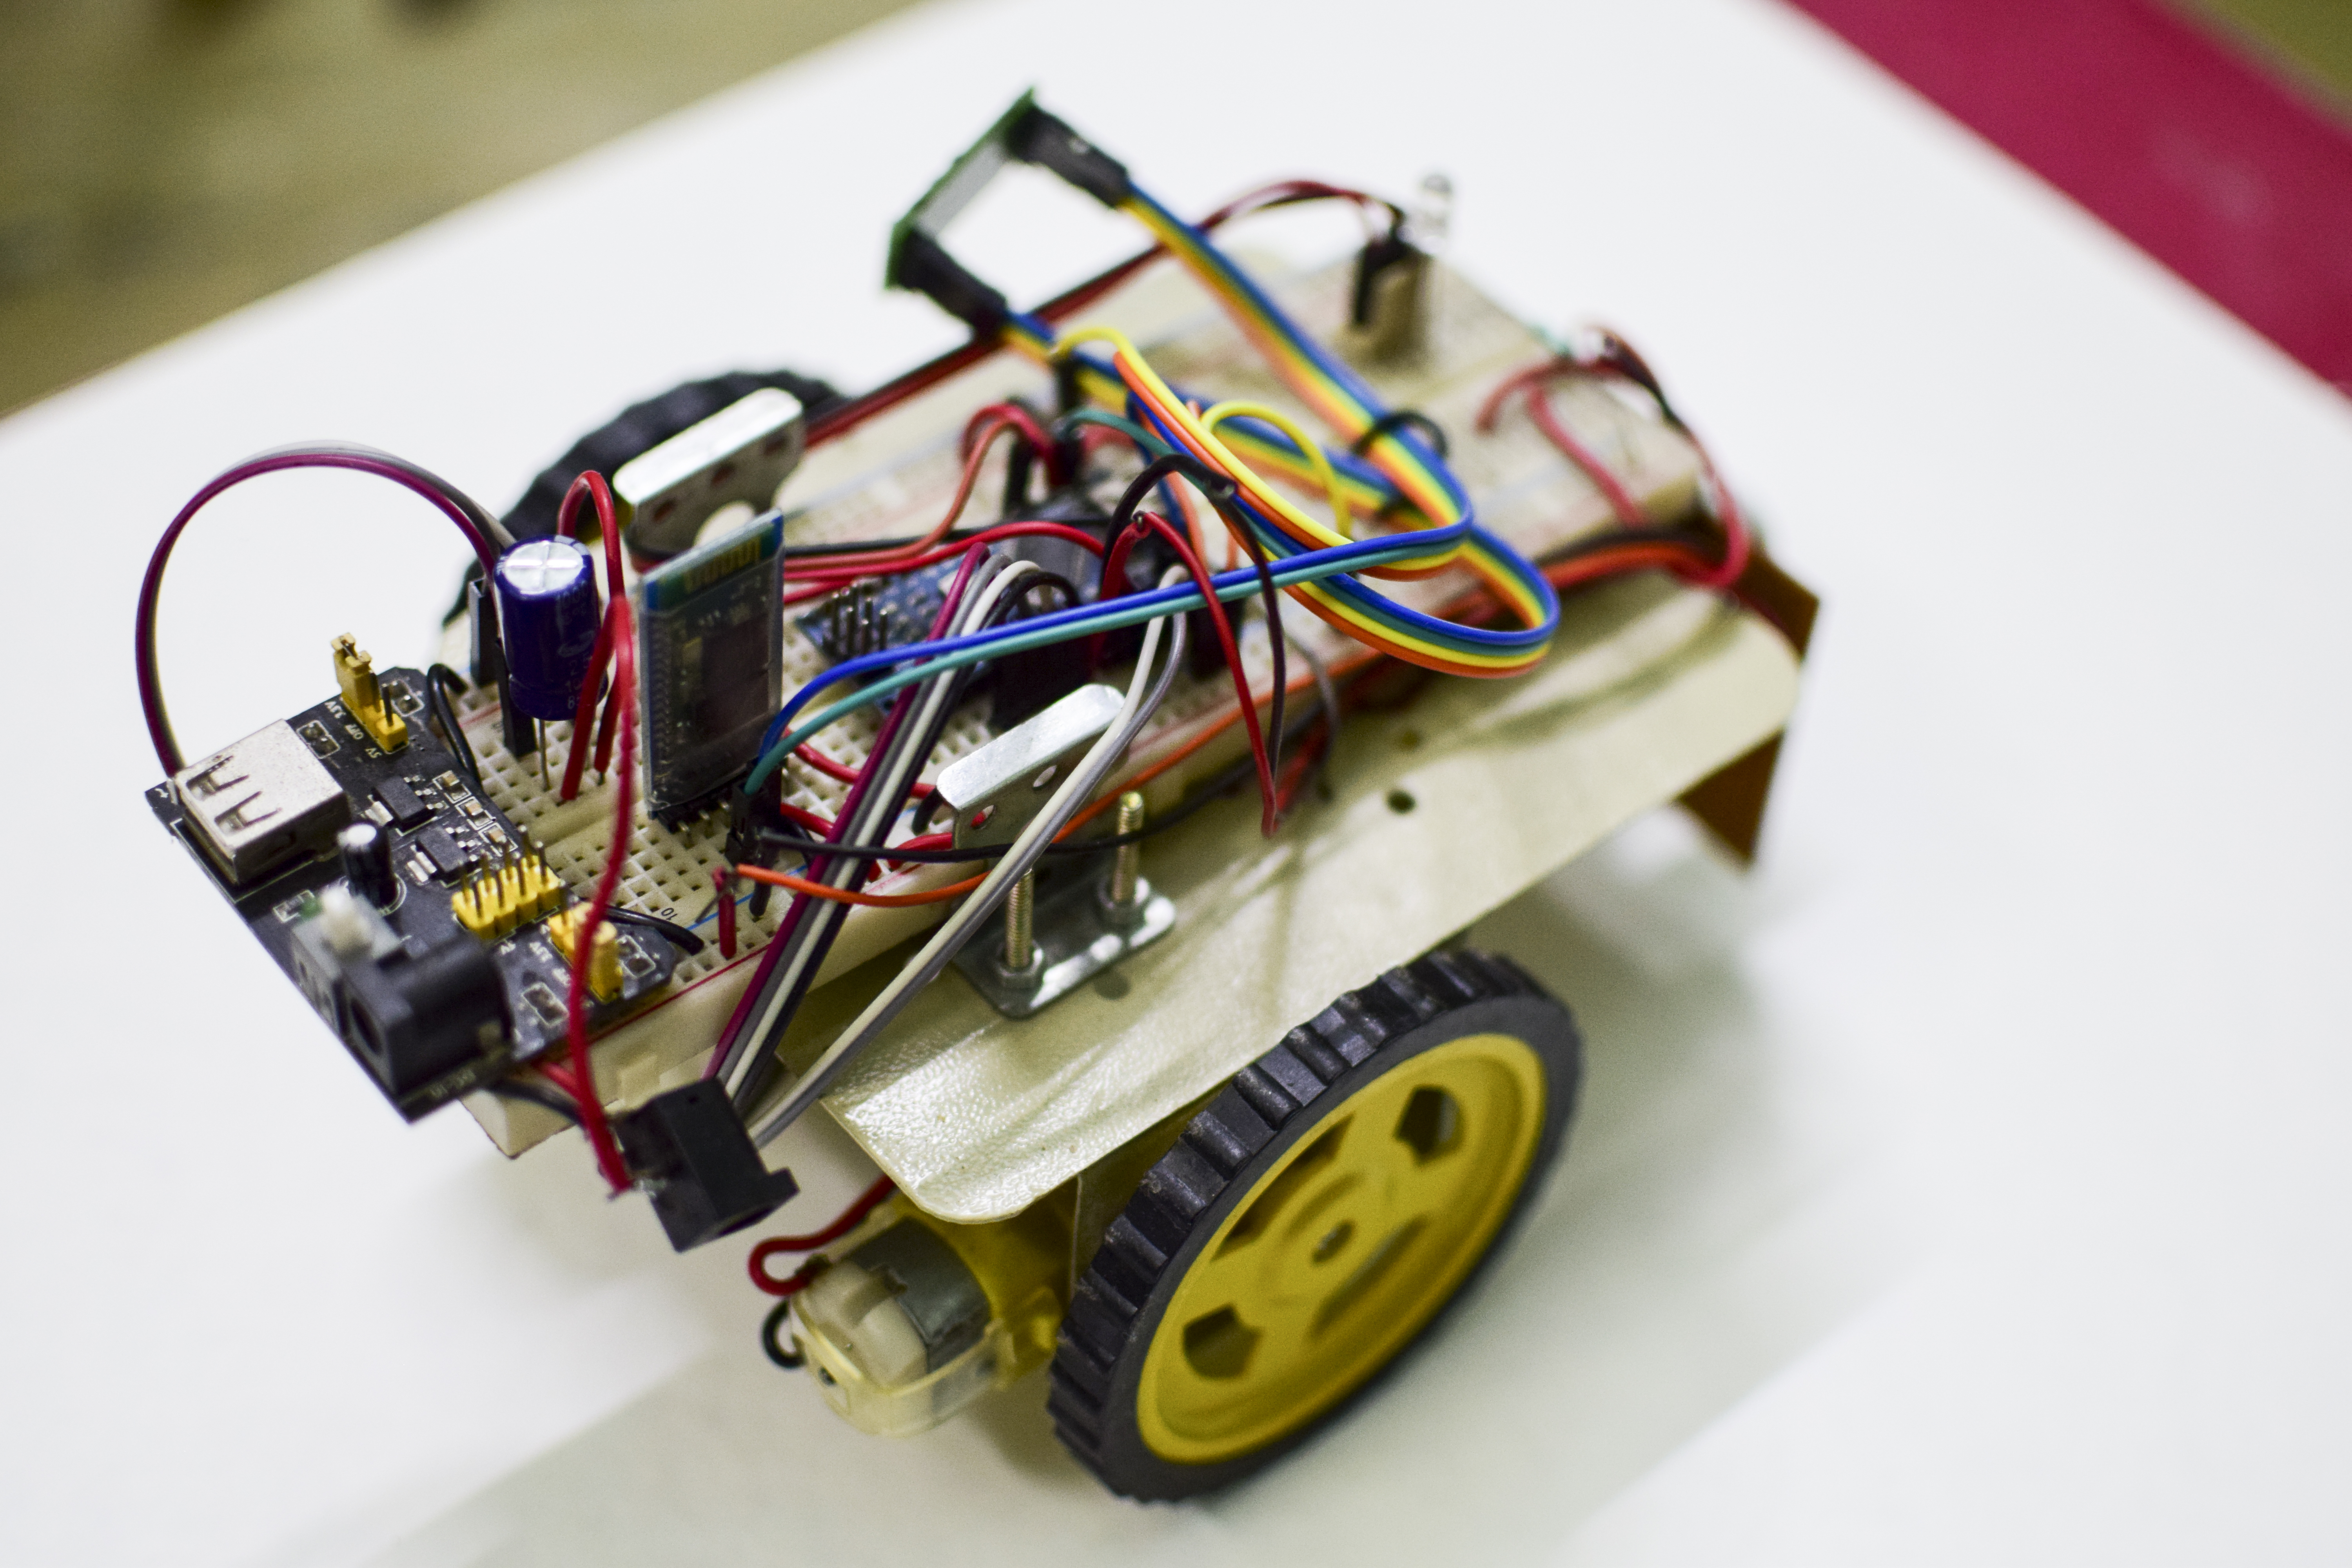
The robot is assembled in a 2-wheel base consisting of two geared drive motors. The circuitry is assembled over a breadboard with power supply (3.3v and 5v). The Arduino Nano cannot drive the motors directly due to much higher current requirement for the motors. Therefore the L298N motor driver module is used to drive the motors. The PWM signals from the Arduino Nano is used to control the speed of the motors via the ENA and ENB pins of the L298N motor driver module.
Here is a short video of the robot in operation:
Hope you liked my bluetooth controlled obstacle avoidance robot. This robot can be modified and extended for uses in home automation, obstacle avoidance vehicles for the shop floor etc. and many more uses.
🛠️ Deep Dive / Technical Analysis
The Smart Obstacle / Bluetooth 4WD Car is the final evolution of the basic robot kits. It is a "Hybrid" project: It isn't entirely autonomous, nor is it entirely manual. It represents modern Drive-by-Wire technology—you drive using an app, but the car will override your bad decisions to ensure safety.
Fusing Comm Logic with Sensor Math
The structure of the loop() must be perfectly timed.
- The Radar Check: First, the HC-SR04 ping sensor mounted on the front bumper checks the distance.
- The Override Check: If distance is
< 20cm, the Arduino fires an interrupt. It forcesspeed = 0to all four motors, spins an alarm buzzer, and completely ignores any forward commands coming from your phone! - The Listening Phase: If clear (
> 20cm), it checksSerial.read()for incoming Bluetooth packets. - The Execution: If the phone transmits "Forward", the L298N pushes current to all four motors simultaneously.
Pan/Tilt Scanning (Optional Upgrade)
To make the car truly intelligent, the ultrasonic sensor is often mounted on a Micro Servo (SG90). When the car auto-stops before hitting a wall, it:
- Turns the servo left and pings. (60cm clear).
- Turns the servo right and pings. (10cm blocked).
- The Arduino decides the safest route is Left, spins the wheels, and continues its autonomous mission!
Central Hardware List
- Arduino Uno/Mega: The hybrid processor.
- L298N Motor Driver Module: Necessary for massive current draw.
- 4WD Chassis Kit (4 Motors, 4 Wheels).
- HC-SR04 Ultrasonic Sensor.
- HC-05 Bluetooth Module.
- Dual 18650 Battery Pack: 7.4 Volts minimum is required to beat the stall current of four engaged motors.