We created battle bots using the Arduino UNO and other affordable parts. These battle bots were made in a robotics club for 5th to 8th graders at Trivium Personalized Learning Public Charter School. It was a fun way for the kids to learn about the Arduino and robotics.
View "SCHEMATICS" to see visual diagrams on how everything is wired up. There are diagrams for the motor board, sensor shield, PS2 controller and also an additional motor connected to a bread board for a flipper/spinner. The flipper/spinner is programmed to activate when the X button is pressed on the PS2 controller.
We tried to use affordable supplies and gave the kids creative freedom on how to design their battle bots. We used parts that didn't require soldering, making it easier to assemble for beginners.
Coroplast
Coroplast was used to build the bodies. It is affordable, sturdier than cardboard and fairly easy to cut and bend.

Arduino UNO & Sensor Shield
We used the UNO R3 sensor shield so the kids could more easily connect the parts. You snap this shield on top of the Arduino and it's ready to use.
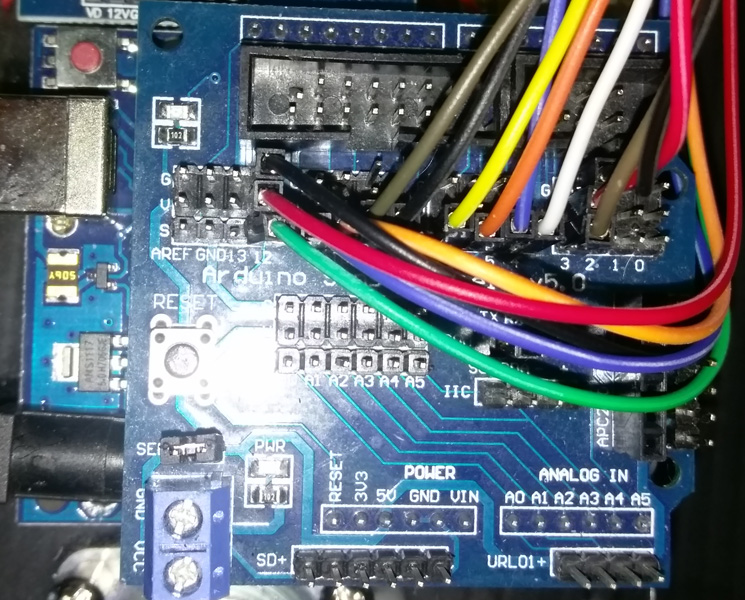
Motor Driver Board
We used this motor driver shield in order to make it easier for the kids to connect their motors.
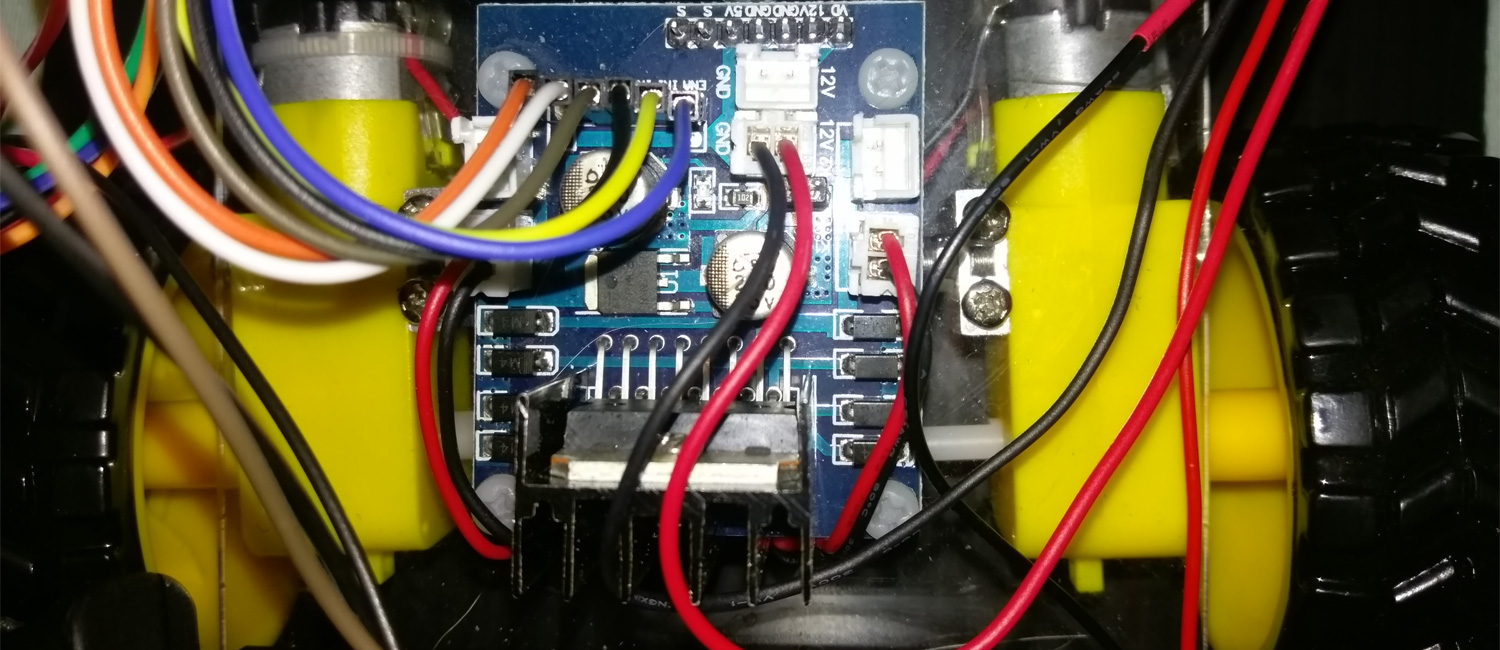
To save on costs, we made our bots 2WD with 2 back motors and a front swivel wheel. The motor driver shield supports 4WD however, so you can easily assemble 2 more motors for the front.
18650 Battery Case
We chose these battery cases because they had 6" wire leads making it easy to connect to the Arduino.

PS2 Controller
We also wired up the bots to a PS2 controller that connected over Bluetooth.
There are tutorials that will teach you how to modify an existing PS2 controller for use with your bot but we used one we got from eBay that was already modified. There is a link to this controller under the components & supplies.

EXPANDED TECHNICAL DETAILS: The PSX Library and Receiver You don't need a Bluetooth module for this; you use the standard 2.4GHz wireless receiver that came with wireless PS2 controllers.
- The Wiring: The receiver has 9 pins. You must carefully wire
DAT, CMD, SEL, CLK, VCC, and GNDdirectly to the Arduino's digital pins. - The Library: The
<PS2X_lib.h>library handles the extremely complex, proprietary Sony SPI communication. - The Logic:
if(ps2x.Button(PSB_L1)) { /* Spin the saw blade weapon! */ }int LeftStick = ps2x.Analog(PSS_LY); /* Proportional motor speed */
Other Supplies
We also used jumper wires (male/male & female/male), duct-tape, screws, nuts, bolts, wooden dowels, double-sided tape and velcro tape for assembling the parts.
In addition, we 3D printed some custom parts that were used for flippers, spinners and motor connectors. There are links to the STL files for one of the spinners and the motor connectors under "CUSTOM PARTS AND ENCLOSURES".
EXPANDED TECHNICAL DETAILS: High Power Motor Control (BTS7960) For more advanced, heavy-duty combat robots, standard L298N drivers max out at 2 Amps and will fail under high load. An upgrade path is to use BTS7960 43A Motor Drivers. These high-current H-bridges can handle the demands of powerful motors for drive systems or weapons like spinning discs or flipping arms.
It was tons of fun building these battle bots! We loved seeing some of the concepts that the kids came up with using the limited supplies they were given. It was great seeing the progress they made as they tested their bots in battle and made changes based on where they saw the weaknesses.
 Some of the Battle Bots that were created by the students