Capacity meter with automatic selection of the measurement range. It measures the charging and discharging times of the capacitor, and converts the measured values into capacitance.
The measured capacity is from 10pF to 10mF (10000uF).
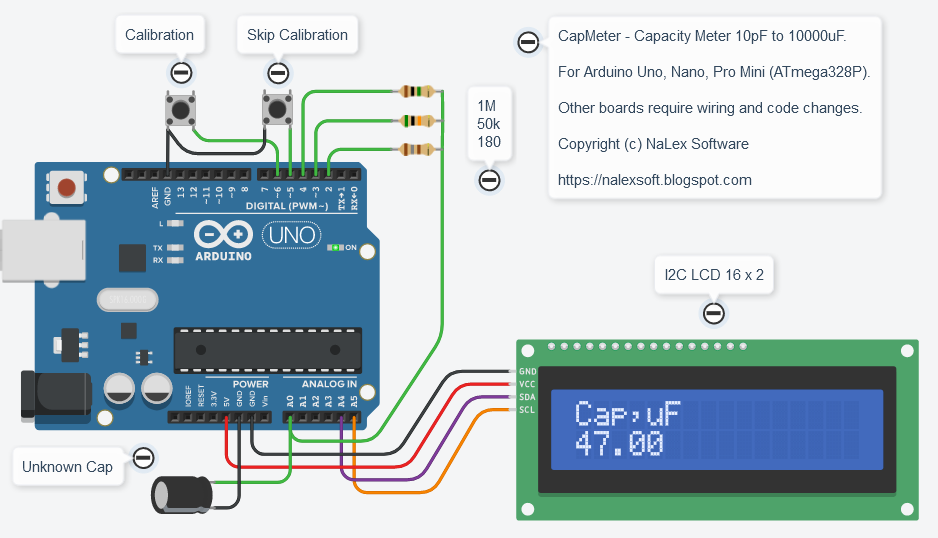
A one-time meter calibration is required. For calibration, you need to turn on the meter with the calibration button pressed. Then connect the reference capacitors, the value of which is indicated on the display. The connection of each capacitor must be confirmed by pressing the calibration button. The values of the reference capacitors can be changed in the "set calibration caps" section.
Information is output to an external display and to a serial port. Customize the code for the display you are using (U8X8_ON and I2C_LCD_ON macros).
Warning! The capacitor must be completely discharged before measurement. Otherwise, the device may be damaged.
EXPANDED TECHNICAL DETAILS
Precision Capacitance Measurement
This diagnostic tool turns an Arduino into a professional-grade capacitance meter with a massive measurement range.
- RC Time Constant Theory: The Arduino measures the time it takes for a capacitor to charge through a known resistor to 63.2% of its supply voltage. For tiny picofarad (pF) capacitors, it uses the Stray Capacitance method; for large millifarad (mF) ones, it calculates the charge time via the
micros()function. - Auto-Ranging Logic: The firmware automatically switches between different "Sampling Scales" to ensure the highest possible accuracy for both a tiny ceramic capacitor and a large electrolyte one.
Hardware Display
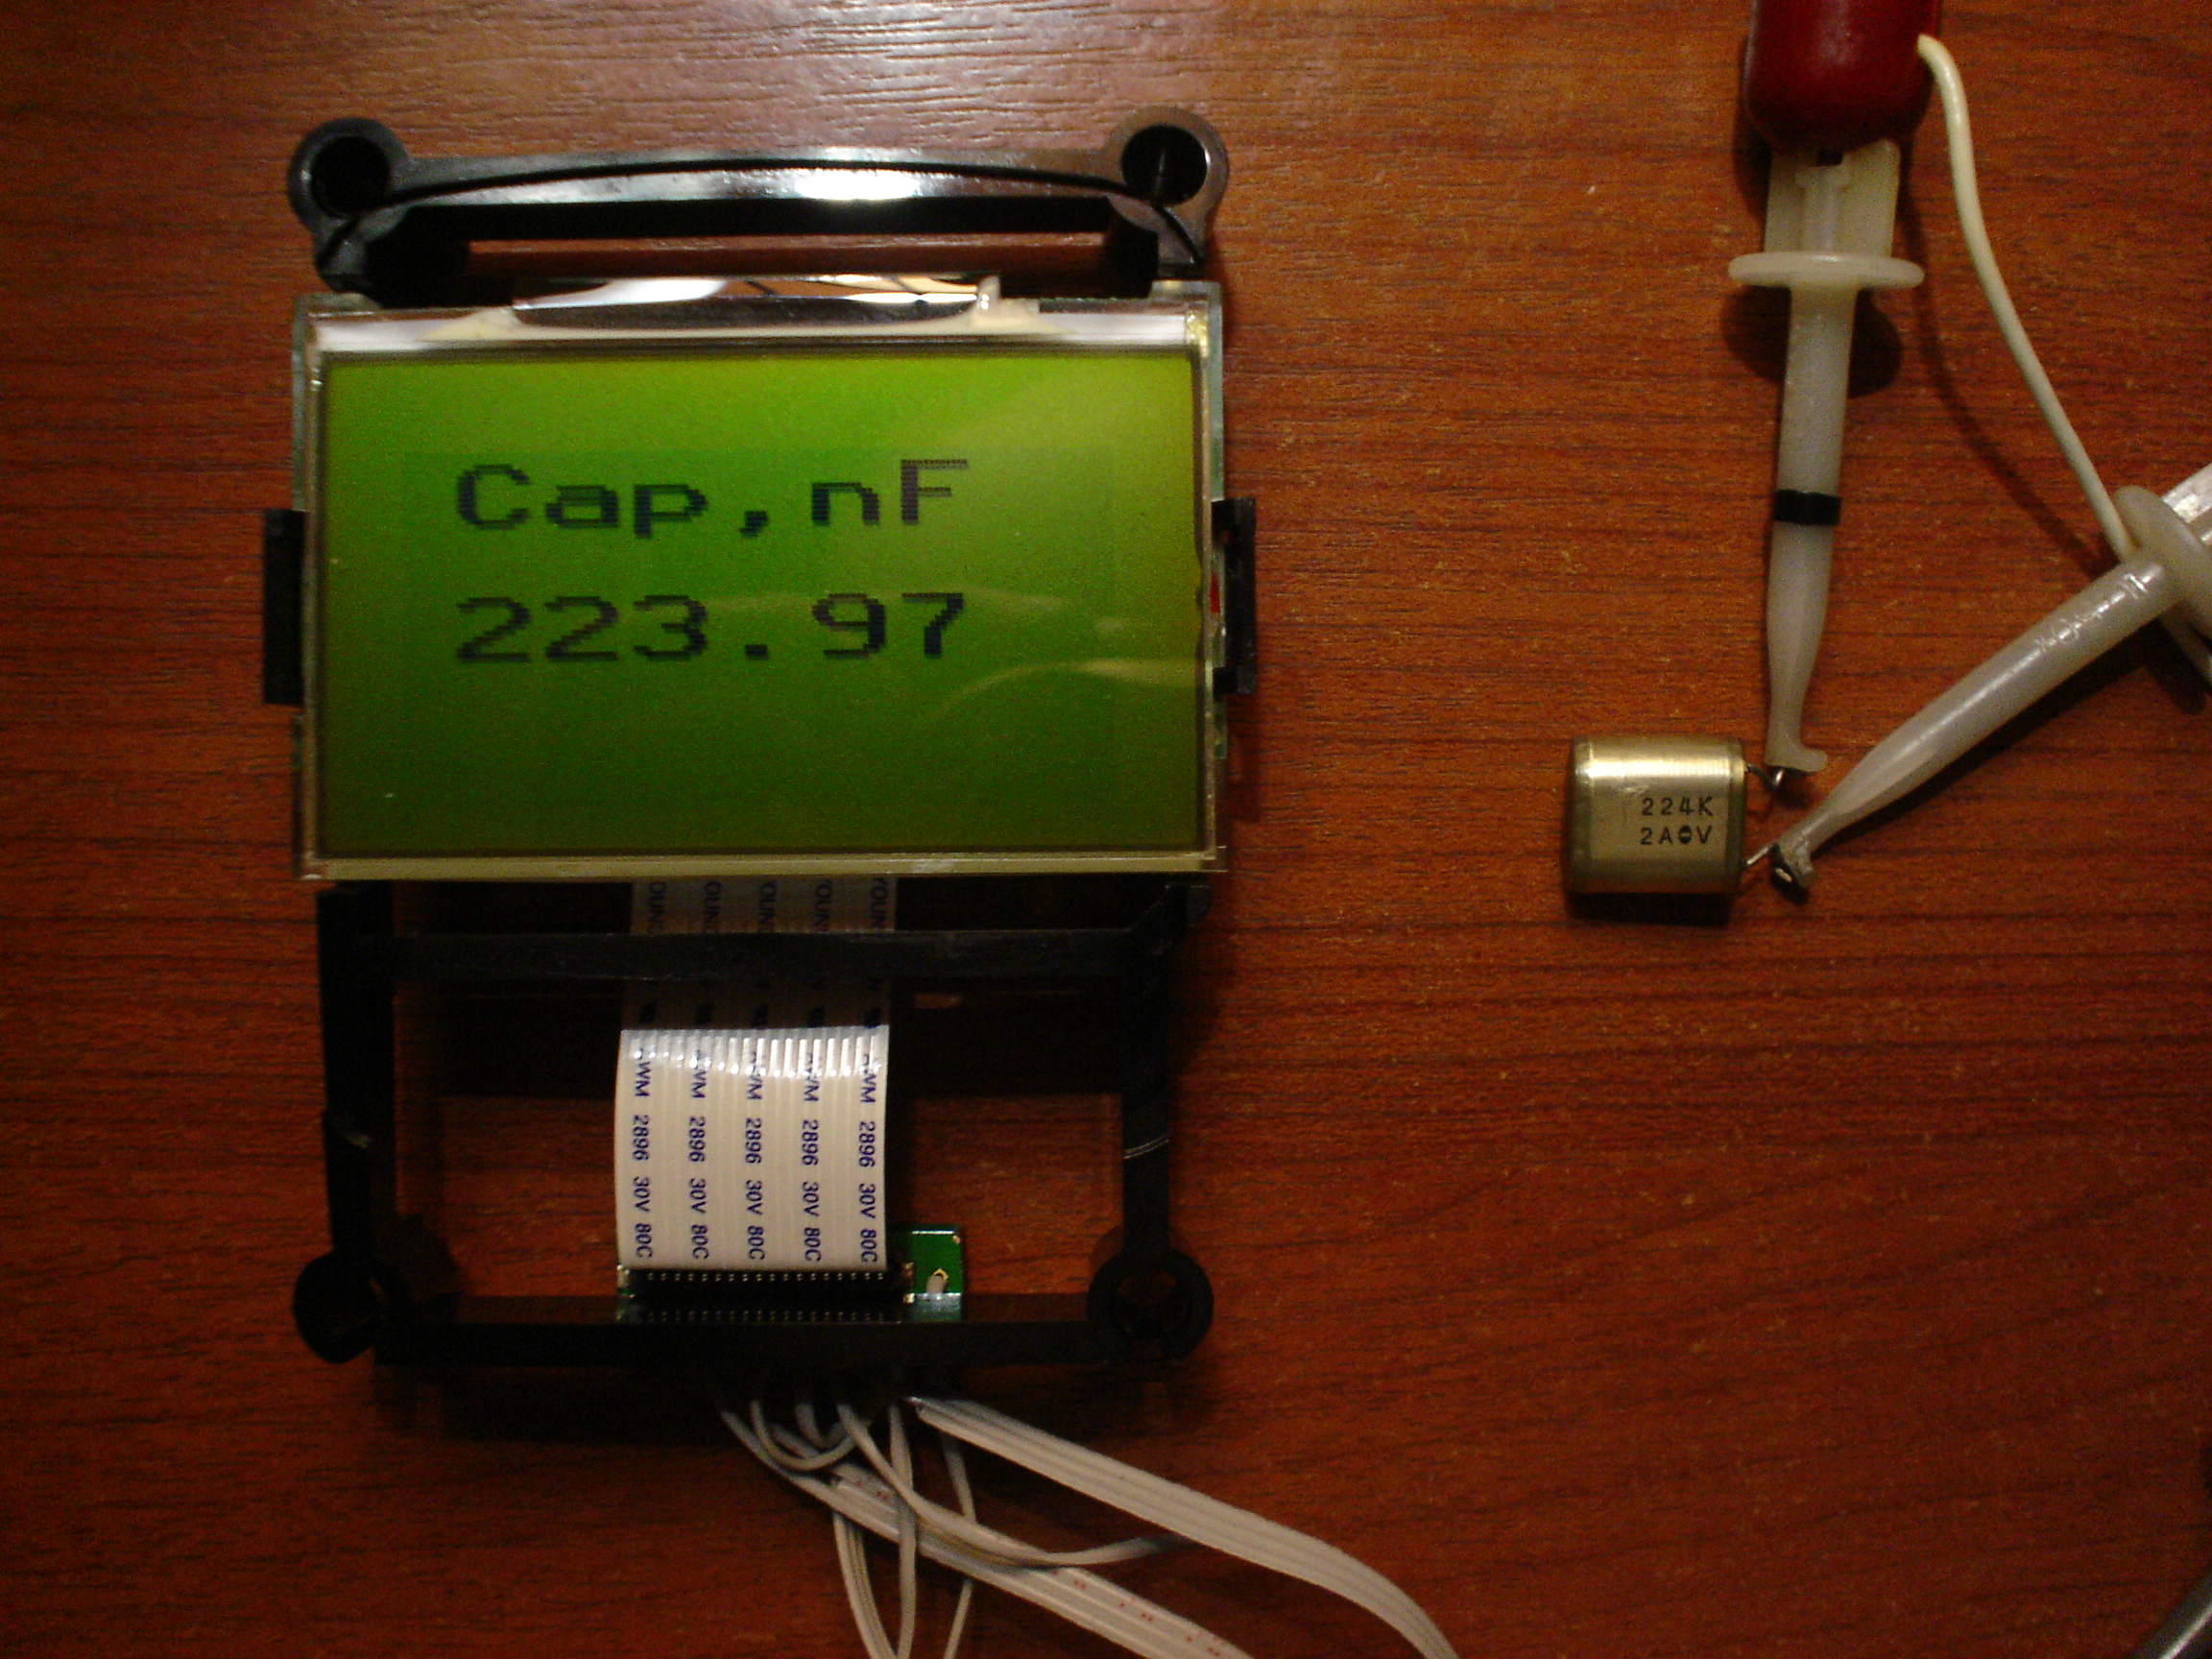
- Real-Time Readout: Results are displayed on a 16x2 LCD screen, providing the value in pF, nF, uF, or mF instantly upon connection.