Sorryforthequalityofmyphotos,Ijustdoitbadly. :)
What did I use to make the project?
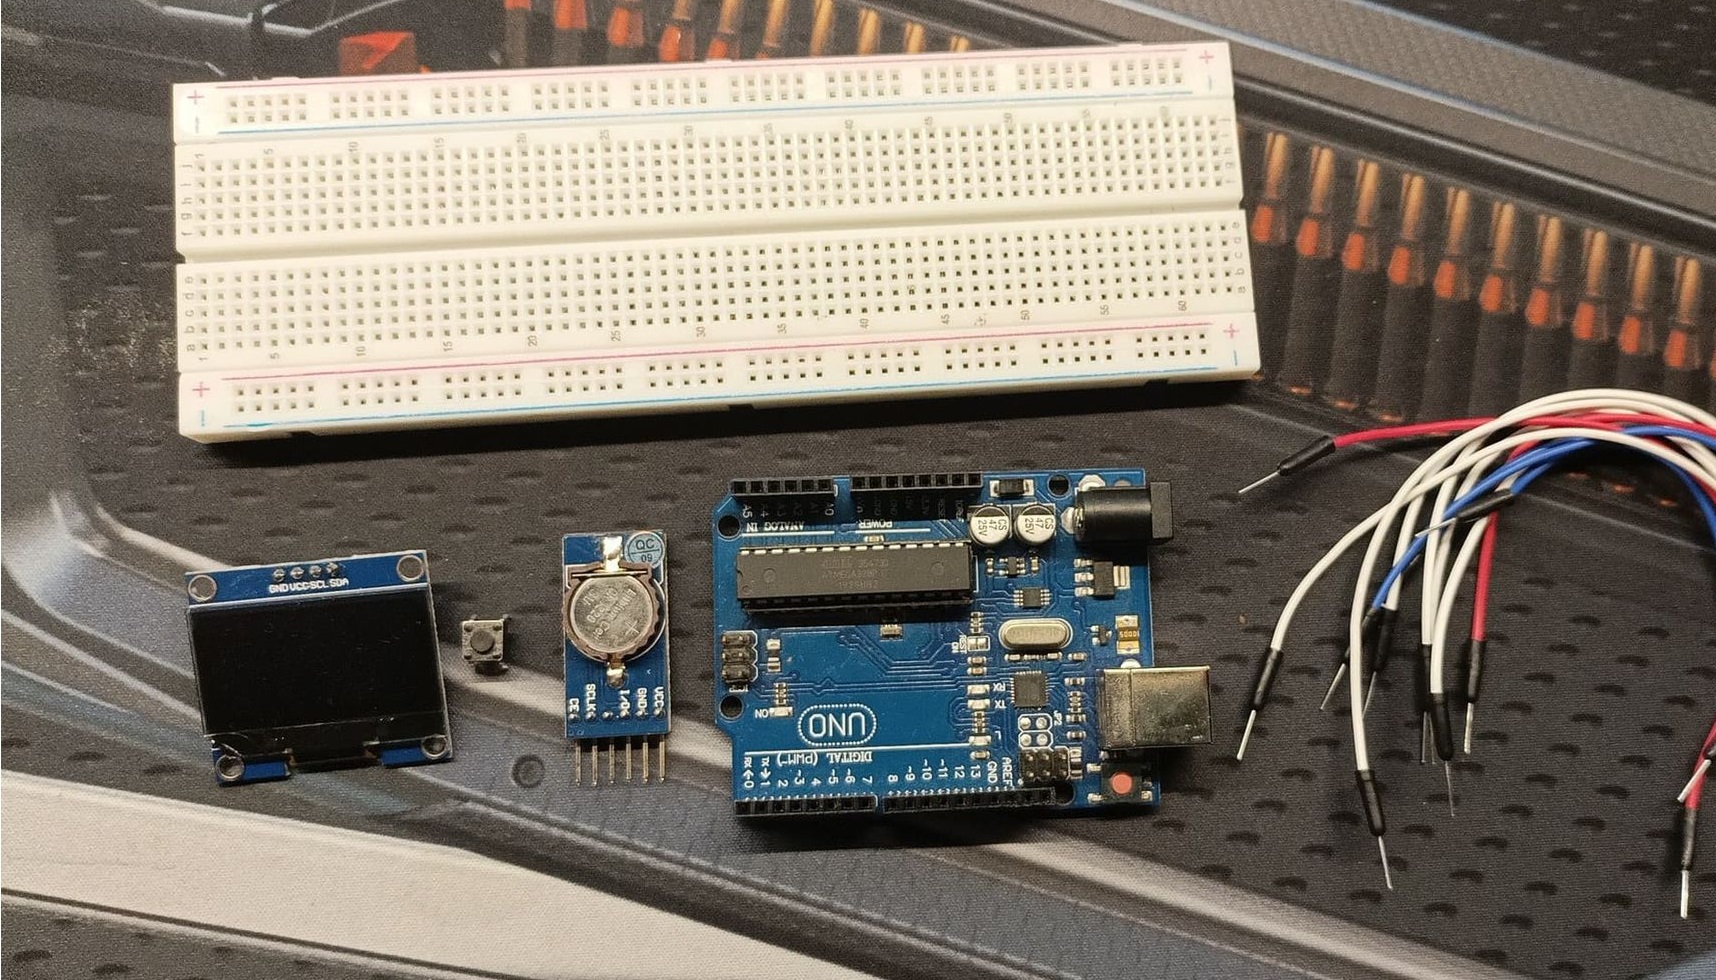
- Arduino UNO board clone (you can use the original one, I'mtoopoor).
- DS1302 RTC clock module (Waveshare 9709)
- A button (it can be any button bro)
- 1, 3" OLED screen (SH1106 driver)
- 830-pin breadboard
- Connection cables
How did I put it together?
Step zero:
Put some good music on.
Step one:
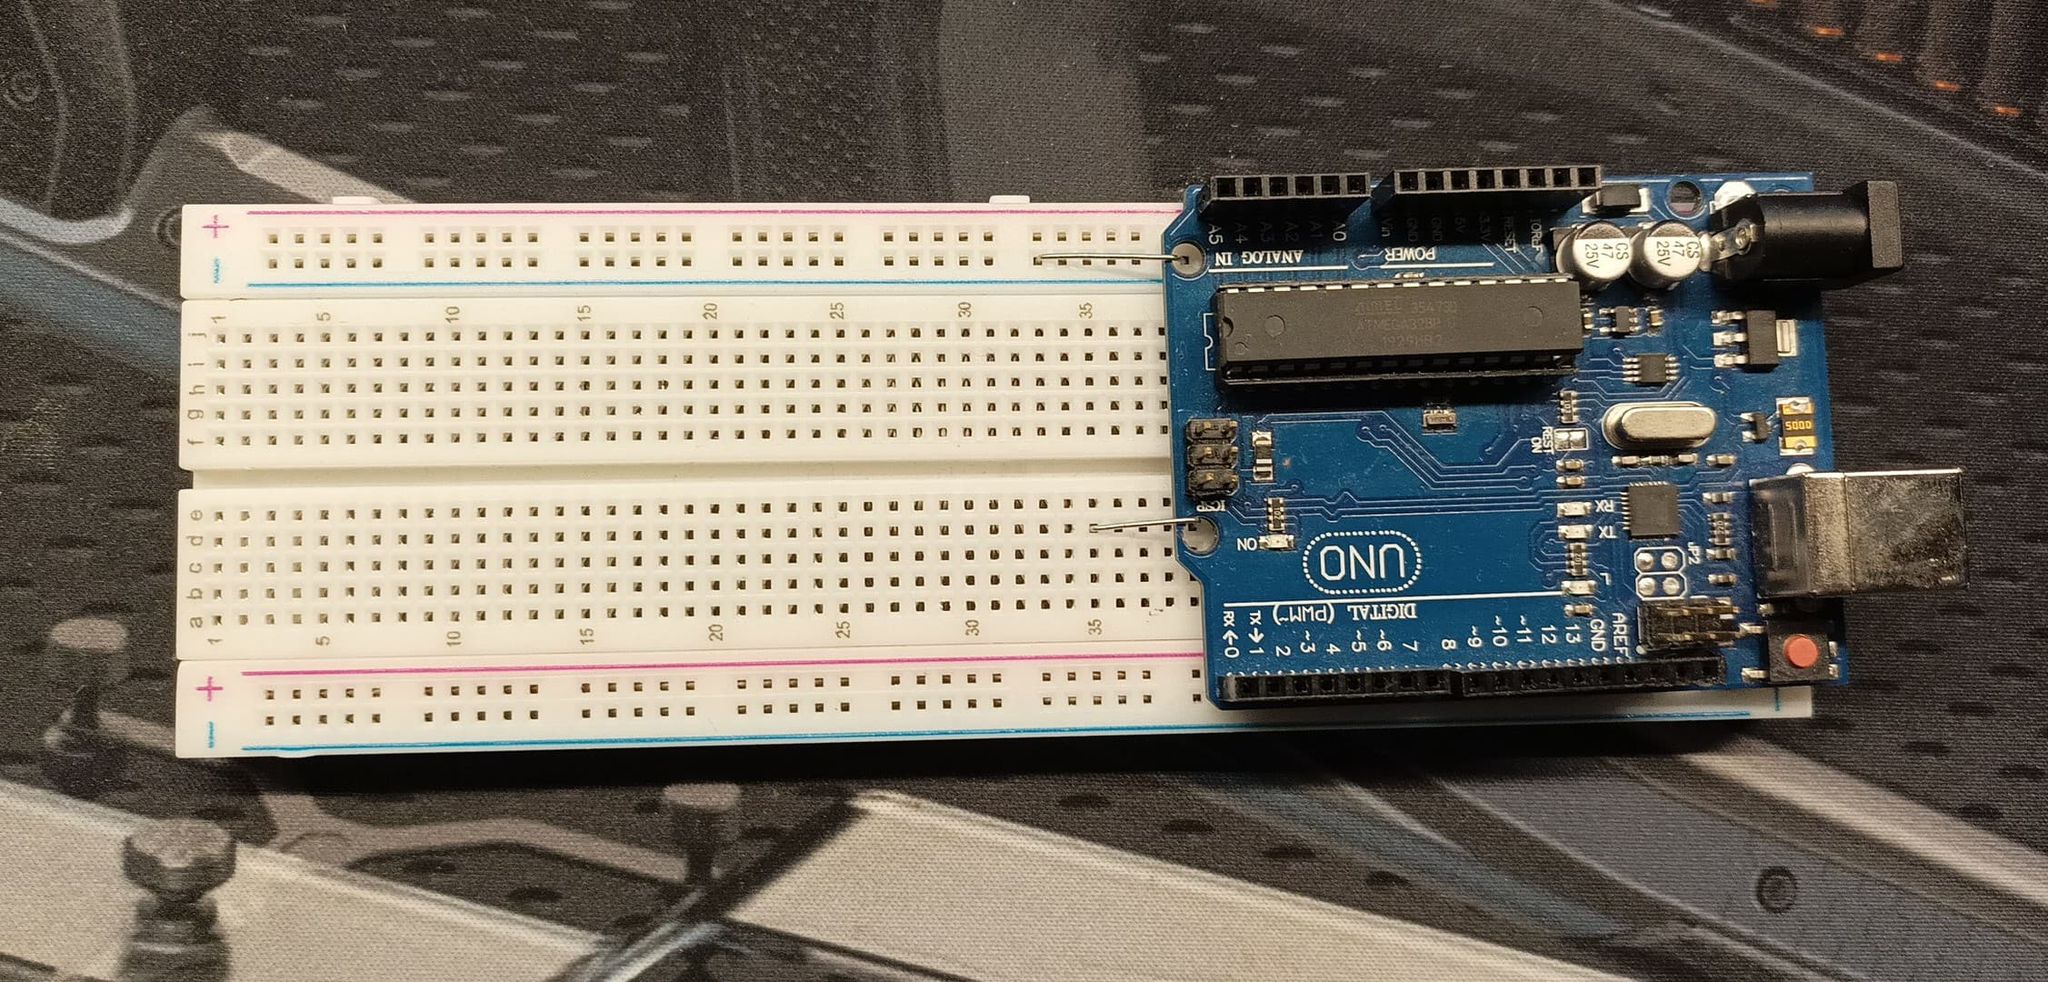
Put an Arduino somewhere close to the project to attach cables.
Really,puttingitinanotherroomisnotagoodidea.
Step two:
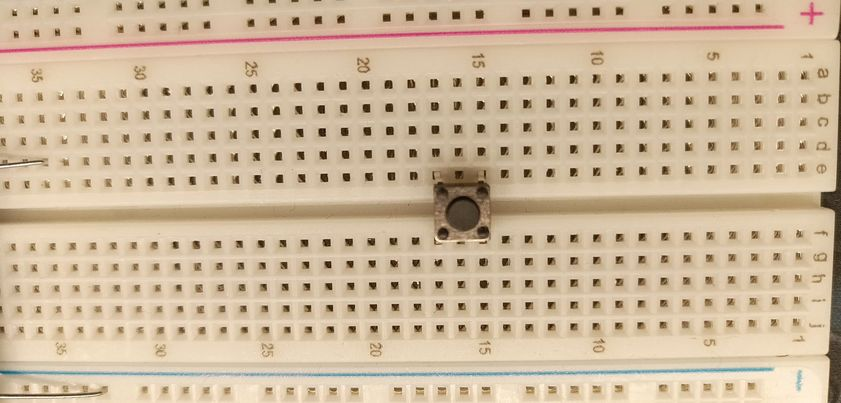
Put a button on a board like that.
Step three:
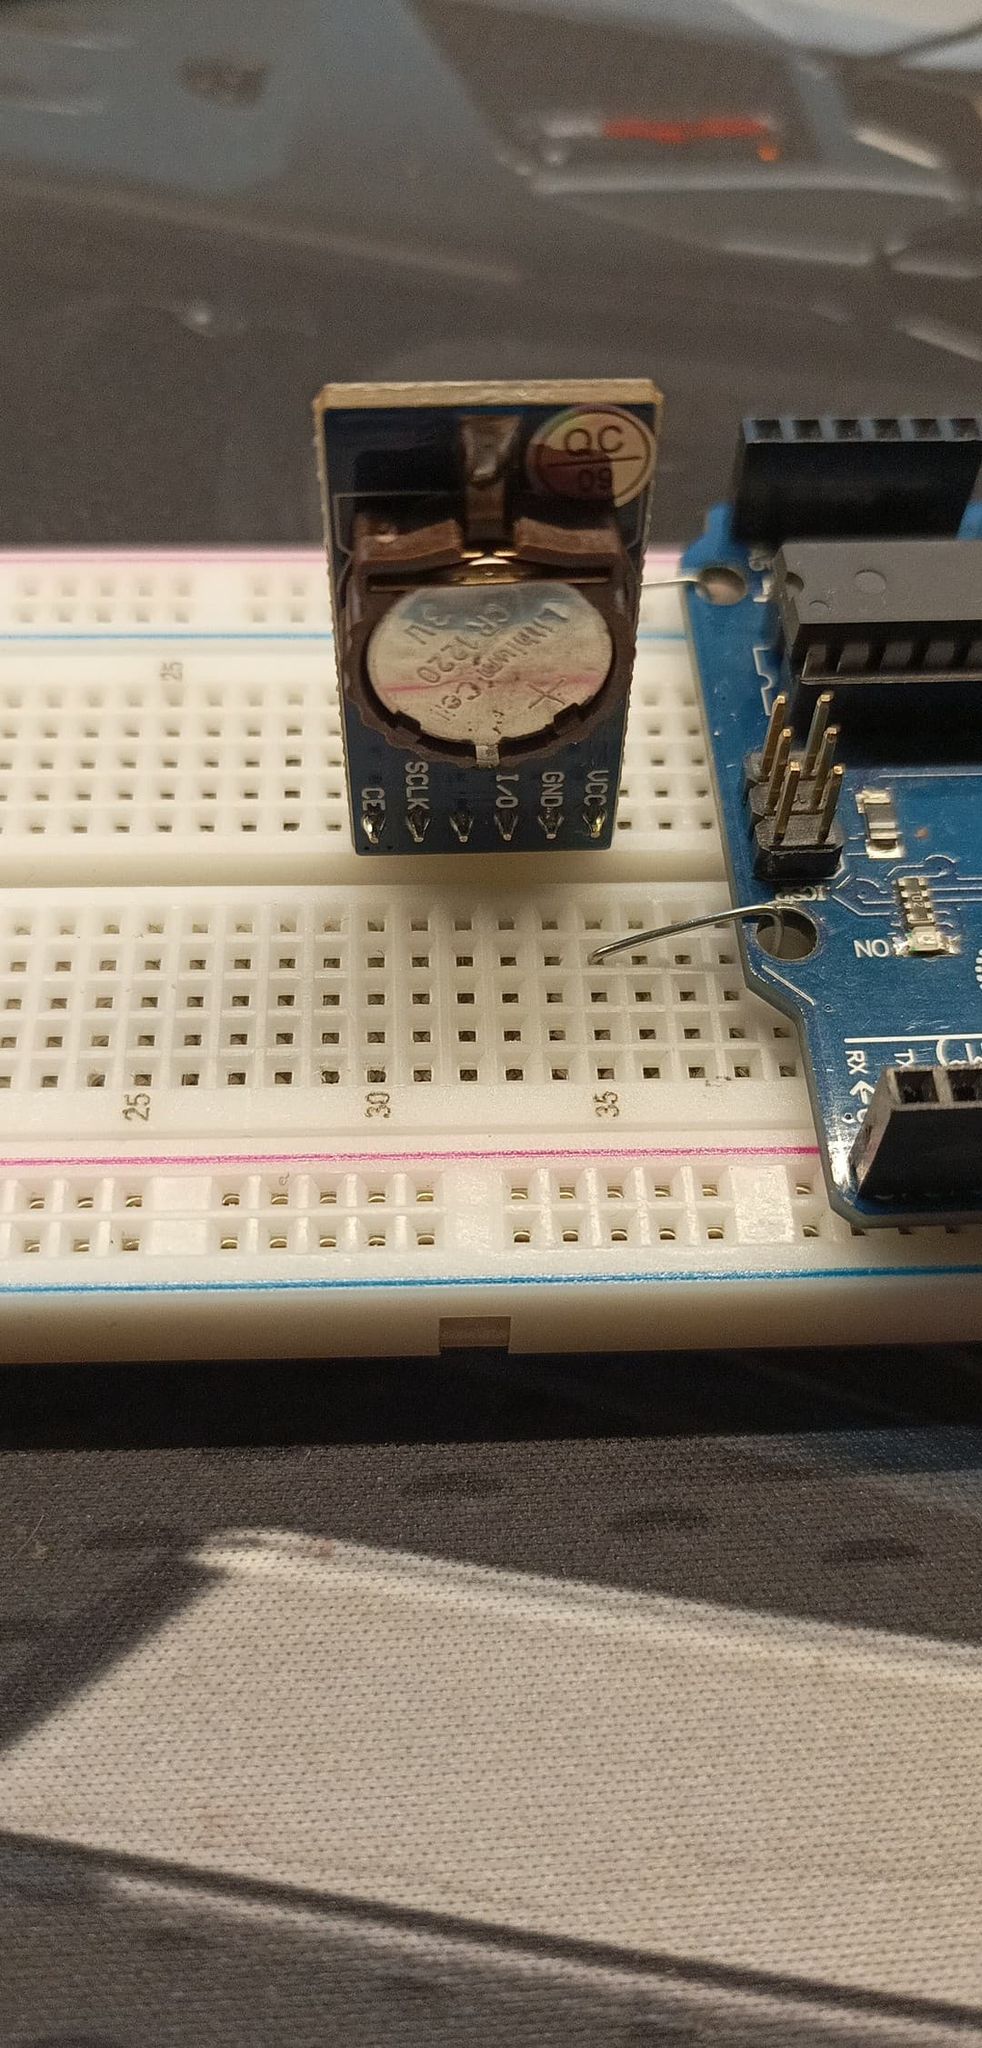
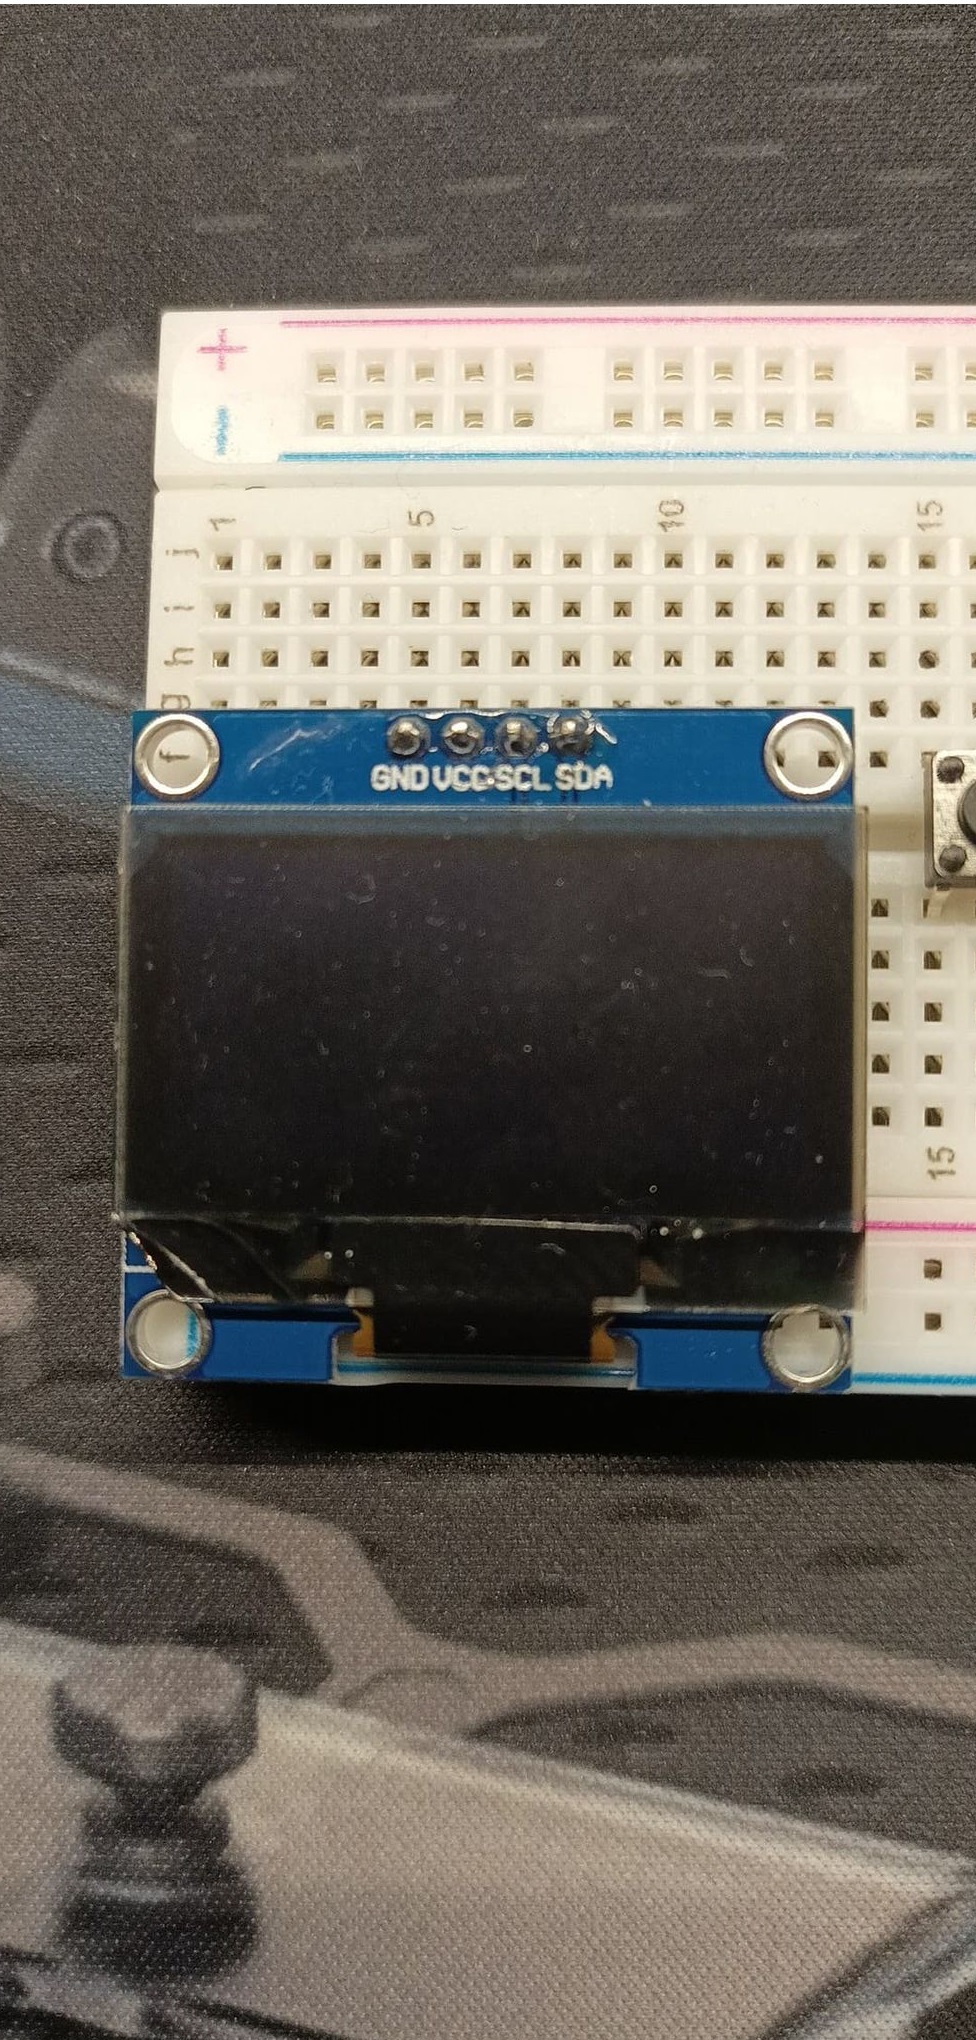
Install the OLED and the RTC.
Step four:
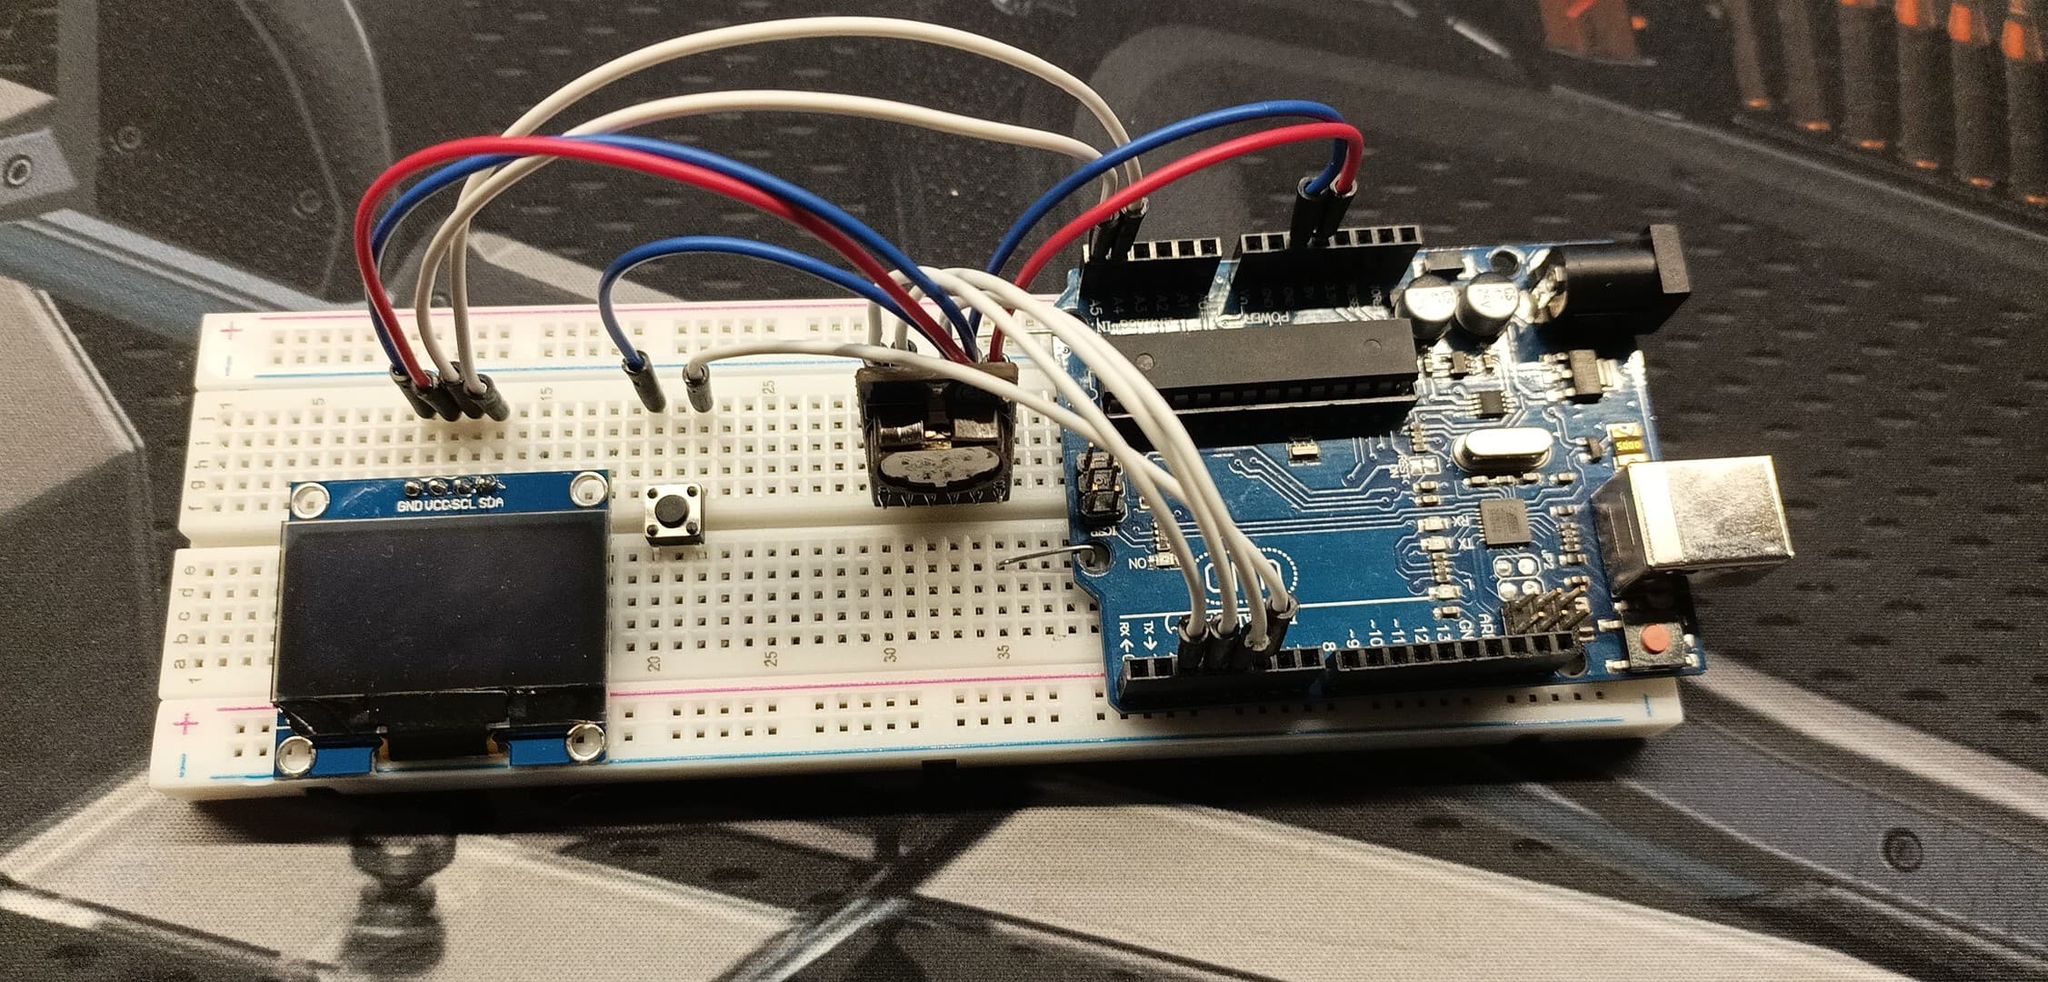
Connect it, more or less like that. Here is the pinout:
OLED:
GND - Arduino GND
VCC - Arduino 5V
SCL - Arduino Analog Connector 5 (A5)
SDA - Arduino Analog Connector 4 (A4)
Button:
Left - Arduino GND
Right - Arduino Digital Connector 5 (5 or D5)
RTC:
VCC - Arduino 5V
GND - Arduino GND
I/O - Arduino Digital Connector 4 (4 or D4)
SCLK - Arduino Digital Connector 3 (3 or D3)
CE - Arduino Digital Connector 2 (2 or D2)
Step five:
Install necessary libraries:
Wire.h (should be installed/found in arduino library manager)
https://github.com/chrisfryer78/ArduinoRTClibrary
Adafruit GFX (should be found in arduino library manager)
https://github.com/wonho-maker/Adafruit_SH1106
Step six:
Write a script.
My example:
// include necessary libraries.
#include
virtuabotixRTC clock(3, 4, 2);
// Configure display
Adafruit_SH1106 display(-1);
int state = 1;
void setup() {
pinMode(5, INPUT_PULLUP);
display.begin(SH1106_SWITCHCAPVCC, 0x3C);
display.setTextColor(WHITE);
drawUI();
display.display();
}
void loop() {
// clock sleep/turn off mode
if (digitalRead(5) == LOW) {
if (state == 0) {
delay(500);
drawUI();
state = 1;
}else{
delay(500);
display.drawRect(4, 7, 120, 50, WHITE);
display.fillRect(5, 8, 118, 48, BLACK);
display.setTextSize(1);
display.setCursor(6, 12);
display.println("Clock will turn");
display.println(" off in a moment.");
display.println("");
display.println(" To turn back on,");
display.println(" press the button.");
display.display();
delay(3000);
display.clearDisplay();
display.display();
state = 0;
}
}
if (state == 1) {
// Update time every second
clock.updateTime();
drawUI();
display.setTextColor(WHITE);
display.setTextSize(3);
display.setCursor(1, 19);
if (clock.hours < 10) {
display.print("0");
}
display.print(clock.hours);
display.print(":");
if (clock.minutes < 10) {
display.print("0");
}
display.print(clock.minutes);
display.setTextSize(2);
display.print(":");
if (clock.seconds < 10) {
display.print("0");
}
display.print(clock.seconds);
display.setTextSize(1);
display.setCursor(26, 48);
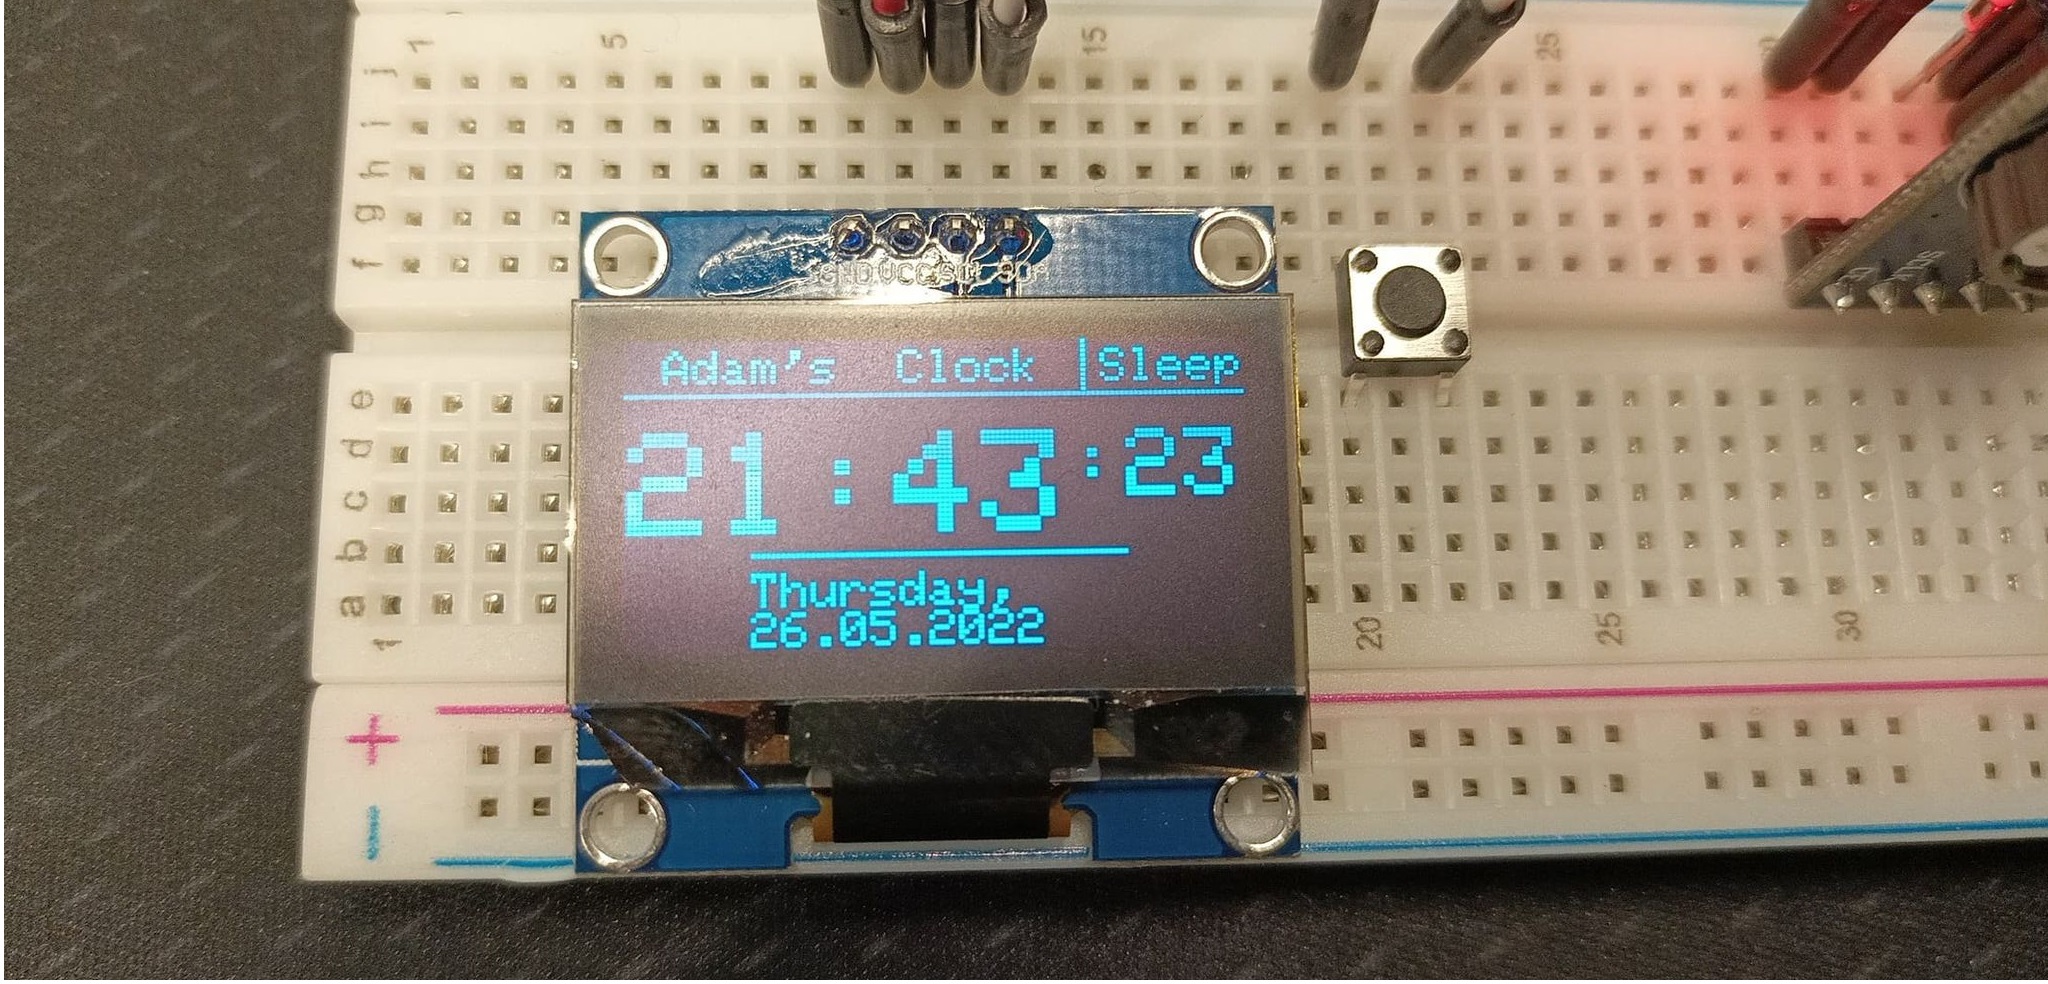
if (clock.dayofweek == 1) {
display.print("Monday,");
}
if (clock.dayofweek == 2) {
display.print("Tuesday,");
}
if (clock.dayofweek == 3) {
display.print("Wednesday,");
}
if (clock.dayofweek == 4) {
display.print("Thursday,");
}
if (clock.dayofweek == 5) {
display.print("Friday,");
}
if (clock.dayofweek == 6) {
display.print("Saturday,");
}
if (clock.dayofweek == 7) {
display.print("Sunday,");
}
display.setCursor(26, 56);
if (clock.dayofmonth < 10) {
display.print("0");
}
display.print(clock.dayofmonth);
display.print(".");
if (clock.month < 10) {
display.print("0");
}
display.print(clock.month);
display.print(".");
display.print(clock.year);
display.display();
delay(999);
}
}
void drawUI() {
// draw the GUI
display.clearDisplay();
display.setTextSize(1);
display.setCursor(2, 2);
display.println(" Adam's Clock Sleep");
display.drawLine(0, 11, 128, 11, WHITE);
display.drawLine(94, 0, 94, 10, WHITE);
display.drawLine(26, 44, 102, 44, WHITE);
}
Step seven:
Install the program to your Arduino and have fun!
EXPANDED TECHNICAL DETAILS
High-Contrast Micro-Horological Hub
This project combines the ultra-sharp SH1106 1.3" OLED with a DS1302 RTC to create a sleek and modern desk clock with graphical capabilities.
- Graphical Frame-Buffer Orchestration: The Arduino manages the SH1106 display using the
U8g2library. This allows for rendering not just numbers, but beautiful analog clock faces and smooth graphical animations. - Battery-Backed Temporal Memory: The DS1302 module includes a coin-cell battery; the Arduino (management core) reads the correct time upon startup even if the main power was disconnected for months.
Aesthetics
- Animated "Transition" Effects: Includes software routines for "Fading" or "Scrolling" between the Time, Date, and Temperature views, providing a premium, high-fidelity user experience.