Long-Range Radio: NRF24L01 Point-to-Point
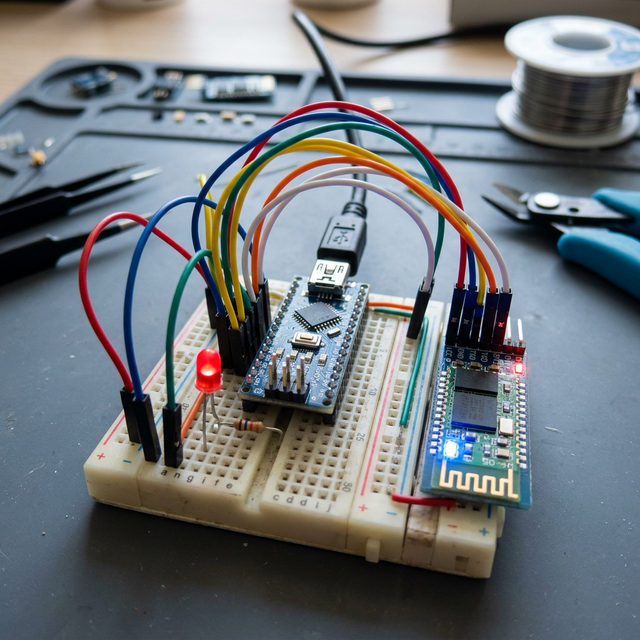
Bluetooth is great but its range caps at 30 feet. Wi-Fi requires a complex local router. The NRF24L01 Transceiver ignores all of that. It is a raw, raw 2.4GHz radio chip that allows two Arduinos to scream digital logic (like a physical remote control turning on an LED) directly at each other across an open cornfield.
The Master / Slave (TX/RX) Logic
You must build two completely separate Arduino circuits.
- The Transmitter (TX): Contains a push button wired to Pin 2.
- The Receiver (RX): Contains an LED wired to Pin 3.
- You must physically hardwire the NRF24L01 chips to the rigorous
SPIpins of the Arduino (MISO: Pin 12, MOSI: Pin 11, SCK: Pin 13).
The Pipe Address
Radios need to know who to listen to, otherwise, they pick up your neighbor's Wi-Fi router.
- You define a proprietary 5-byte radio address:
const byte address[6] = "00001"; - The TX Payload: When you push the button, the Transmitter converts the action into a byte payload:
char msg[1] = {'1'};. - The Transmiter opens the radio pipe and violently blasts the packet through the air:
radio.write(&msg, sizeof(msg));. - The RX Intercept: The Receiver constantly listens to the 2.4GHz chaos. It hears the
"00001"address, catches the payload, and executes the C++:if (msg[0] == '1') { digitalWrite(LED_PIN, HIGH); }
Critical Decoupling Hardware Issues
The NRF24L01 is notorious for failing out-of-the-box.
- The 3.3V Power Crisis: The NRF chip requires exactly 3.3V, but it draws a massive spike of current when it transmits. The Arduino's tiny 3.3V pin usually fails to provide enough power, causing the radio to reset!
- The Solution: You MUST solder a 10uF to 100uF Electrolytic Capacitor across the NRF's 3.3V and GND pins. This acts as a microscopic battery, dumping emergency power into the chip right as it transmits to keep the voltage from collapsing!
Radio Arsenal Checklist
- Two Arduino Uno/Nano boards.
- Two NRF24L01+ Transceiver Modules.
- Two 10uF Capacitors (Absolutely mandatory for stable operation).
- Push buttons, LEDs, and standard breadboard wiring.