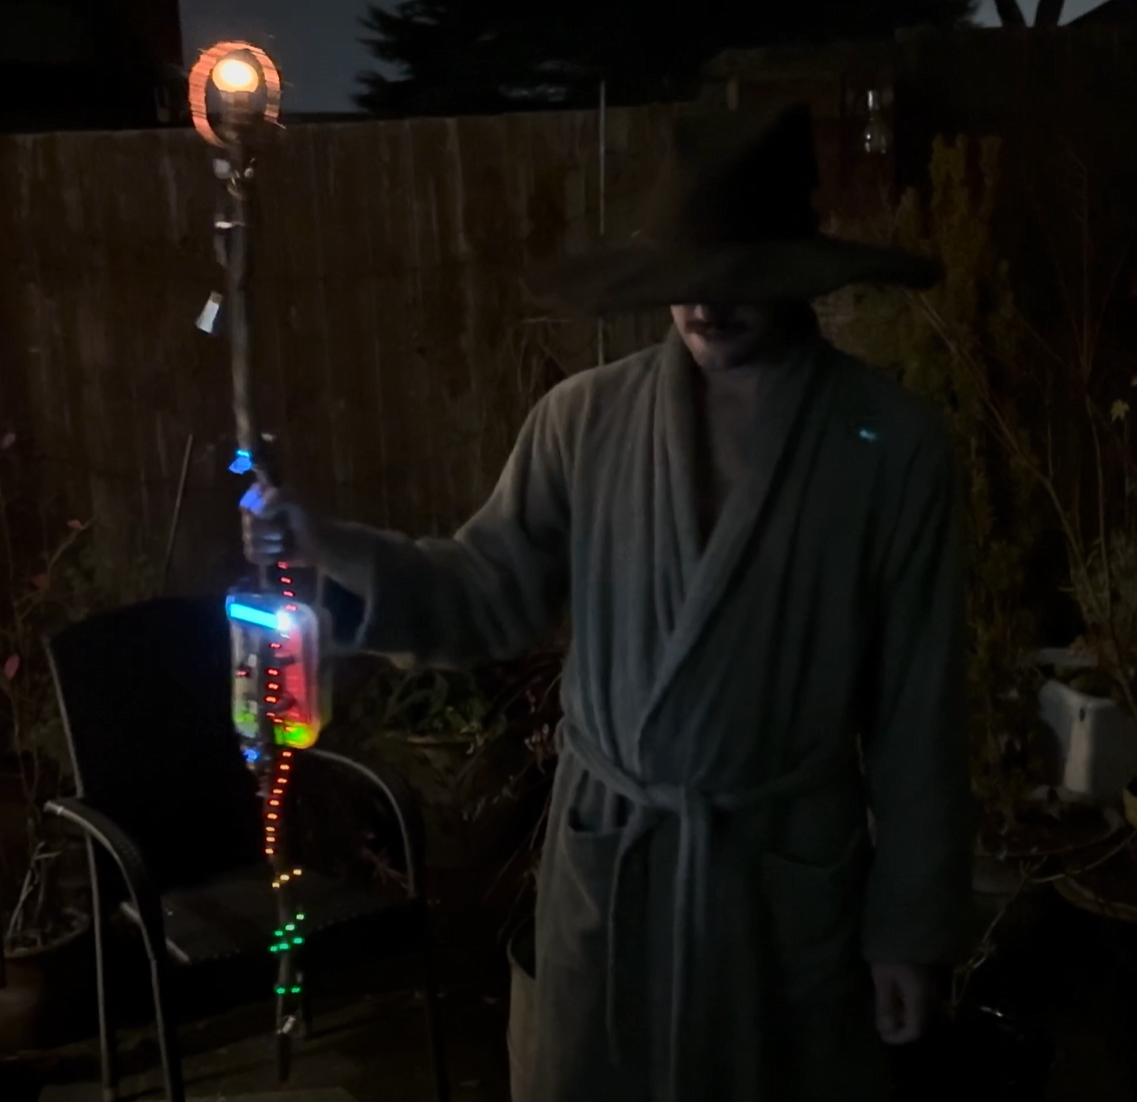
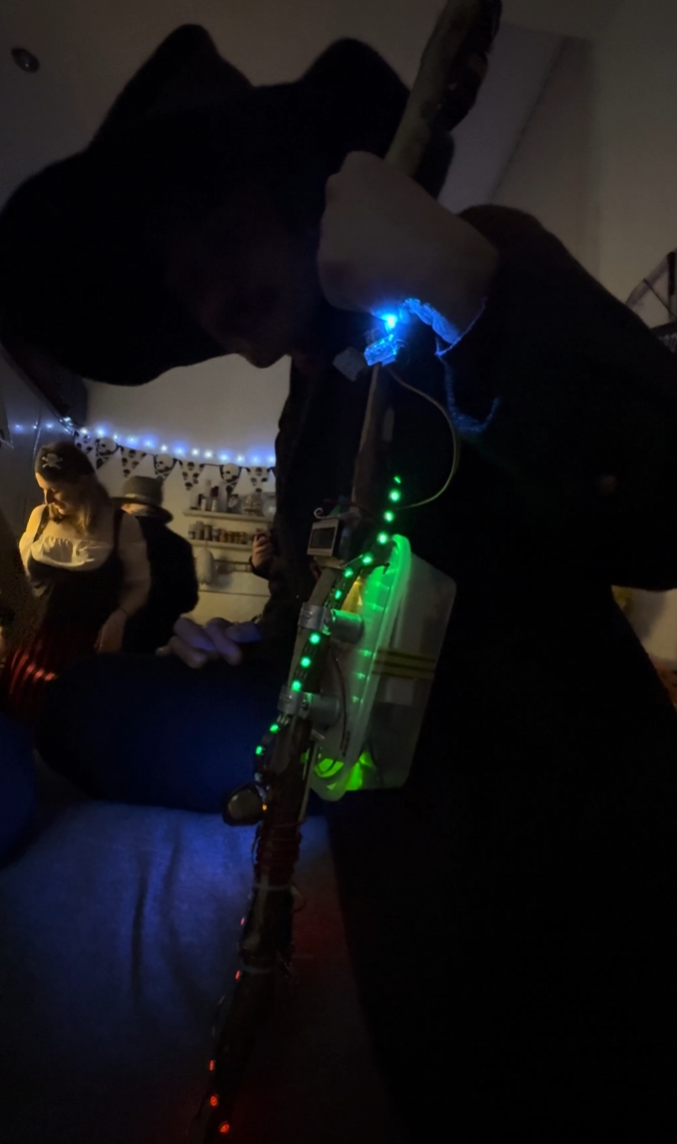
Enhance your Halloween experience by creating a fortune-telling staff that responds to movement! This guide will walk you through building a staff that lights up, plays sounds, and delivers cryptic fortunes when it detects motion. For a visual demonstration, check out this video .
Step 1: Gather Your Materials
You'll need the following components:
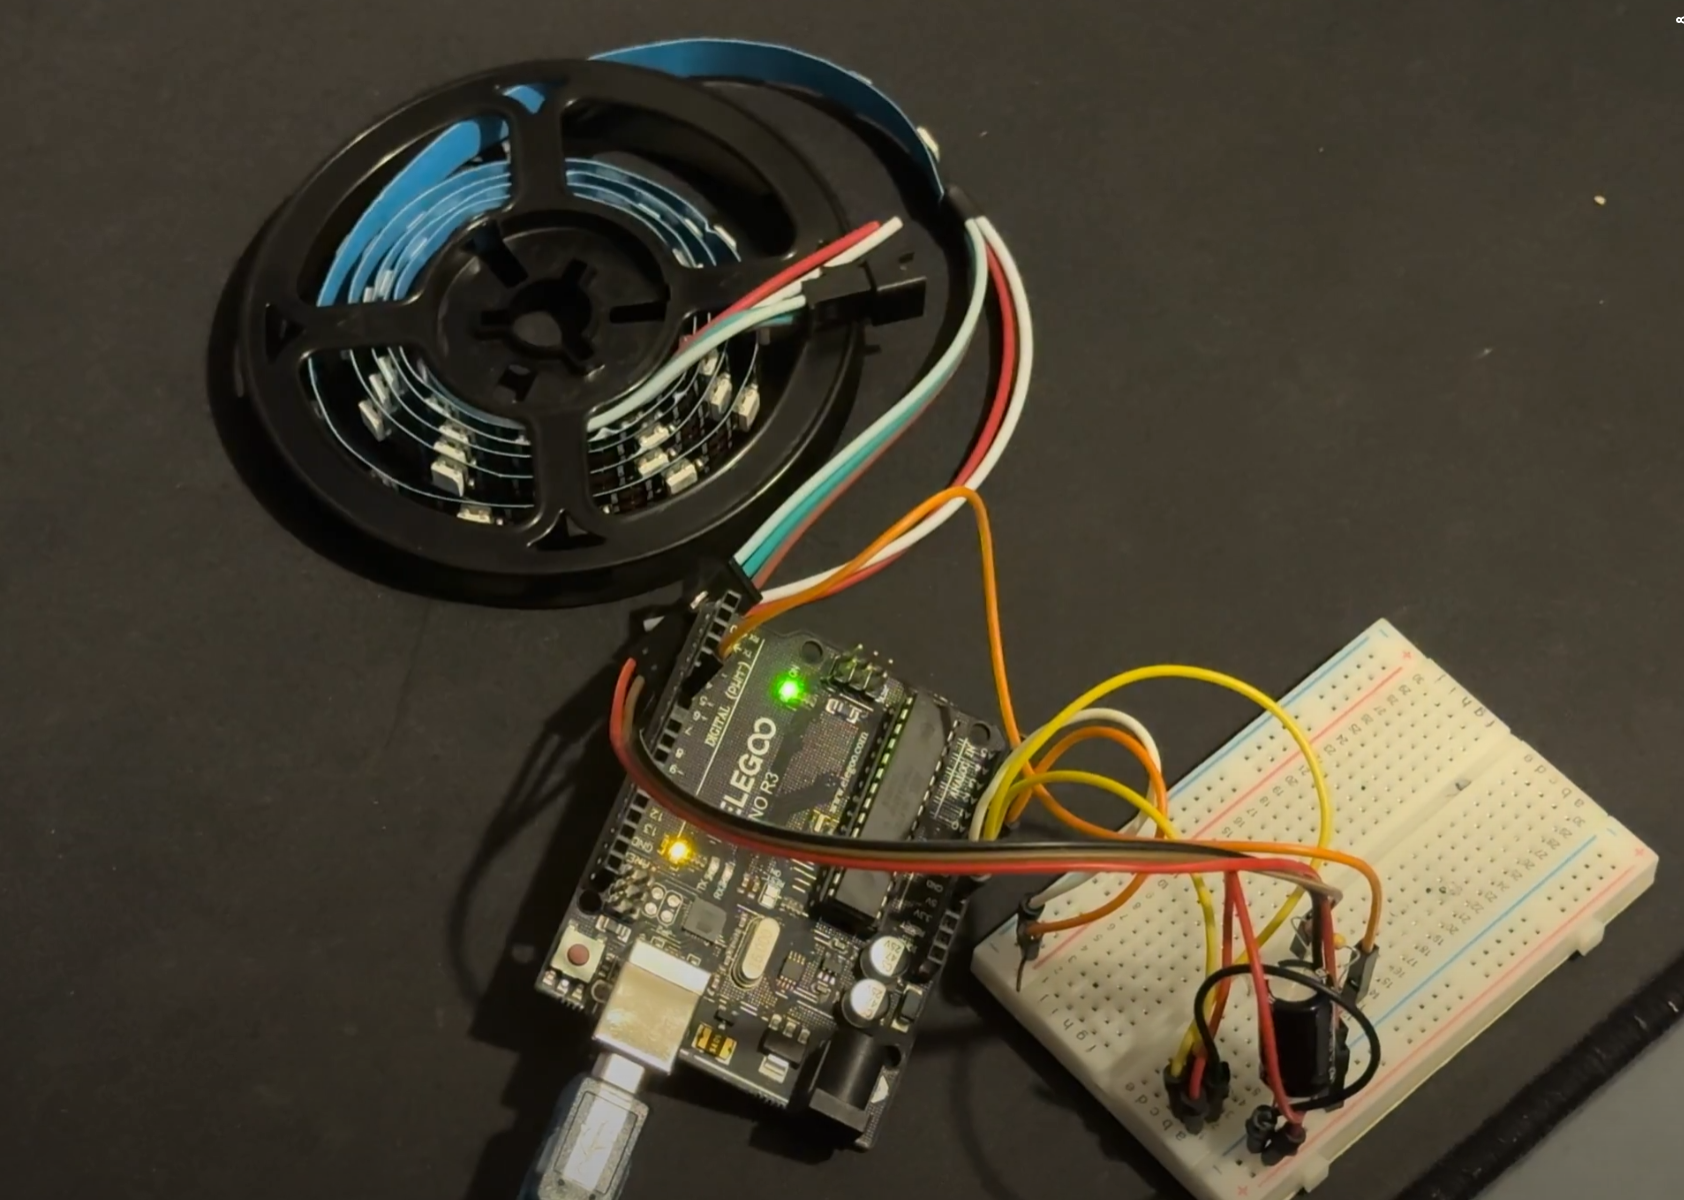
- Arduino Nano
- WS2812 LED Strip (60 LEDs)
- 16x2 LCD with I2C Module
- Vibration Sensor Module (e.g., SW-420)
- Passive Buzzer
- Resistors, jumper wires, and a power source
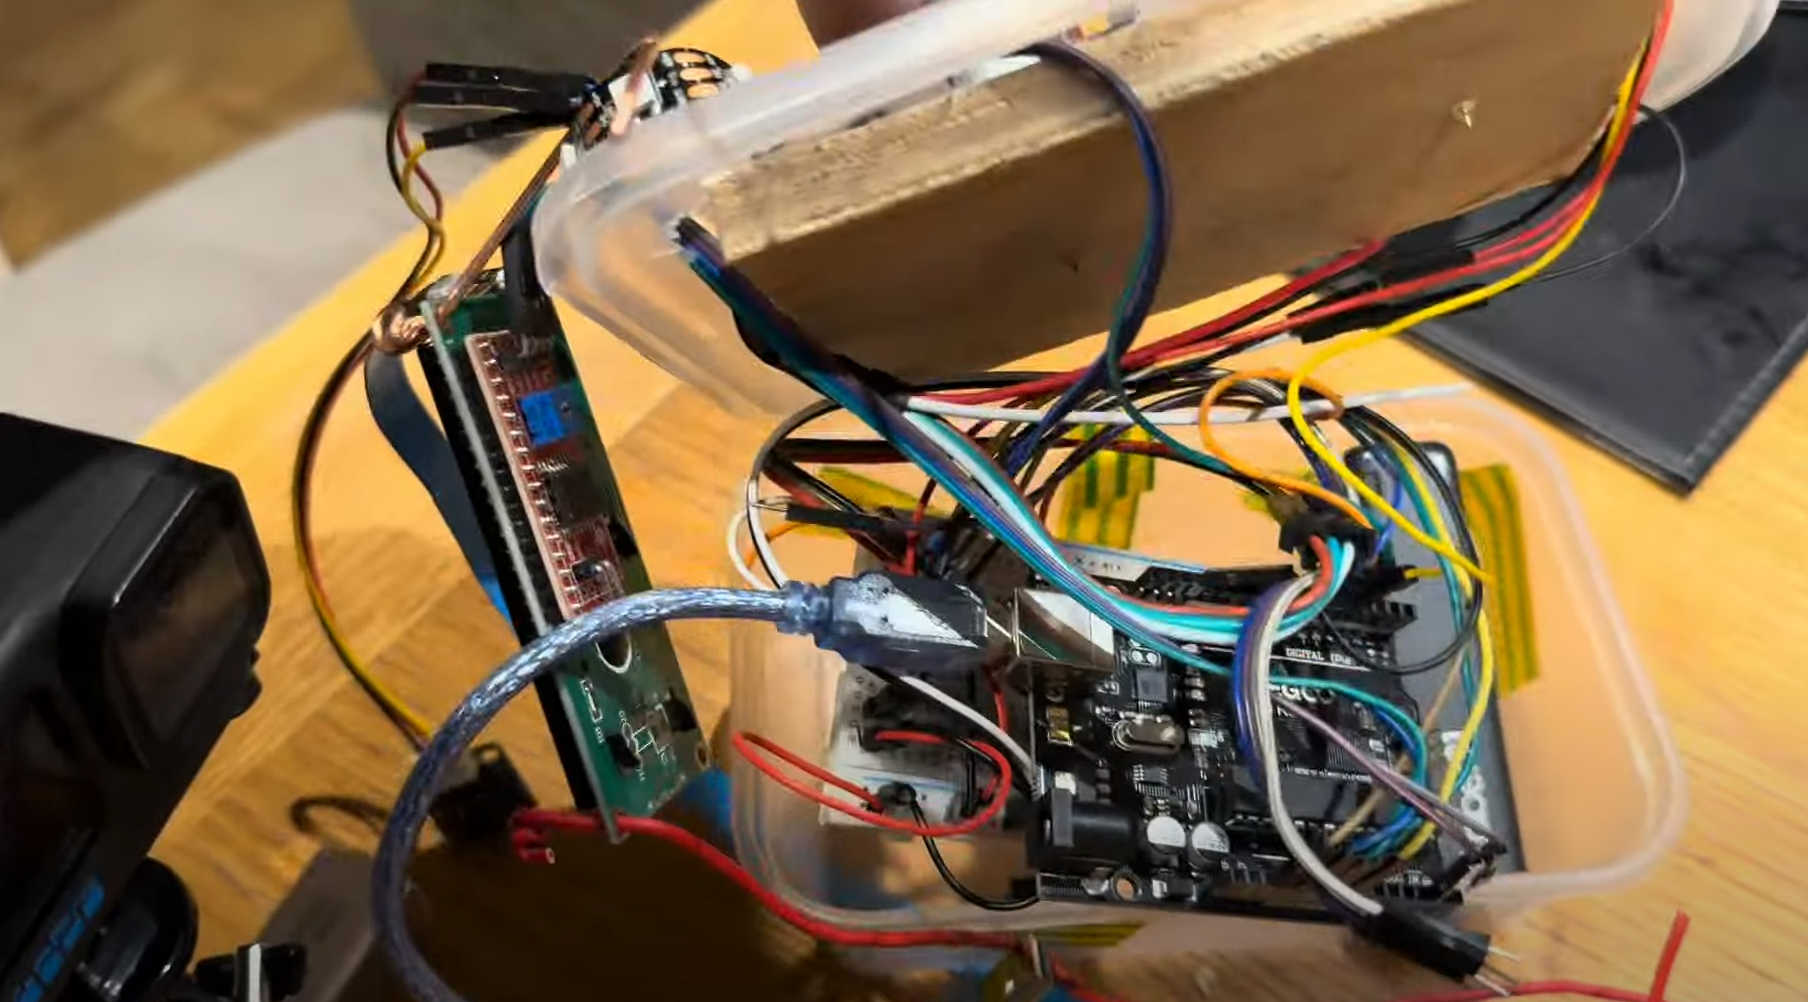
- Enclosure: A food storage container secured with bolts and knobs to house the electronics.
Wiring:
- LED Strip:
- Data pin to Arduino pin 6
- Power and ground to corresponding Arduino pins
Vibration Sensor:
- Output pin to Arduino pin 5
- Power to 5V and ground to GND
Buzzer:
- Positive lead to Arduino pin 4
- Negative lead to GND
LCD:
- Connect to the I2C interface (SDA and SCL)
- Ensure the I2C address is set to 0x27
EXPANDED TECHNICAL DETAILS: Kinesthetic Triggering (IMU Pitch Arrays)
You cannot put an ugly plastic button on a wizard's wooden staff. It must be triggered physically. In this project, a vibration sensor (SW-420) acts as the trigger. For a more advanced version, you could use an MPU6050 Accelerometer embedded inside the tip. The principle is the same: the microcontroller constantly reads the sensor. When the wielder physically slams the base of the staff into the ground violently, the sensor detects a significant event. In code, this is a simple conditional check: if (sensorTriggered == true) { triggerMagic(); }. This event instantly kicks the system into high gear, illuminating the LED strip and starting the fortune sequence.
EXPANDED TECHNICAL DETAILS: Parsing HTTP APIs (JSON Deserialization) - An Advanced Concept
The core project uses pre-programmed fortunes. However, to make a staff that answers questions with real-time knowledge from the internet, you would need to upgrade to an ESP32. The staff could connect to a Wi-Fi hotspot. A script would then use HTTPClient to query a public API (e.g., The "Yes/No API" at https://yesno.wtf/api). The API replies with a JSON payload like: {"answer":"yes","forced":false,"image":"https://yesno.wtf/assets/yes/2.gif"}. The ESP32 would use the <ArduinoJson.h> library to parse this data:
DynamicJsonDocument doc(1024);
deserializeJson(doc, payload);
String answer = doc["answer"];
If the extracted string equals "yes", the LEDs could glow green; if "no", they could flash red. This transforms the staff from a random fortune teller into a true oracle!
Step 2: Upload the Code
Begin by uploading the provided Arduino code to your Arduino Nano. This code enables the staff to deliver random fortunes categorized as positive, neutral, or negative. Each category triggers specific LED colors—green for positive, blue for neutral, and red for negative—and corresponding sound effects. The motion activation feature utilizes a vibration sensor to detect movement, initiating the fortune-telling sequence.
How to Upload the Code:
- Open the Arduino IDE.
- Copy and paste the provided code into a new sketch.
- Connect your Arduino Nano to your computer via USB.
- Select the appropriate board and port from the "Tools" menu.
- Click the upload button to transfer the code to the Arduino.
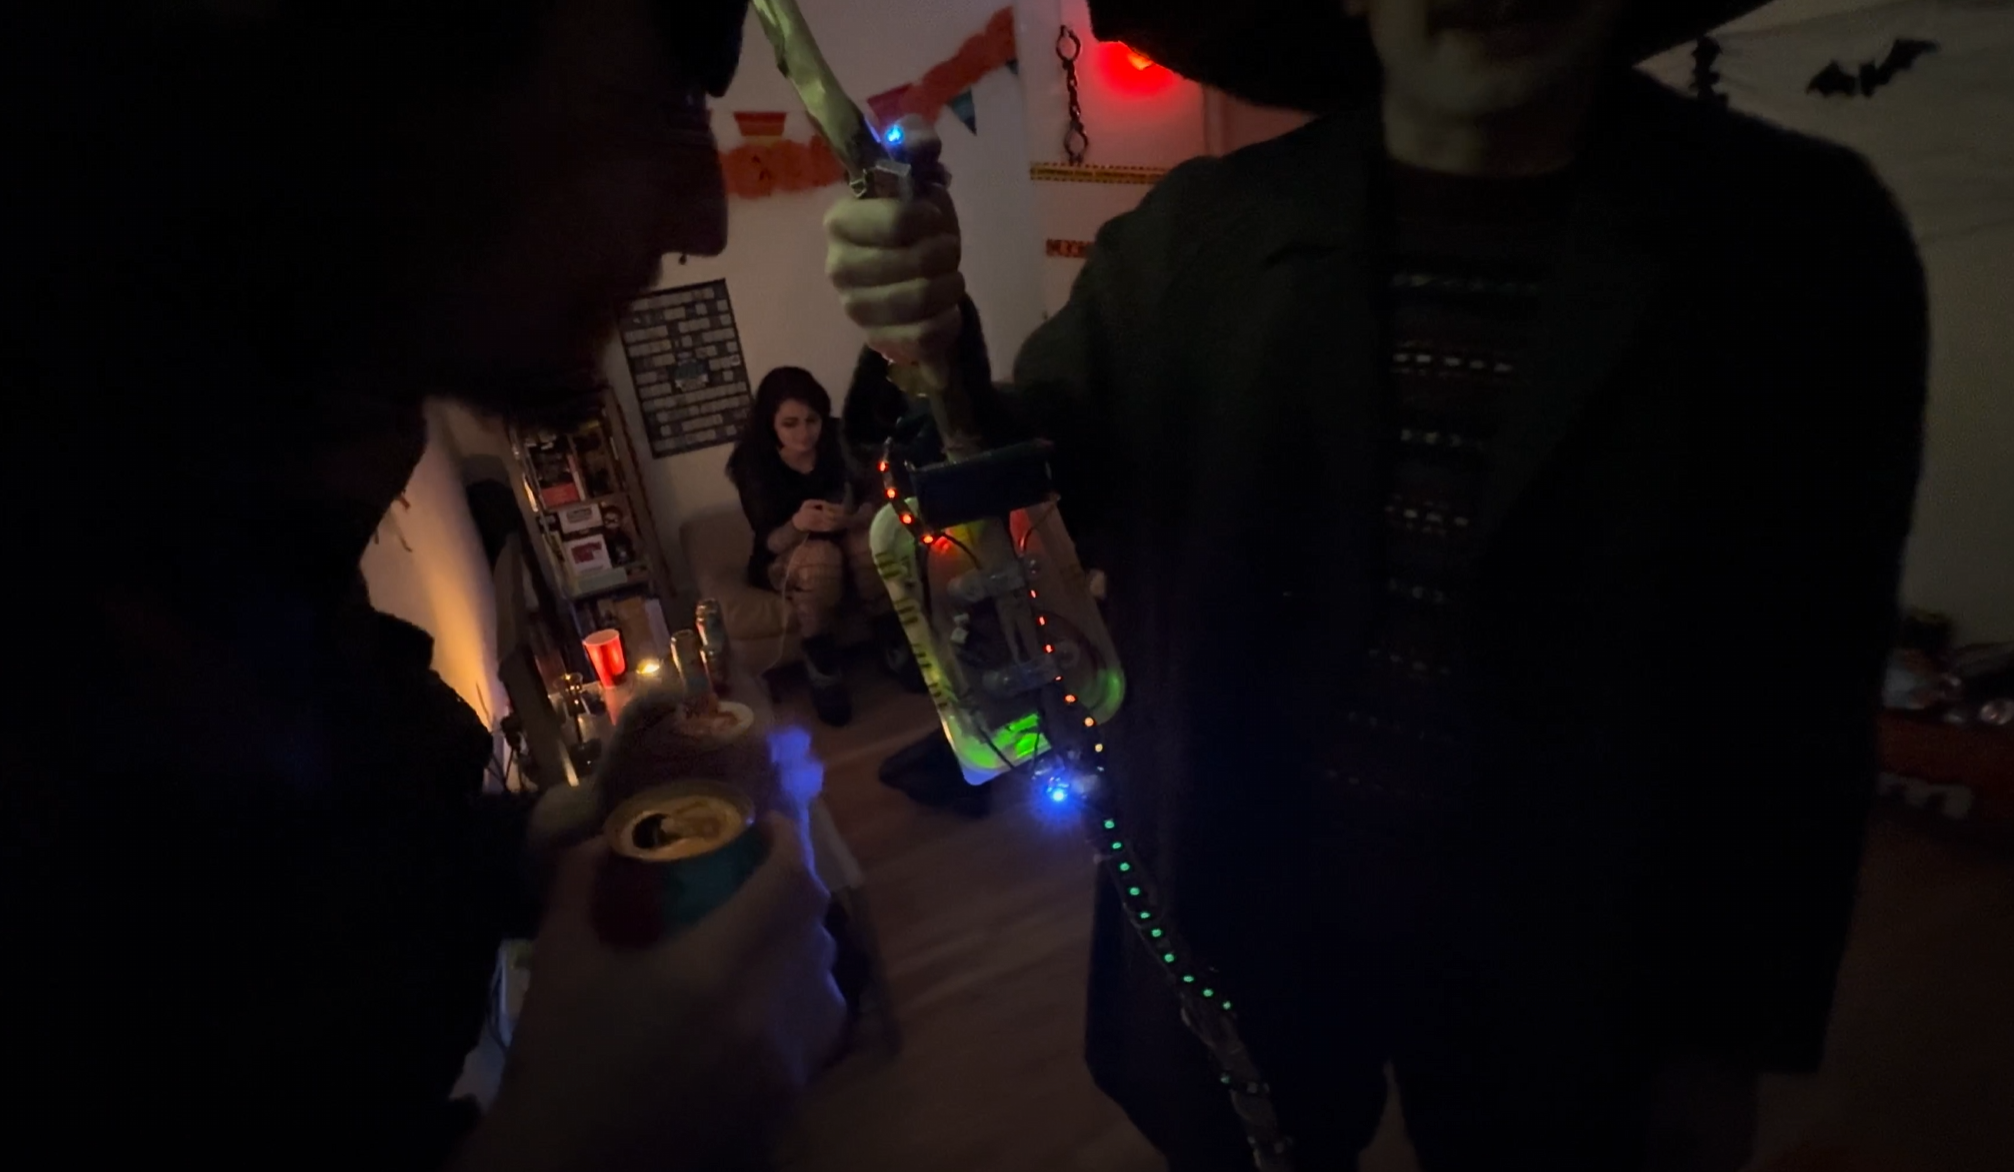
Step 3: Assemble the Staff
Mount the Electronics:
- Place the Arduino, vibration sensor, buzzer, and other components inside a food storage container.
- Secure the container to the staff using bolts and knobs, ensuring all components are firmly in place.
Attach the LED Strip:
- Affix the LED strip along the length of the staff.
- Ensure the wiring is discreet and does not hinder the staff's appearance or functionality.
Connect the LCD:
- Position the LCD screen where it's easily readable.
- Secure it appropriately, considering both aesthetics and usability.
EXPANDED TECHNICAL DETAILS: Cosplay Wiring Kit for an Advanced Build
For a more powerful, internet-connected version of this staff, you would need a different component set:
- ESP32 or NodeMCU (Mandatory for Wi-Fi and API parsing).
- MPU6050 6-Axis Gyro/Accelerometer (for precise motion triggering).
- WS2812B NeoPixel Ring or Jewel (Could be placed behind a 3D-printed translucent PLA crystal at the top of the staff for a focused magical effect).
- A heavy 18650 Battery Array hidden inside the staff handle to run the Wi-Fi and LEDs continuously during an event.
Step 4: Test and Customize
Test Your Staff:
- Move or shake the staff to activate the vibration sensor.
- Observe as the LEDs light up, the buzzer sounds, and a fortune scrolls across the LCD screen.
Customize:
- Modify Fortunes: Edit the positiveMessages, neutralMessages, and negativeMessages arrays in the code to include your own phrases.
- Adjust LED Colors: Change the RGB values in the code to alter the colors associated with each fortune type.
- Sound Tones: Modify the frequencies and durations in the sound functions to create different tones.
Enjoy Your Magical Creation!
Your motion-activated, fortune-telling staff is now complete. Use it to enchant friends and family during Halloween or at themed events. For a detailed walkthrough, including assembly and programming tips, watch this video .
Happy crafting!