Precision Timing: Customizable Countdown
The Customizable Countdown Timer is a functional piece of desk art. It moves beyond the breadboard, combining functional C++ programming with computer-aided design (CAD) to create a finished consumer product with a custom 3D printed enclosure.
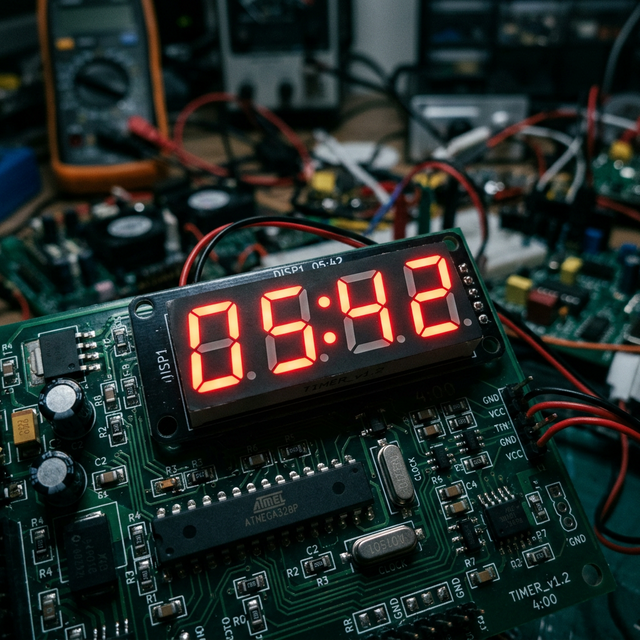
The Hardware Integration
- The Display: It uses a TM1637 4-Digit Display or a massive MAX7219 Dot Matrix module based on your preference.
- The Rotary Encoder: A KY-040 rotary encoder is installed on the front panel. Turning the knob increases or decreases the "Minutes" variable. Pressing the knob inwards clicks a built-in button, starting the countdown.
- The Alarm: When
minutes == 0andseconds == 0, a 5V active buzzer triggers a loud, pulsing alarm pattern.
The 3D Printed Frame
The true value of this project is learning how to house your electronics.
- You measure the dimensions of your Arduino Uno, the TM1637 screen, and the encoder with digital calipers.
- Using Tinkercad or Fusion 360, you design a box with exact cutouts
(e.g., a 42mm x 15mm rectangle for the screen). - You print the box, install brass threaded inserts for your screws, and mount the electronics securely inside.
Component List
- Arduino Uno/Nano: The processor.
- TM1637 4-Digit Display.
- KY-040 Rotary Encoder.
- Active Buzzer.
- 3D Printer and PLA filament.