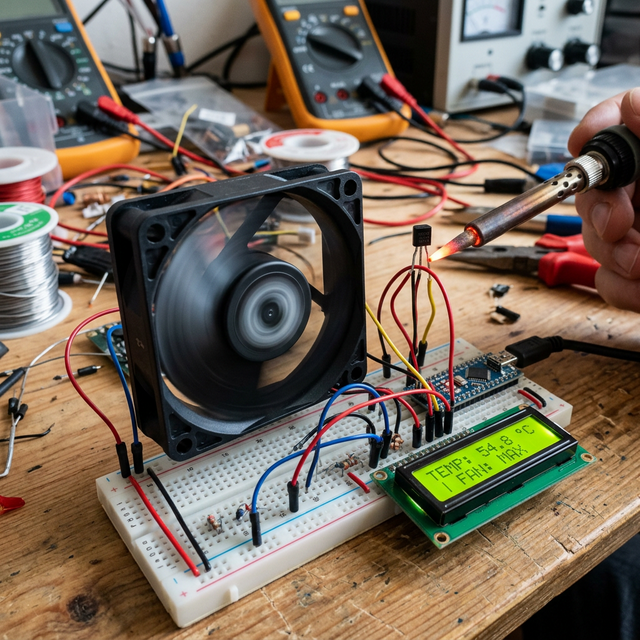
Spinning Up: Basic DC Motor Control
High-power components like DC motors can't be connected directly to an Arduino pin because they draw too much current. The DC Motor Control project teaches you how to use a Transistor to act as a bridge between the low-power Arduino and the high-power motor.
The Transistor Bridge
We use a TIP120 or NPN Transistor (like the 2N2222):
- The Signal: The Arduino sends a small current to the transistor's Base.
- The Switch: This "opens" the path between the Collector and Emitter, allowing a much larger current to flow through the motor.
- Control: By using PWM (via the
analogWrite()function), you can even control the speed of the motor.
Hardware Components
- Arduino Uno/Nano: The PWM controller.
- Small DC Motor: Your output device.
- NPN Transistor: The electronic switch.
- 1N4007 Diode: A crucial Flyback Diode that protects your Arduino from voltage spikes when the motor stops.
- External 9V Power Source: Motors work better with a separate battery.
Why This Project?
Understanding transistors is the first step toward building robotics. Whether you're building an electric fan, a propeller for a model boat, or a cooling system, the ability to control higher-current loads is a fundamental engineering skill.