Precision Measurement: The DIY Voltmeter
Ever wondered how much charge is left in an old battery? The Digital Voltmeter project teaches you how the Arduino’s ADC (Analog-to-Digital Converter) works and how to safely measure voltages higher than 5V.
The Voltage Divider Concept
Since the Arduino can only accept up to 5V on its analog pins, we use a Voltage Divider (two resistors in series) to "scale down" higher voltages.
- Ratio: If we use a 10k and a 100k resistor, we can safely measure up to 55V!
- Conversion: The Arduino reads a value from 0-1023, and the code converts that value back into the actual voltage using a simple mathematical multiplier.
Key Hardware
- Arduino Uno: The brain and the ADC.
- Resistors (10k and 100k): For the voltage divider circuit.
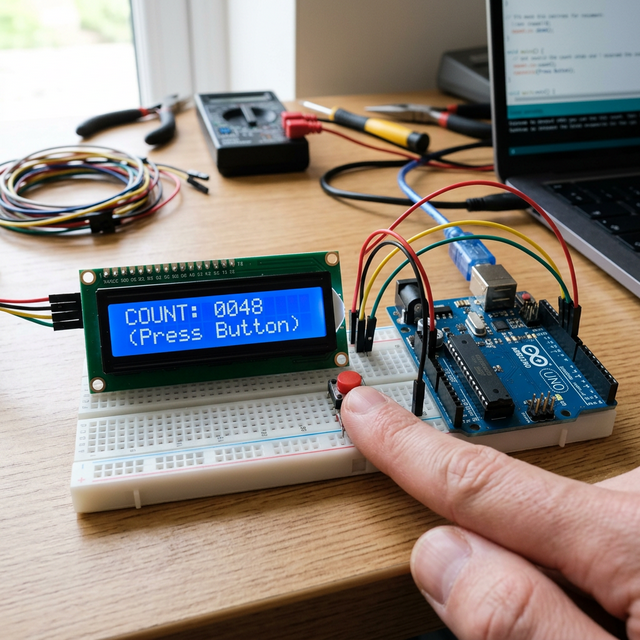
- 16x2 LCD Display: To show the measured voltage.
- Probe Wires: To connect to the battery or power source being tested.
Calibration and Safety
To make your voltmeter accurate, you must measure the exact resistance of your voltage divider resistors with a multimeter and update the values in your code. Safety Warning: This project is for DC voltage only. NEVER attempt to measure AC mains voltage with an Arduino, as it is extremely dangerous.