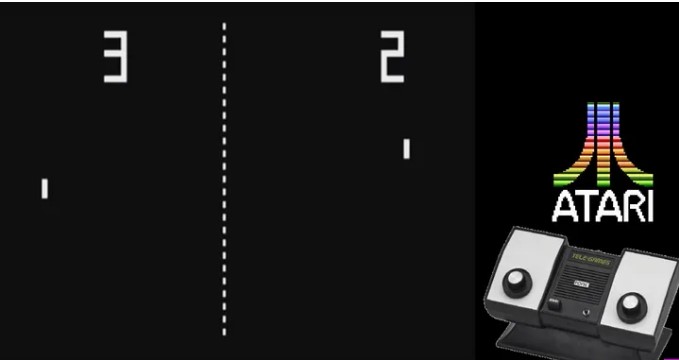
Pong is a table tennis–themed 2 dimensional graphics arcade video game manufactured by Atari and originally released on 1972
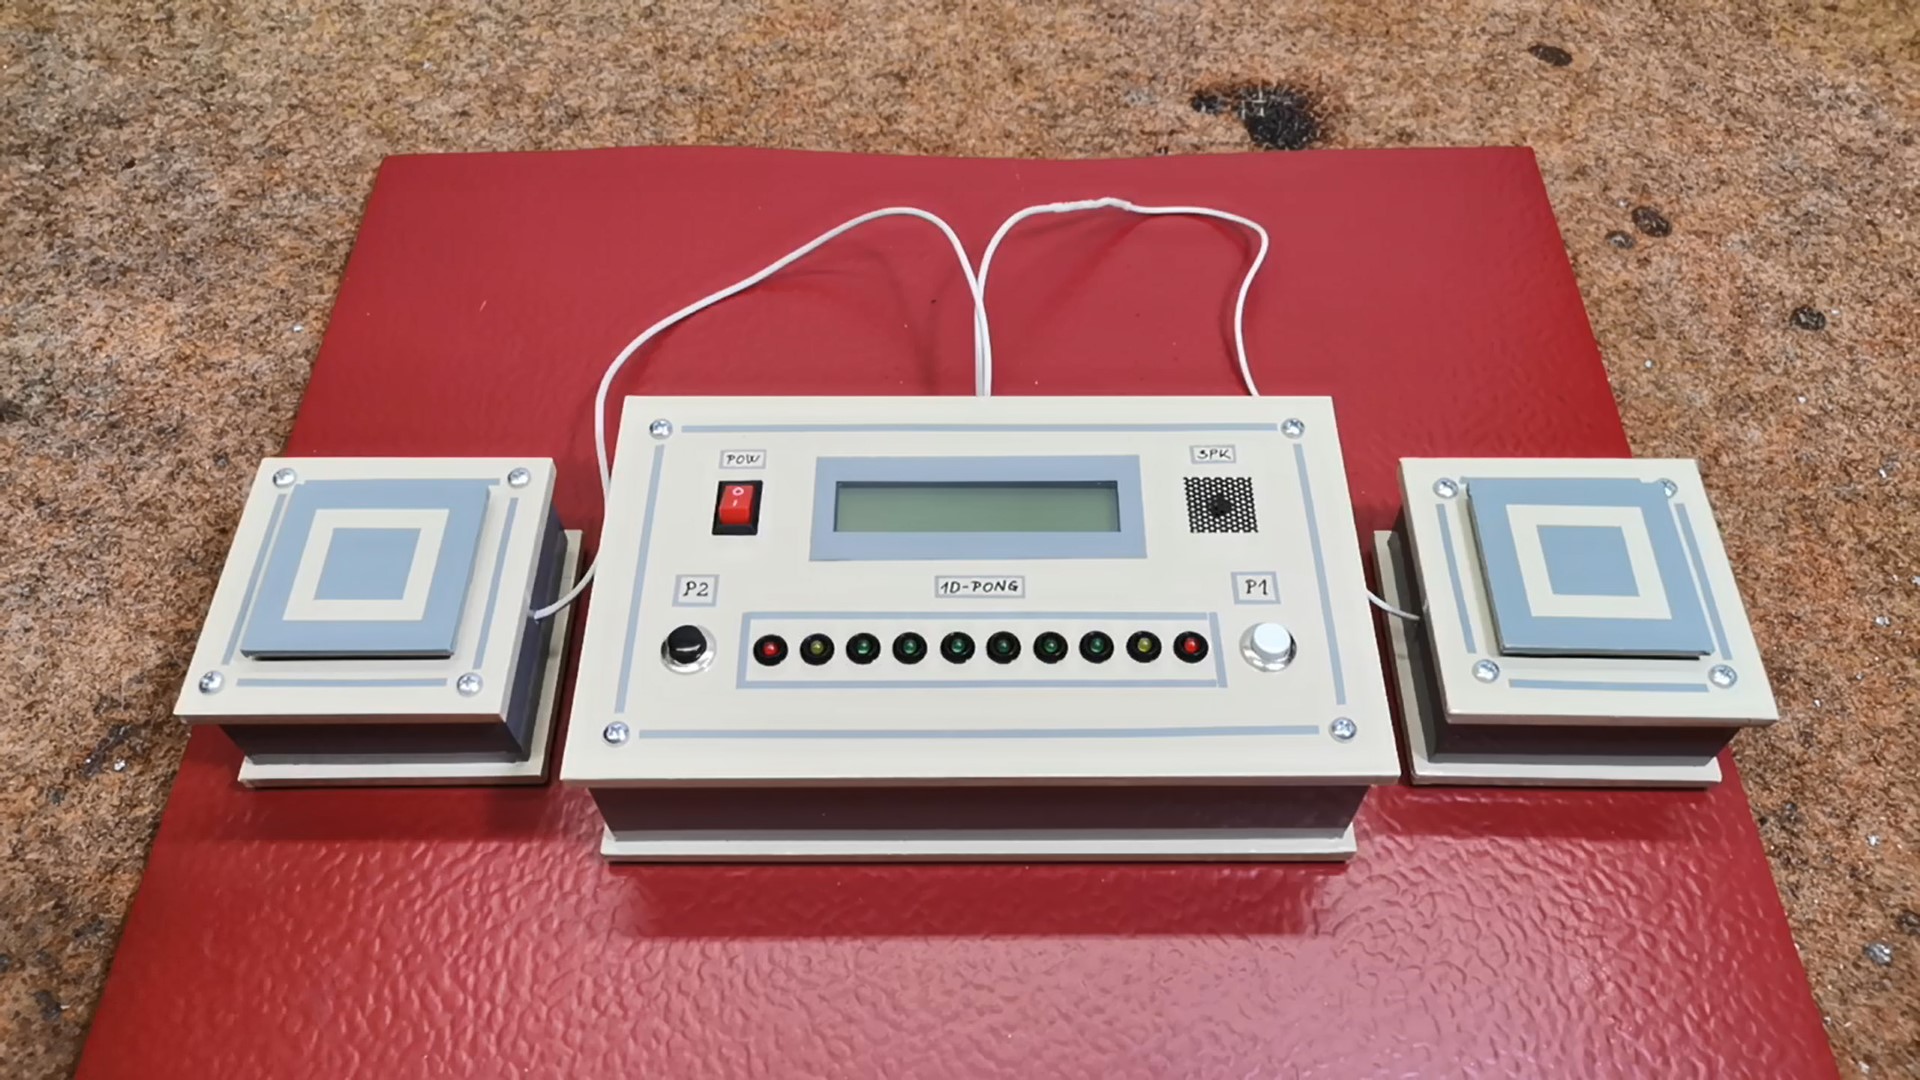
This time I will present you a simple way to make a 1D LED Pong game which is an interesting project that simulates a Pong game on a single-dimensional array of LEDs. This can be done using Arduino microcontroller board. The movement of the ball is simulated by the array of LEDs, and the paddles are the two buttons. The game is for 2 players, in which the "ball" travels down the length of the LED array, and will bounce back if the button is pressed when yellow LED is illuminated.
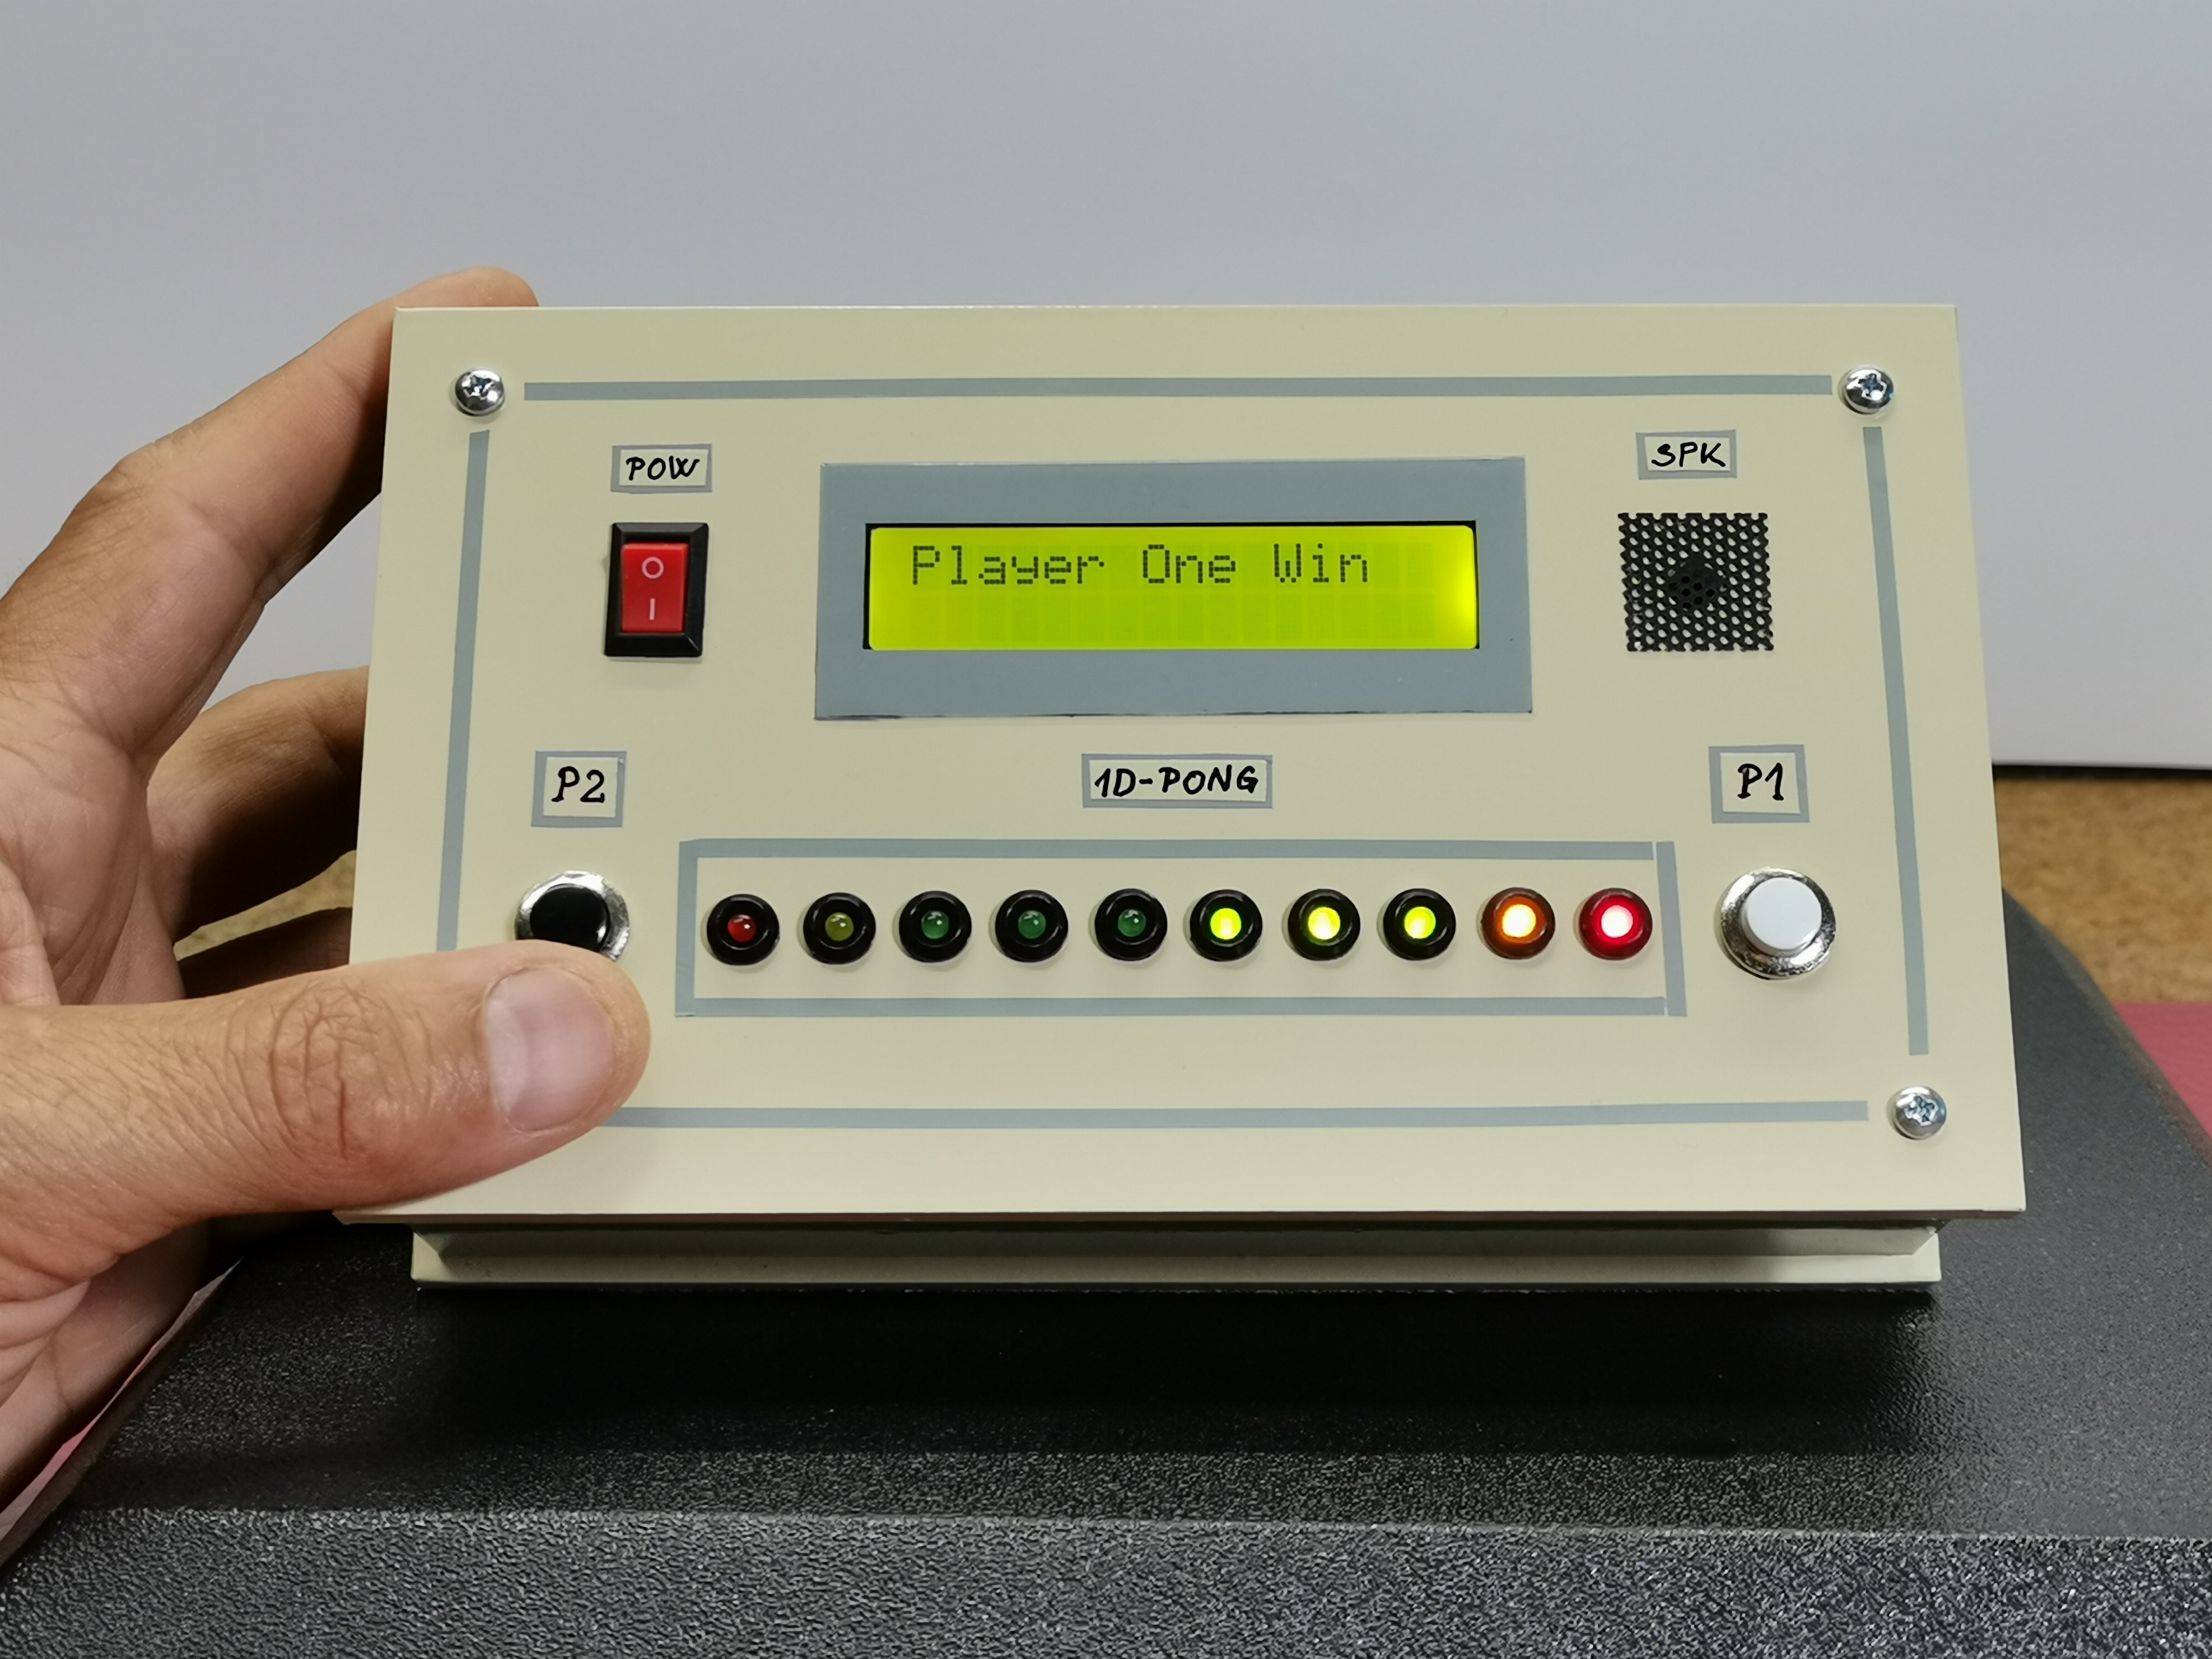
The result is displayed on the LCD screen. The movement of the ball, the winning of a point as well as the victory are accompanied by appropriate sounds.
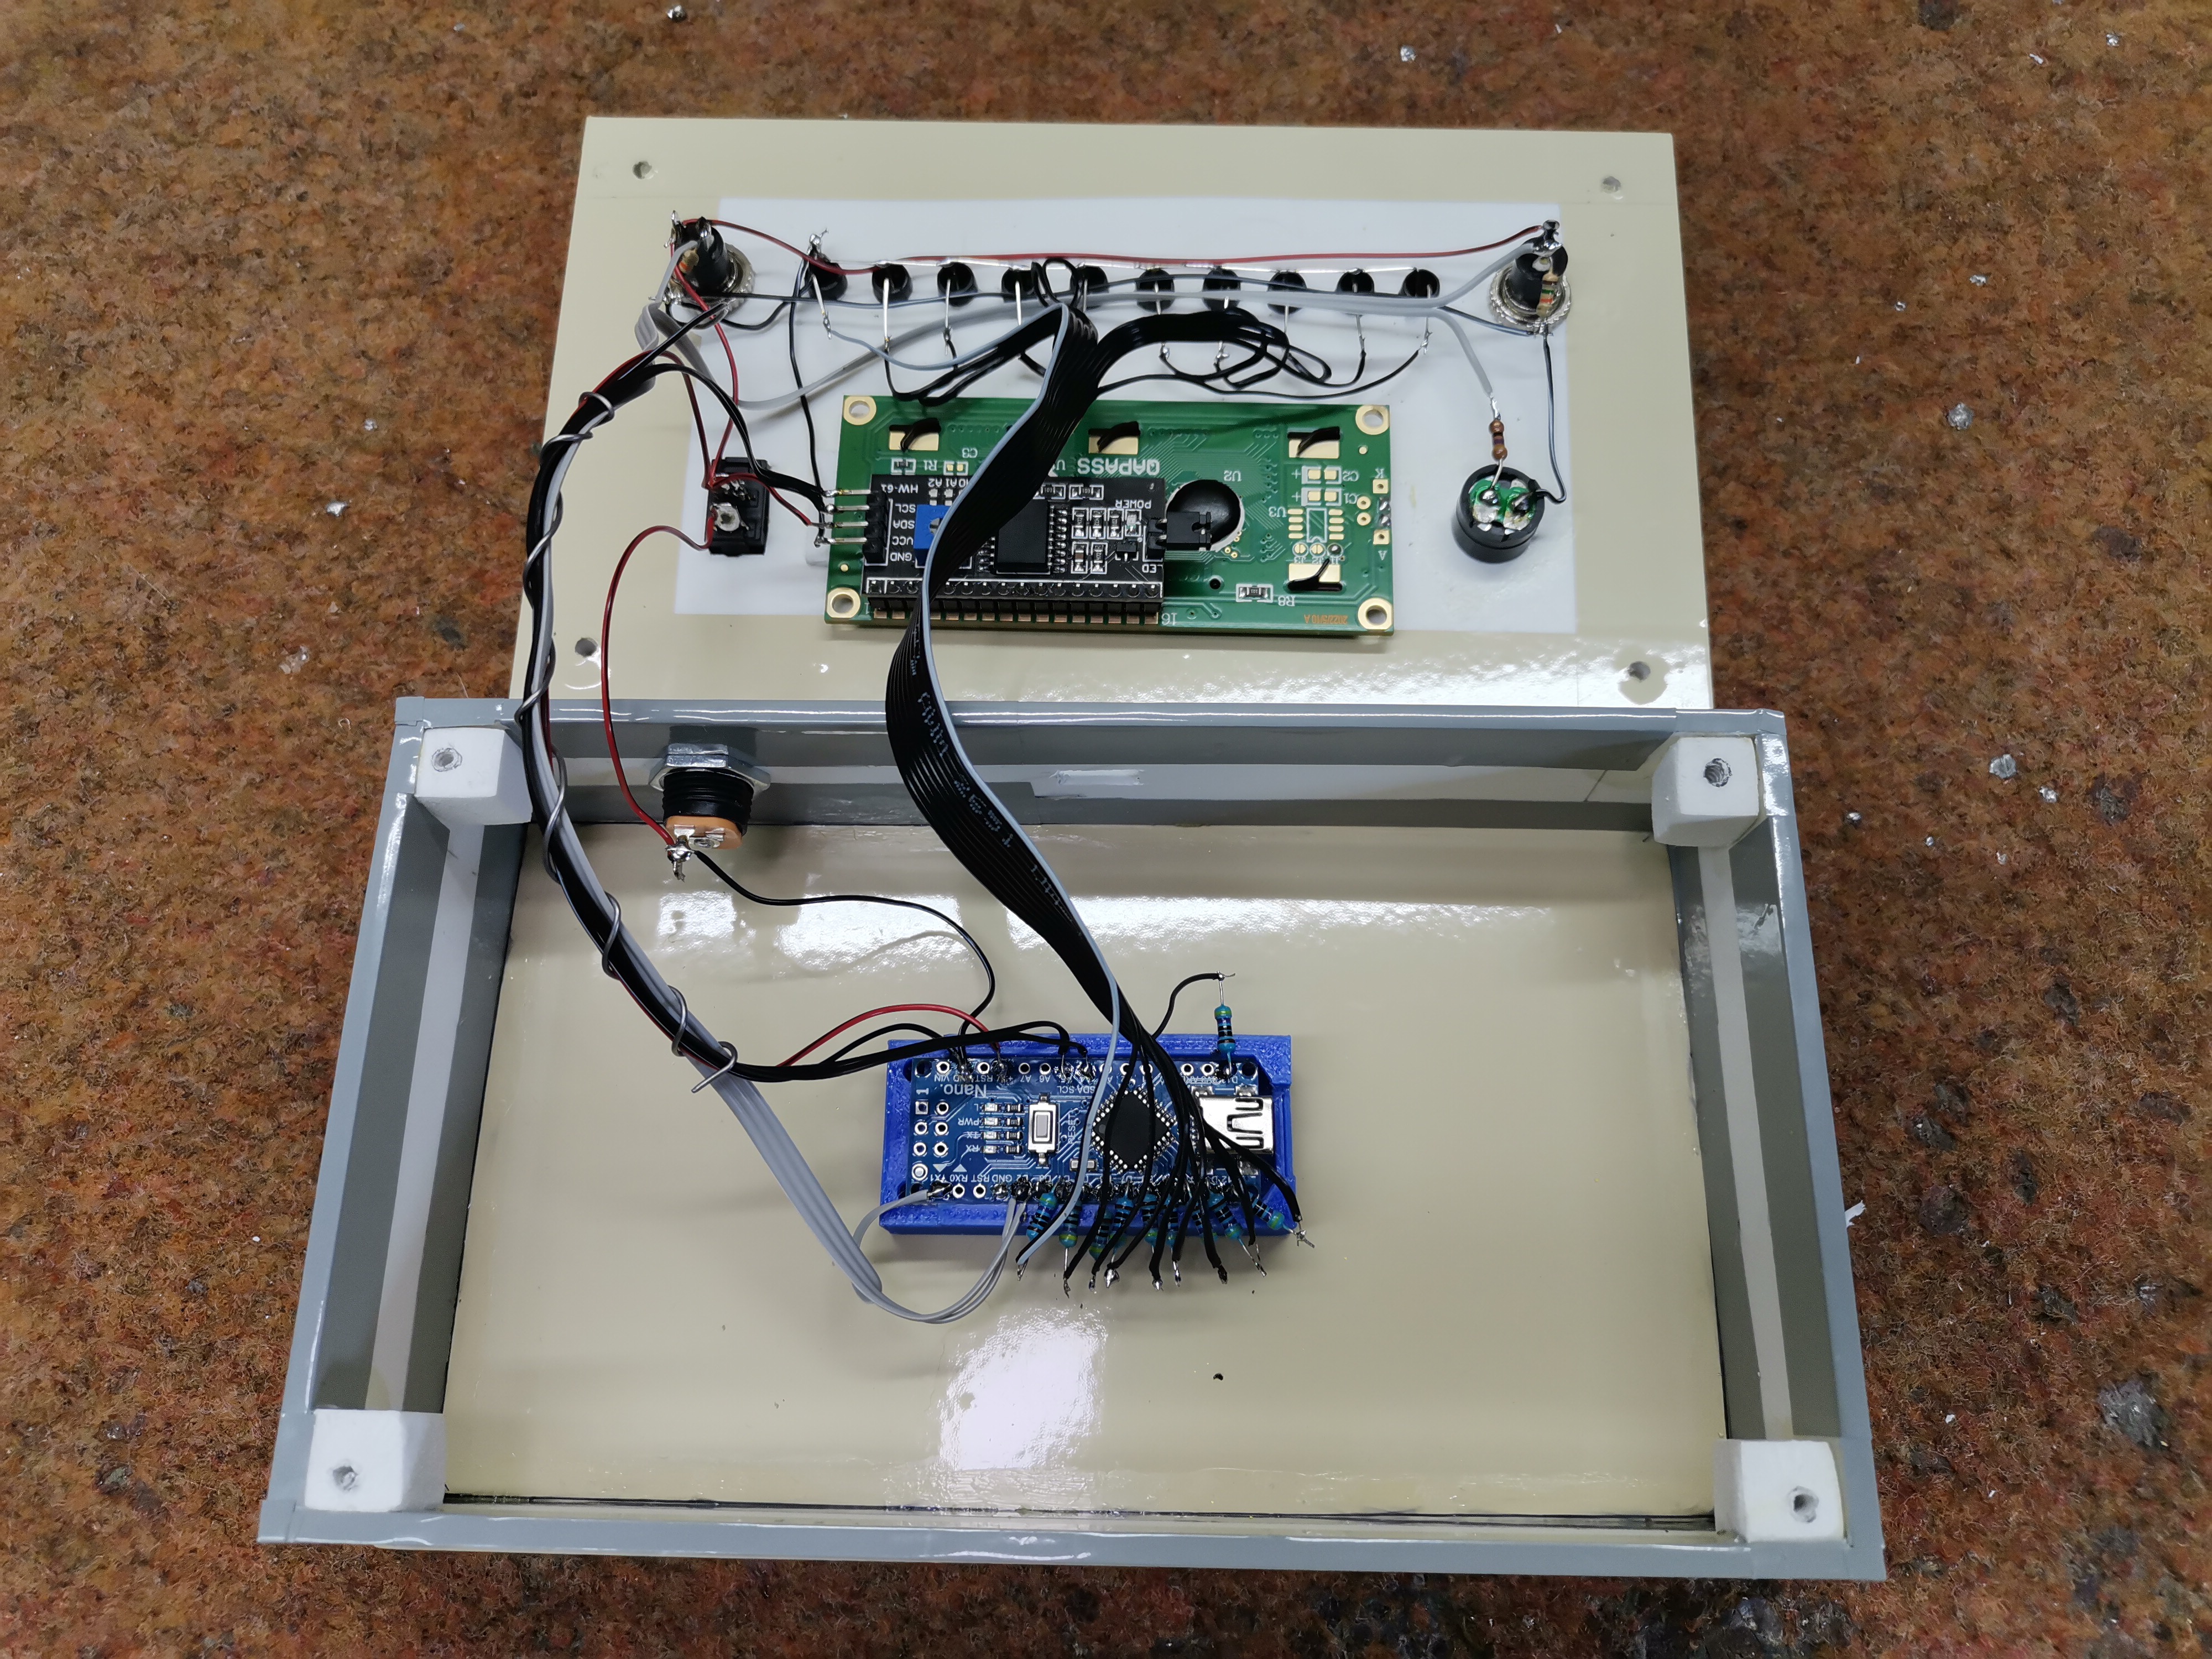
The device is very simple to make and consists of several components:
- Arduino Nano microcontroller board
- 16x2 LCD Display
- 10 Leds
- 12 resistors
- two buttons
- and Buzzer
The game starts by moving the ball from player 1 to player 2, and if player 2 fails to press the button while the yellow LED is on, the red LED will light up and it's a point for player 1. Each game is started by the winner of the previous one. The speed of the ball is increases after every hit, making it more difficult to hit the ball in time. The match ends when one of the players wins 10 games, and at that moment the Leds that are on the winner's side will flash.
EXPANDED TECHNICAL DETAILS
Standard Pong is 2D and requires a screen. The 1D Pong Game rips the Y-axis entirely out of the equation! It is the most primal video game imaginable: Two players sitting perfectly across from each other, furiously slapping a single Arcade Button exactly as a speeding "Pixel" of NeoPixel light violently bounces off the edges of a 1-meter long LED strip.
Manipulating the 1D Array (FastLED)
The "Ball" is just an integer that increments across an array.
- The WS2812B Strip has 60 LEDs.
int ballPos = 30; - The Physics Physics:
ballPos += ballDirection;(Where direction is+1or-1). - If the ball is moving left (Player 1), it races toward
ballPos = 0. - The C++
loop()updates the array incredibly fast usingFastLED.show(). - The Hit-Box Calculus:
Player 1 must smash their Arcade Button ONLY when the
ballPosis between0and3(The "Hit Zone").
if (digitalRead(P1_Btn) == LOW && ballPos <= 3) {
   ballDirection = 1; // Violent Deflection! Send it back to Player 2!
   gameDelay -= 5;    // Terrifyingly increase the ball speed!
} else if (digitalRead(P1_Btn) == LOW && ballPos > 3) {
   // Player 1 swung too early and missed! Game Over!
}
Adding RGB Color Signifiers
Because the graphics are limited to a single line, Color replaces Geometry.
- The Ball is usually drawn
CRGB::WhiteorCRGB::Blue. - The Hit Zones (
LEDs 0-3andLEDs 56-59) are permanently coloredCRGB::Red. - When a player scores a devastating ace, the entire 60-pixel line violently explodes into a blinding
Rainbow_Stripe_Animation(), playing a massive fanfare on a Piezo Buzzer!
Tabletop Pong Requisites
- Arduino Uno/Nano (Standard execution speeds).
- WS2812B NeoPixel LED Strip (Usually 60 to 144 LEDs per meter to run the entire length of the table!).
- Two massive, spring-loaded 60mm Arcade Tactics Push Buttons.
- A 5V 3A Power Brick (Crucial: 144 NeoPixels blasting white light on a win will pull 5 Amps, instantly incinerating a laptop USB port!).
Game Configuration
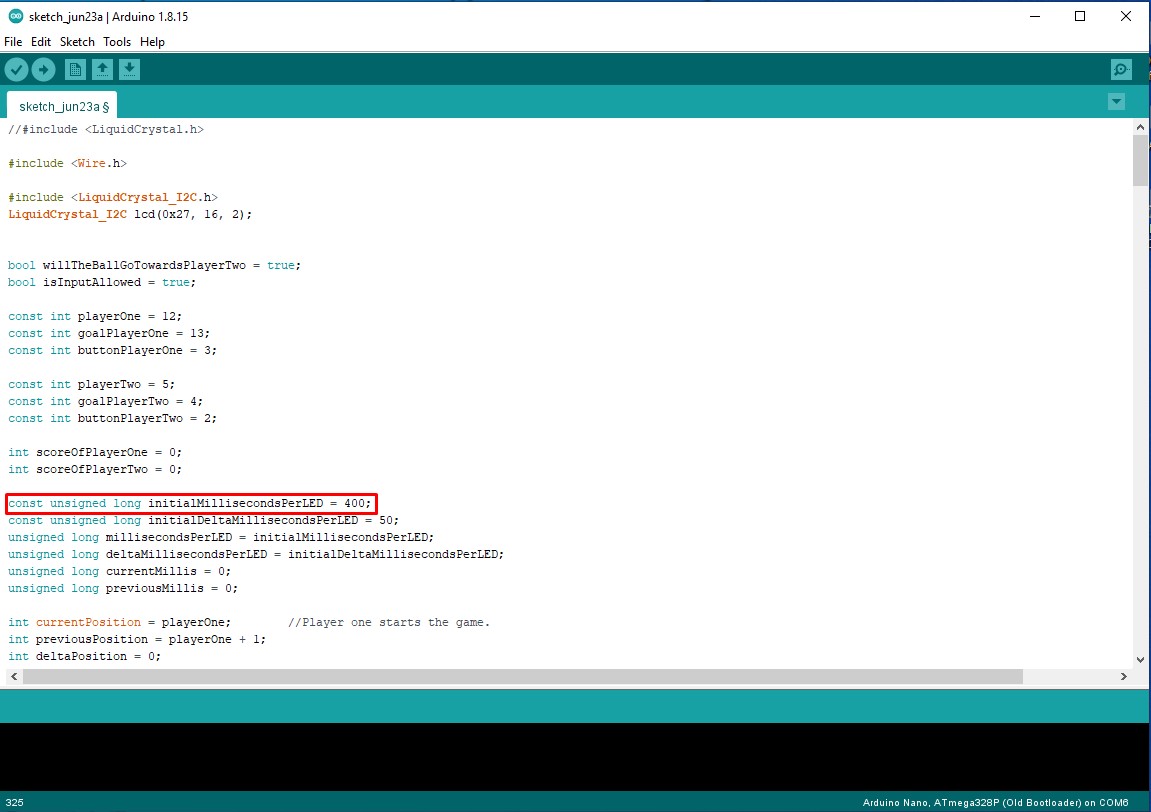
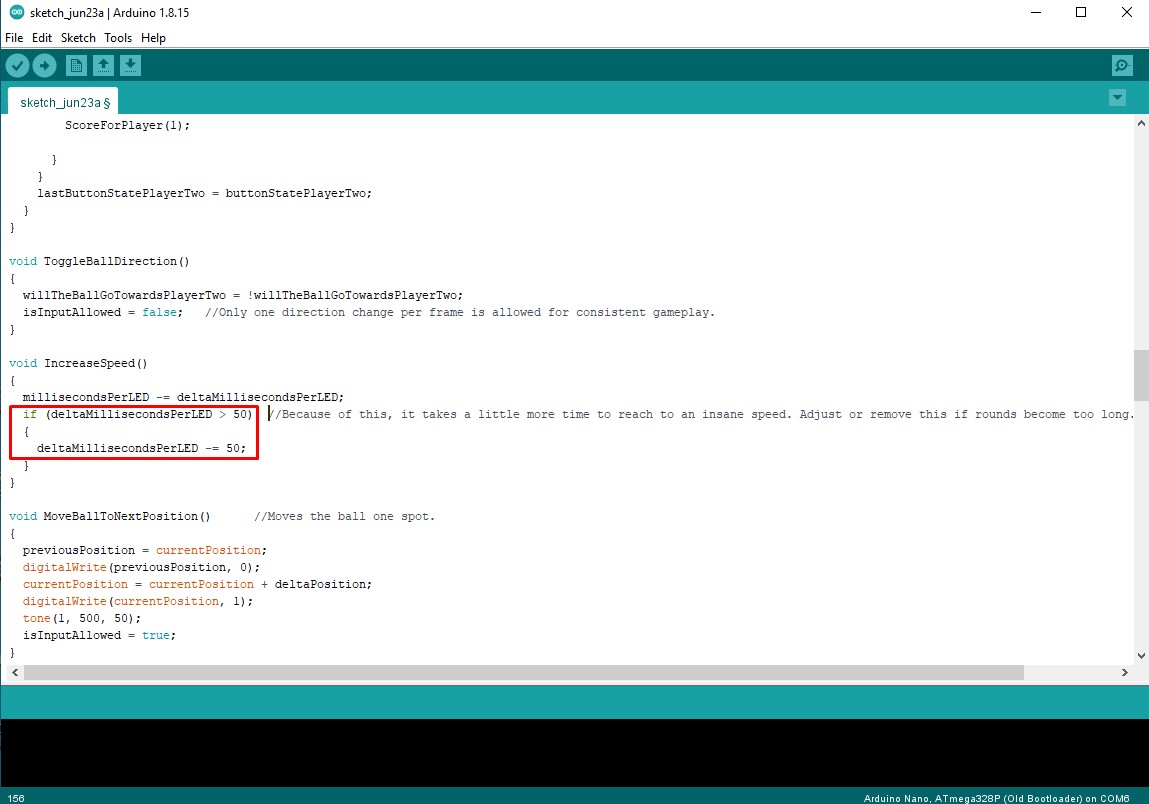
- The starting speed of movement of the LEDs is set in the row:
const unsigned long initialMillisecondsPerLED = 400;The lower this number, the faster the movement speed.
- The degree of acceleration after each hit is adjusted in the rows:
if (deltaMillisecondsPerLED > 50){deltaMillisecondsPerLED -= 50;and the higher this number is, the higher the acceleration.
The game can be played by one or two players. In the case of two players, which is a natural option, it is preferable to use robust external arcade buttons.
For this purpose I used these buttons that I made for the needs of one of my previous projects. They are large, and have a precise, and audible click.
Finally a short conclusion. This is an interesting one-dimensional compact version of the classic "Pong" game made with a minimal number of components, yet extremely addictive, and can be played for hours before you get bored. The device is mounted in a suitable box made of PVC board and lined with self-adhesive wallpaper. For power, it is preferable to use a lithium battery for the sake of mobility.