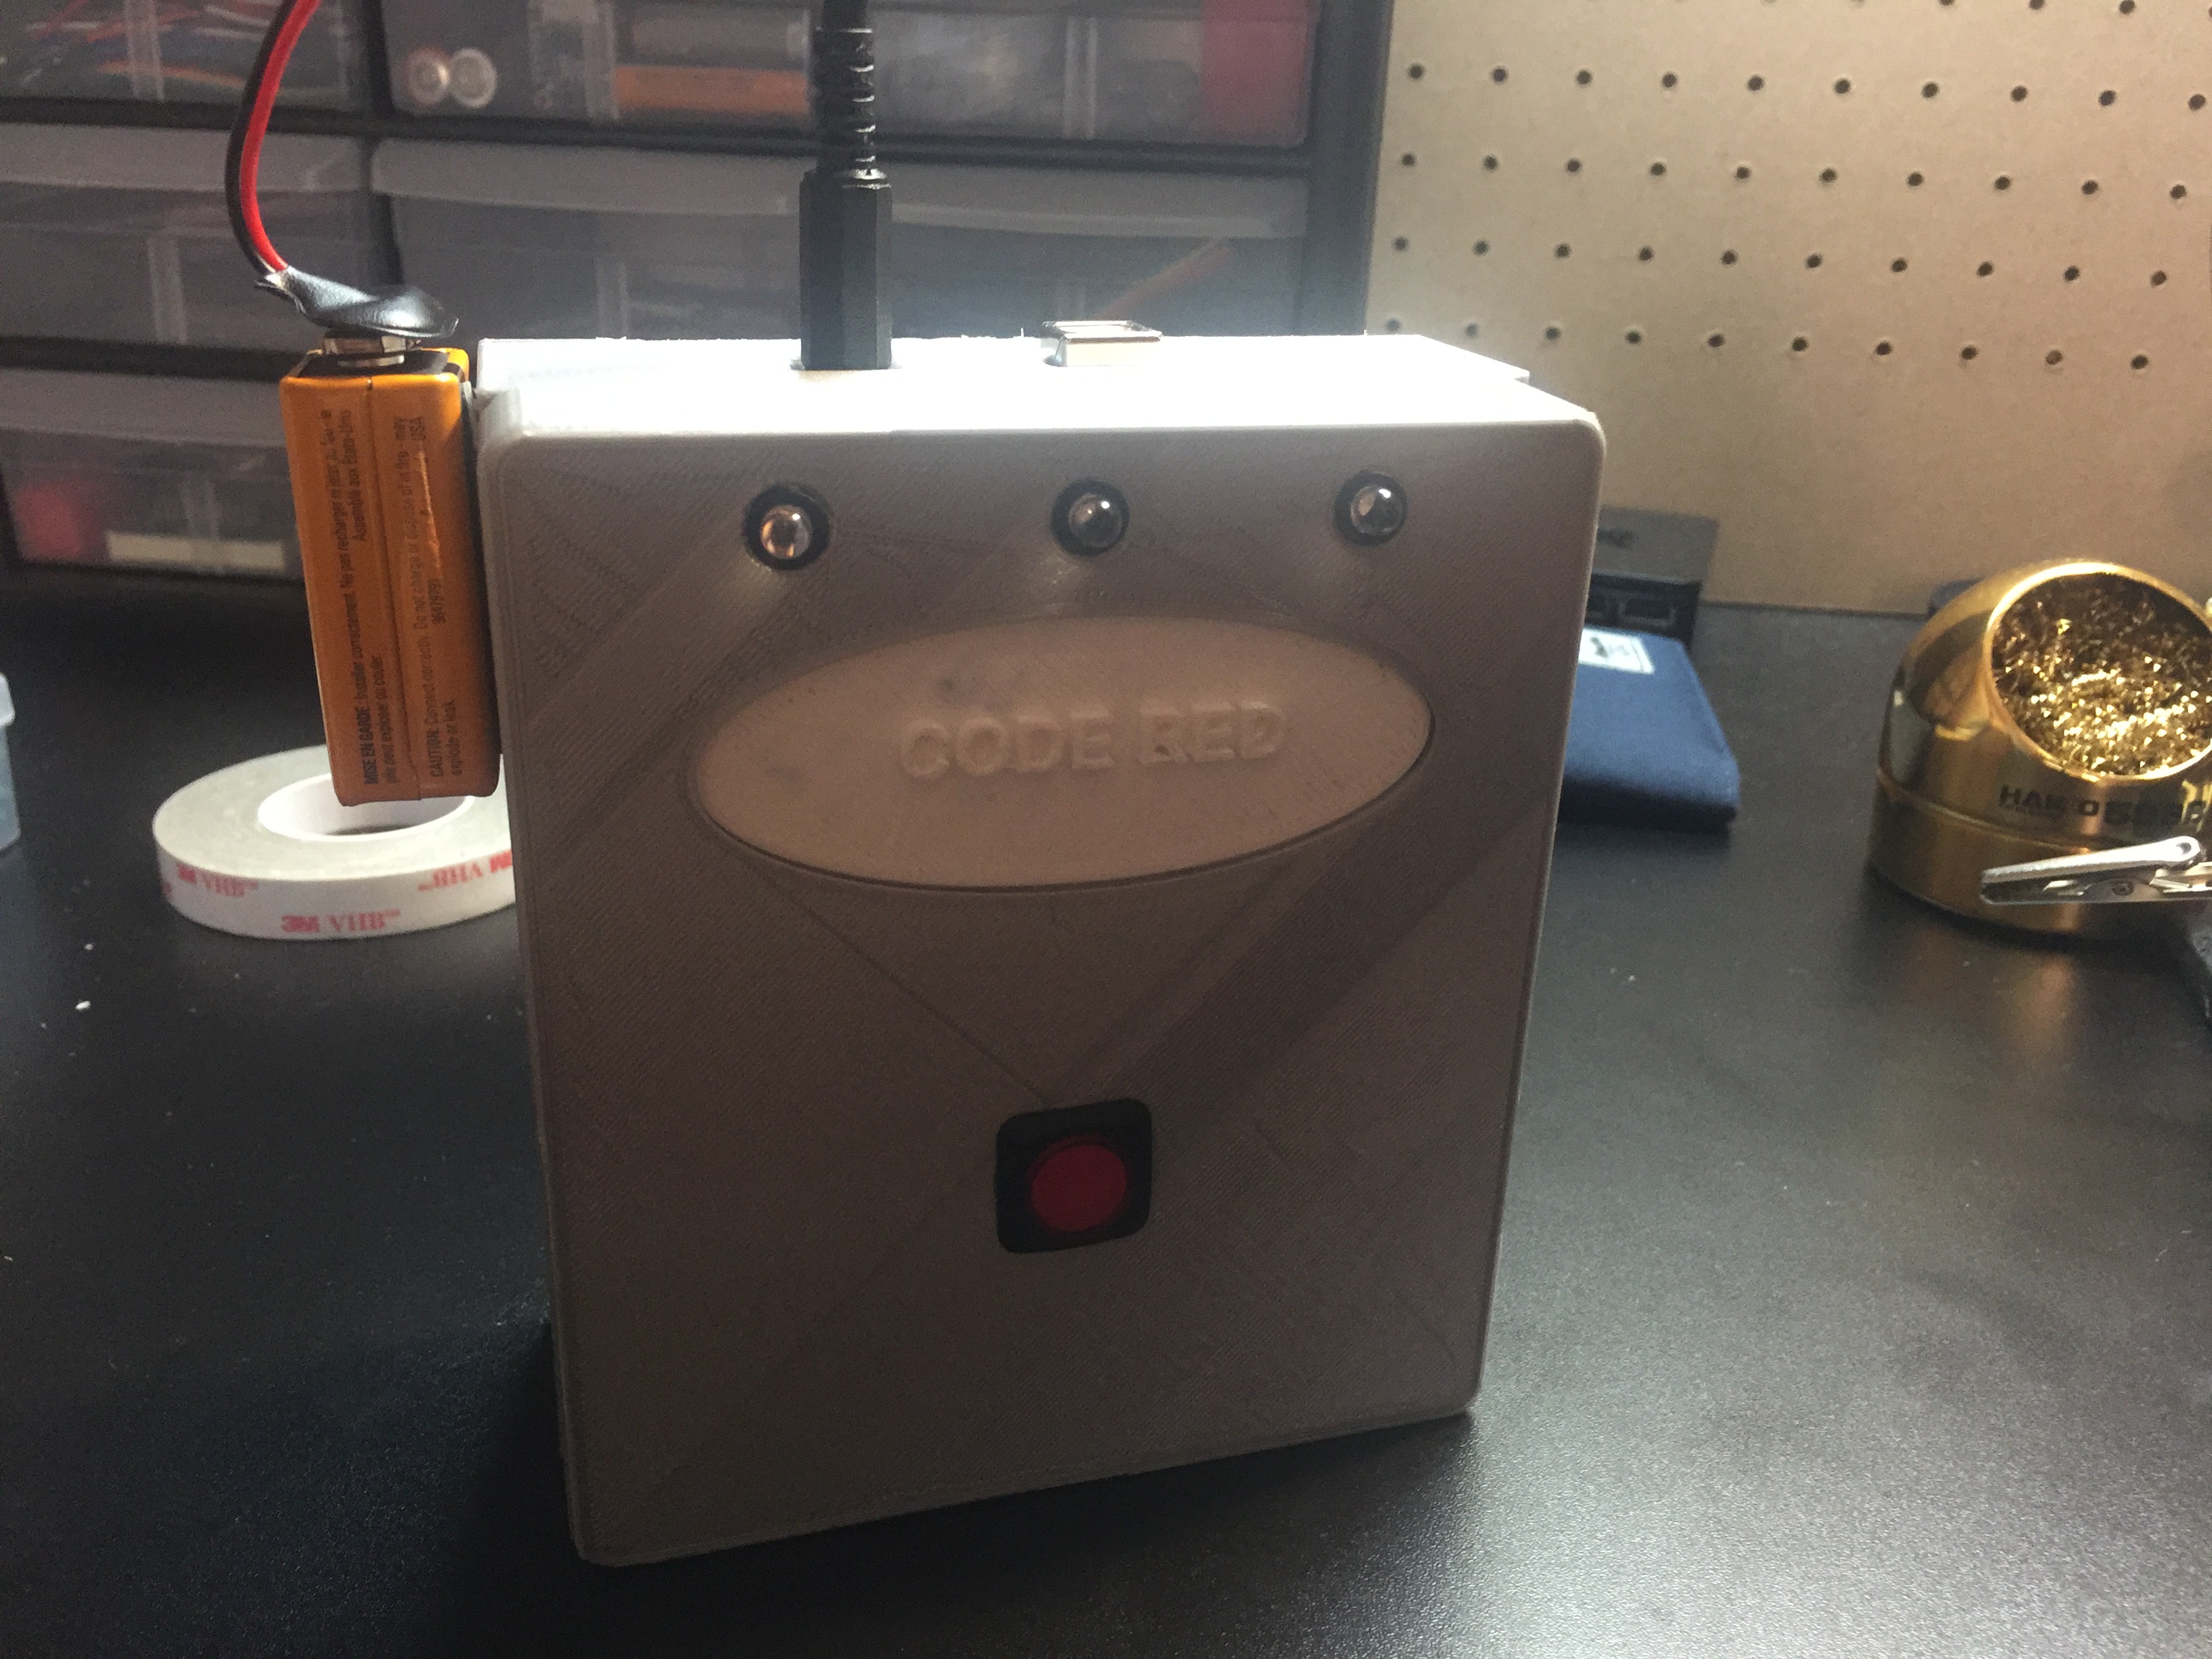
DIY Code Red Button
For those that work in healthcare simulation, we can often find ourselves trying to simulate different events or procedures. This DIY code red button can be used in lieu of a real wall button. It serves as an innovative "Emergency Interaction" bridge, focusing on essential building blocks like interrupt-driven button mapping and synchronized audio-visual alarm-dispatch logic to automate medical training sessions.
Technical Implementation: Event Triggers and Action Buffers
The project reveals the hidden layers of a simple sensing-to-alert interaction:
- Identification layer: The large red mushroom button acts as a high-resolution digital input, measuring each user press to coordinate the emergency dispatch.
- Conversion layer: The system uses high-speed digital pins on the Arduino to receive and process the button's state for mission-critical sensing.
- Visual Interface layer: High-brightness red LEDs provide a clear visual status dashboard (e.g., Armed/Tripped).
- Acoustic Interface layer: A passive buzzer provides an audible siren or alarm check during calibration.
- Processing Logic: The Arduino code follows an "event-dispatch" strategy, interpreting inputs to match alarm and LED states for safe, rhythmic training feedback.
- Communication Dialogue Loop: Alert status codes are sent to the Serial Monitor during calibration for system coordination.
Hardware-Simulation Infrastructure
- Arduino Uno: The "brain" of the project, managing event sampling and coordinating alarm and LED synchronization.
- Industrial Mushroom Button: Provides a clear and reliable input for emergency training scenarios.
- Enclosure Case: Offers a robust physical interface for the simulation unit.
- Breadboard/Direct-Wiring: A safe and convenient way to prototype the healthcare-electronics circuit.
- Resistor (10k Ohm): Essential for providing clear, energy-efficient digital signal protection for the button logic.
- Micro-USB Cable: Used to program the Arduino and serves as a primary power interface.
This is an advanced project that requires the use of multiple pieces of equipment. Gather all necessary supplies and equipment.
- If you own a 3D printer, print the attached CAD files. If not, you can order locally from 3DHubs.
- Screw Arduino Uno board into back panel using nylon screws. Be careful not to apply too much force.
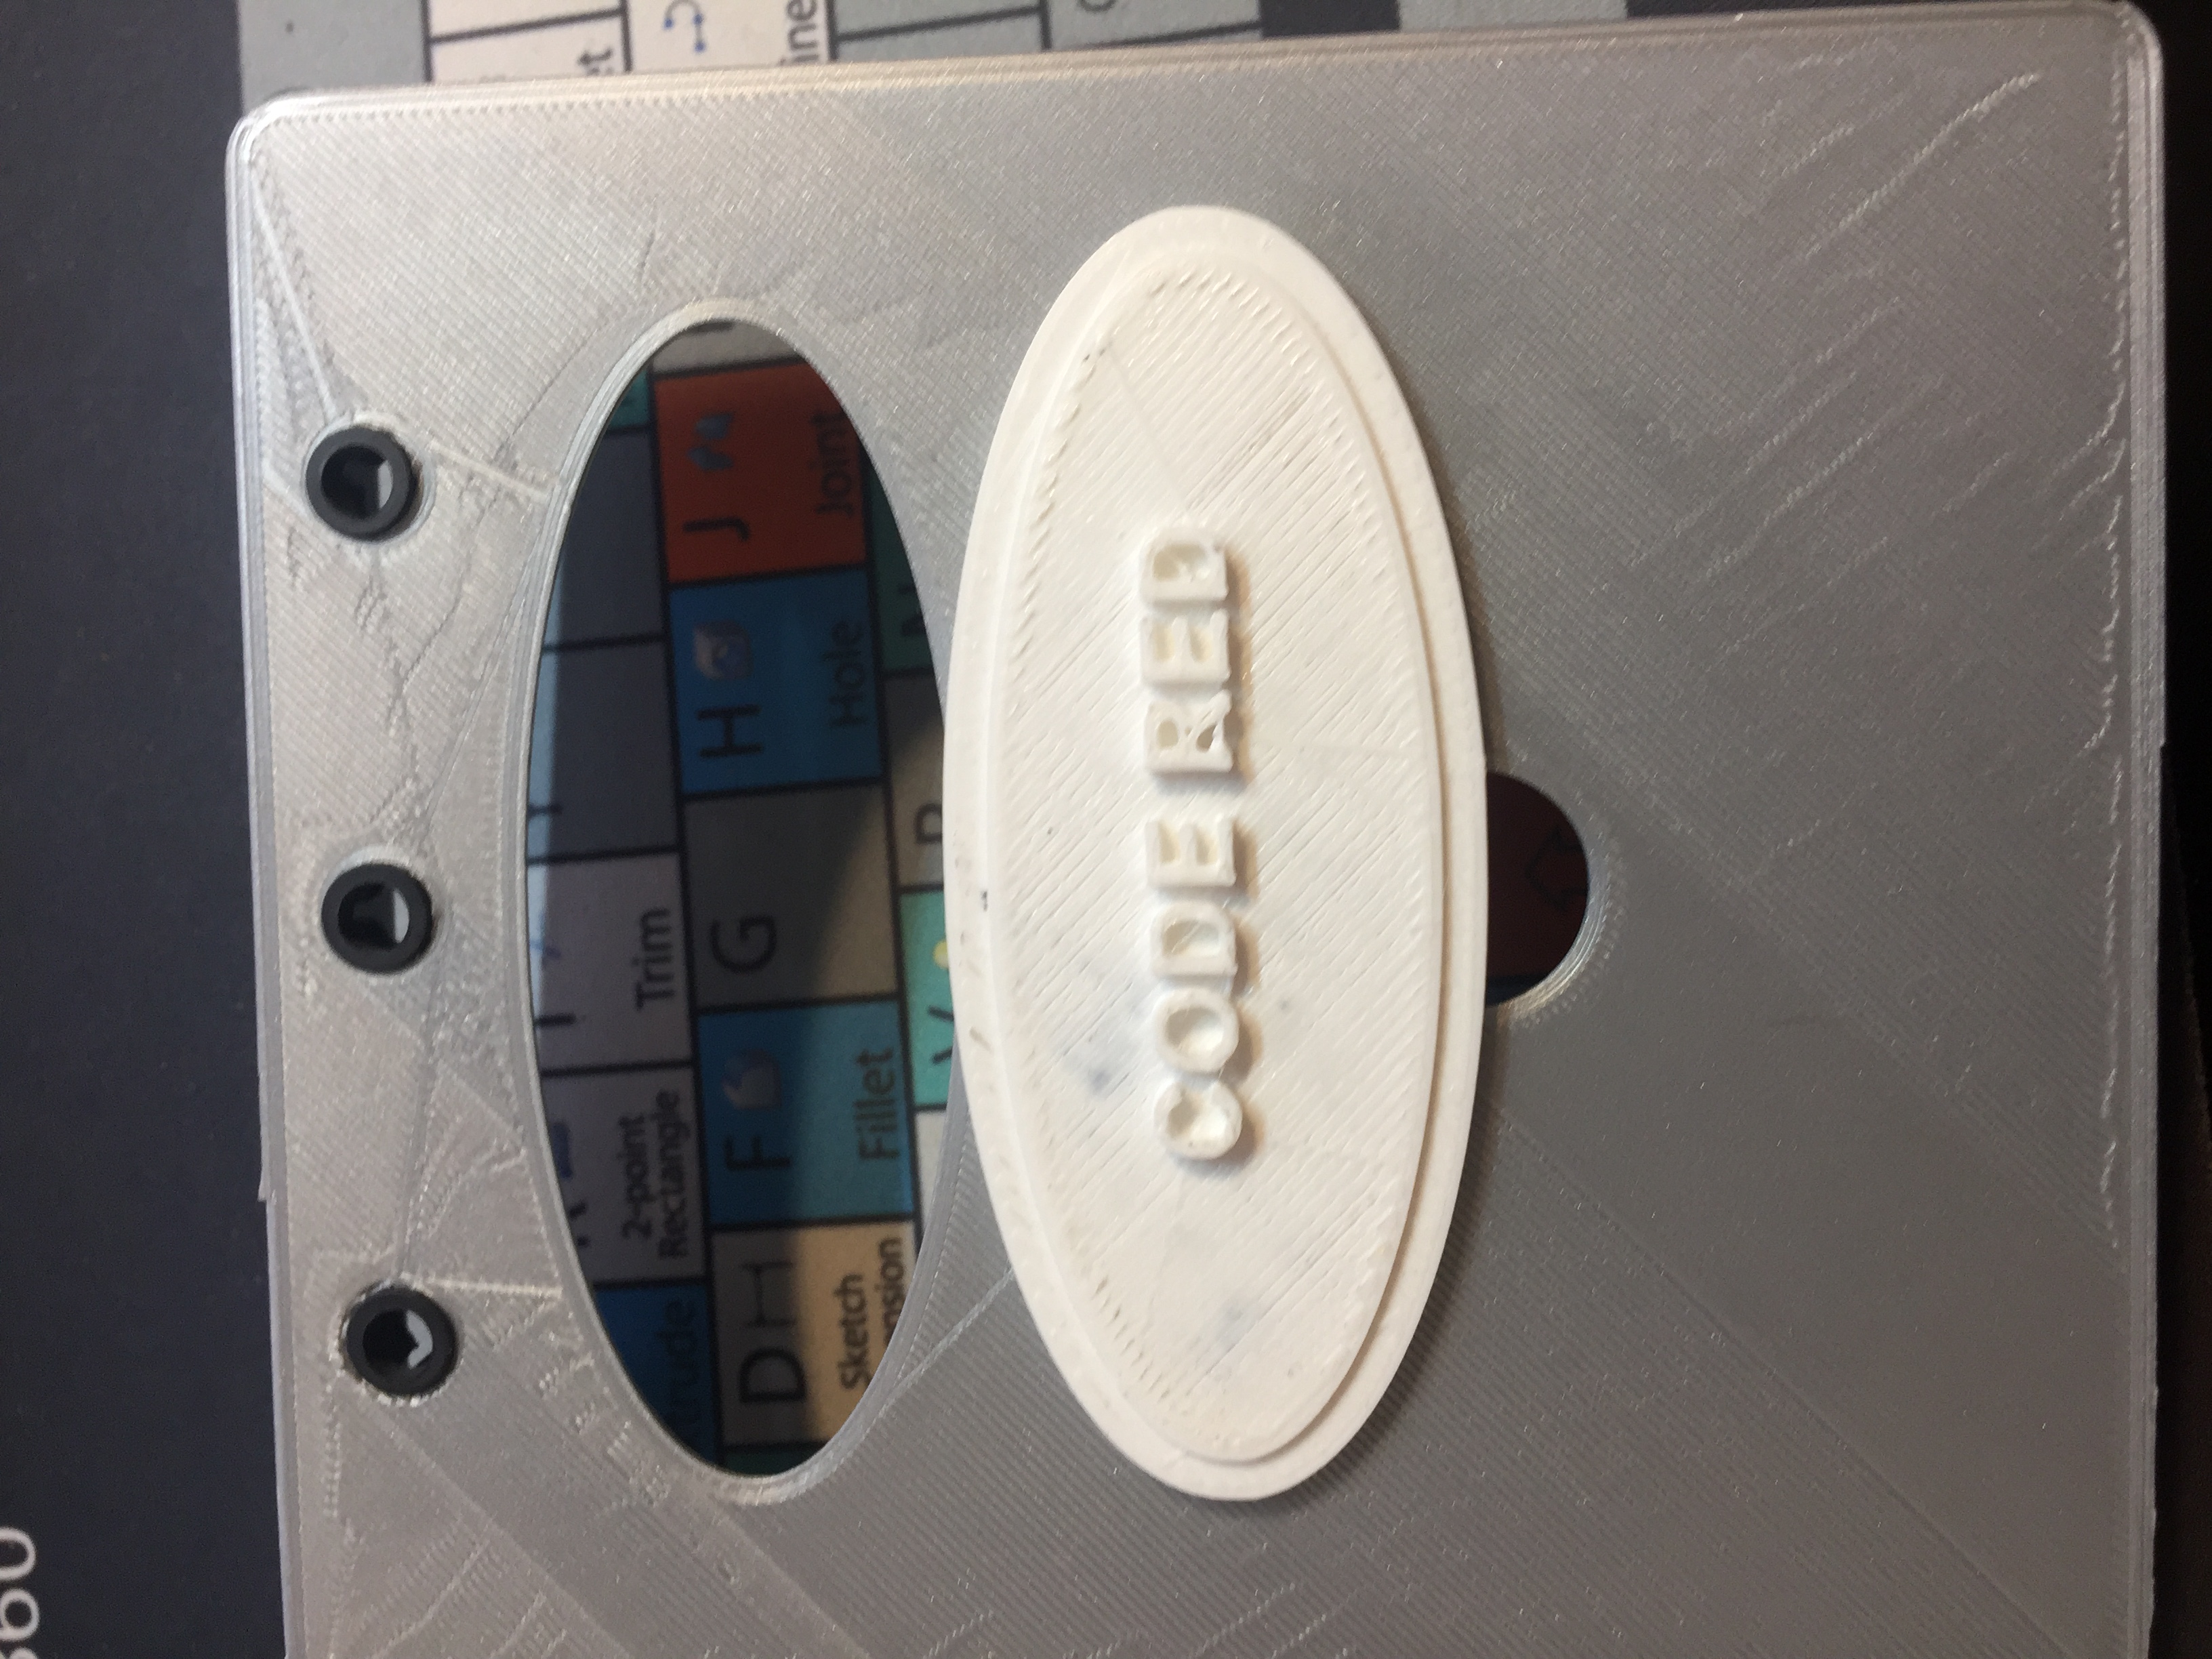
- Assemble the front plate and code red plate. Push the 5mm plastic flat LED holder into the 3 holes on the front plate. Glue code red plate in place, allow time for glue to dry.
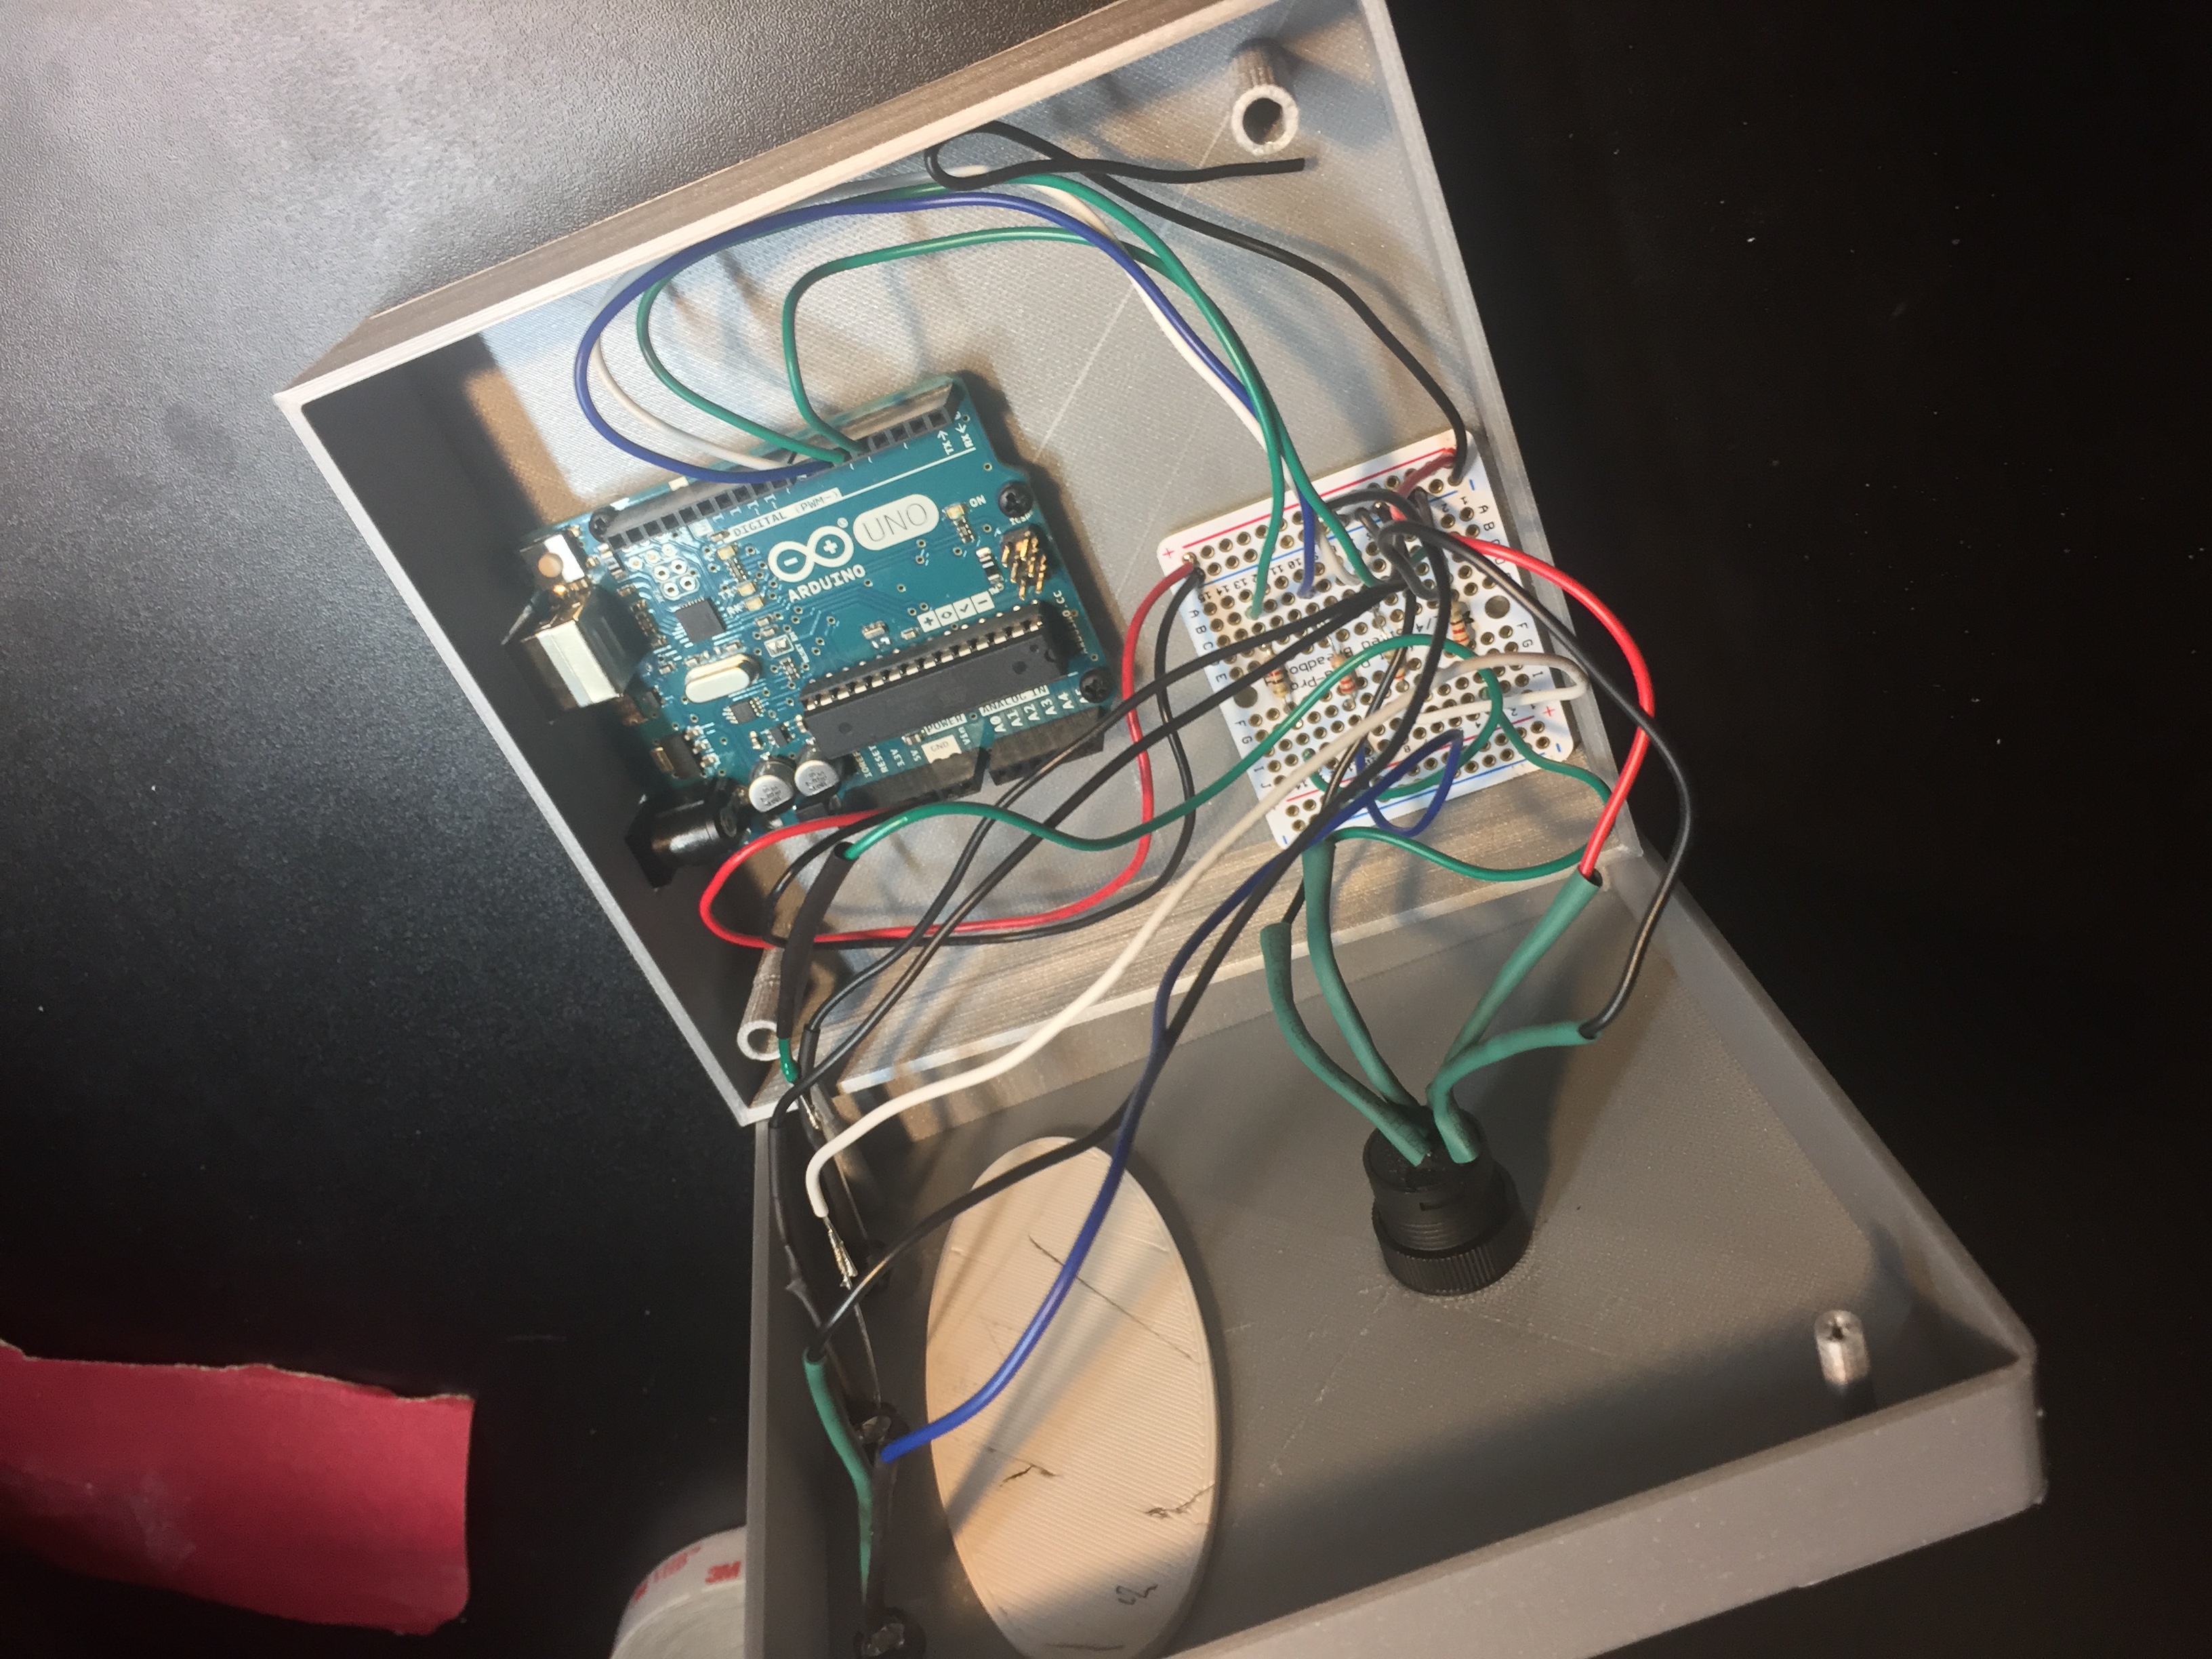
Assemble Electronics
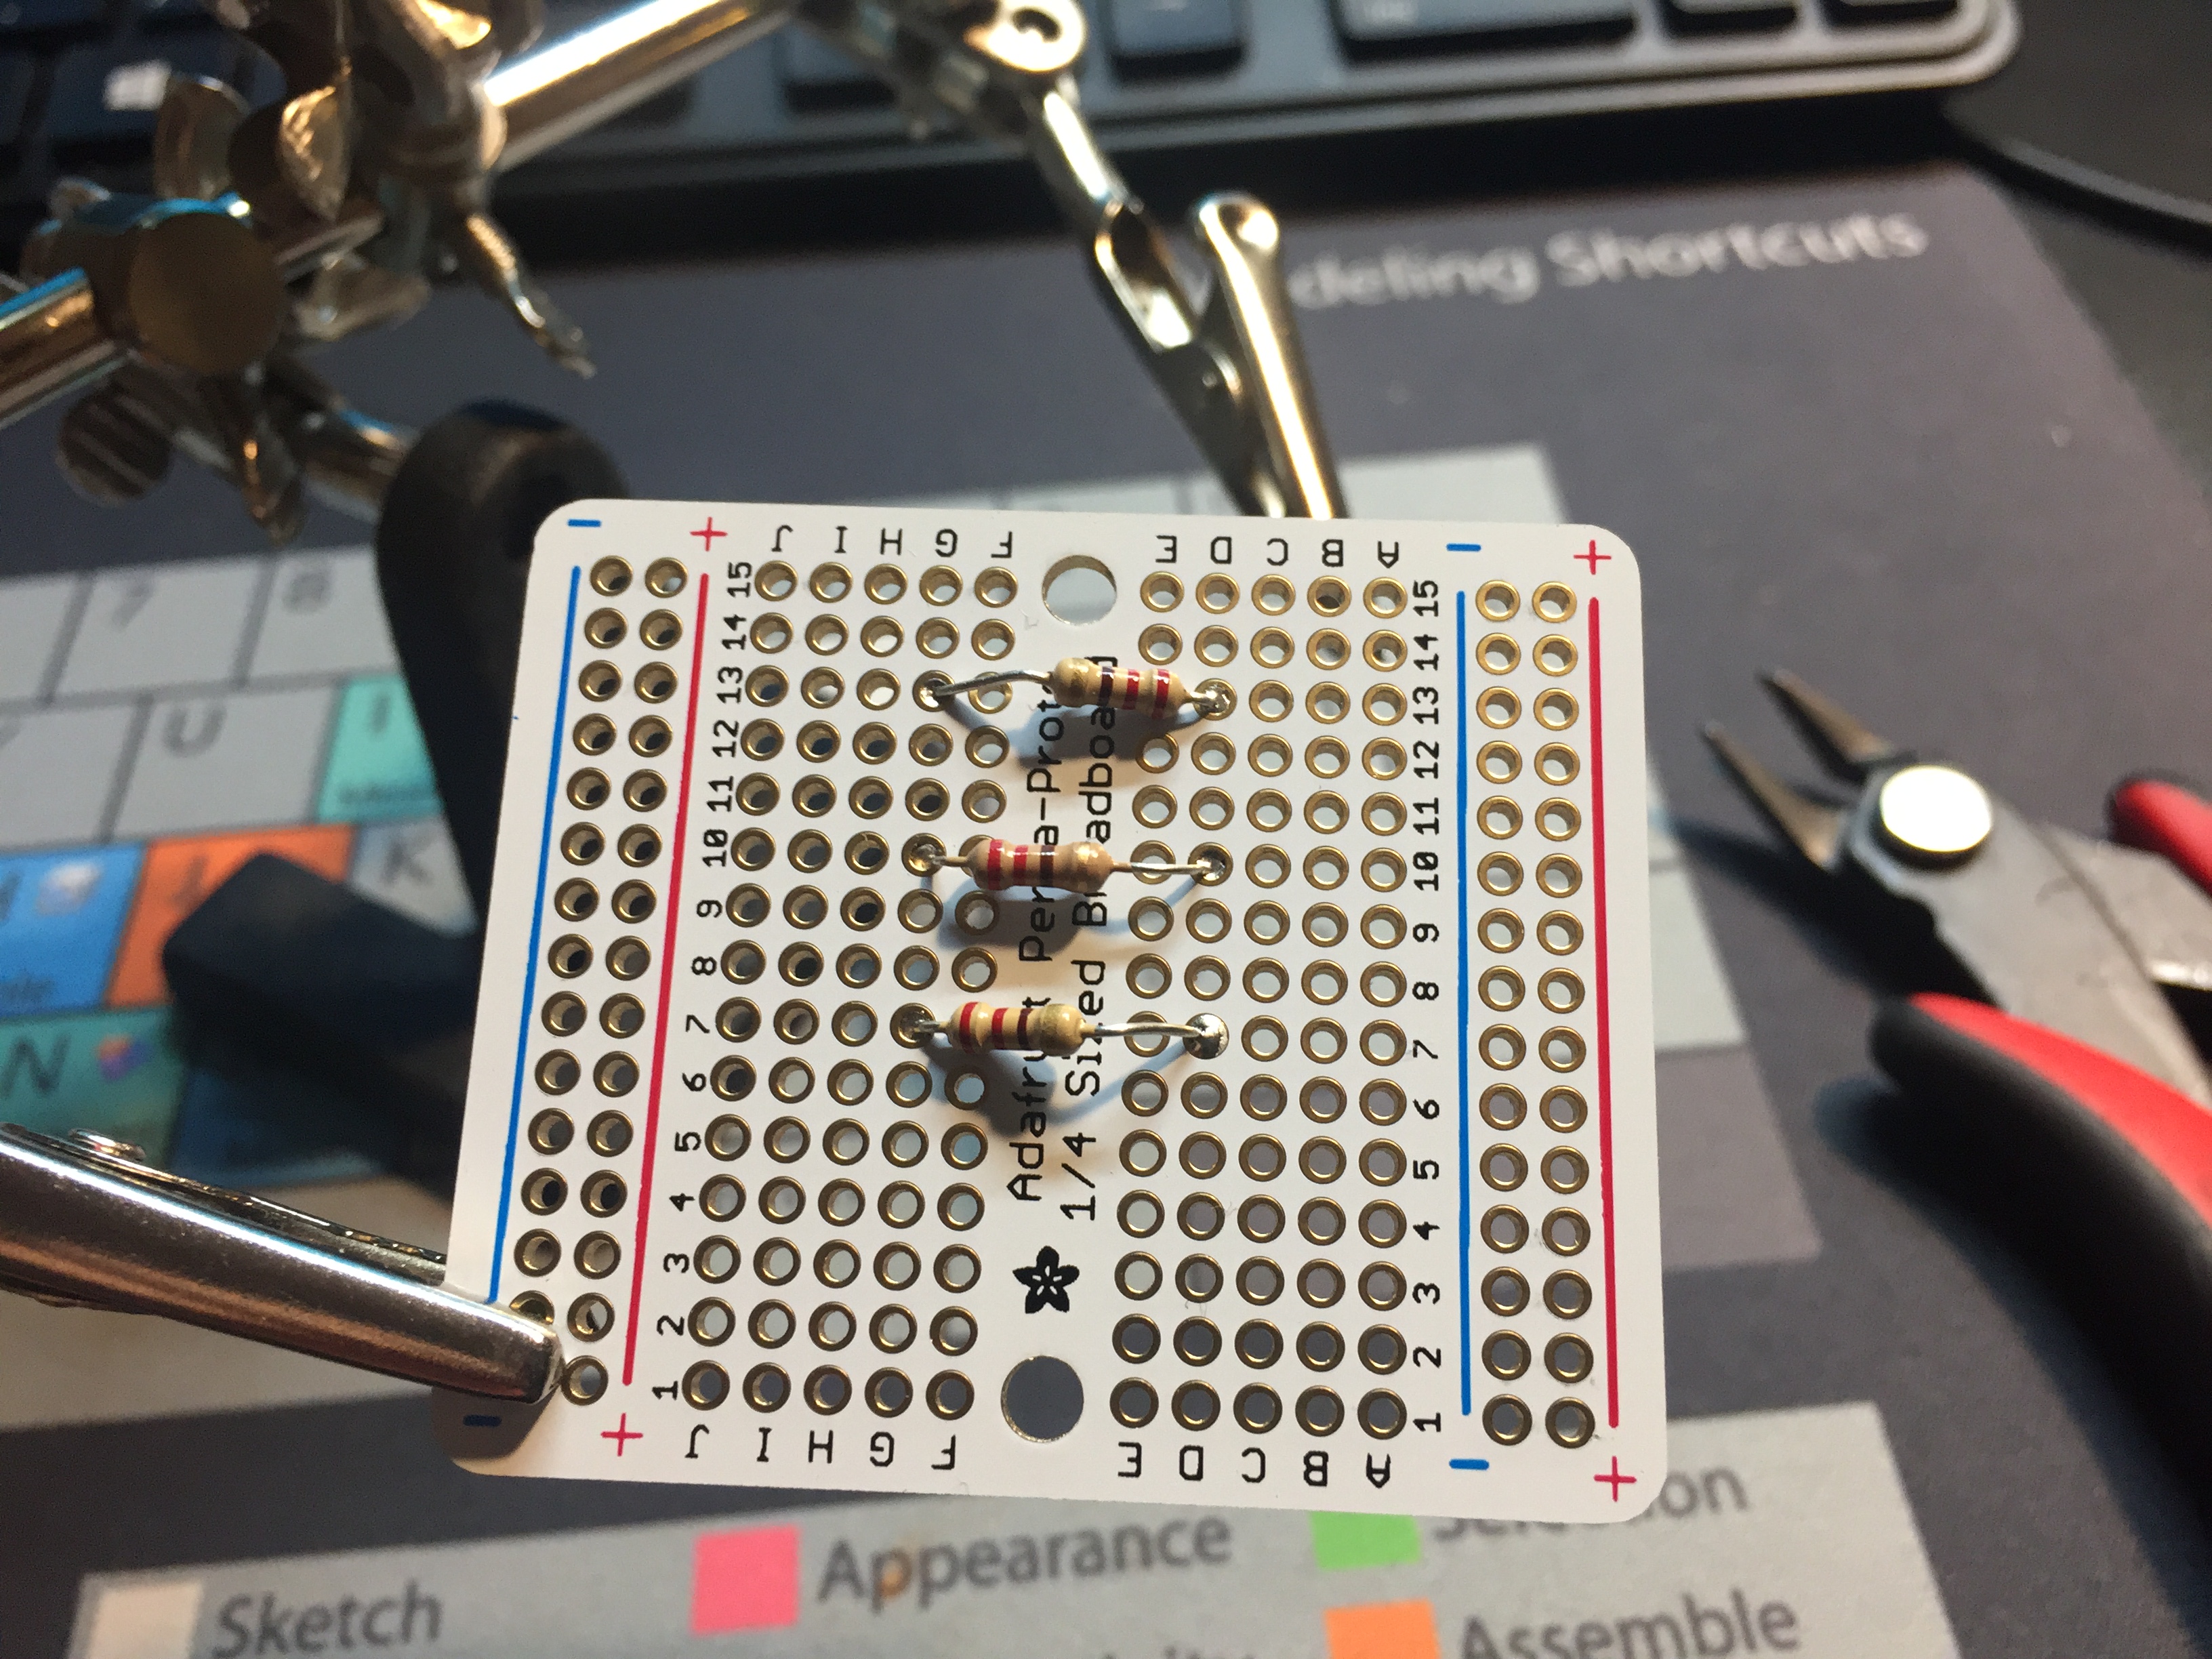
This is the electronics assembly part. Get your soldering iron ready with all the required components. Get your Perma-Proto breadboard and attach the resistors. Solder in place.
Start hooking up wires for connection to the LEDs and pushbutton On/Off. Solder wire connections to the LEDs, use heat-shrink tubing if needed.
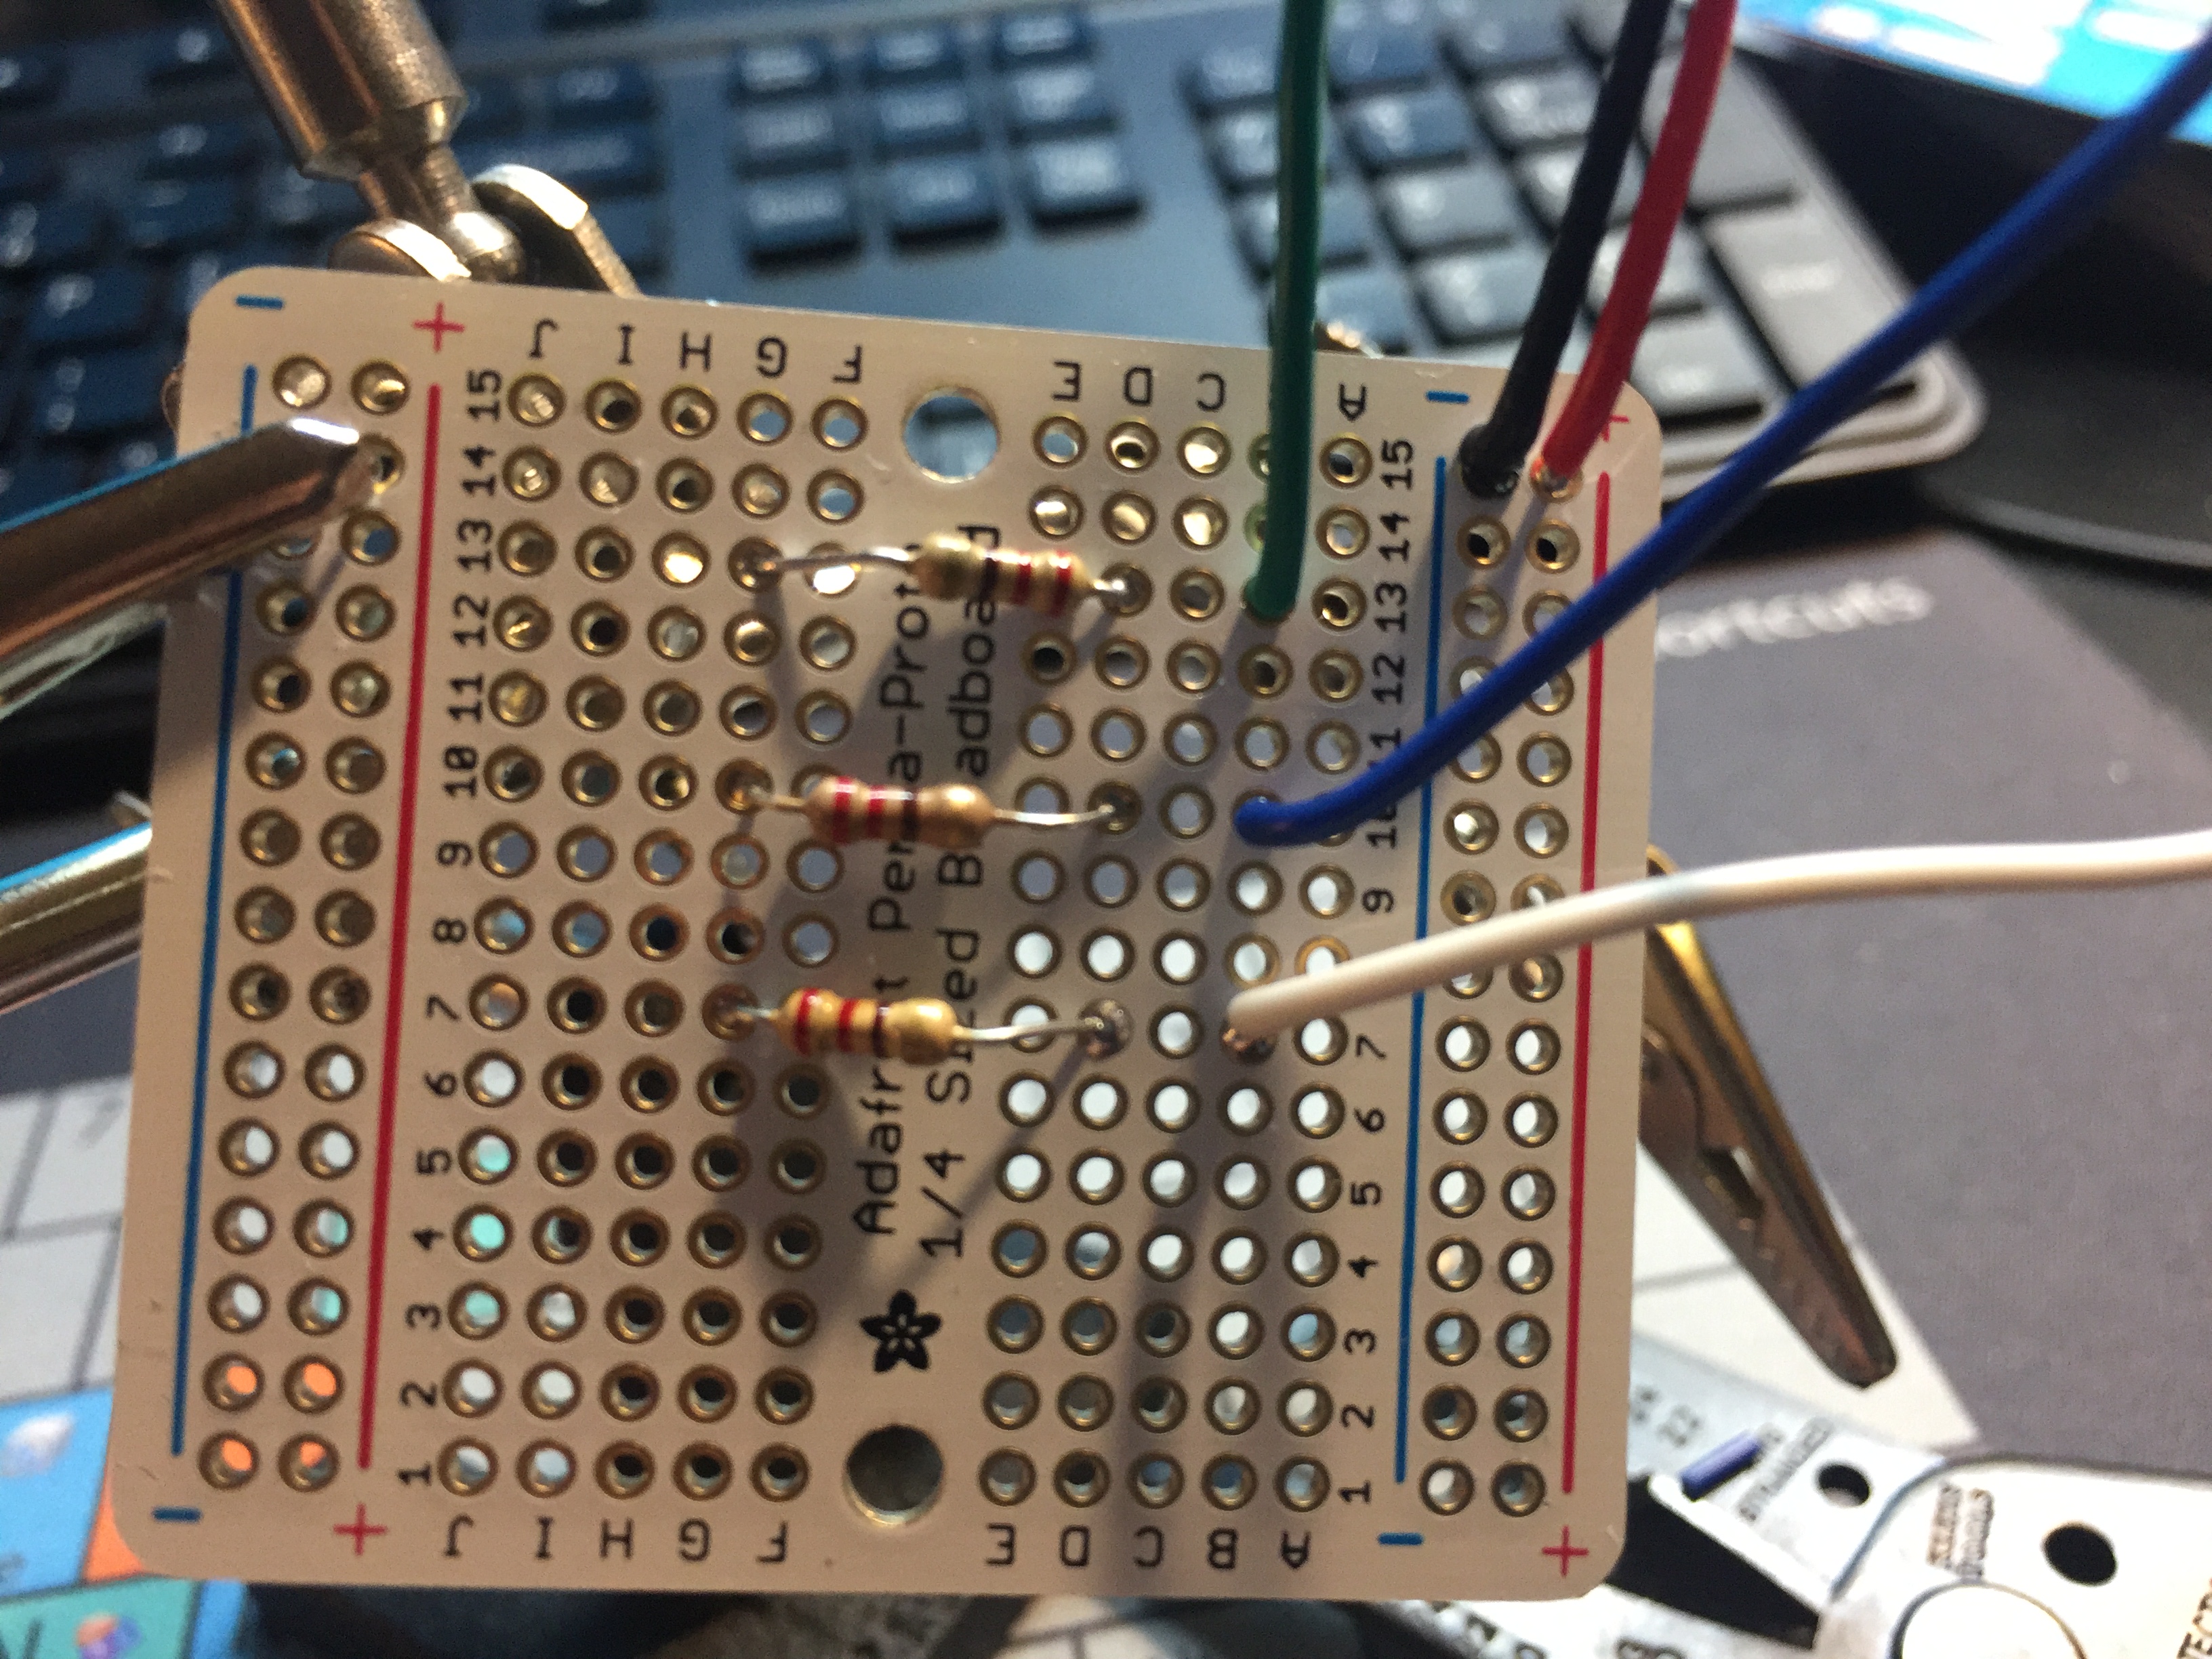
Attach the push button On/Off switch. It does not need to be glued in place.
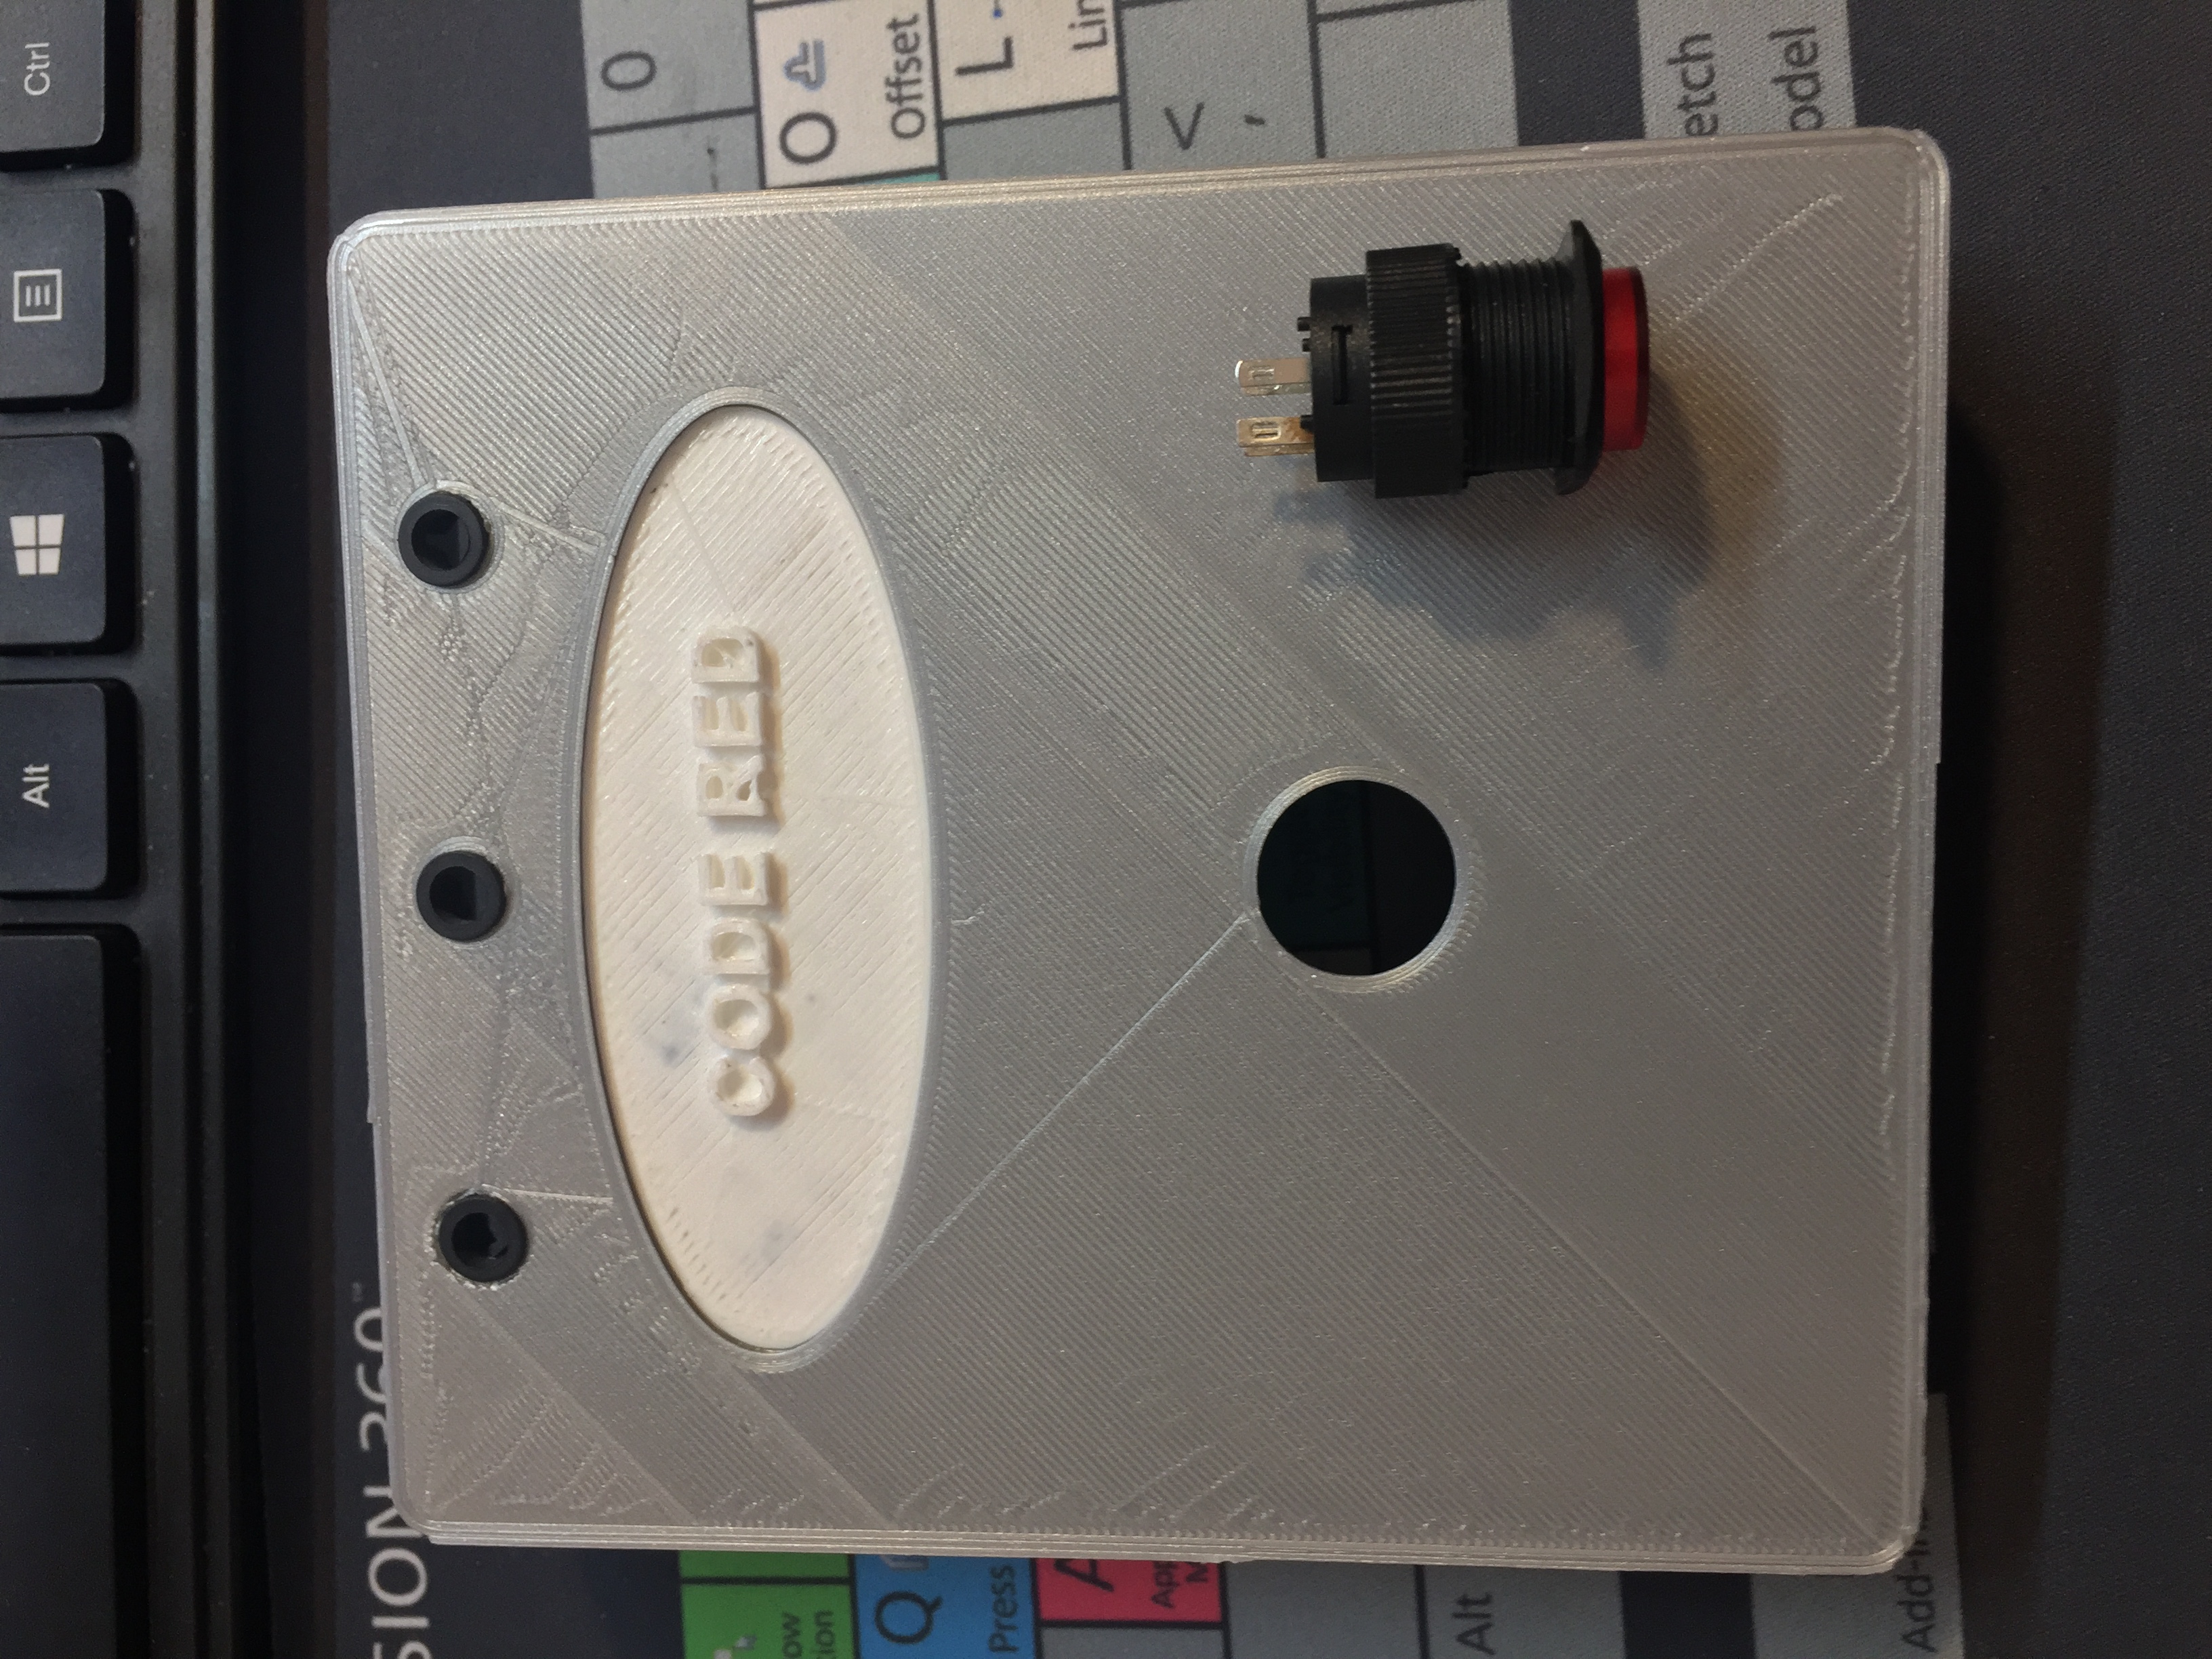
Place the LEDs into the flat LED holder through the back of the front plate. They will snap into place.
Alert Hub Automation and Interaction
The emergency simulation process is designed to be user-friendly:
- Initialize Workspace: Correctly seat your mushroom button and buzzer inside the enclosure and connect them to the designated Arduino pins.
- Setup High-Speed Sync: In the Arduino sketch, initialize the button pin with
pinMode(buttonPin, INPUT_PULLUP)and define the alarm frequencies in thesetup()function. - Internal Dialogue Loop: The main
loop()constantly checks the button state and updates the alert status (LEDs and buzzer) in real-time. - Visual and Data Feedback Integration: The Serial Monitor provides a rhythmic status signal, logging system activity.
[!IMPORTANT]
The Mushroom Button requires accurate debounce logic (e.g., a 50ms delay filter) in the code to ensure reliable alarm activations. Always ensure you have appropriate error-handling in the loop to manage unexpected states.
Connect both front and back panel. Power using the Arduino cable or a 9v battery. Push the button, and enjoy your simulation tool!
Future Expansion
- OLED Identity Dashboard Integration: Add a small OLED display to show metrics like "Response Time" or "Battery %".
- Multi-sensor Climate Sync Synchronization: Connect a Bluetooth module to enable wireless paging or cloud alerts.
- Cloud Interface Registration Support: Add a web dashboard accessible via WiFi/BT to track and log simulation history.
- Advanced Velocity Profile Customization: Integrate more complex logic to allow triggers to adapt based on user behavior or scenario parameters.
The Healthcare Code Red Button is a perfect project for any science enthusiast looking for a more interactive and engaging training tool!