Keyless Musical Instrument Innovation: Building a Touch Piano with Arduino and Capacitive Sensing
This project transforms the traditional concept of musical instruments from using mechanical keys to utilizing touch sensors. It leverages the principles of electrostatics and changes in capacitance to create melodies with just a touch of a finger.
What is your project about?
This project is about making a piano from scratch. It does not have keys instead it has touch sensors. So, no need to press it just touch it. After touching it a tone is generated, and at last, we can combine different tones to form a melody.
Why did you decide to make it?
I have no experience with any music or musical instrument. So, I created one for myself. I would have interfaced different buttons with the Arduino UNO and speaker but that would be boring. To make it interesting, I added touch sensors instead of switches/buttons.
How does it work?
The core of this project is the use of the <CapacitiveSensor.h> library, which can turn Arduino's Digital I/O pins into touch detection sensors.
#include <CapacitiveSensor.h>
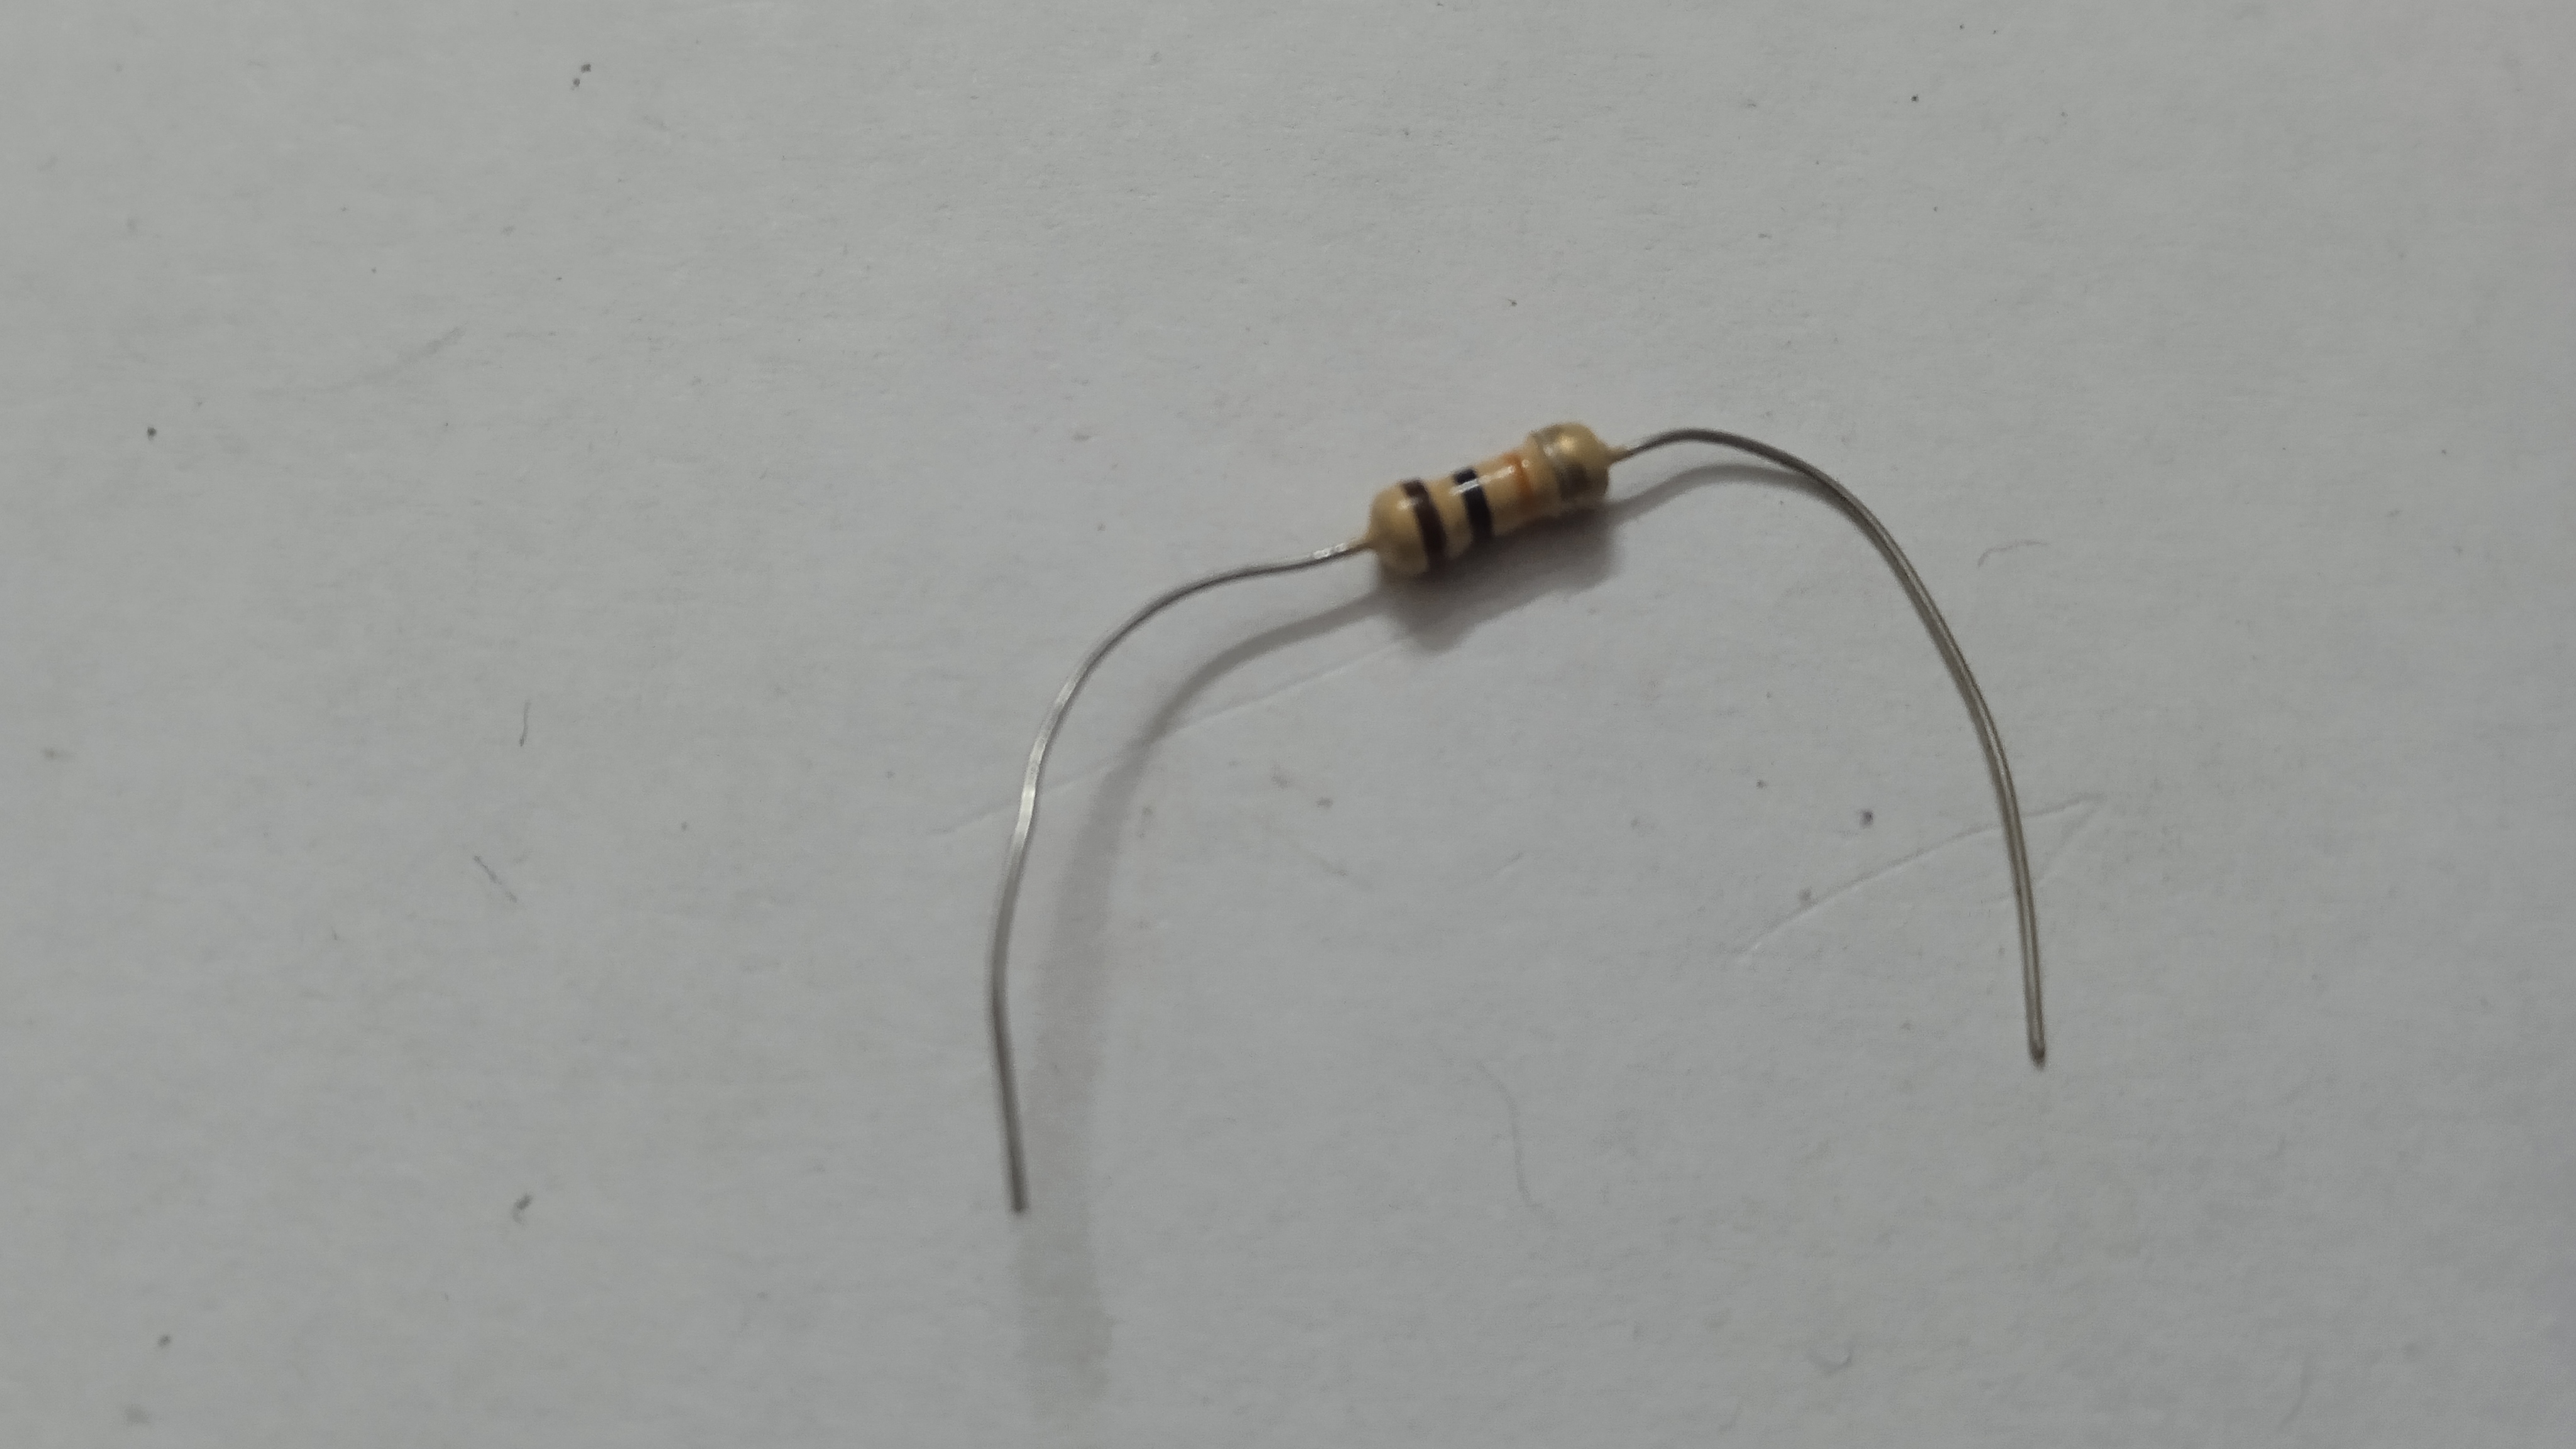
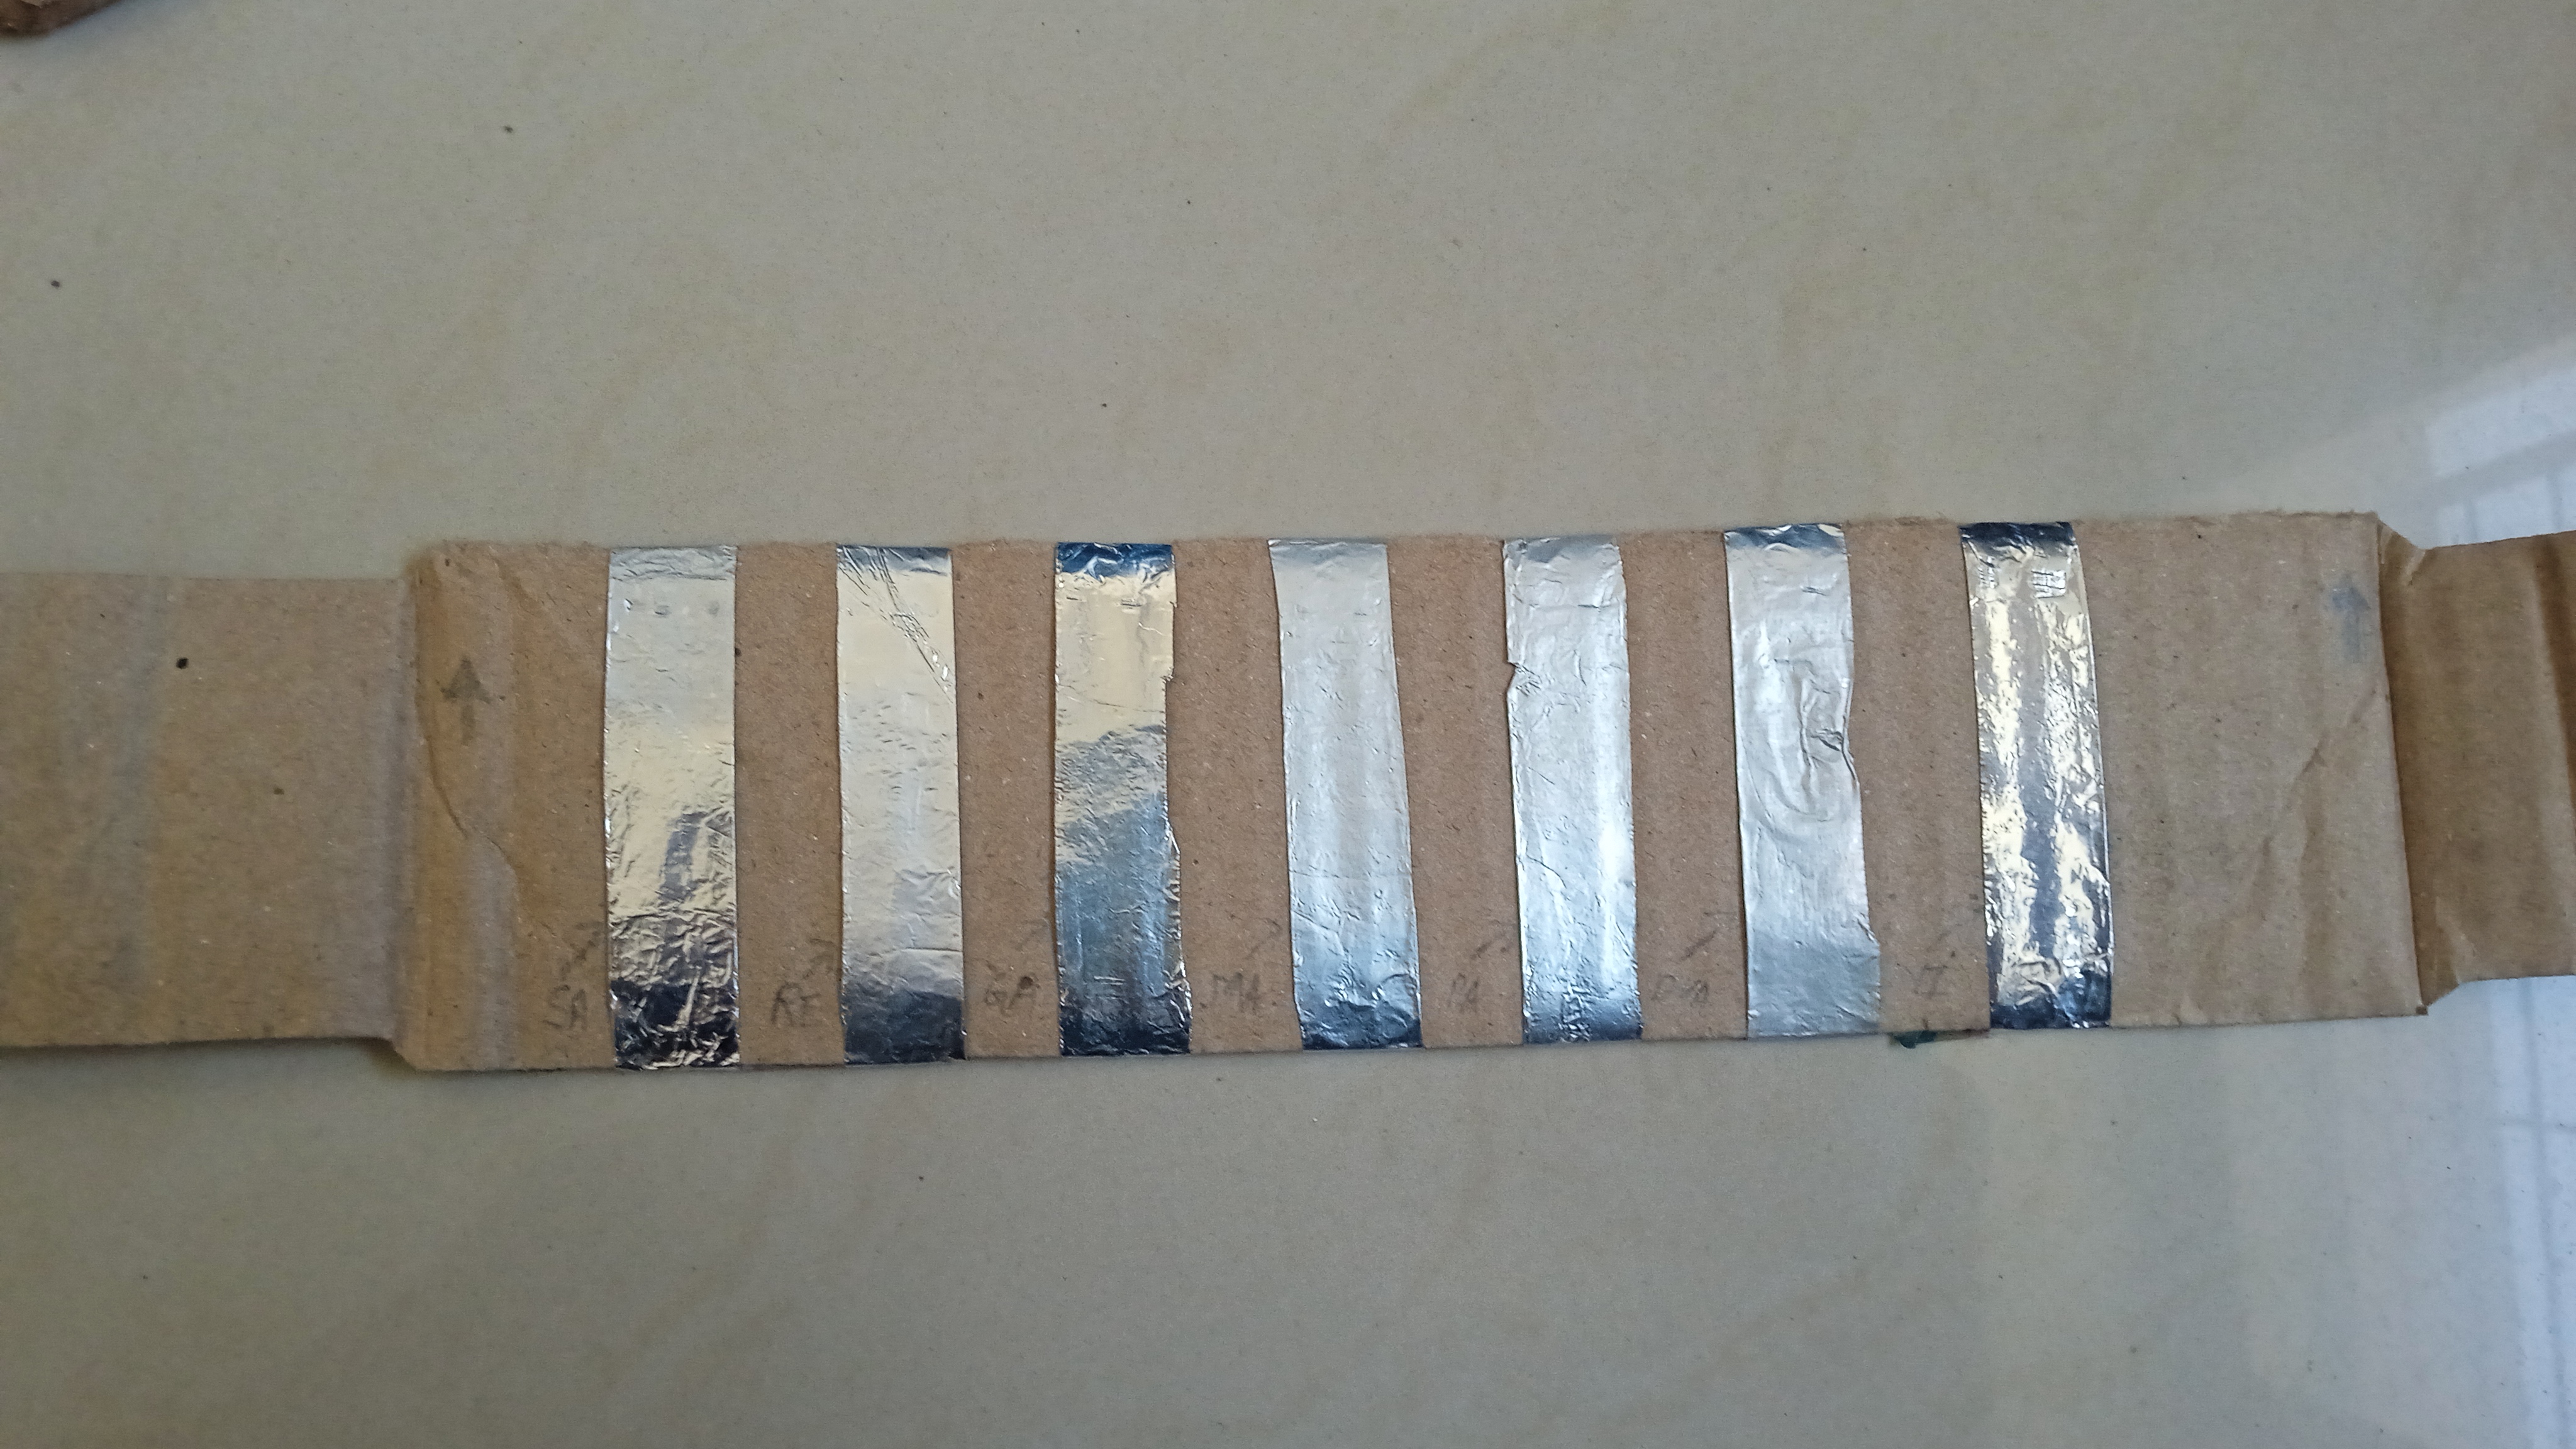
RC Time Constant Theory: This mechanism relies on a basic RC (Resistor-Capacitor) circuit. The sensor consists of a high-resistance resistor (10k - 10M Ohm) connected to an aluminum foil sheet acting as an electrode.
- Arduino sends a pulse signal (Send Pin) through the resistor to the foil sheet.
- The signal is received back at the Receive Pin.
- The system calculates the "Time Constant" or the time it takes to fully charge the capacitor.
When a human body (which has inherent capacitance) approaches or touches the foil sheet, the total capacitance of the system changes according to the formula $T = R \times C$. As $C$ increases, the time $T$ taken to receive the signal also lengthens. Arduino detects this change in microseconds and interprets it as a "touch".
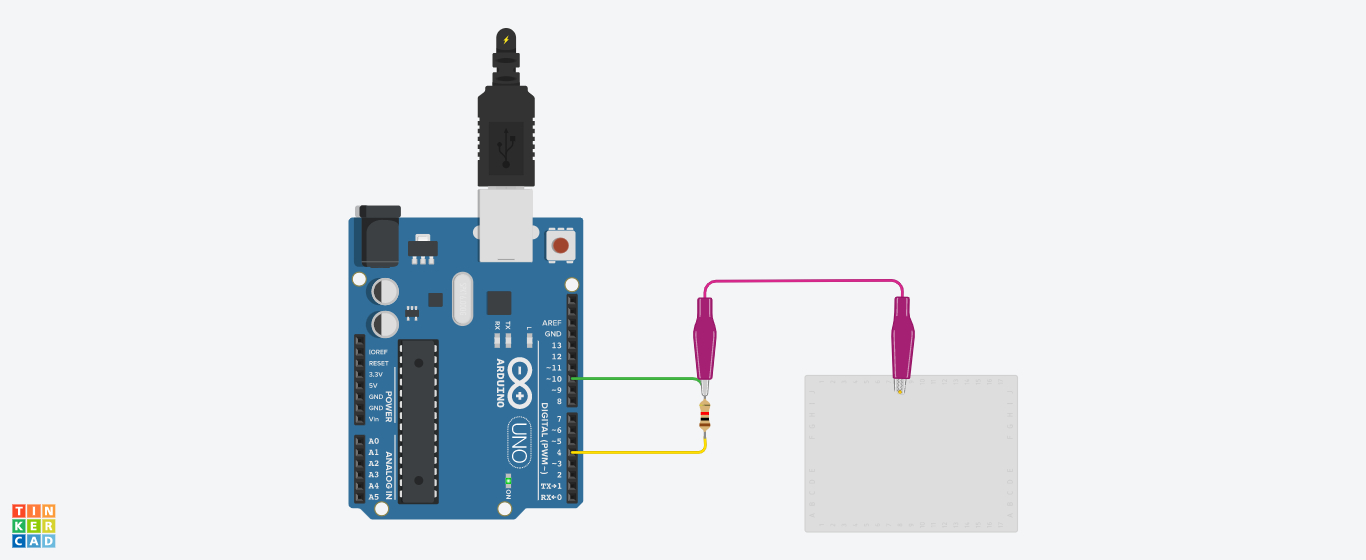
Circuit Schematic
The circuit design emphasizes simplicity yet high efficiency, with Arduino Uno serving as the central microcontroller for processing signals from all 7 touch points.
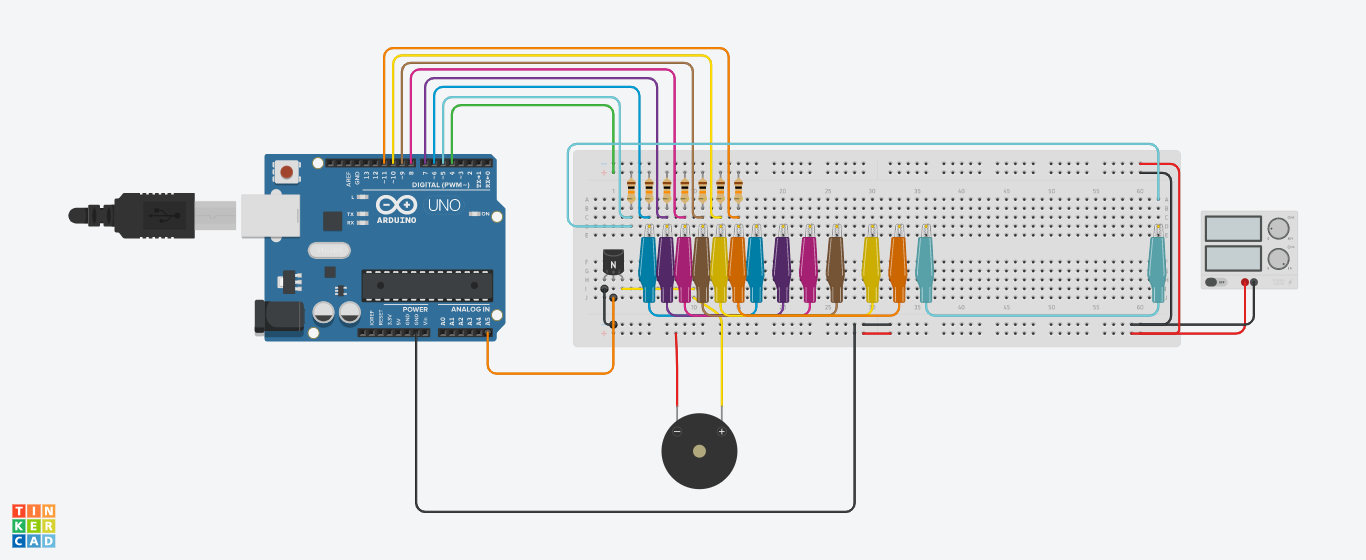
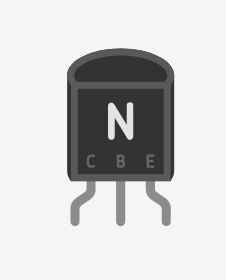
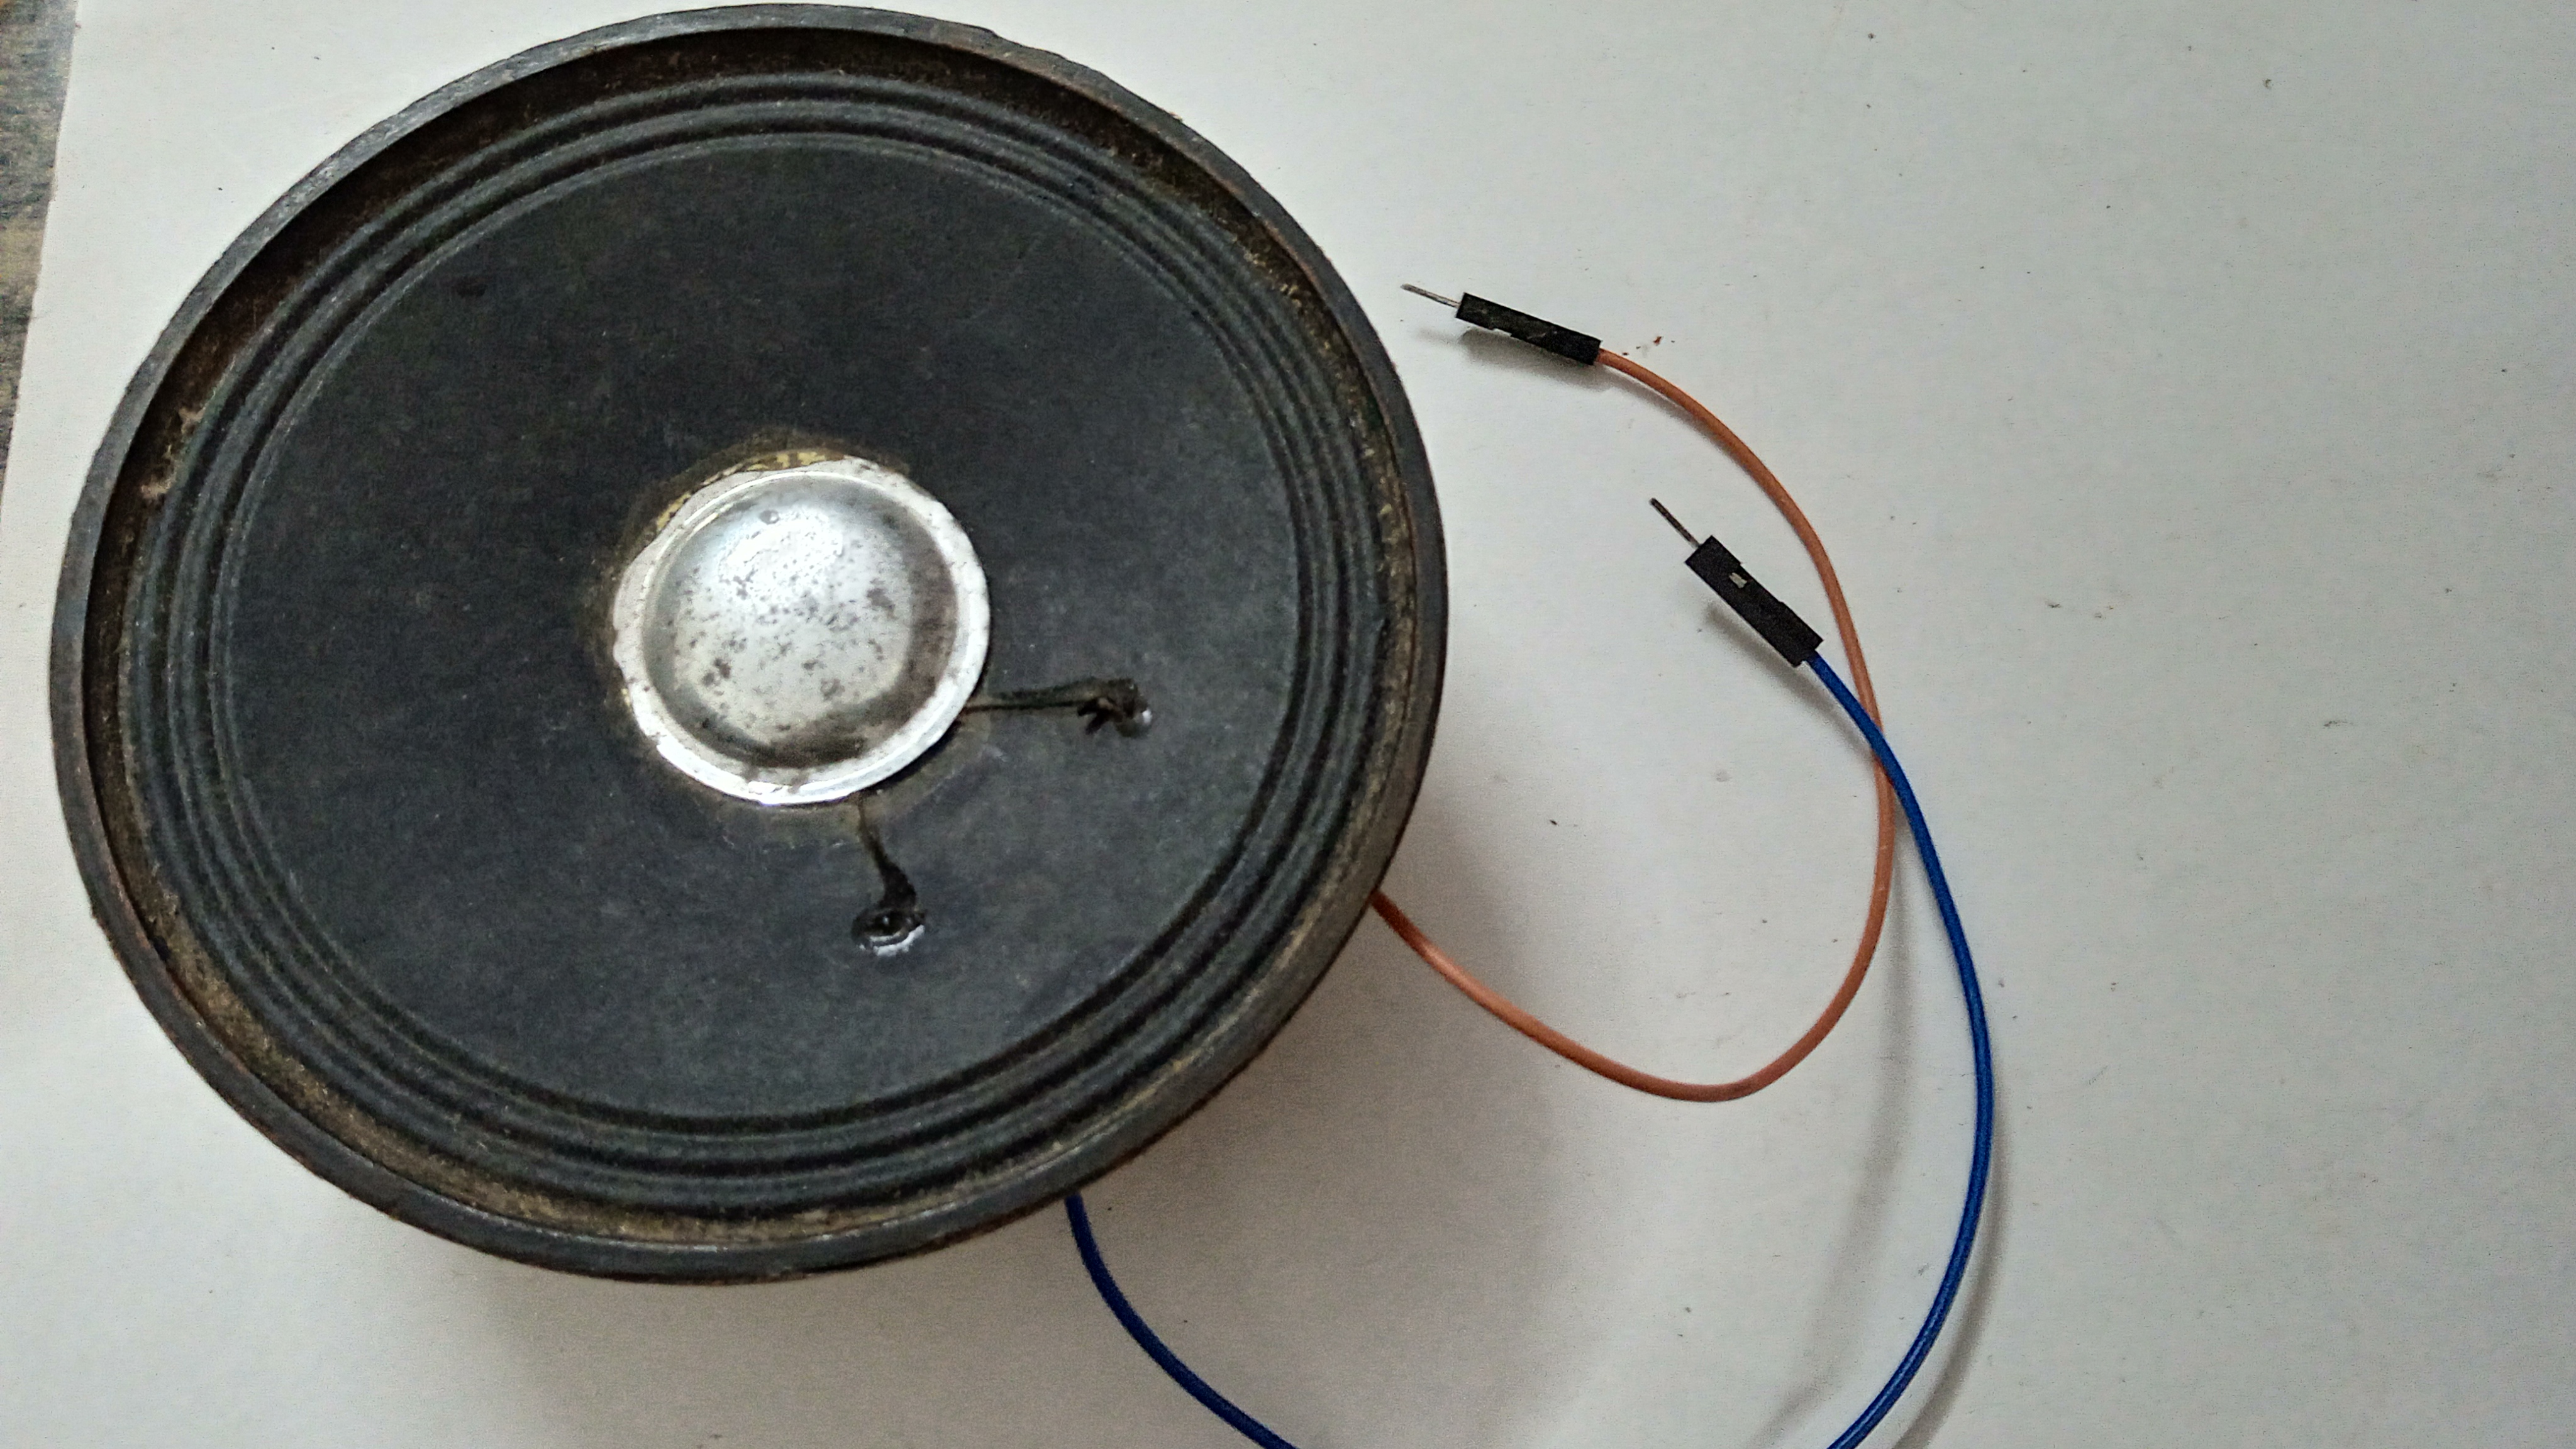
In this circuit, we use 10k Ohm resistors connected across the send and receive pins for touch sensing. Additionally, an NPN Transistor acts as an electronic switch to drive current to the speaker. Since Arduino's I/O pins have limited current, using a transistor helps the speaker operate at full efficiency and produce clearer sound.
Components & Connections
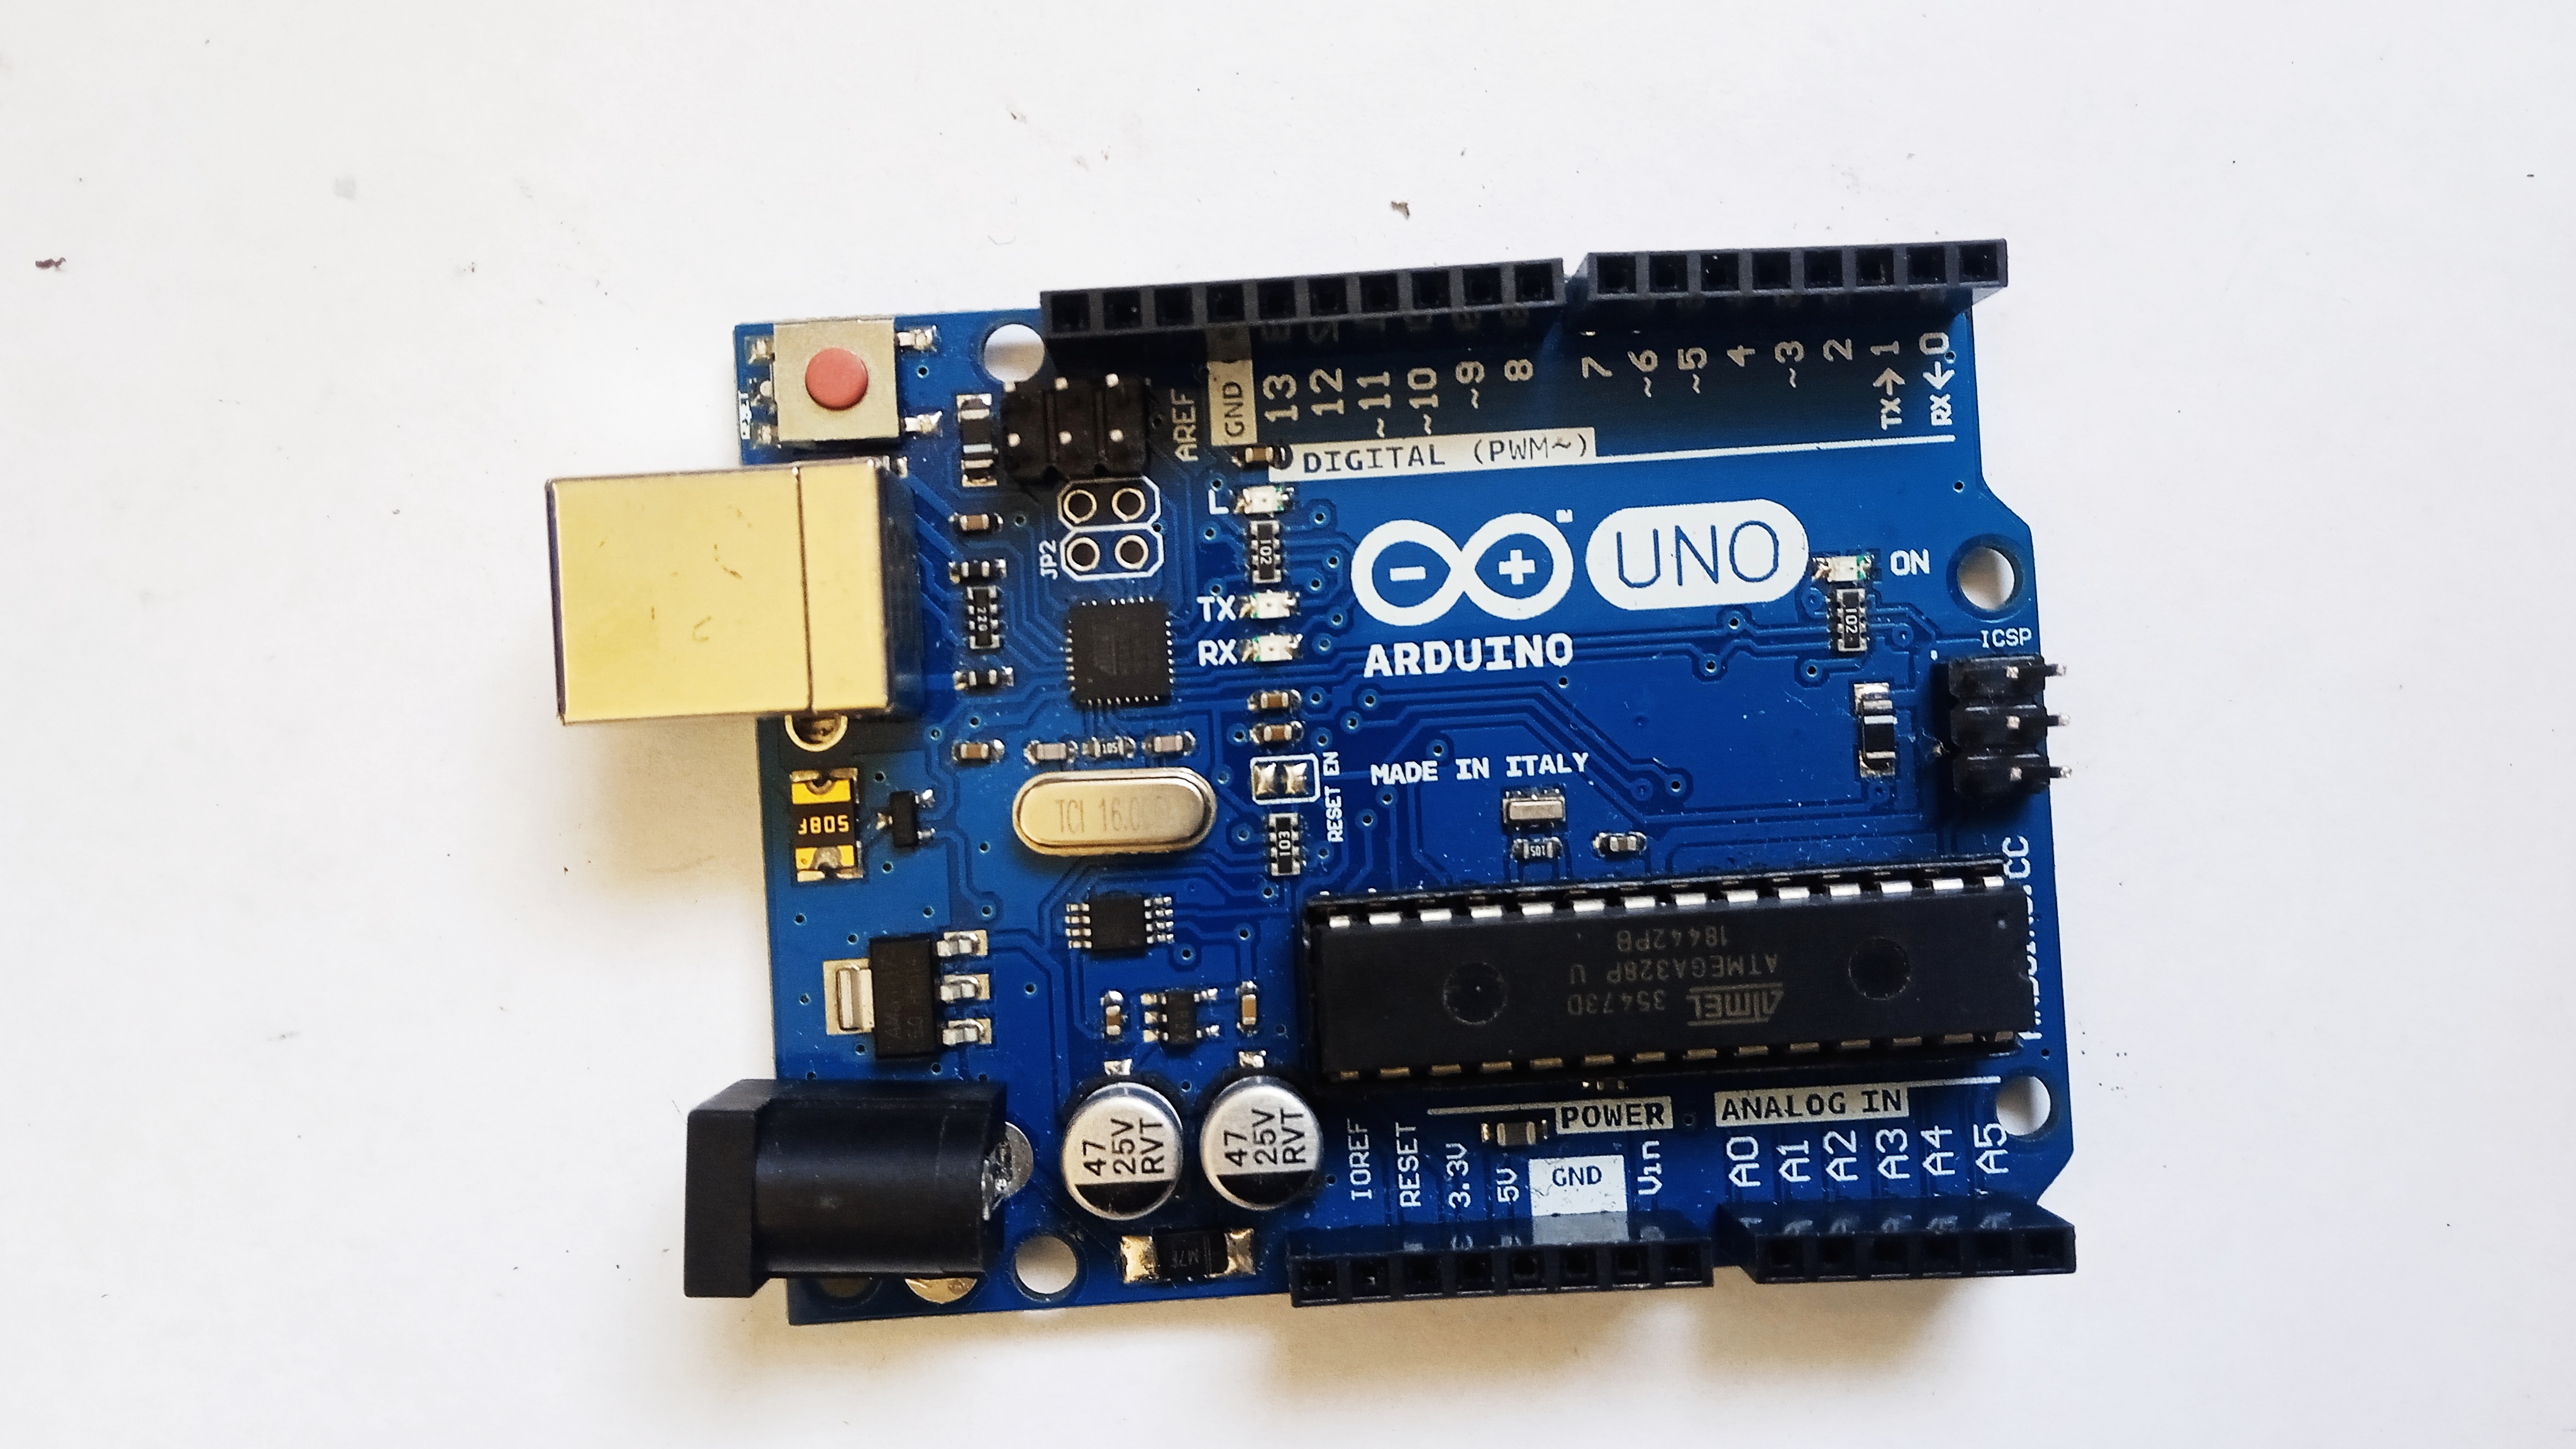
Arduino Uno
Breadboard
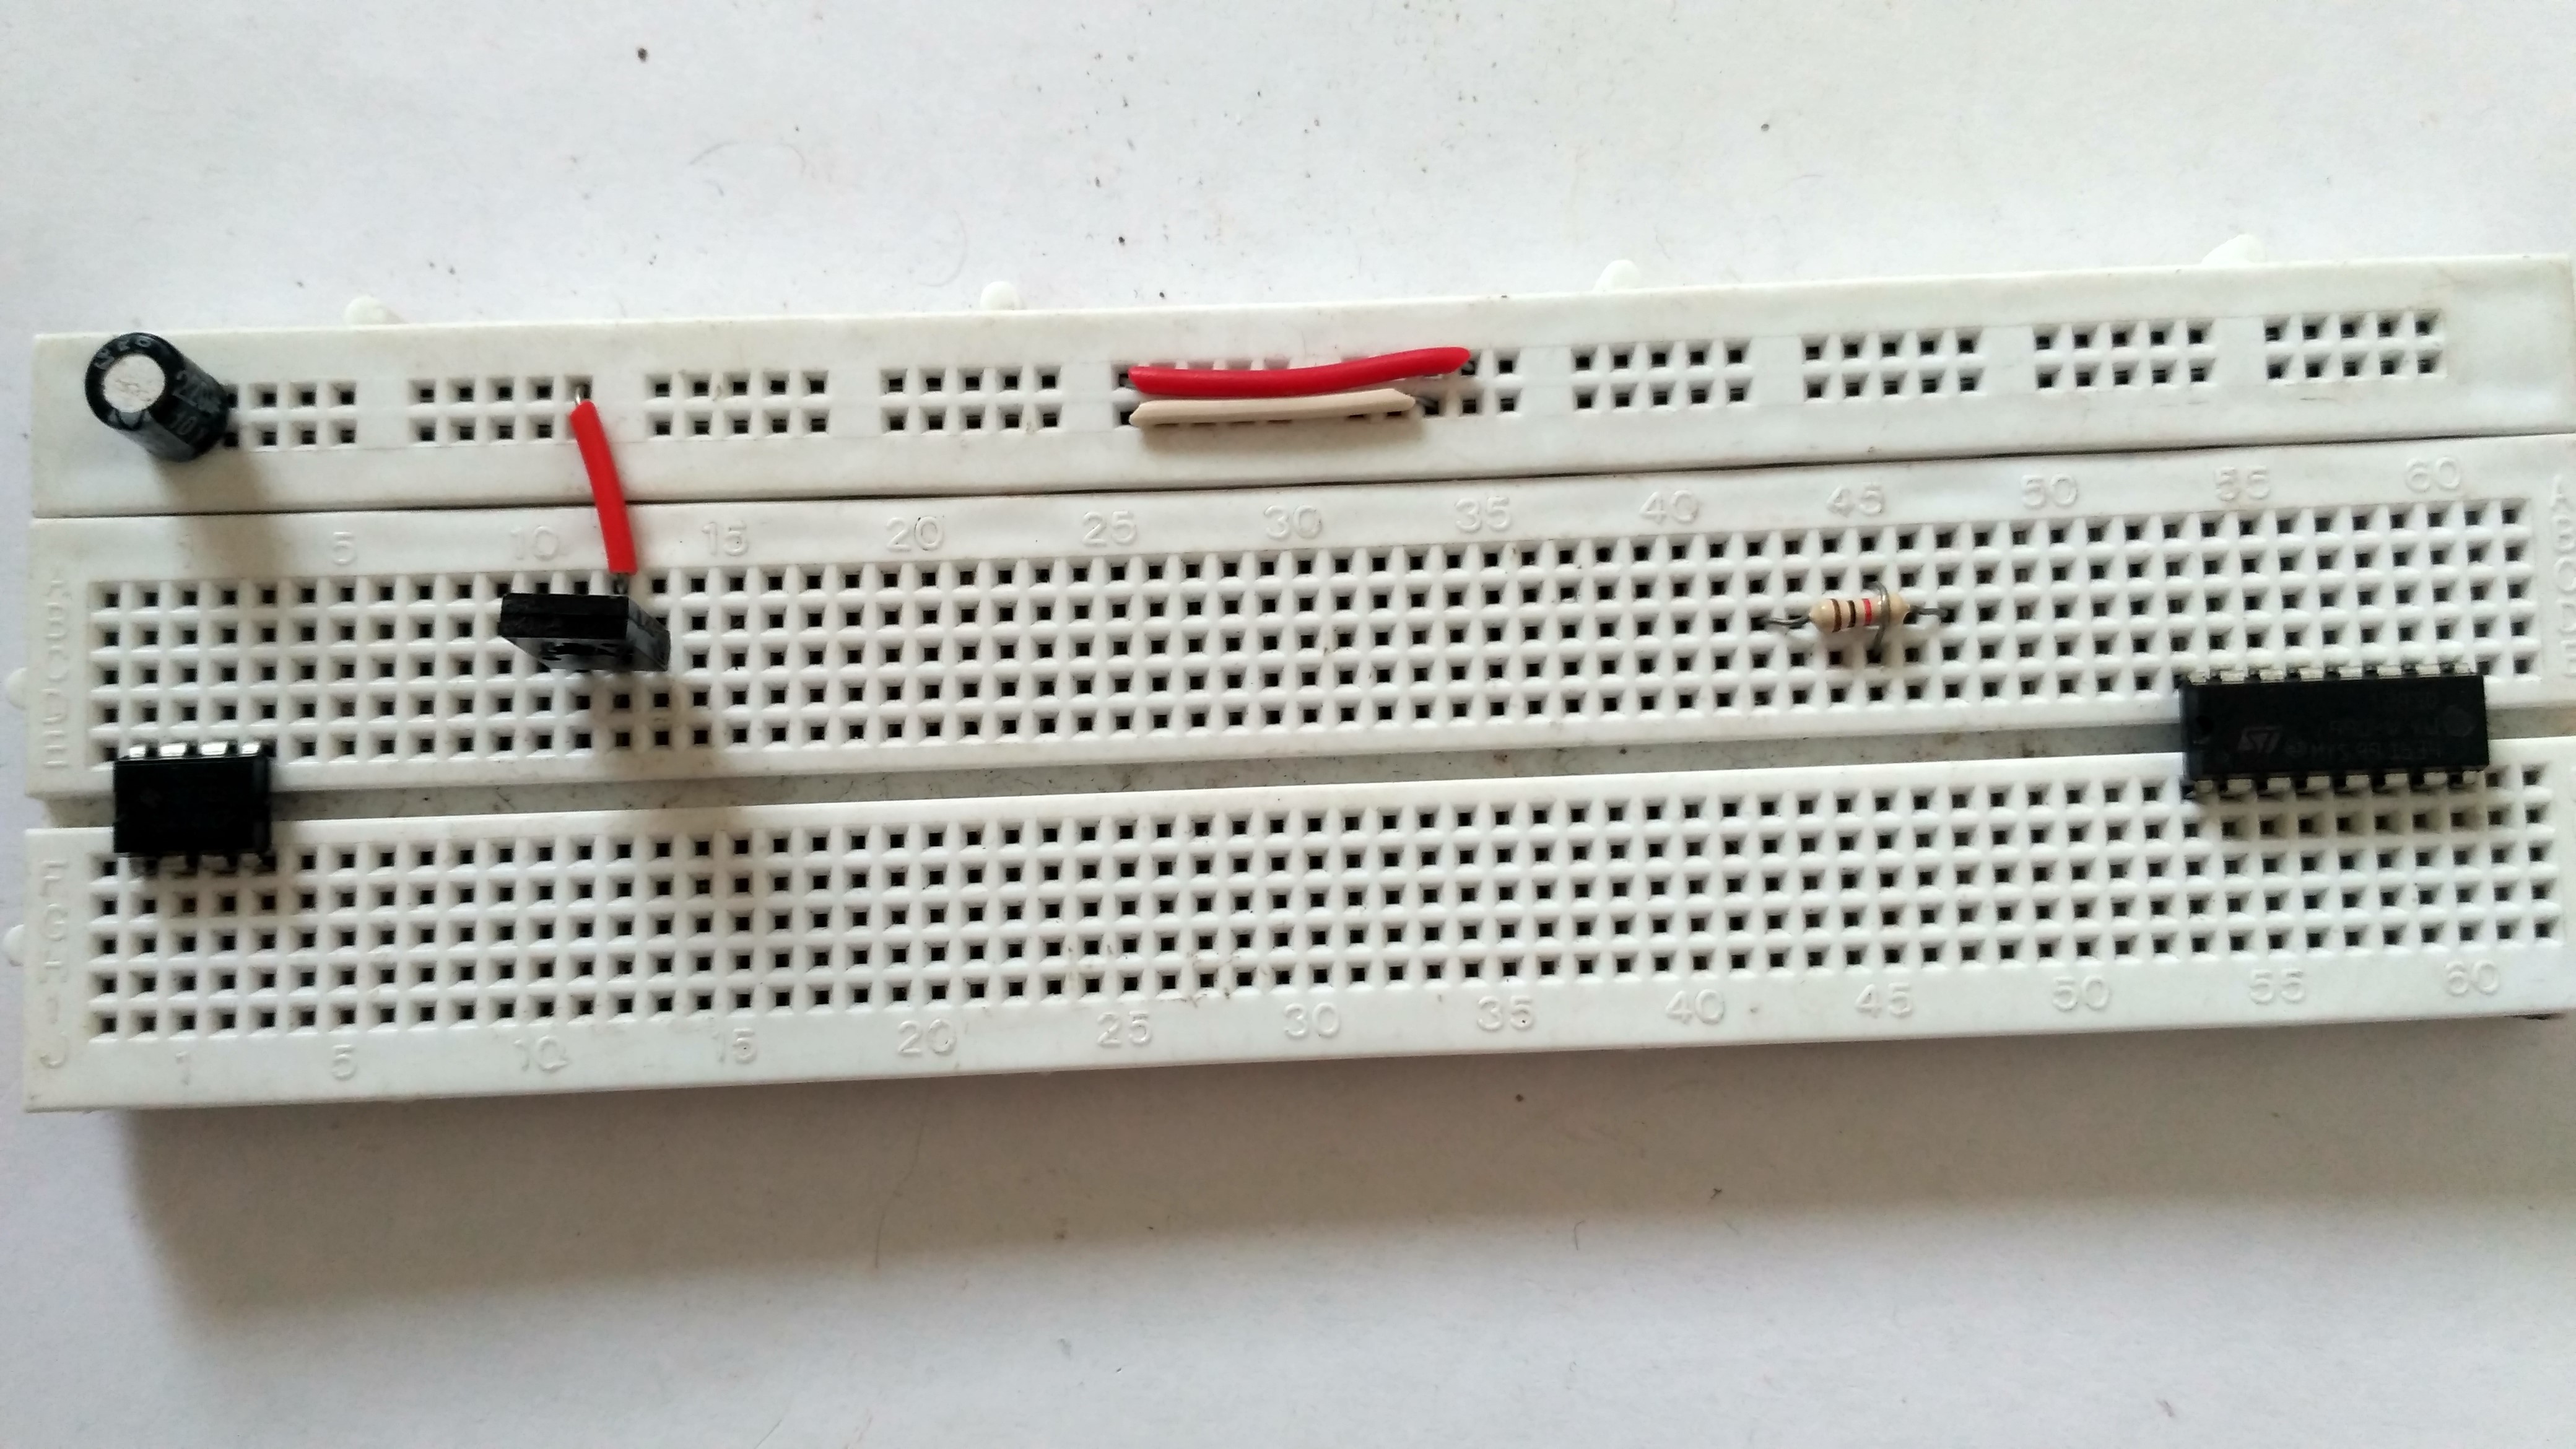
Resistors
Transistor
Speaker

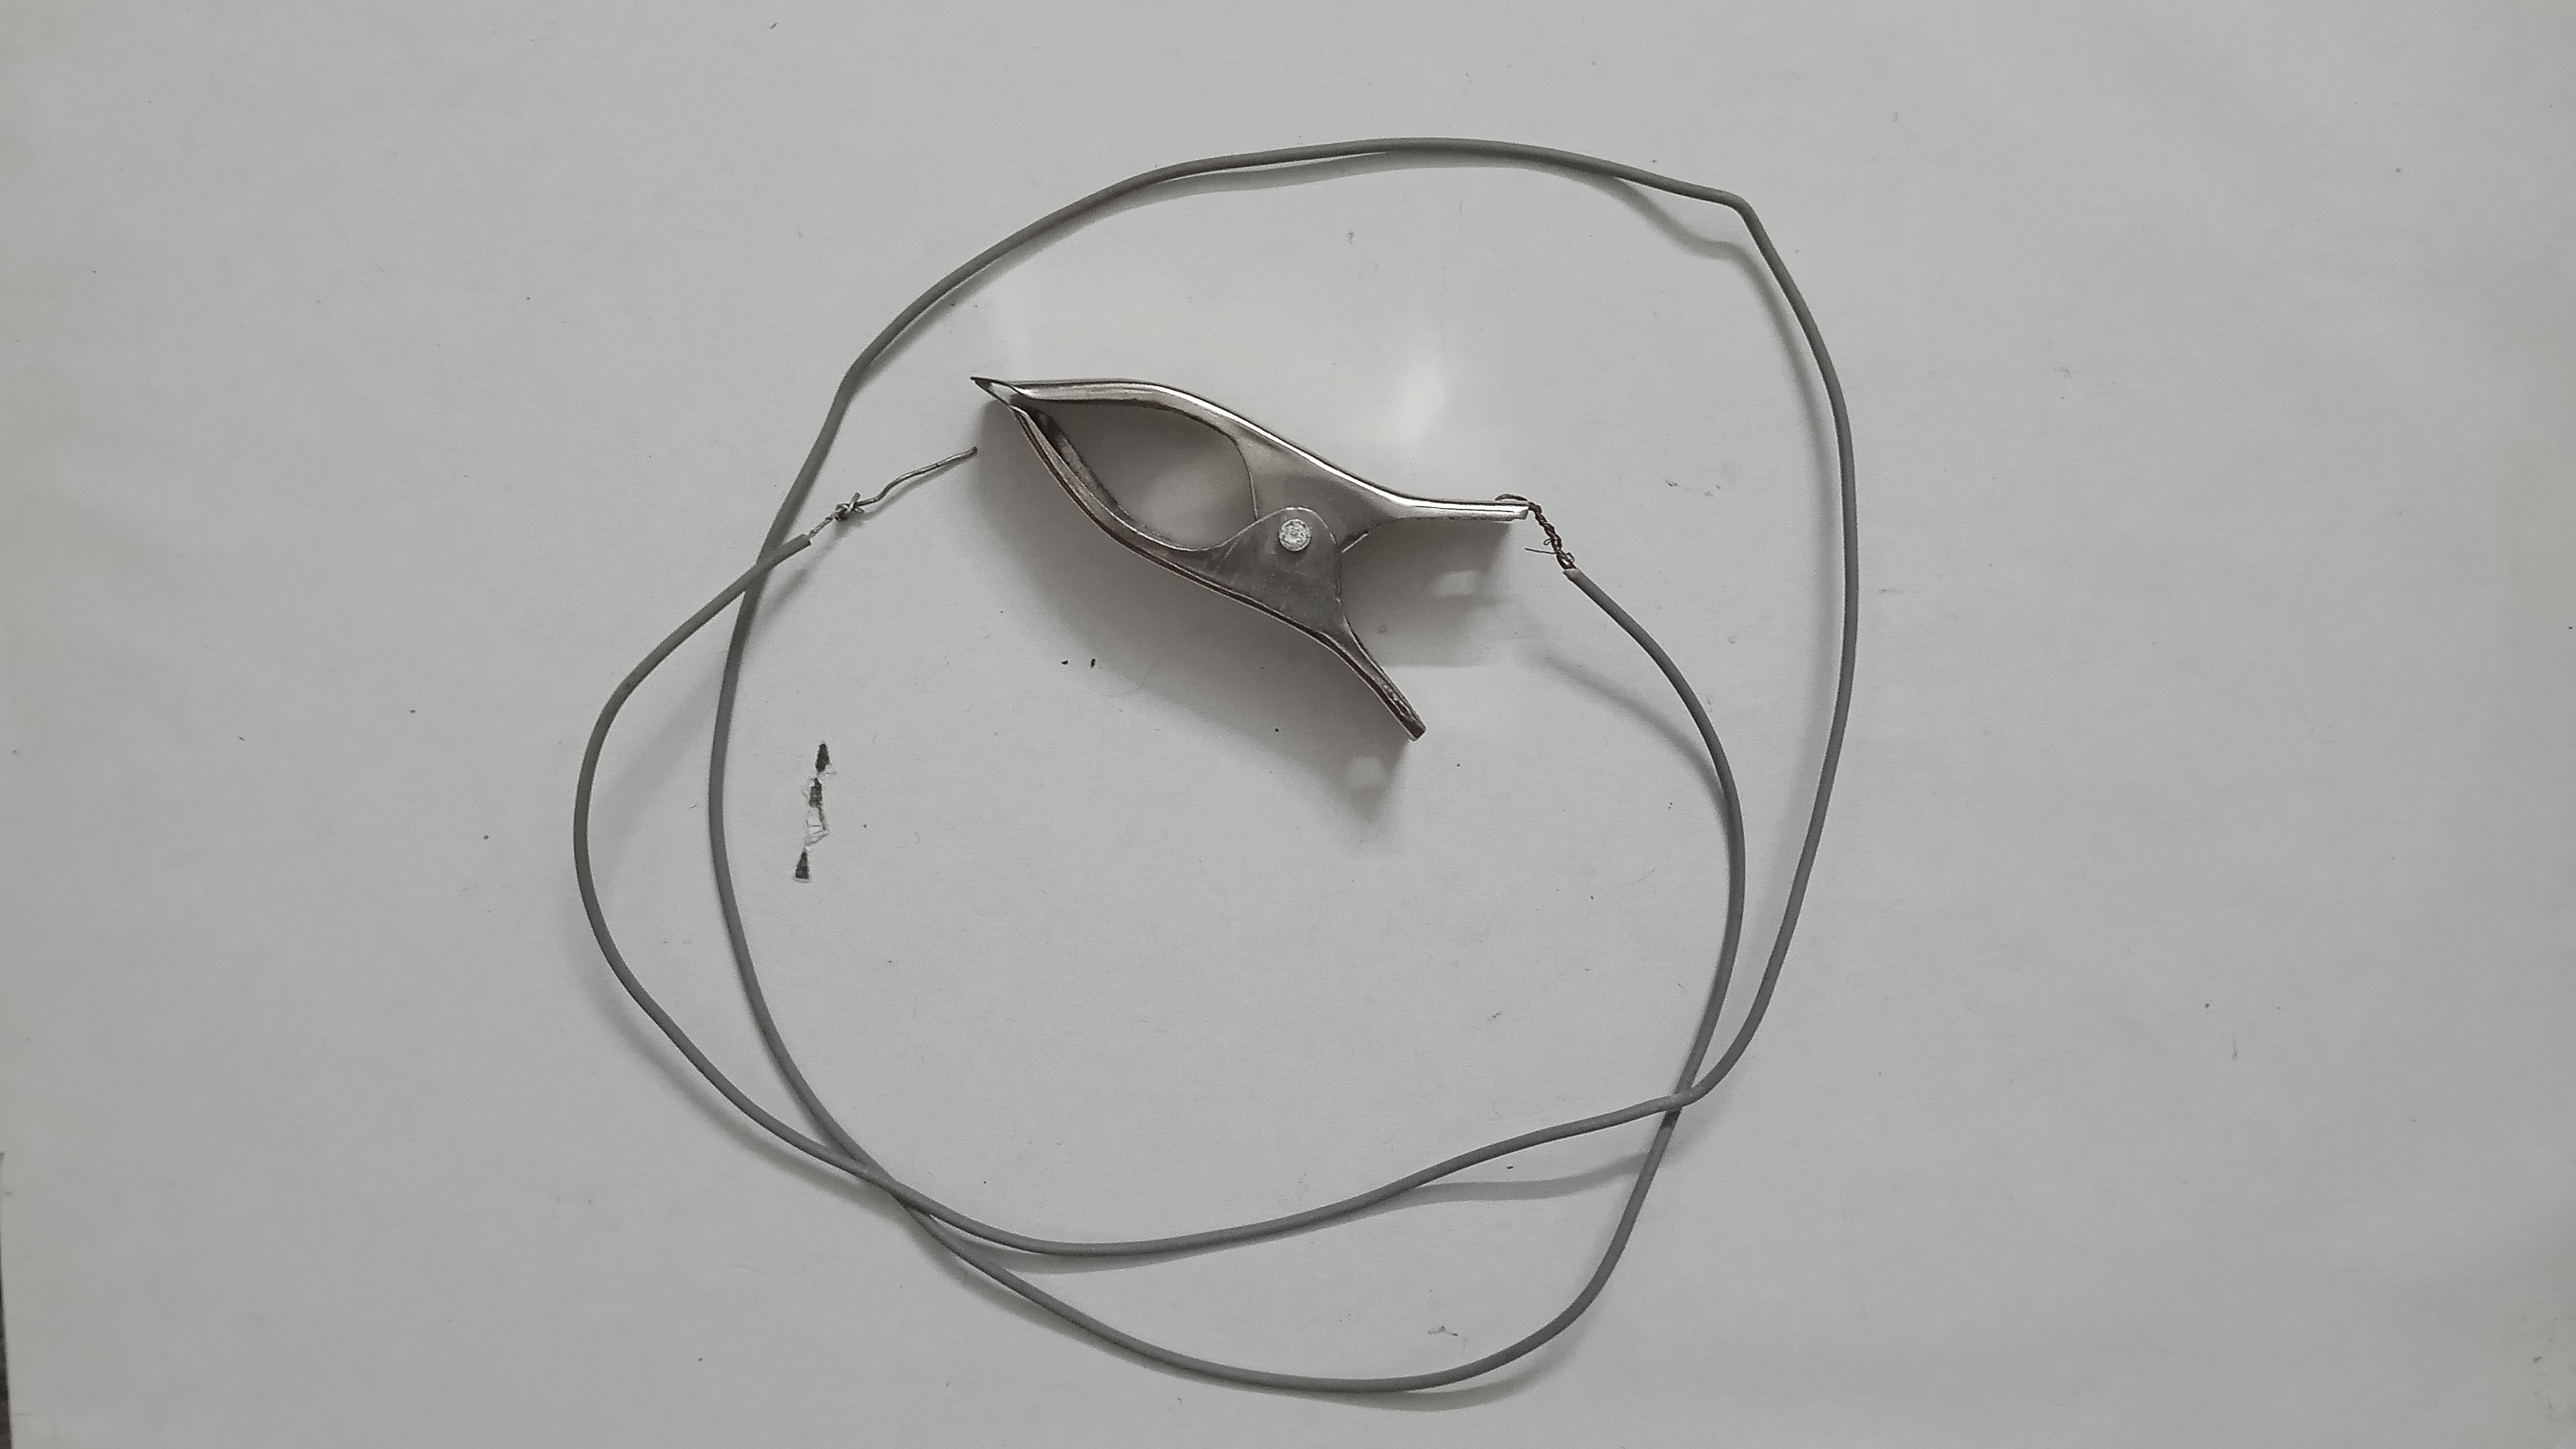
Alligator Clips
Aluminium Foil Strip
Musical Notes
In terms of software, we have defined frequencies in Hertz (Hz) to correspond with basic musical notes, allowing this instrument to play actual songs. These are stored in an Array format as follows:
| Note | Frequency (Hz) |
|---|---|
| Sa (Do) | 240 |
| Re | 270 |
| Ga (Mi) | 300 |
| Ma (Fa) | 320 |
| Pa (Sol) | 360 |
| Dha (La) | 400 |
| Ni (Si) | 450 |
int freq[] = {240,270,300,320,360,400,450,480};
Issues
- White Noise: When we were not playing any tune, the speaker generated a lot of white noise. This is caused by electrical noise and floating input values and can be resolved by adding digital filtering in the code.
- Inconsistent Volume: The volume of sound was not constant, due to loose connections. This issue often arises from loose connections on the breadboard or alligator clips, which affect the total resistance of the circuit.
- Playing Skill: Playing this happy birthday tune required a lot of practice, as we don't have any background experience in music. Playing songs with precise timing on a touch-based system requires practice, as the sensor response time may differ slightly from normal push buttons.
Applications
This circuit can be used as a touch sensor. The Capacitive Touch technology from this project can be extended to various applications:
- Security System: It can be attached to the knob or handle of the door to detect the touch of the burglar. Then trigger the alarm.
- Portable Musical Instrument: Also, it can be used to make a paper-thin piano, which will have the thickness of cardboard. It won't have any keys to be pressed. but touch sensors. Also, it can be foldable so as to carry it anywhere.
- Flexible Keyboard: A flexible computer keyboard can be made out of it.
Conclusion
This project serves as an excellent starting point for learning about sensor operation and digital signal processing. While the resulting instrument might be a hybrid between a piano and a harmonium, the most important aspects are the joy of building a musical instrument from everyday materials and the inspiration to extend embedded engineering to other creations.
This was a very interesting project; we learned a lot while making it. We don't even know whether it is a piano or a harmonium. But we enjoyed it a lot playing tunes on it.