The main purpose of the project is to create a DIY solution for dragster lights in order to have an affordable solution for someone who wants to practise his/her reaction time and calculate the total time.
Project Perspective
The Dragster Racing Lights project (also known as a "Christmas Tree") is an affordable, DIY solution for racers to practice their reaction times. By using an Arduino Uno, lasers, and a 3D-printed enclosure, you can build a professional-quality timing system for your driveway or scale-model racing.
For detailed infromations about how the lights function can be found to the following links:
https://en.wikipedia.org/wiki/Christmas_tree_(drag_racing)
https://www.autoweek.com/racing/nhra/a35431274/how-nhra-christmas-tree-works-and-what-colors-mean/
Race Start Mechanics
Following the official NHRA (National Hot Rod Association) standards:
Pre Stage
Pre Stage is the first level where the <
Stage
Stage is the second level where the <
After both blue leds light up, a random time duration between 1-3 s is generated in order to light up the next 3 yellow lights. When the yellow leds light up, there is a margin of 0.4 s in order for the green led to light up.
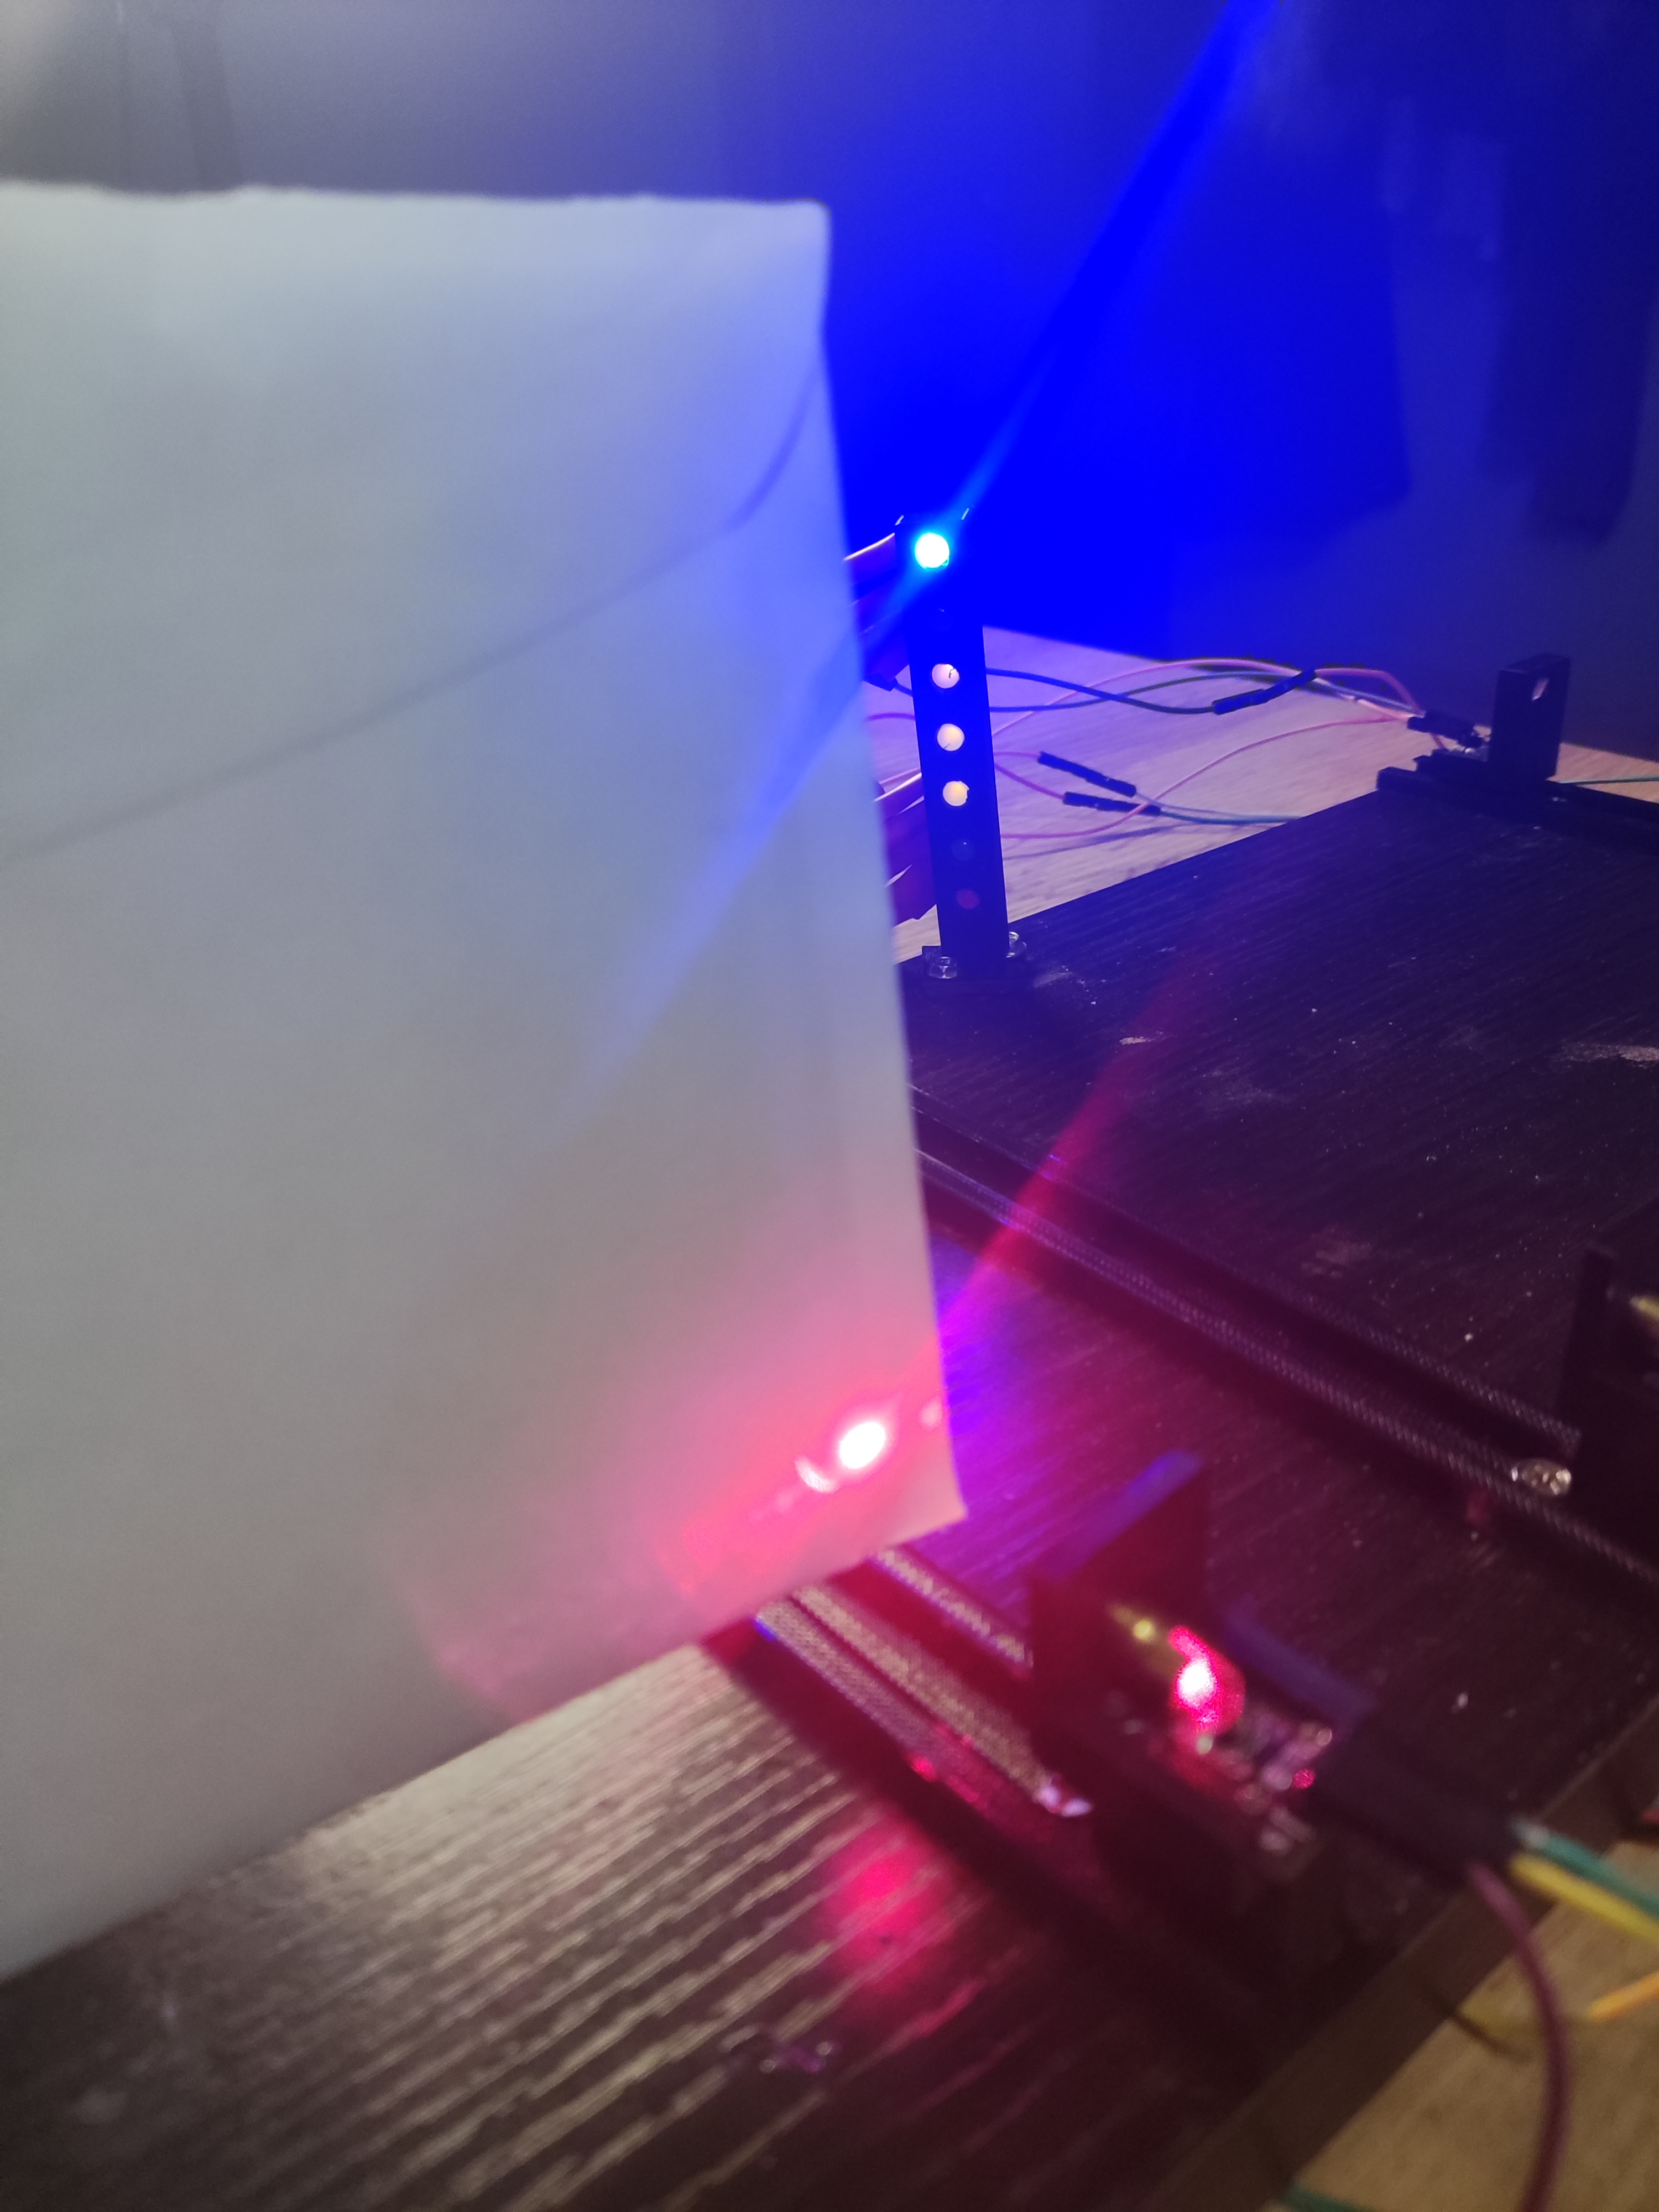
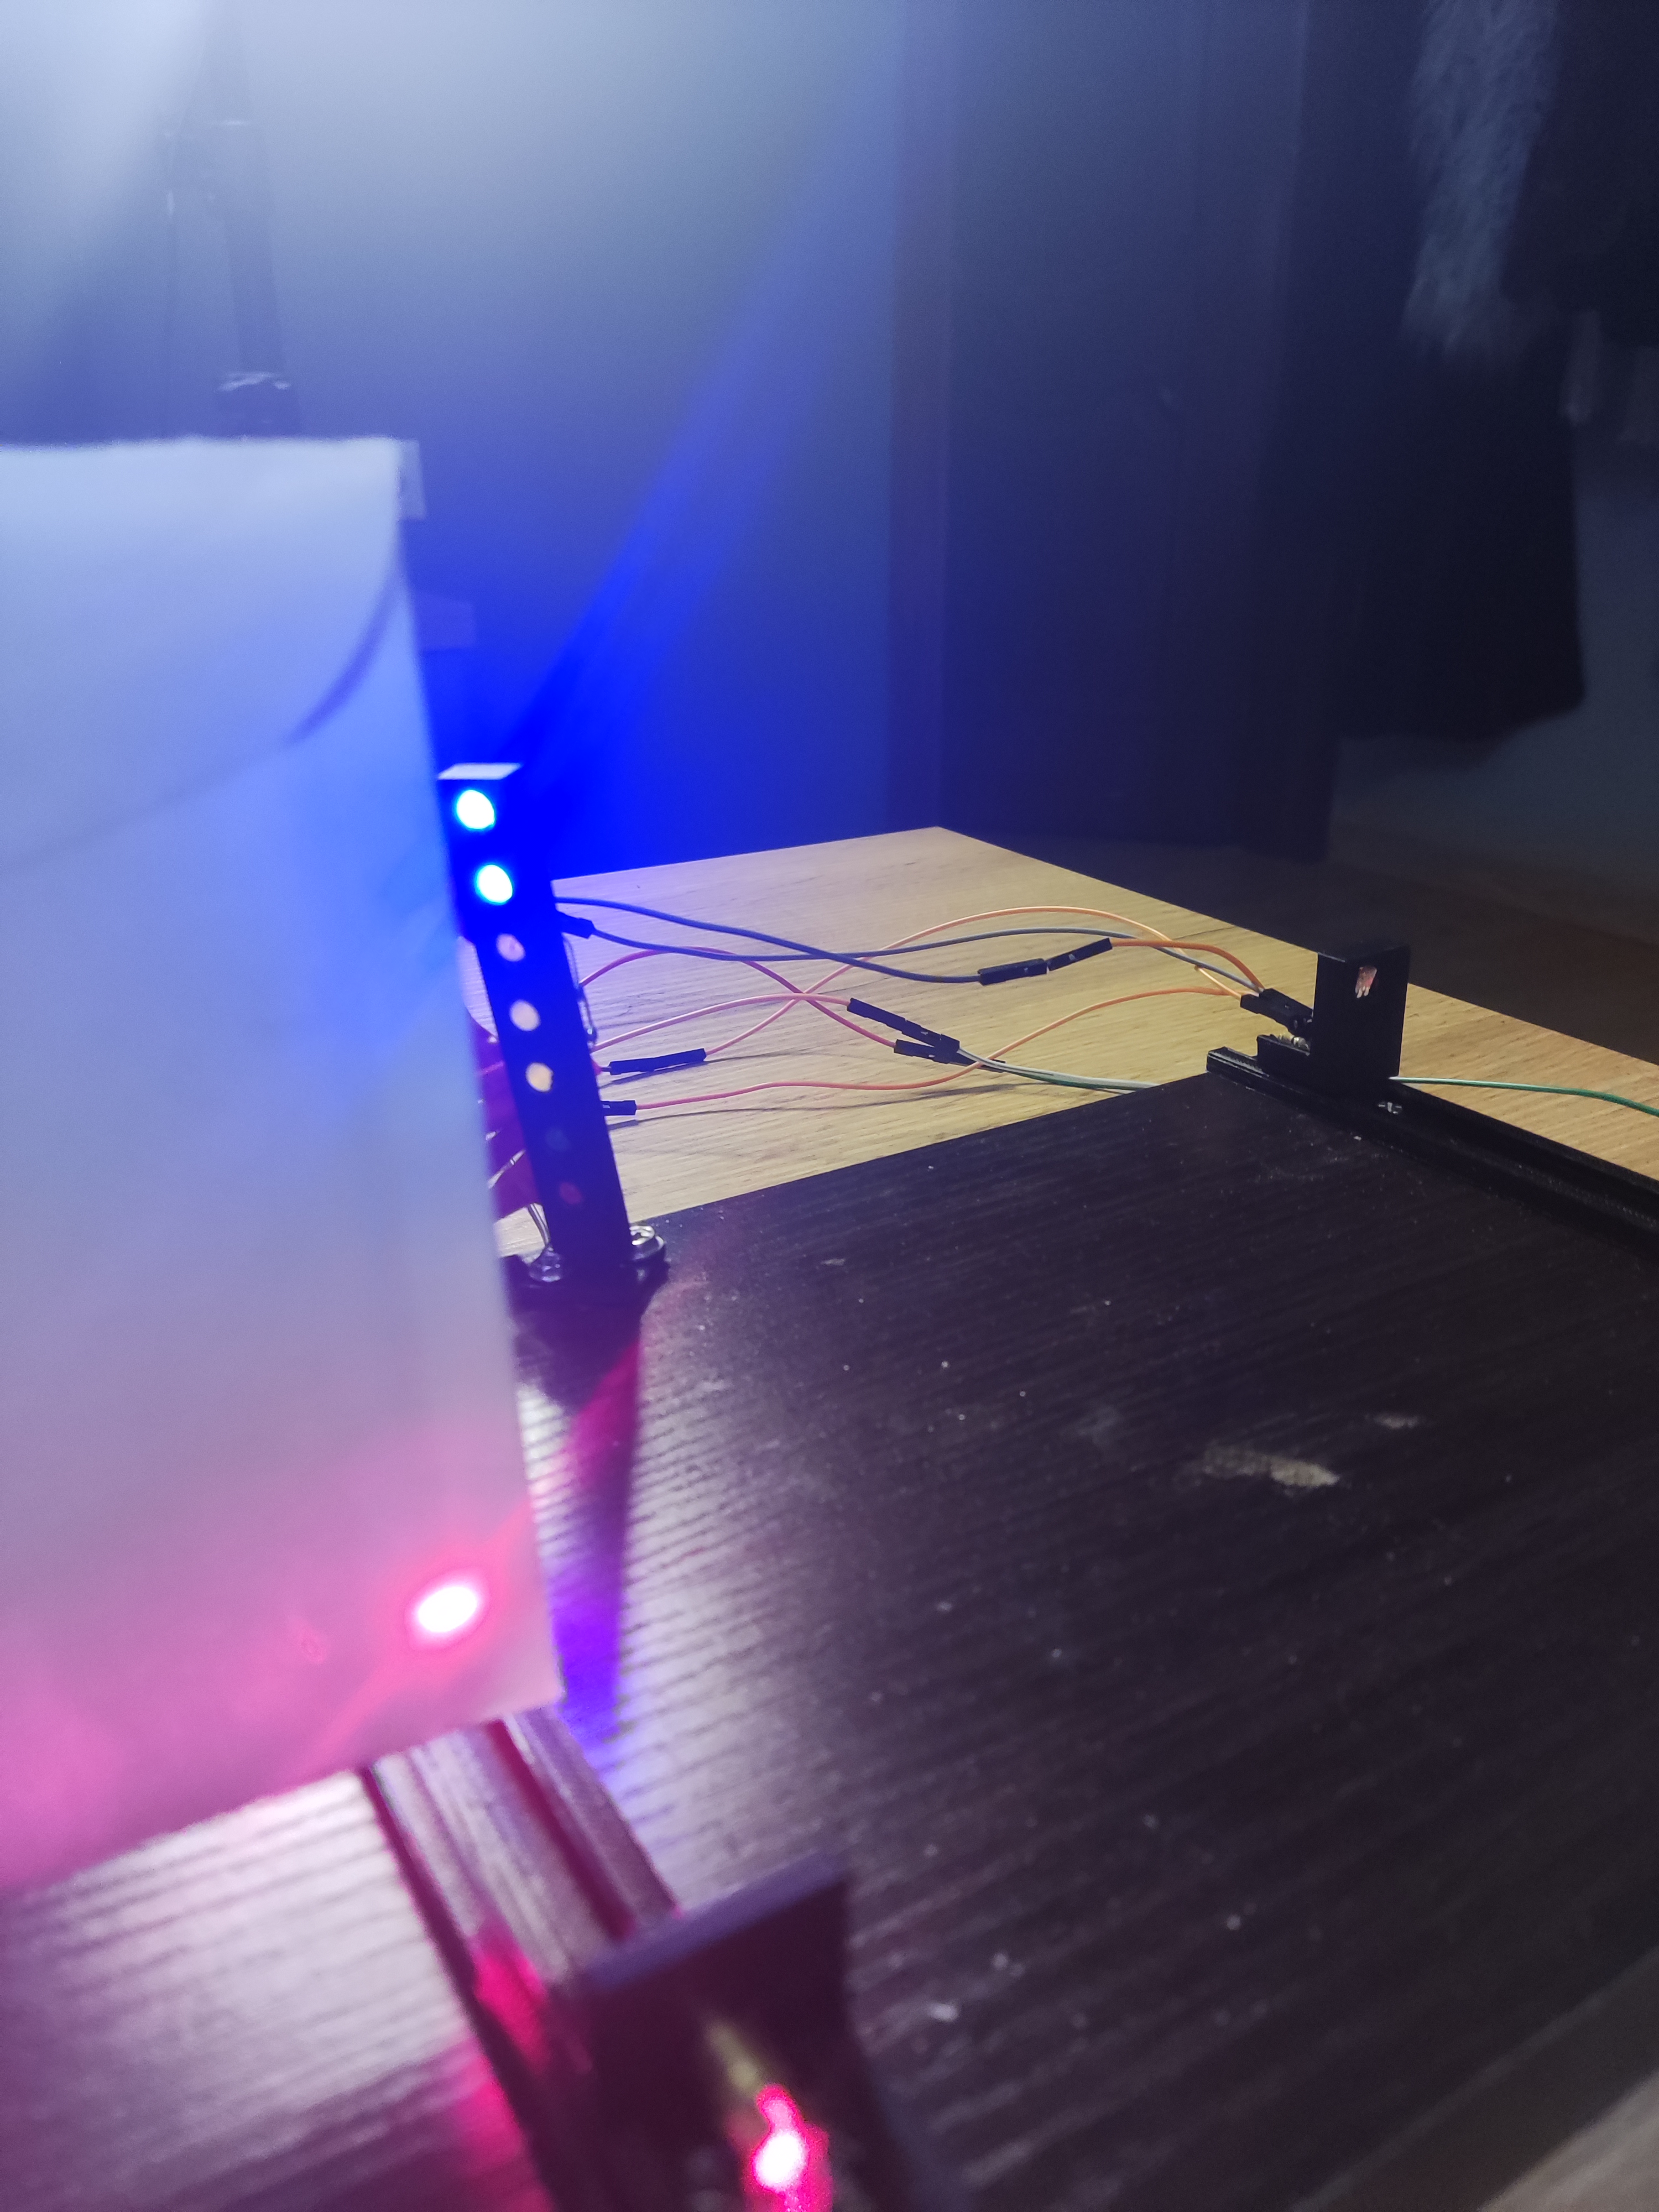
Technical Implementation: Laser Precision
Unlike traditional push-button systems, this project uses KY-008 Laser Transmitters and Laser Receivers to detect the precise moment a vehicle moves:
- Valid Pass: If the driver leaves the line exactly as or after the green light, the system records a valid run.
- Red Light (Foul): If the tires move and "un-break" the laser beam before the 0.4s green light window, the Red LED lights up immediately, signaling a disqualification.
If the driver, leave the line before <0, 4 s, his/her pass is invalid due to their reaction time was lower than 0, 4s and so the red led lights up. This can be seen on the following video.
If the driver, leave the line after >=0, 4 s, his/her pass is valid and the green led lights up. This can be seen on the following video.
Finishing Line
Here is the last point where the total time of the pass is calculated and also the exit speed of the vehicle. The speed of the vehicle is not calculated in this project. Maybe in the near future, the calculation of speed will be added.
Hardware Infrastructure
- Arduino Uno: The central timing brain that manages millisecond-level precision.
- RGB Backlight LCD: Displays the runner's reaction time and status (Valid/Invalid).
- KY-008 Lasers: Providing a focused beam that won't be triggered by ambient light.
- 3D Printed Chassis: Designed in Fusion 360 and sliced with Cura to hold all LEDs and sensors in a vertical "tree" configuration.
Deployment & Assembly
For the 3D Printer parts, the Creality Ender 3 Pro printer was used. For the creation of the 3D parts (.stl), the Autodesk Fusion 360 was used and for the generation of the (.gcode) the program Ultimate Cura was used.
This is the first version of the project and is done in a trial level. The next level of the project is to transfer and test it on real dimensions (bigger leds, find appropiate lasers and laser receivers for these dimensions,...), but also find an efficient way to calculate the exit speed of the vehicle. In the end, it has to be easy to move from place to place.
Key Learnings
- Timing Accuracy: Using
millis()andmicros()for precise measurements instead of simpledelay(). - Interrupts: Using digital interrupts to capture the fast motion of wheels breaking a laser beam.
- Signal Filtering: Handling noise in laser receivers to prevent "ghost" triggers.
This project is the ultimate training tool for anyone serious about drag racing or timing-based sports!
Because I am constantly changing the code for impovements, the code will be published when the whole project is finished (on real dimensions). I would like to read your suggestions on the comments.