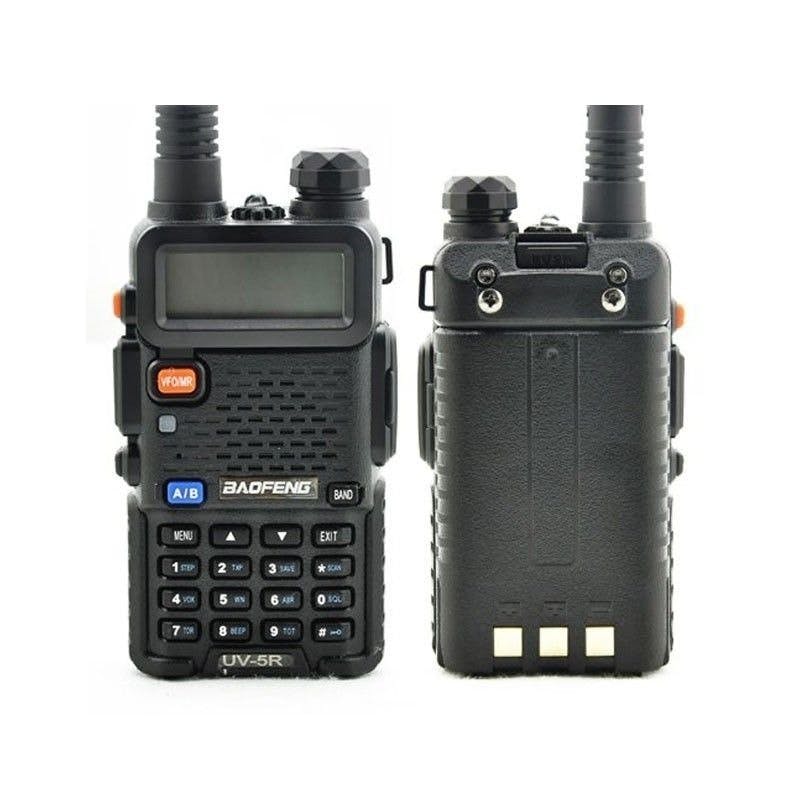
In this tutorial we will see how to make a circuit to connect to our handy, in this case a Baofeng UV-5R (although it also works for other brands and models) for long distance control of motors, lights, water pumps without the need to use a cellular network, or in places where it does not exist. We will see the assembly of the electronic circuit, we will study the source code and finally we will test the entire device to verify its operation.
The Physics of DTMF
When you press the button "5" on an old telephone, it plays a very specific, dual-frequency chord (a 770Hz tone and a 1336Hz tone mixed together).
- The Transmitter: You take a standard Baofeng or Motorola walkie-talkie. You hold down the "Talk" button and type "1, 2, 3, 4" into the keypad. The radio blasts those loud beeps over the mountains.
- The Receiver: 5 kilometers away, a second walkie-talkie receives the transmission. You solder its headphone jack directly into an MT8870 DTMF Decoder Module.
- The Hardware Translation: The MT8870 chip physically listens to the analog audio screeching out of the headphone jack. Its internal circuitry mathematically separates the complex chord back into a pure 4-bit binary number!
- The module outputs 4 digital pins (e.g.,
HIGH, LOW, HIGH, LOWrepresenting the number 5).
Unpacking the Binary Payload
The Arduino does not have to do any audio processing.
- The
loop()utilizes simpledigitalRead()commands on those 4 pins to read the MT8870's binary output. - It translates the binary variable into an integer.
if (receivedDigit == 5) { TurnOnFarmSprinkler(); delay(3600000); }- You have just successfully triggered an incredibly complex industrial logic tree by playing a phone beep over an analog radio!
Component Necessities
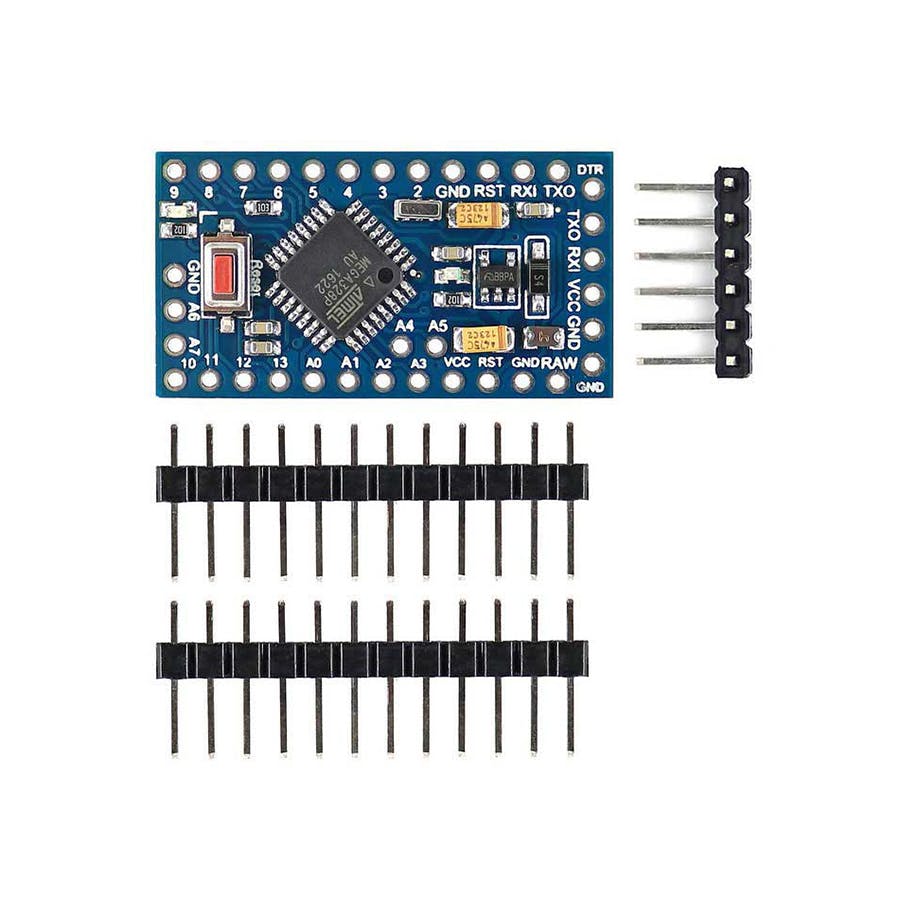
- Arduino Uno/Nano: The relay translator.
- MT8870 DTMF Audio Decoder Module.
- Two Analog Walkie-Talkies (UHF/VHF Transceivers) (One acting as the remote, one acting as the base station).
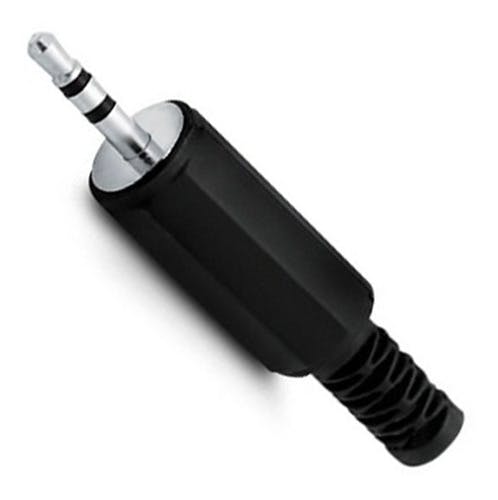
- A 3.5mm Aux Audio Cable (Cut and stripped to wire the radio output into the MT8870 chip).
Electronic components
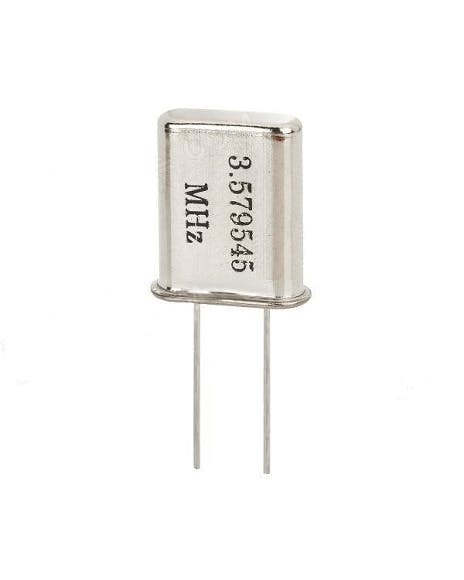
3.58 Mhz crystal
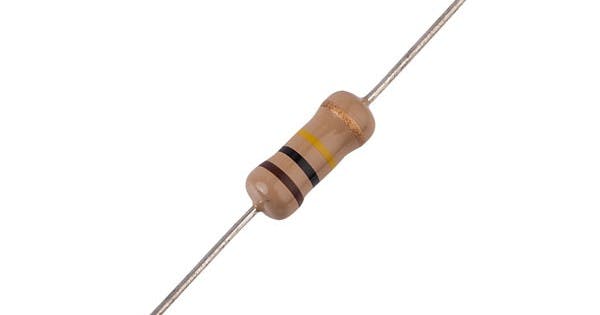
Two 100K Ohm resistors
Two 100 nF ceramic disc capacitors

A 300K Ohm resistor

An arduino mini pro
Two handy baofeng or similar
hc-05 module (optional) Only if you want to see the data received on your cell phone you can connect this module, that is why it is optional and not mandatory.
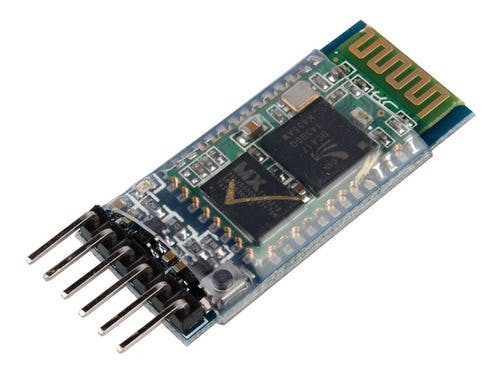
Works as a bluetooth master and slave device Configurable via AT commands Bluetooth V2.0+EDR Operating frequency: 2.4 GHz ISM band Modulación: GFSK (Gaussian Frequency Shift Keying) Transmit power: <=4dBm, Class 2 Sensitivity: <=-84dBm @ 0.1% BER Security: Authentication and encryption Perfiles Bluetooth: Puerto serie bluetooth. Distance of up to 10 meters in optimal conditions Operating Voltage: 3.6 VDC to 6 VDC Current Consumption: 30 mA to 50 mA Chip: BC417143 Version or firmware: 3.0-20170609 Default Baud: 38400 Supported baud rates: 1200, 2400, 4800, 9600, 19200, 38400, 57600, 115200. Interface: Serial TTL Antenna: Integrated into the PCB Security: Authentication and encryption (Default password: 0000 or 1234) Working temperature (Max): 75°C Working temperature (Min): -20°C Dimensions: 4.4 x 1.6 x 0.7 cm Female pins
2.5mm male jack plug
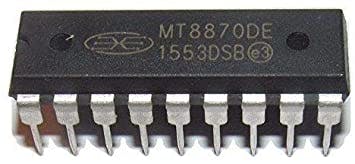
Integrated circuit MT8870de
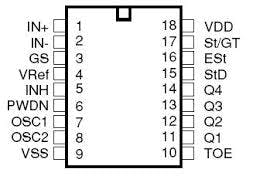
Pinout del MT8870DE
Data sheet
Display oled con driver SSD1306
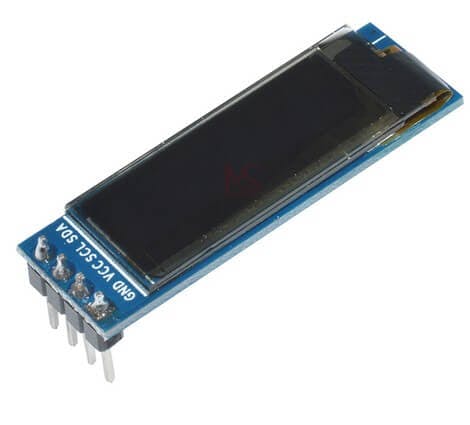
The display performance is better than traditional LCD screen, also lower consumption. Specification: Driver IC: SSD1306 Size: 0.91 inch OLED Resolution: 128 x 32 Size: 38 * 12mm Number of pins: 4 pins Interface type: IIC interface Screen color: White / Blue Pin description: GND: Power Ground VCC: Power + (DC 3.3 ~ 5v) Working temperature: -40 ~ 85 ℃ SCL: Clock line SDA: Data line
OLED display, no need backlight, self-illumination, Screen color: blue. The display performance is better than traditional LCD, also lower consumption; IIC (I2C communications) simplifies connections. Use with Arduino, ESP8266, ESP32, STM32, etc. 3.3 to 5v voltage
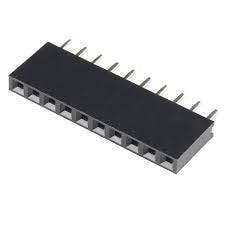
Pines macho
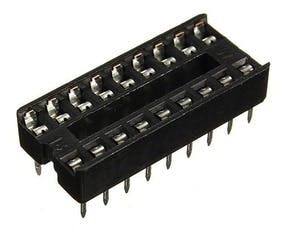
Socket for the arduino mini pro
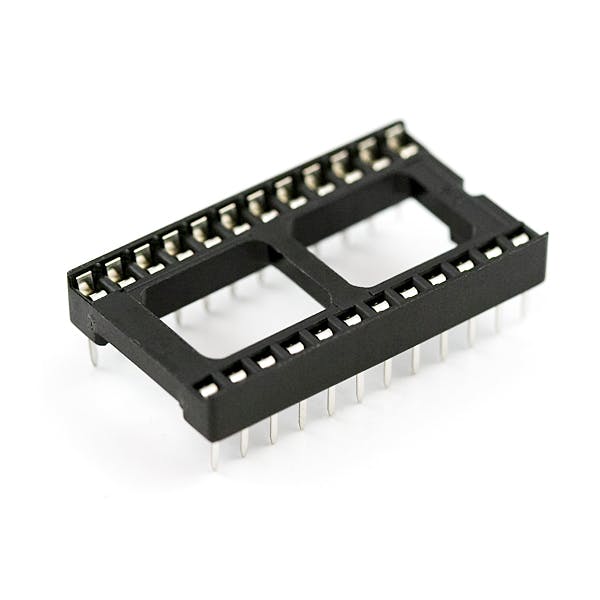
Socket for the MT8870 integrated circuit
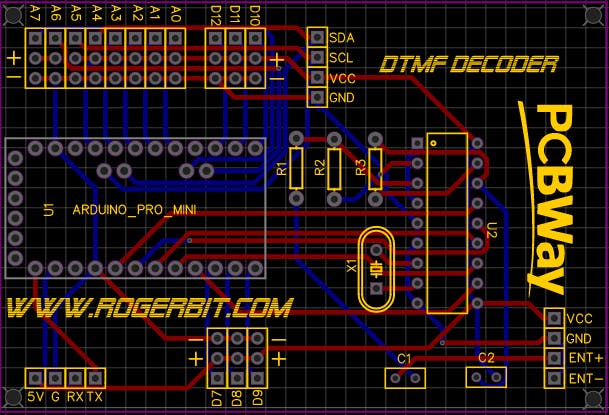
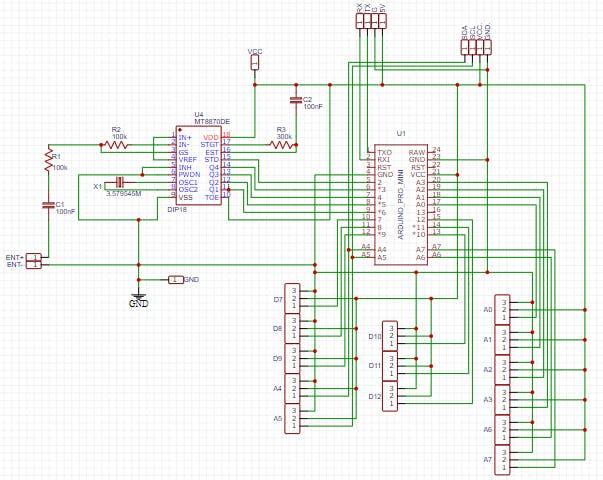
Circuit
PCB
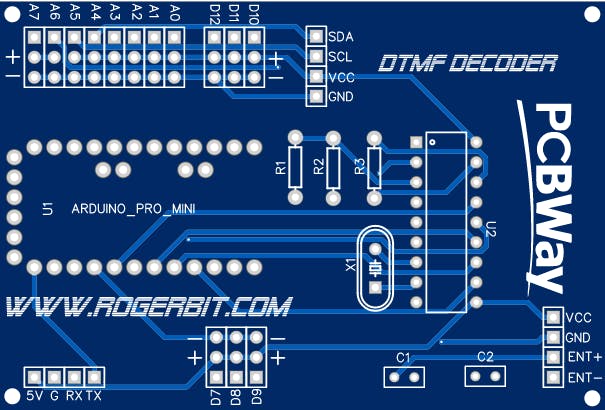
Download pcb –> dtmf duino