In this tutorial you will learn how to assemble and use a nuclear radiation detector.
You can purchase the Geiger Counter Kit here.
A Geiger counter is an instrument used for detecting and measuring ionizing radiation. Also known as a Geiger–Mueller counter (or Geiger–Müller counter), it is widely used in applications such as radiation dosimetry, radiological protection, experimental physics, and the nuclear industry.
Geiger counters are used to detect radioactive emissions, most commonly beta particles and gamma rays. The counter consists of a tube filled with an inert gas that becomes conductive of electricity when it is impacted by a high-energy particle.
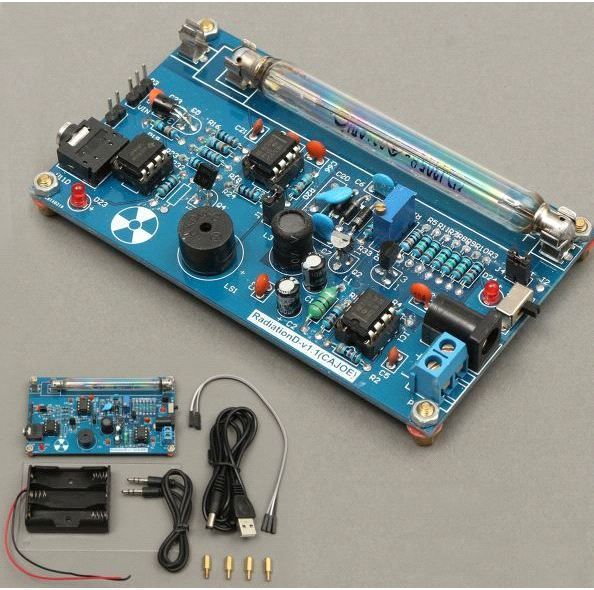
Supplies:
1 x Radiation Detector system Kit 1 x GM Tube 1 x Power supply cable 1 x Battery Holder 3 x Jumper Wires 4 x Nuts 1 x Acrylic cover
Description:
- Name:Radiation Detector system Geiger tube parameters
- diameter:Φ10±0.5mm
- Total length: 90±2mm
- Starting voltage: < 350V Recommended
- operating voltage: 380V
- Extreme operating voltage: 550V
- Medium temperature: -40 ~ 55 ℃
- Size:108x63x20mm
Extra info availabe here: https://www.banggood.com/Assembled-DIY-Geiger-Cou...
Geiger counter at work (copy the following link to the browser to watch): Http://v.youku.com/v_show/id_XNzI3MTU2NzQ0.html
Step 1: Soldering the Geiger Counter
This is a timelapse of the assembly process of the geiger counter.
Step 2: Using the Geiger Counter With an Arduino
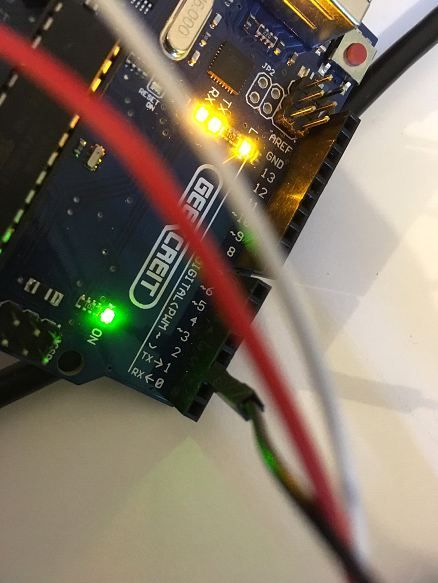
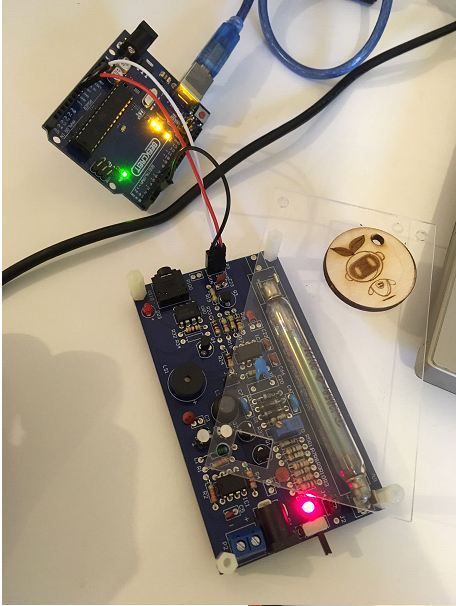
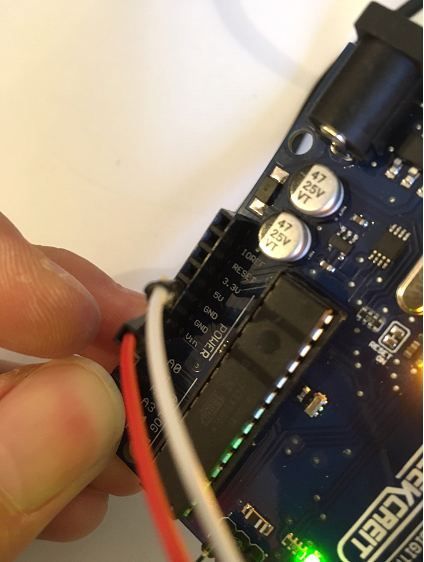
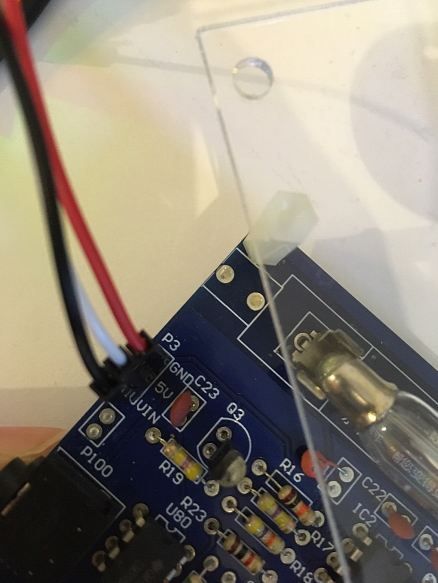
Connect P3 GND, 5V, VIN to Arduino GND, 5V, Digital 2 respectively.
Then in the arduino IDE software open the file: spi_rad_logger.ino which you could find
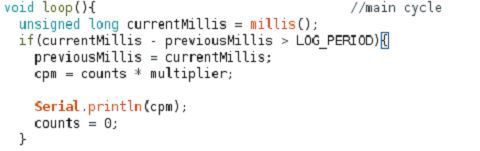
Be sure to change the Serial.print(cpm) command to Serial.println(cpm) in the void loop(){} for better readability.
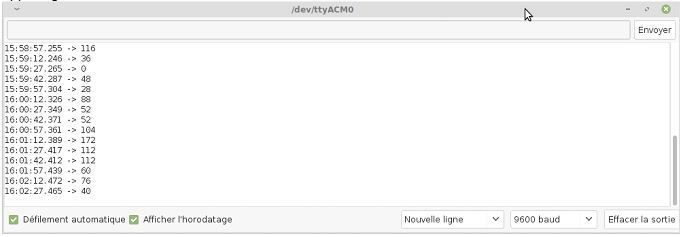
Upload the program onto the board. Once upload is completed, open the serial port window by clicking on the scope on the upper right corner.
Then we’ll get the radiation value displayed in CPM, counter per minutes which could be converted to uSv/h with the index 151(151CPM=1uSv/h for M4011 GM Tube).

EXPANDED TECHNICAL DETAILS
The High-Voltage Hardware Interrupt (J305 Geiger Tube)
A Geiger tube requires 400 Volts to operate!
- The project uses a dedicated Geiger Counter High-Voltage Shield (e.g., RadiationD-v1.1) to safely generate the 400V from the Arduino's 5V line.
- The Output Signal: When radiation hits, the shield outputs a flawless, safe 5V logic
LOWpulse to the Arduino! - The
attachInterrupt()Trap: You cannot usedigitalReadordelay()! The radiation strike lasts exactly 0.1 Milliseconds.
// The Uno listens exclusively to Pin 2 for violent falling edges!
attachInterrupt(digitalPinToInterrupt(2), countRadiationPulse, FALLING);

void countRadiationPulse() {
  radiationHits++; // The Geiger tube clicked!
}
Calculating Sieverts (CPM Mathematics)
The raw radiationHits variable is useless without thermodynamic conversion.
- The
loop()uses heavily timedmillis()arrays to calculate exactly how many hits occurred in the last 60 seconds (Counts Per Minute - CPM). - The Isotope Conversion: Different physical tubes (like the J305 or M4011) have a specific math constant (e.g.,
0.00812).float microSieverts = CPM * 0.00812; - The Uno rapidly blasts this
uSv/hdata onto a massive 16x2 I2C Characters Display, while simultaneously clicking an active Piezo Buzzer exactly synced to the ionizing radiation strike!
Nuclear Measurement Requisites
- Arduino Uno/Nano (Excellent external interrupt
INT0architecture). - Geiger Counter Radiation Sensor Module (It comes pre-assembled with a glass/metal tube and the crucial 400V boost converter!).
- I2C 16x2 LCD Display (For live radiation telemetry).
- Active Piezo Buzzer (Because the iconic "Clicking" noise is terrifyingly mandatory).
This tutorial has been produced as part of the DEEDU project, co-financed by the Erasmus + Programme of the European commission. Project n°: 2018-1-FR02-KA205-014144.
The content of this publication does not reflect the official opinion of the European Union. Responsibility for the information and views expressed therein lies entirely with the authors. For more information, email us at info@digijeunes.com.