SO, when working with bluetooth, you guys always have to write long codes, and also, In testing the project, you all can control the pins that you have defined in the code.
Well, Windows remote arduino is perfect for this problem.
it can control, every digital pin(toggle on / off), control pwm pins(used for adjusting values) and even take readings from analog pins.
So, let us get started.
The code for this project is also available in arduino ide itself.
Go to - Files - Examples - Firmata - Standard firmata.
First of all upload the code via usb cable in arduino and connect according to circuit diagram.
Before uploading, search the code for Firmata.begin(57600)
and you should change it to - Firmata.begin(9600)
And also do not forget to remove Tx and Rx pin connection from bluetooth module before uploading.
Then, download Windows remote arduino from microsoft store-It's free and even it does not need administrator pasword to work in our computer.
(Also make sure you have windows 10 or windows 8.1 operating system).
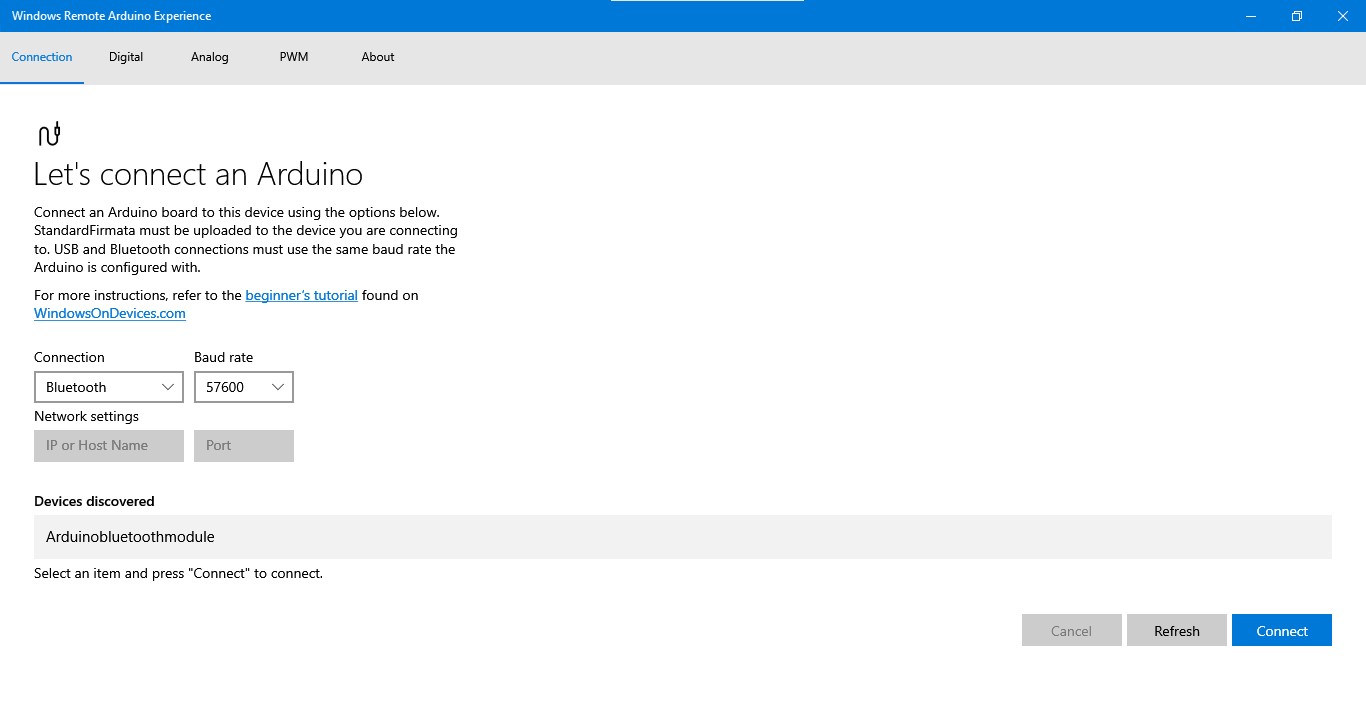
After opening, the app will look something like this -:
If you are connecting first time, you should open bluetooth(in settings) on your laptop and turn it on.
then click on 'add bluetooth or other device.'
then, you will see a dialog box with three options-
1)bluetooth
2)wireless display or dock
3)everthing else
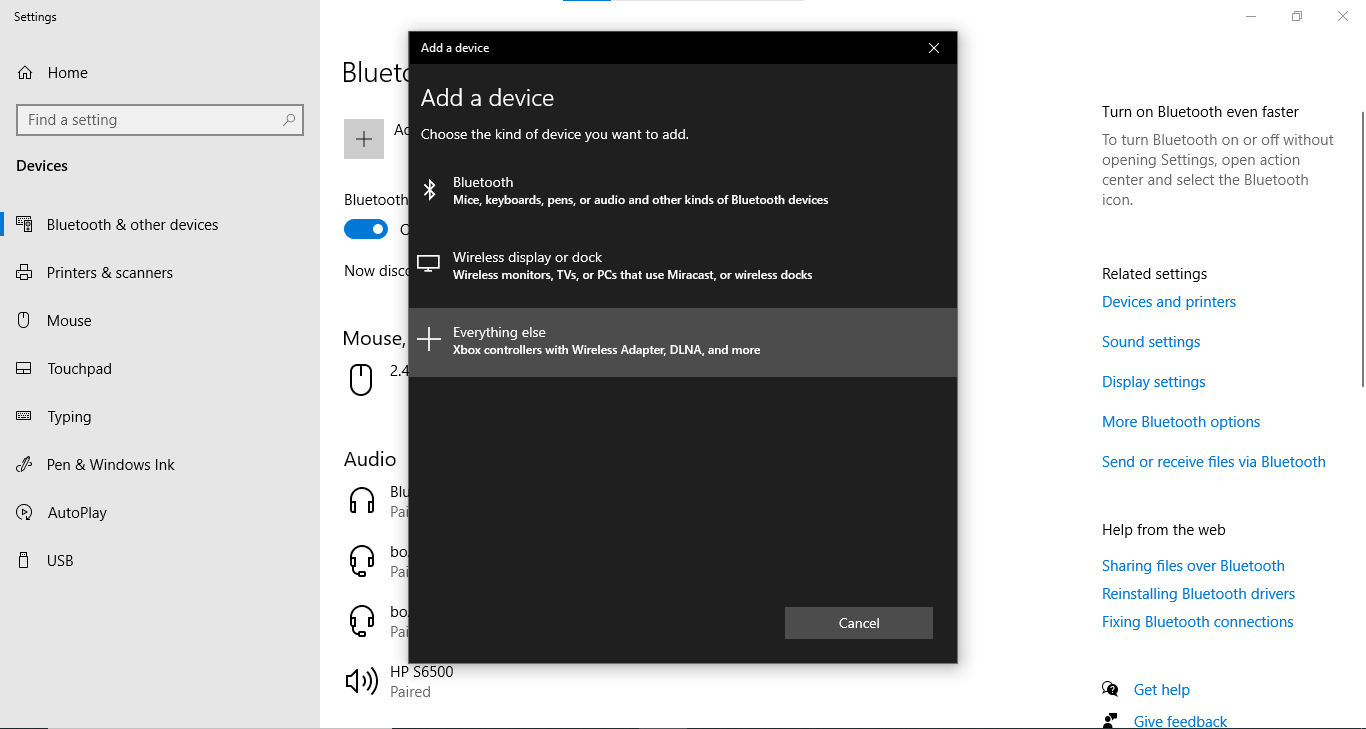
Then, click on bluetooth option, and your device will start searching for available devices.
Then, after some time you will see The name of your bluetooth module in available devices.
click on it and enter pin.(by default it is 1234 or 0000).
Then pair it.
then, you are ready to go to the app.
In the drop down list of Baud rate, select 9600. (HC-05/06)
Then in the device discovered, select HC-05/06 - The one that you have connected with arduino.(The arduino should be turned on and the led on bluetooth module should be blinking if it is not connected.)
(In the picture above it is arduinobluetoothmodule showing because I have changed its name, originally it is HC-05)
After connecting, it will automatically switch to ' Digital' tab.
Now the real fun begins!!!
Now, according to circuit diagram, here is what you can do with Windows remote arduino.
1)Click on digital tab, and then click on the selection option that is under value tab, in front or pin 2.
led will turn on.(you can test this with as many led as you want.
2)Click on pwm tab, and enable pin 3 from selection option.
you will get a slider tool.
From that, you can control the brightness of led connected on pin 3.
(you will notice that in pwm tab there are only pwm pin 3, 5, 6, 9, 10. That is because in arduino uno those pins are the pins dedicated for pwm use.)
3)Now, click on the analog tab, there eneble the A0 pin.
You will get the value that is being sent by photoresistor.
(you can test with any analog sensor if you want).
So, guys this was the project. hope you like it., thank you
(connection of bluetooth module-
TX----->RX of arduino
RX----->Tx of arduino
VCC---->5v
GND---->Gnd)
this project will also work with windows mobile supplied with windows 10 or windows 8.1 operating system.
EXPANDED TECHNICAL DETAILS
Windows 10 Hardware Bridge Interface
This project demonstrates how to control an Arduino directly from a Universal Windows Platform (UWP) app, leveraging the Windows Remote Arduino bridge for seamless PC-to-hardware interaction.
- Firmata Protocol Synchronization: The Arduino runs the StandardFirmata sketch. This allows the Windows 10 PC to control individual digital/analog pins, PWM outputs, and I2C sensors over USB, Bluetooth, or WiFi using high-level C# or JavaScript.
- UWP Application Handshake: Provides a technical guide for setting up the Windows 10 environment. The PC app acts as the primary "Brain," with the Arduino serving as a remote I/O expander for the computer.
Prototyping
- Web Editor validated: The initial Firmata configurations were refined in the Arduino Web Editor, ensuring the serial handshake remains 100% stable during high-speed data transfers.