Blynk
Blynk is an IOT platform useful for making projects connected to the Internet and accessible from a phone or mobile device.
Setup
Download it to your device. Click "New Project"
You may have to sign up/log in. My username and password were the same as my Arduino account. This may or may not be the same for you.
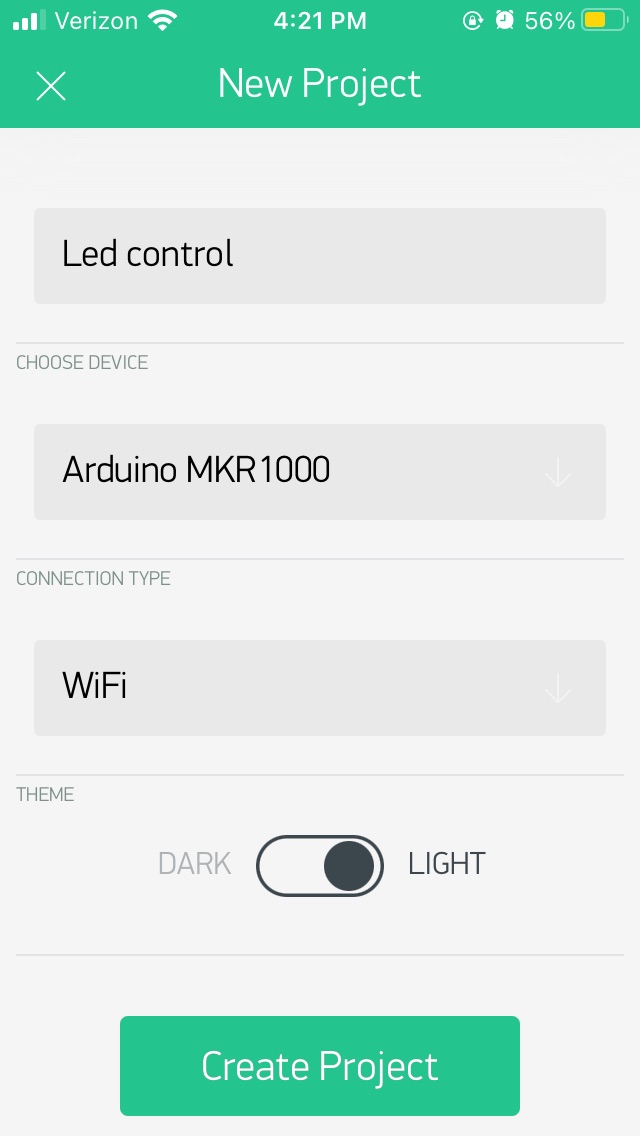
Set the board to "Arduino MKR1000." (Blynk does not yet have an Arduino MKR WiFi 1010 option.) Set the connection type to WiFi. Set the name to what you want. Here is a screenshot of what mine looks like in setup.

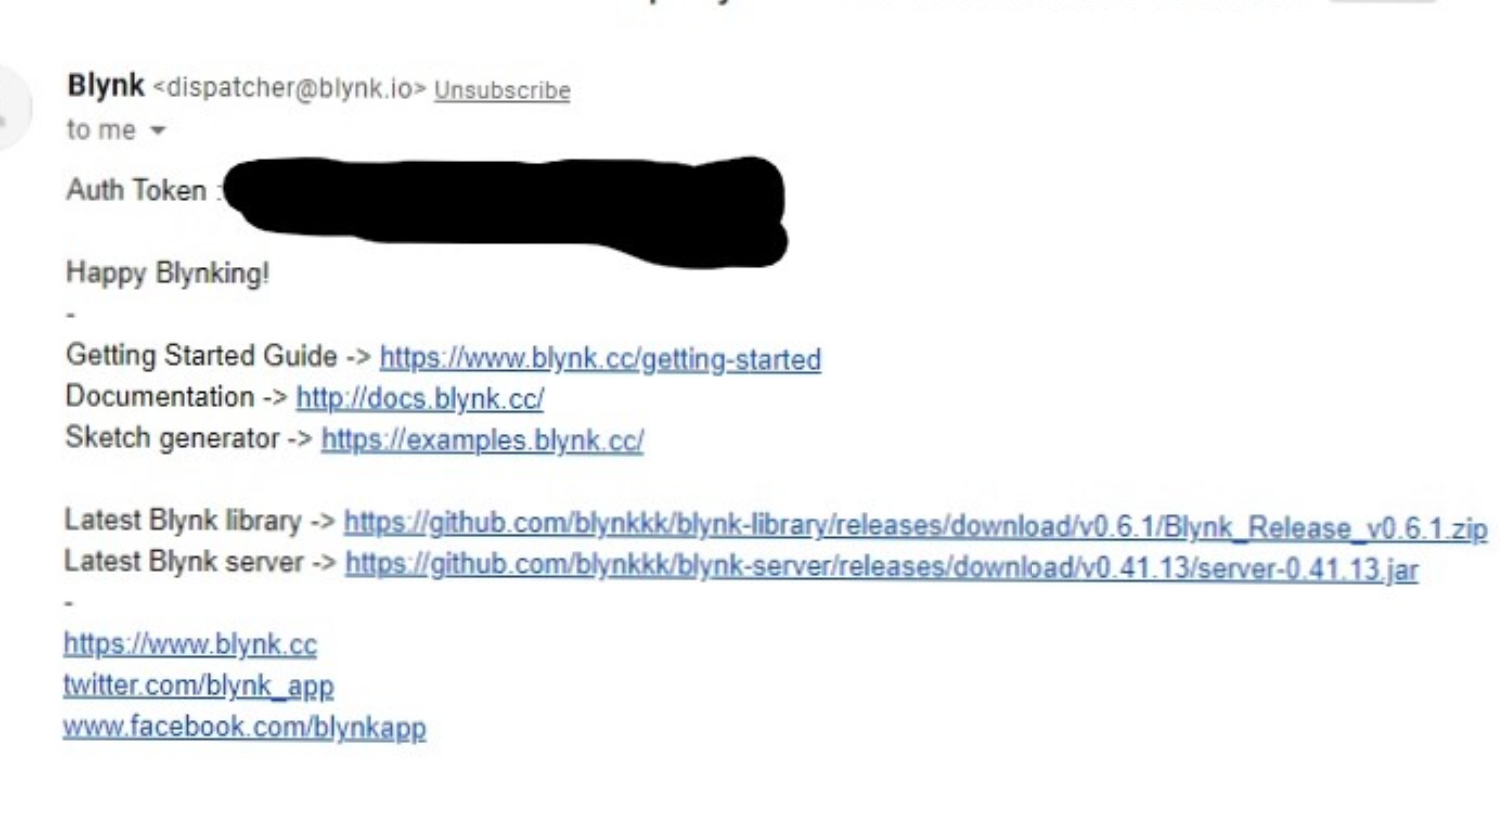
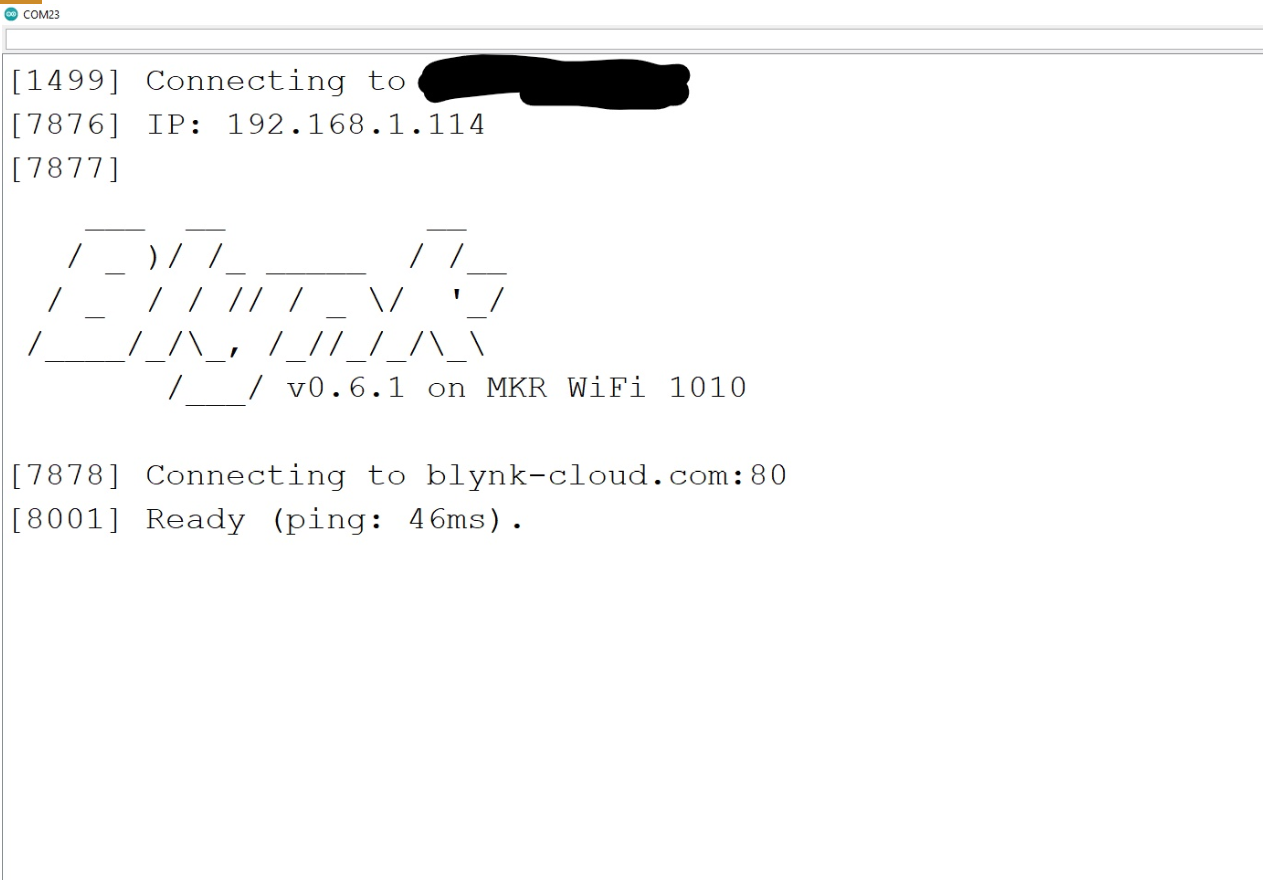
After you are done with the setup above, upload the code at the bottom of the page to your Arduino MKR WiFi 1010. Open the Serial monitor. After about 15-20 seconds of load time, you should see something like this:
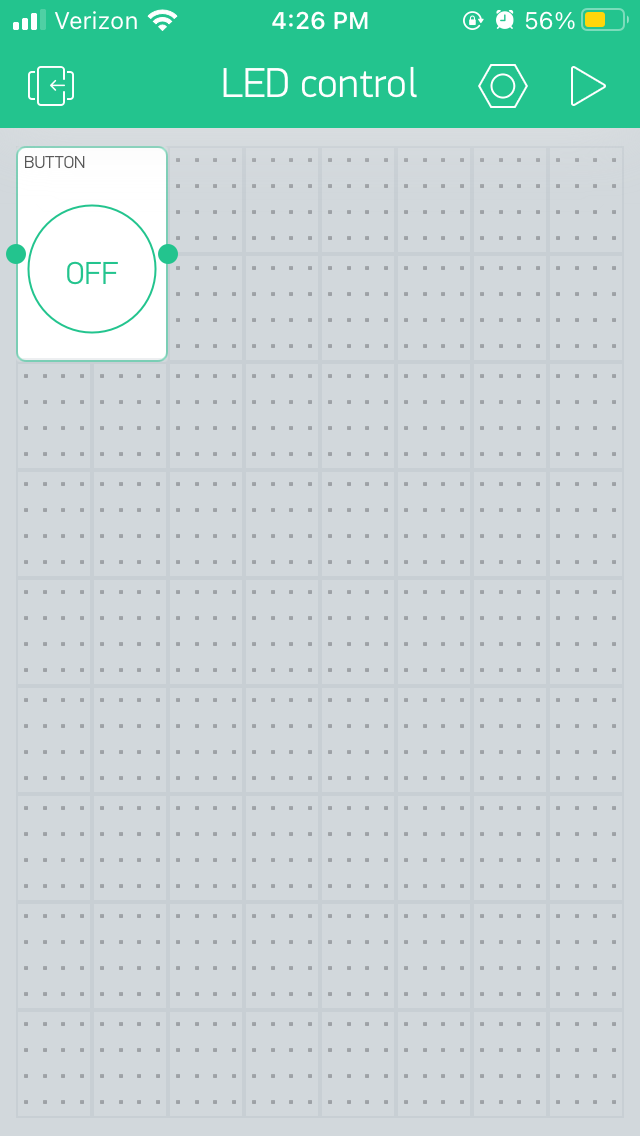
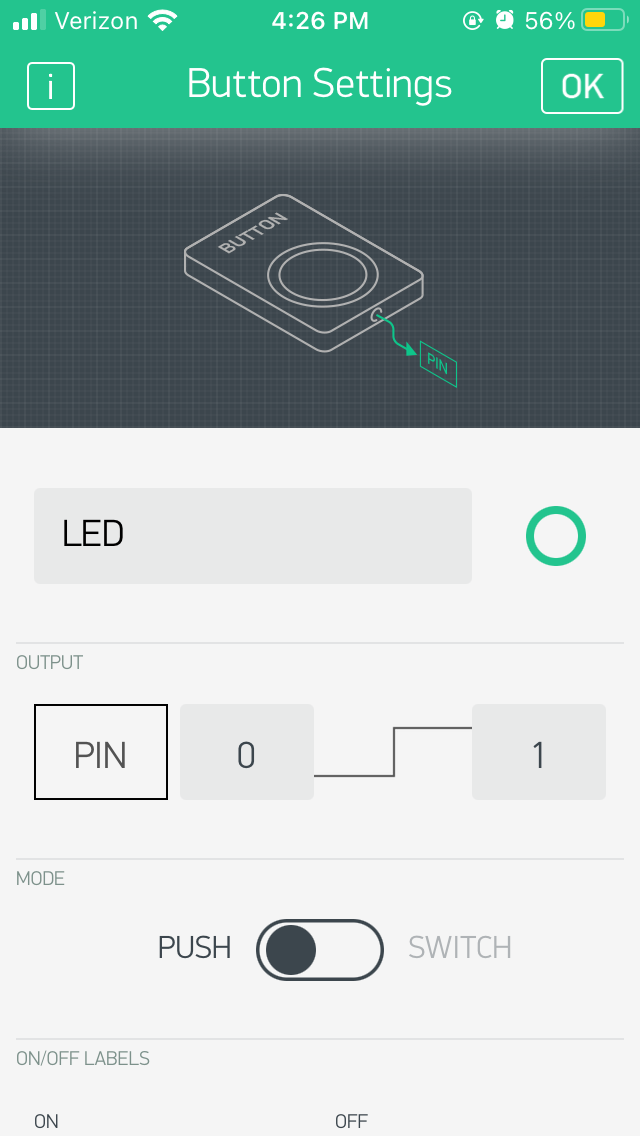
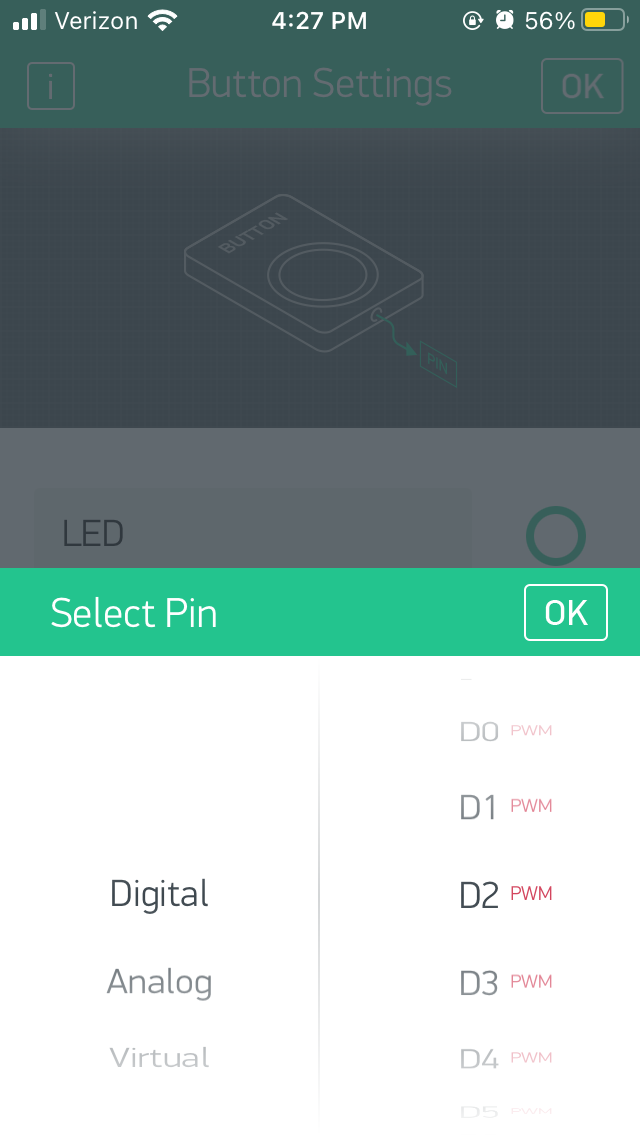
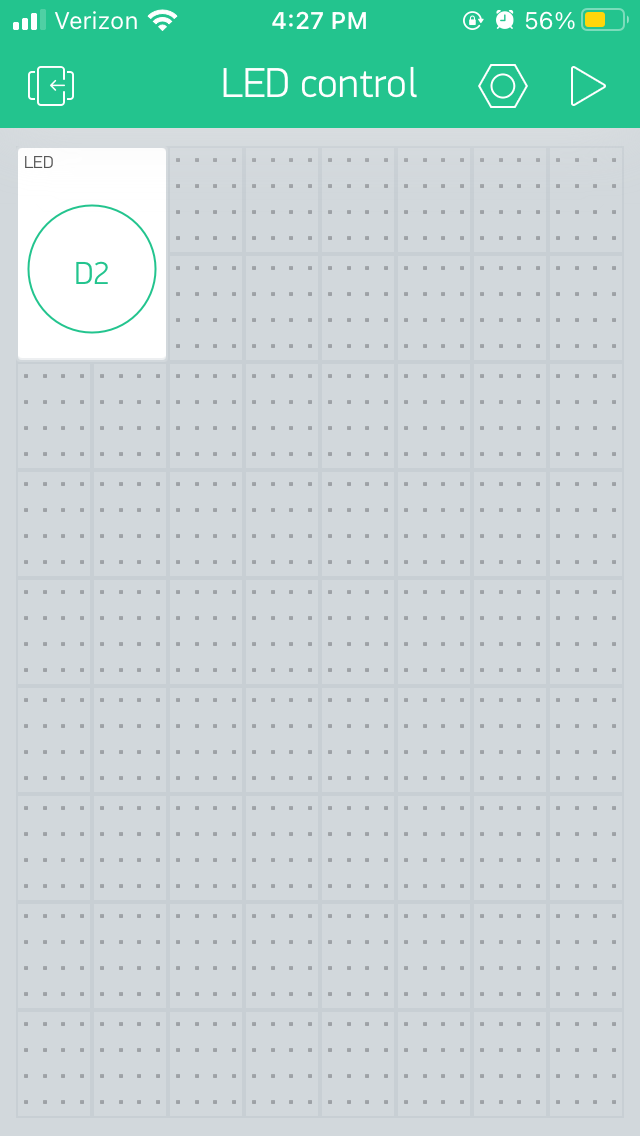
Be In the Blynk app, on your new project, press the Play button at the top of the screen. You should now be able to turn the LED from your device now. If not, make sure the LED is connected to GND and D2, the button on your phone is connected to Digital 2 (D2.) Also, try switching the LED, it might be broken, try switching the wires, they might be broken
EXPANDED TECHNICAL DETAILS
Rapid IoT Prototyping Blueprint
A comprehensive guide for beginners to bridge their physical Arduino hardware with a custom smartphone dashboard using the Blynk IoT platform.
- Virtual Pin Routing Matrix: Explains the concept of "Virtual Pins" (V0-V255), which allow the Arduino to send and receive data from app widgets (buttons, sliders, gauges) without using physical GPIO pins for every function.
- Blynk-Library Handshake: Demonstrates how to initialize the connection using a WiFi or Ethernet shield. The firmware includes a "Hearbeat" check to ensure the hardware remains online and responsive to app events.
Prototyping
- Web Editor verified: The starter code is optimized for the Arduino Web Editor, providing a seamless "Click-to-Cloud" development experience for first-time IoT users.