Introduction
The Raspberry Pi Pico and Pico W (based on the RP2040 microcontroller) are versatile and affordable development boards that support multiple programming languages, including MicroPython, CircuitPython, and C/C++.
This tutorial will guide you through setting up the Raspberry Pi Pico/Pico W in the Arduino IDE using a third-party library, enabling you to write Arduino-style code for these boards.
We'll further use this library to run a simple example that blinks the onboard LED.
This setup is also compatible with the Raspberry Pi Pico 2 and Pico 2 W (RP2350) as well.
Project Overview
"Pico-Core" represents a paradigm shift in the Arduino ecosystem. The Raspberry Pi RP2040 silicon introduces architectural features previously reserved for high-end microprocessors. This project documents the transition to the Pico platform, focusing on the forensics of Symmetric Multiprocessing (SMP) and the revolutionary Programmable I/O (PIO) engine. By utilizing the optimized Earle Philhower core, developers can leverage the efficiency of C++ while maintaining the familiar Arduino API.
Steps
Step 1: Setting Up the Arduino IDE:
Make sure you have the latest version of the Arduino IDE installed. You can download it from the official Arduino website.
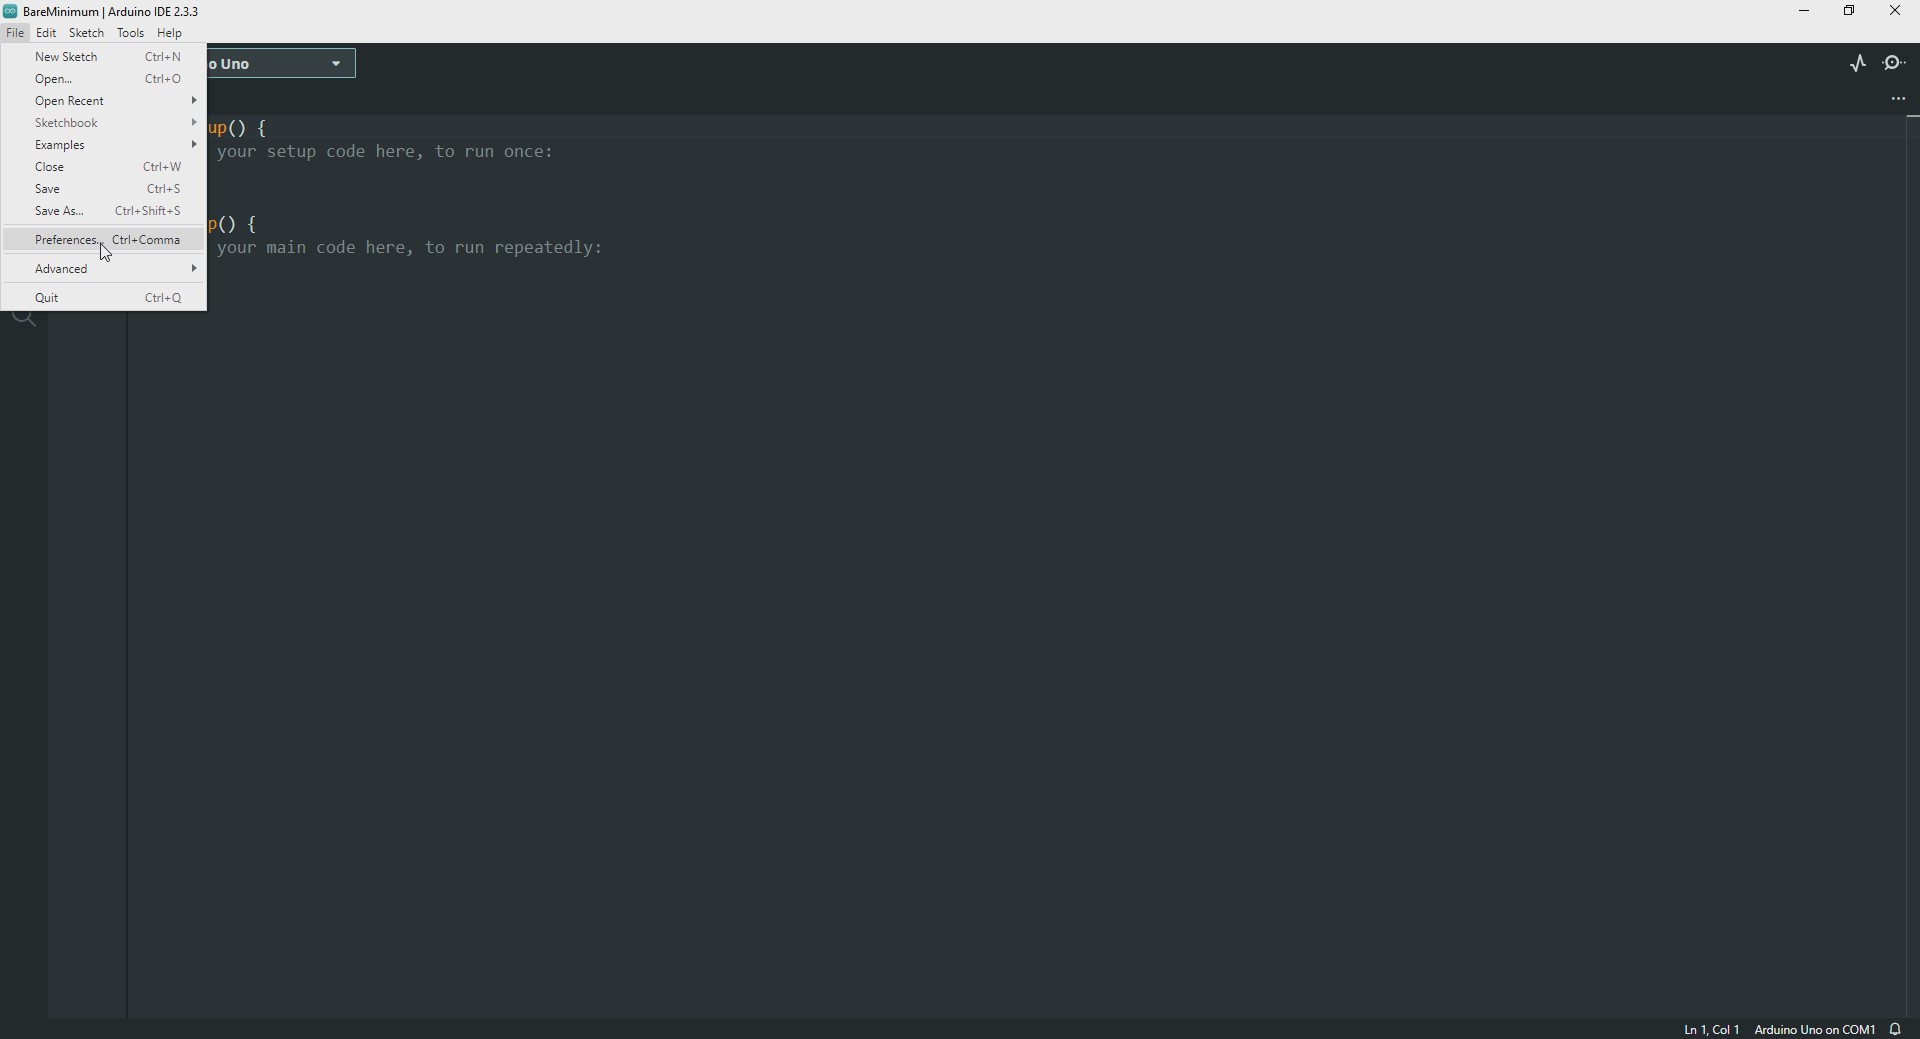
Open the Arduino IDE and navigate to File > Preferences .
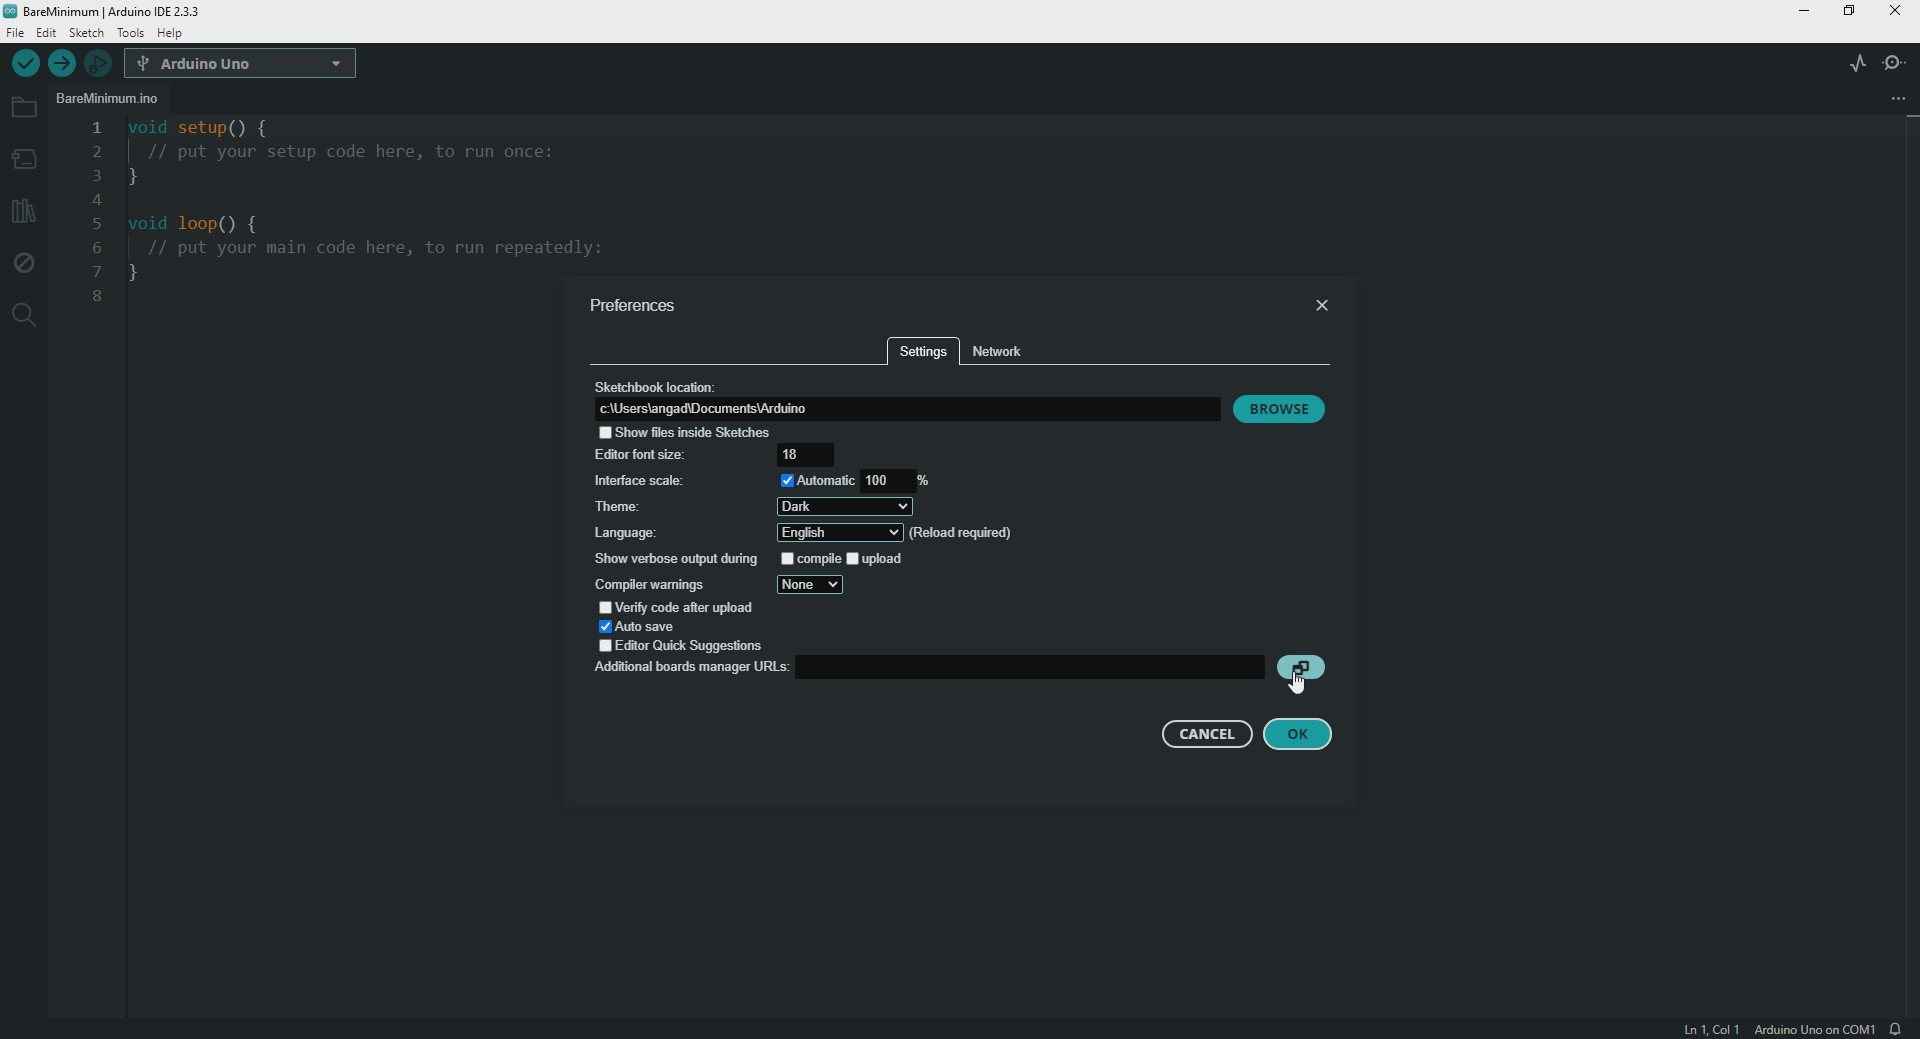
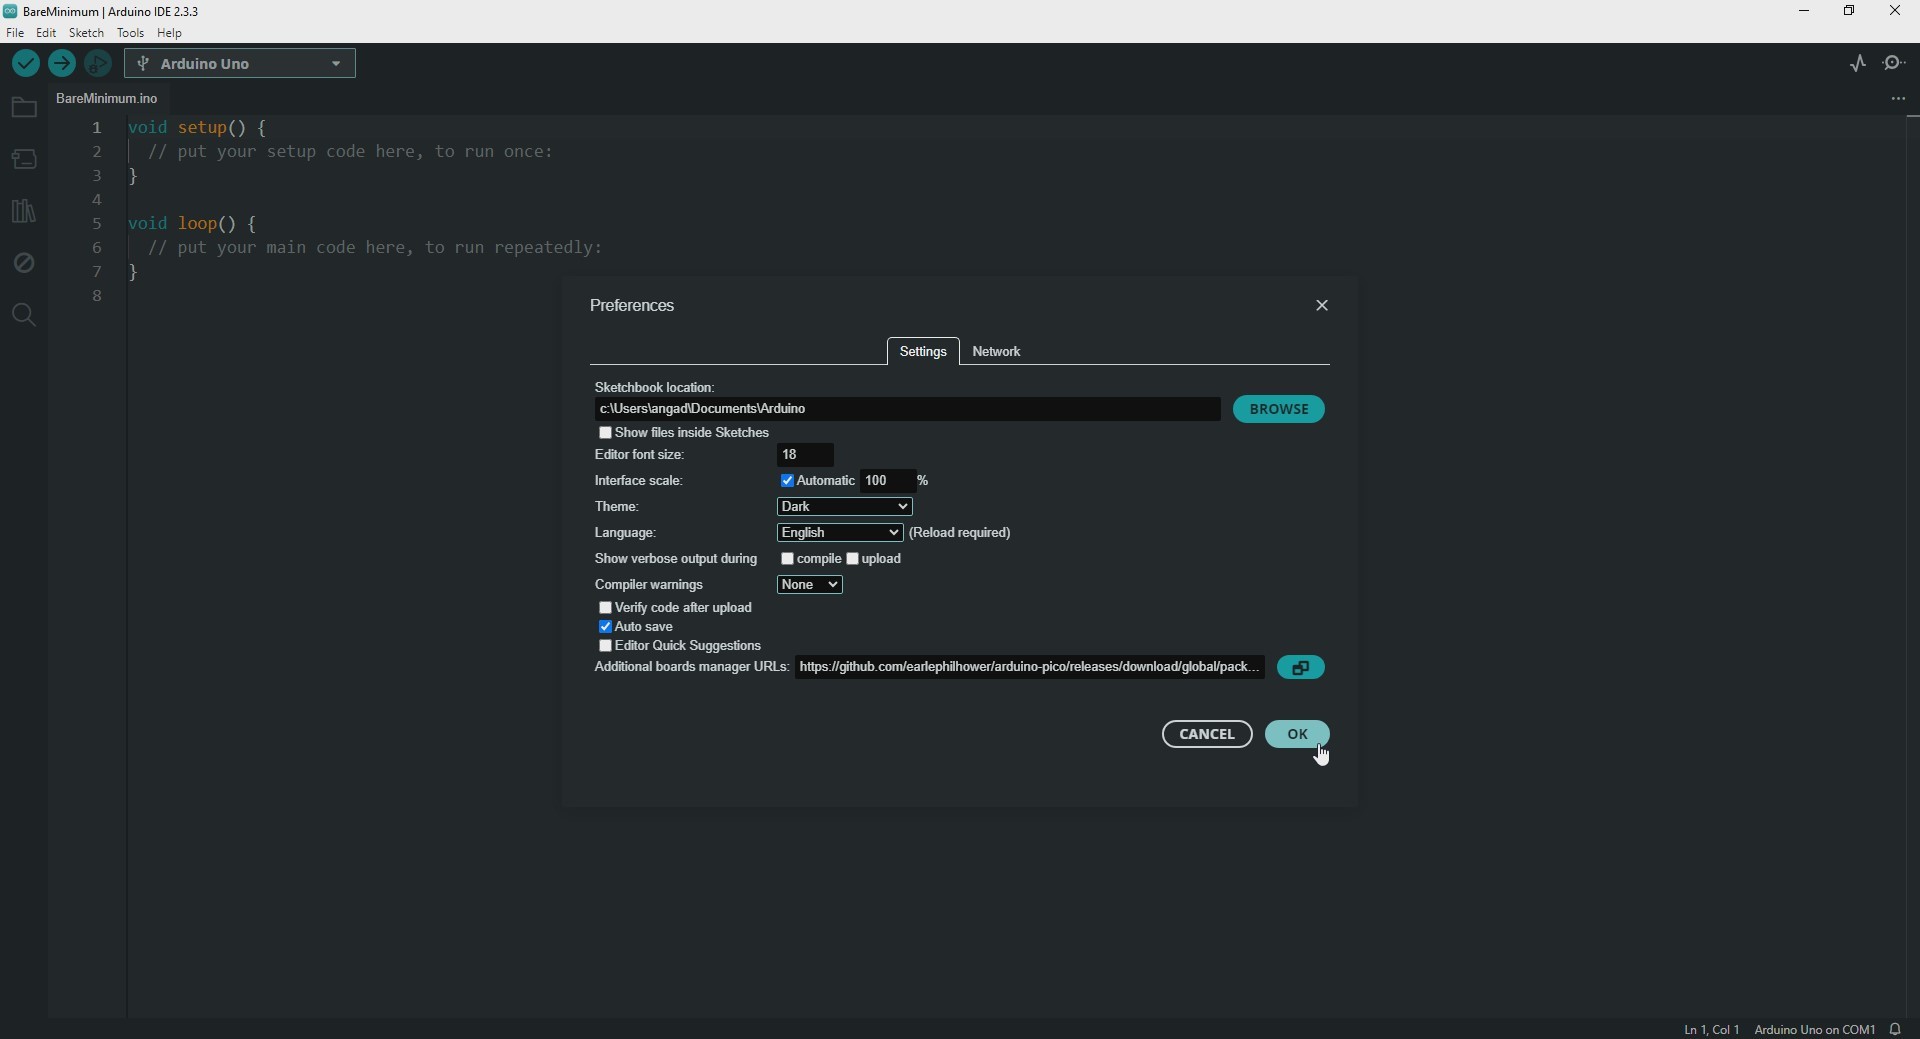
In the "Additional Boards Manager URLs" field, enter the following URL:
https://github.com/earlephilhower/arduino-pico/releases/download/global/package_rp2040_index.json
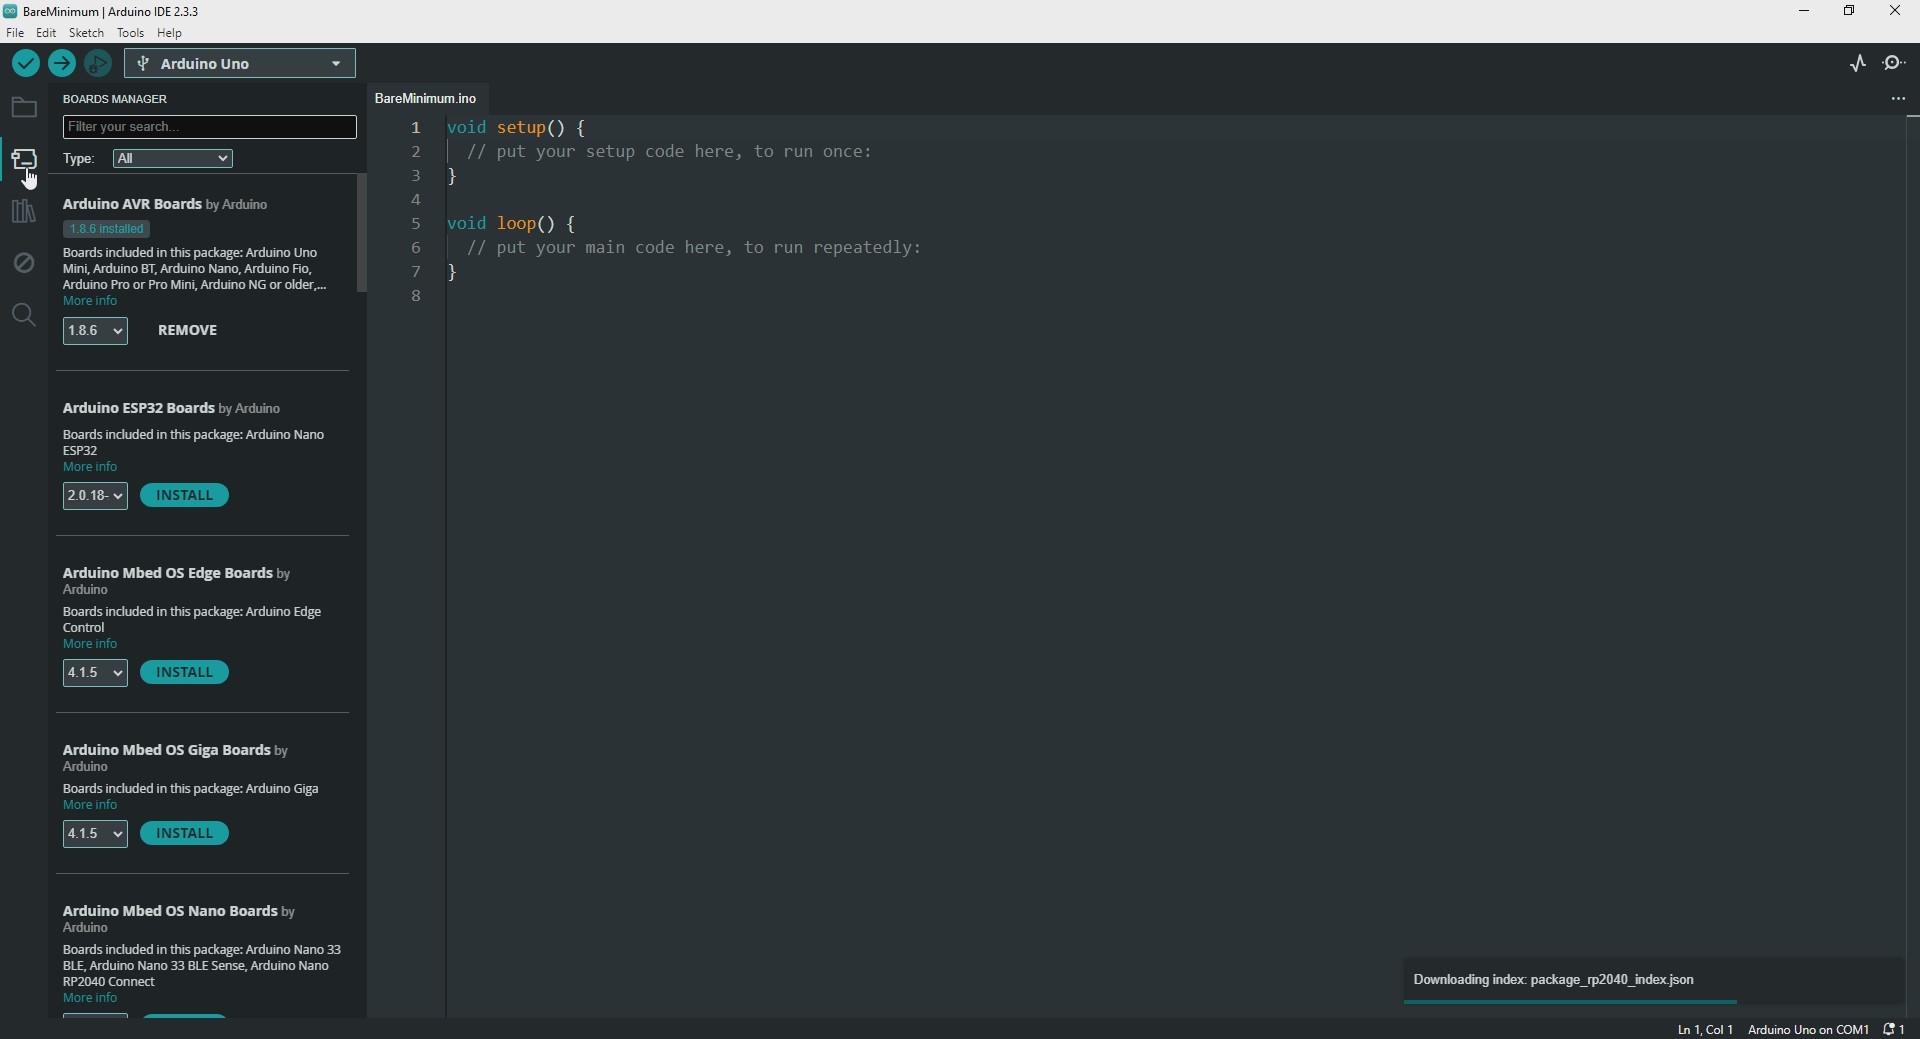
Step 2: Installing the Raspberry Pi Pico Board Support:
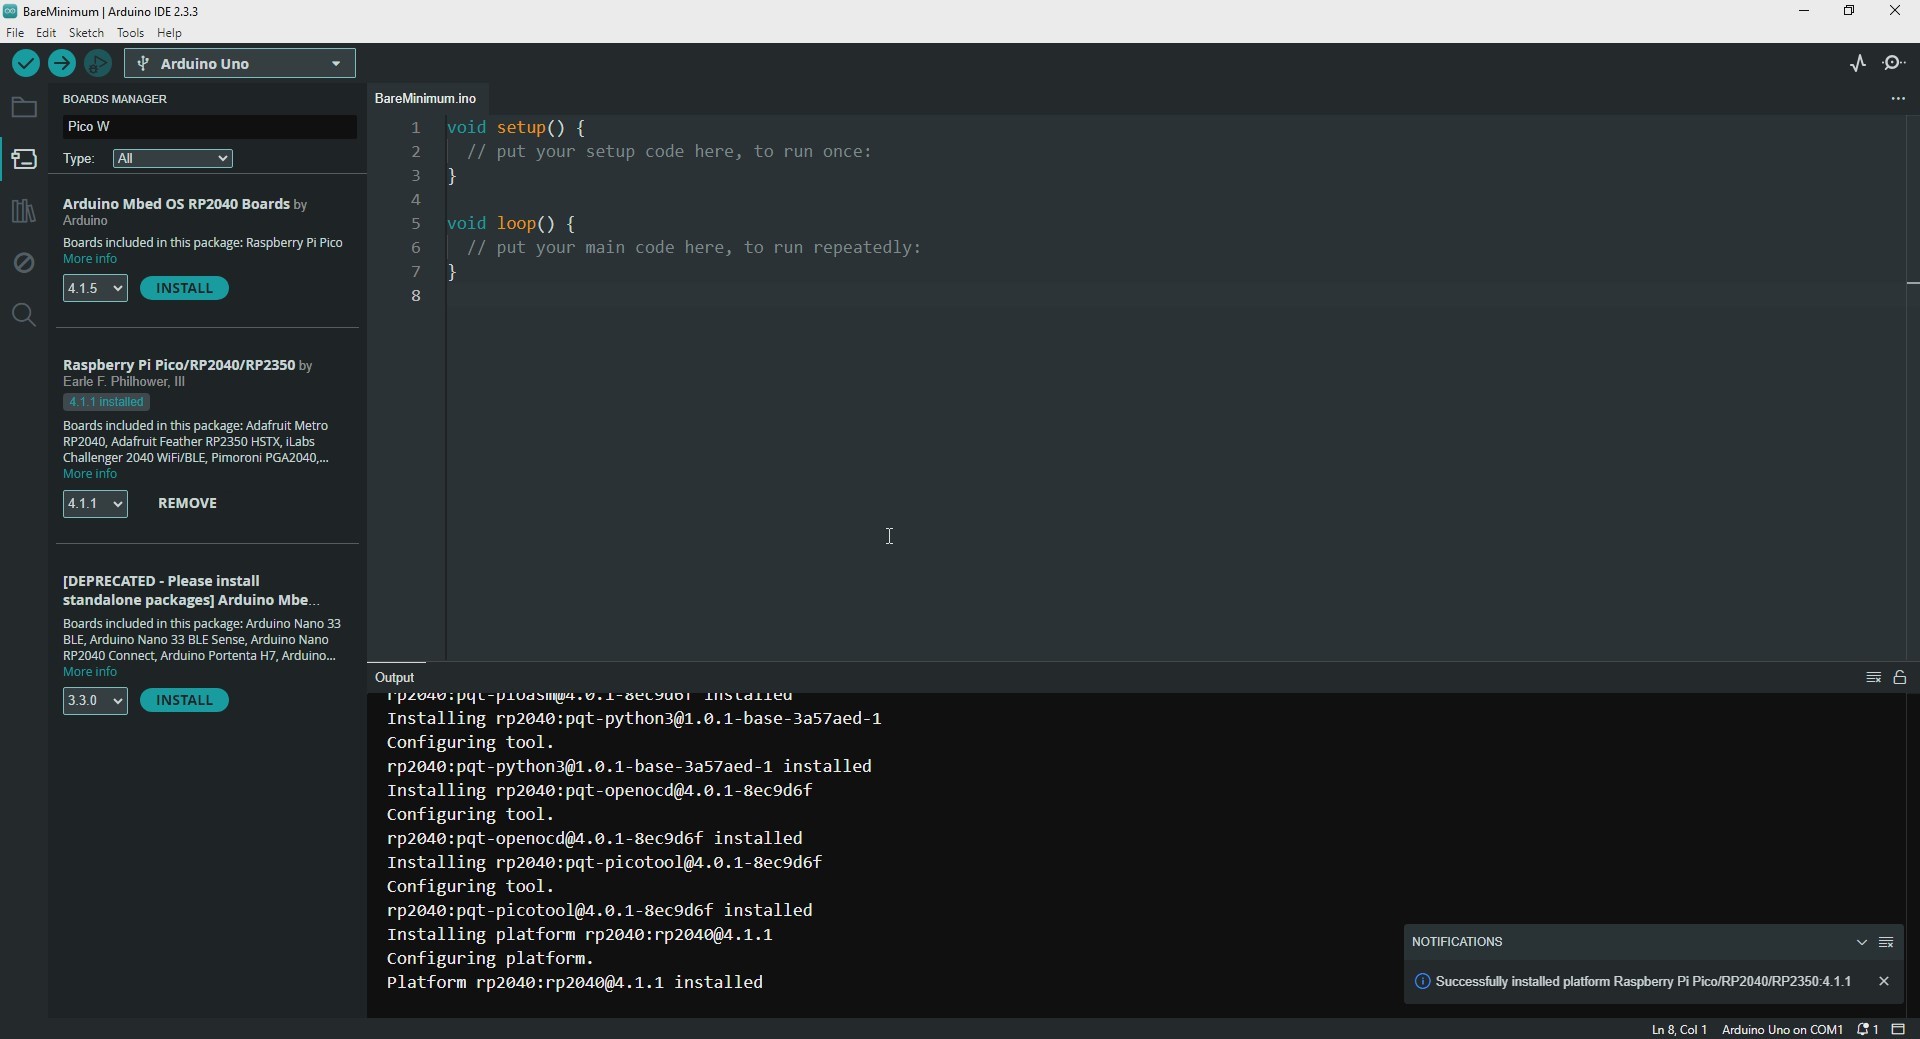
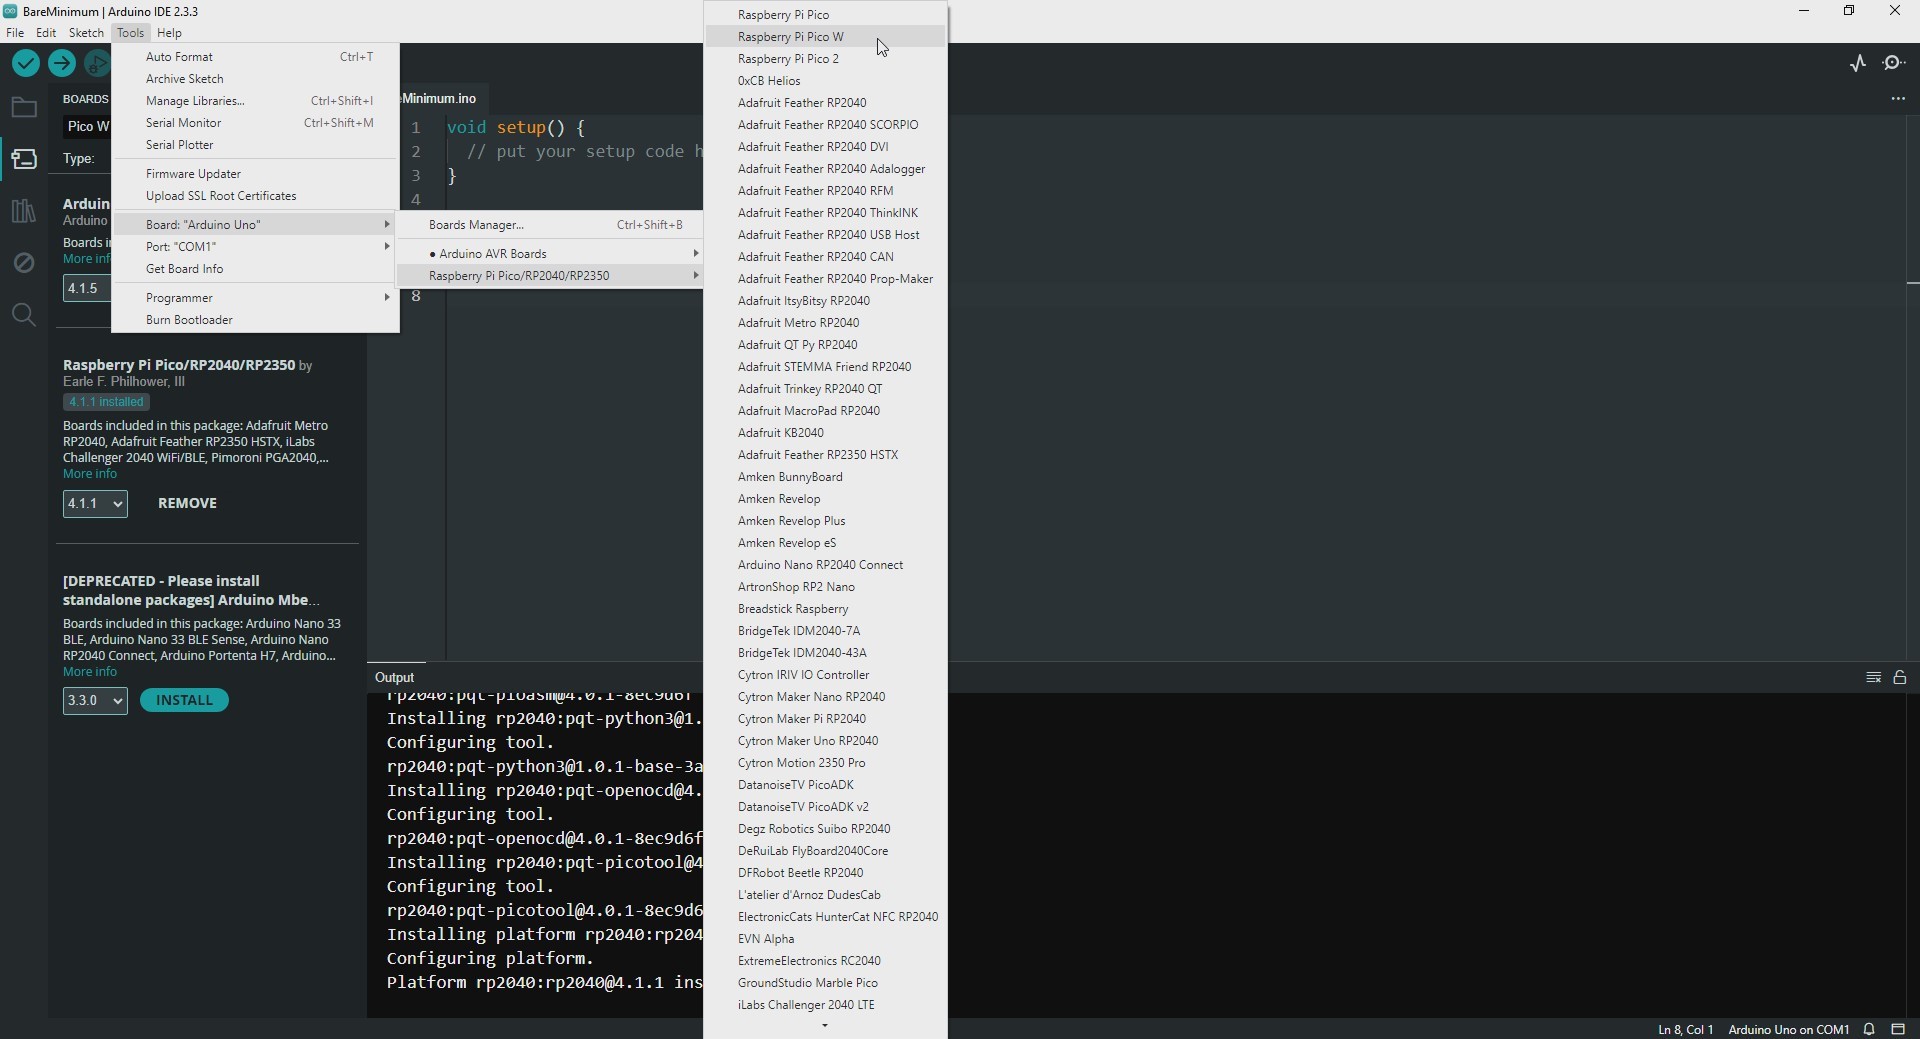
Go to Tools > Board > Boards Manager , search for "Raspberry Pi Pico" in the Boards Manager window, and install the "Raspberry Pi Pico/RP2040/RP2350" package by Earle Philhower .
This package supports various boards like Raspberry Pi Pico, Pico W, Pico 2 and Pico 2 W, making it easy to program them in the Arduino IDE.

Technical Deep-Dive
- RP2040 Dual-Core Forensics:
- Symmetric Multiprocessing (SMP): Unlike traditional Arduinos, the Pico features two independent ARM Cortex-M0+ cores. This project demonstrates how to run code on
setup1()andloop1()concurrently with the main loop. This is essential for offloading high-latency tasks (like WiFi telemetry or SD card logging) to Core 1 while maintaining real-time sensor polling on Core 0. - Inter-Core Communication (FIFO): Data integrity between cores is managed via hardware-level FIFOs. The firmware utilizes these "Push/Pull" buffers to transmit variables between the two cores with zero race-condition risk.
- Symmetric Multiprocessing (SMP): Unlike traditional Arduinos, the Pico features two independent ARM Cortex-M0+ cores. This project demonstrates how to run code on
- PIO (Programmable I/O) State Machines:
- Hardware-Accelerated Bit-Banging: The Pico features 8 independent PIO state machines. These are essentially sub-processors that run assembly-like code to handle cycle-accurate protocols (e.g., controlling a 1000-LED strip or generating a VGA signal) without consuming a single CPU cycle.
- Forensic Protocol Offloading: This project identifies the PIO engine as the key to achieving "Deterministic IO," where timing is governed by a dedicated hardware clock rather than software loops.
- UF2 Bootloader & Mass-Storage Logic:
- The Drag-and-Drop Forensics: The RP2040 contains a ROM-based bootloader that enables the UF2 (USB Flashing Format). When the BOOTSEL button is toggled, the Pico enumerates as a USB Mass Storage device. This forensics bypasses the need for specialized JTAG/SWD programmers, allowing for rapid field deployment of
.uf2binary files.
- The Drag-and-Drop Forensics: The RP2040 contains a ROM-based bootloader that enables the UF2 (USB Flashing Format). When the BOOTSEL button is toggled, the Pico enumerates as a USB Mass Storage device. This forensics bypasses the need for specialized JTAG/SWD programmers, allowing for rapid field deployment of
Step 3: Connecting the Pico/Pico W to Your Computer
The Raspberry Pi Pico/Pico W supports two upload methods: Serial and UF2 .
The serial method is generally easier and more convenient, as it doesn't require using the "BOOTSEL" button each time.
Connecting via Serial (Easier)
Simply connect your Pico/Pico W to your computer with a USB cable. In the Arduino IDE, go to Tools > Port and select the correct COM port.
Connecting via UF2
If needed, you can enter USB mass storage mode by pressing and holding the "BOOTSEL" button while plugging in the USB cable. This activates the UF2 upload option in the Arduino IDE. The board will appear as a "UF2 Board" under Tools > Port > UF2conv . Select this option to connect to the Pico/Pico W in UF2 mode.
Step 4: Uploading Code to the Pico/Pico W
To upload your code, you can use either method:
Serial Method: Ensure the correct COM port is selected and click Upload in the Arduino IDE. The code will upload directly without needing to enter USB mass storage mode, making this a faster option.
UF2 Method: If using UF2 mode, select "UF2 Board" as the port and upload. After uploading, the board will automatically disconnect and reconnect on a COM port, allowing Serial Monitor communication at the specified baud rate.
With either method, the Pico/Pico W will function like a regular Arduino and allow serial communication after the code uploads.
Engineering & Implementation
- Core Driver Selection:
- The implementation leverages the Earle Philhower Arduino Core, which is built on the Raspberry Pi C++ SDK. This core is preferred over the official Mbed implementation for its superior PIO support, high-speed over-clocking capabilities (up to 250MHz+), and comprehensive filesystem (LittleFS) integration.
- WiFi Telemetry (Pico W):
- For the Pico W variant, the core bridges the CYW43439 wireless chip with the Arduino WiFi library, demonstrating how to maintain a persistent TCP/IP stack on Core 1 while the mechatronic logic remains uninterrupted on Core 0.
- RP2350 Continuity (Pico 2):
- The project provides a forward-looking guide to the Hazard3 RISC-V cores available in the RP2350, ensuring that the setup and logic remain consistent as developers transition to the next generation of Raspberry Pi silicon.
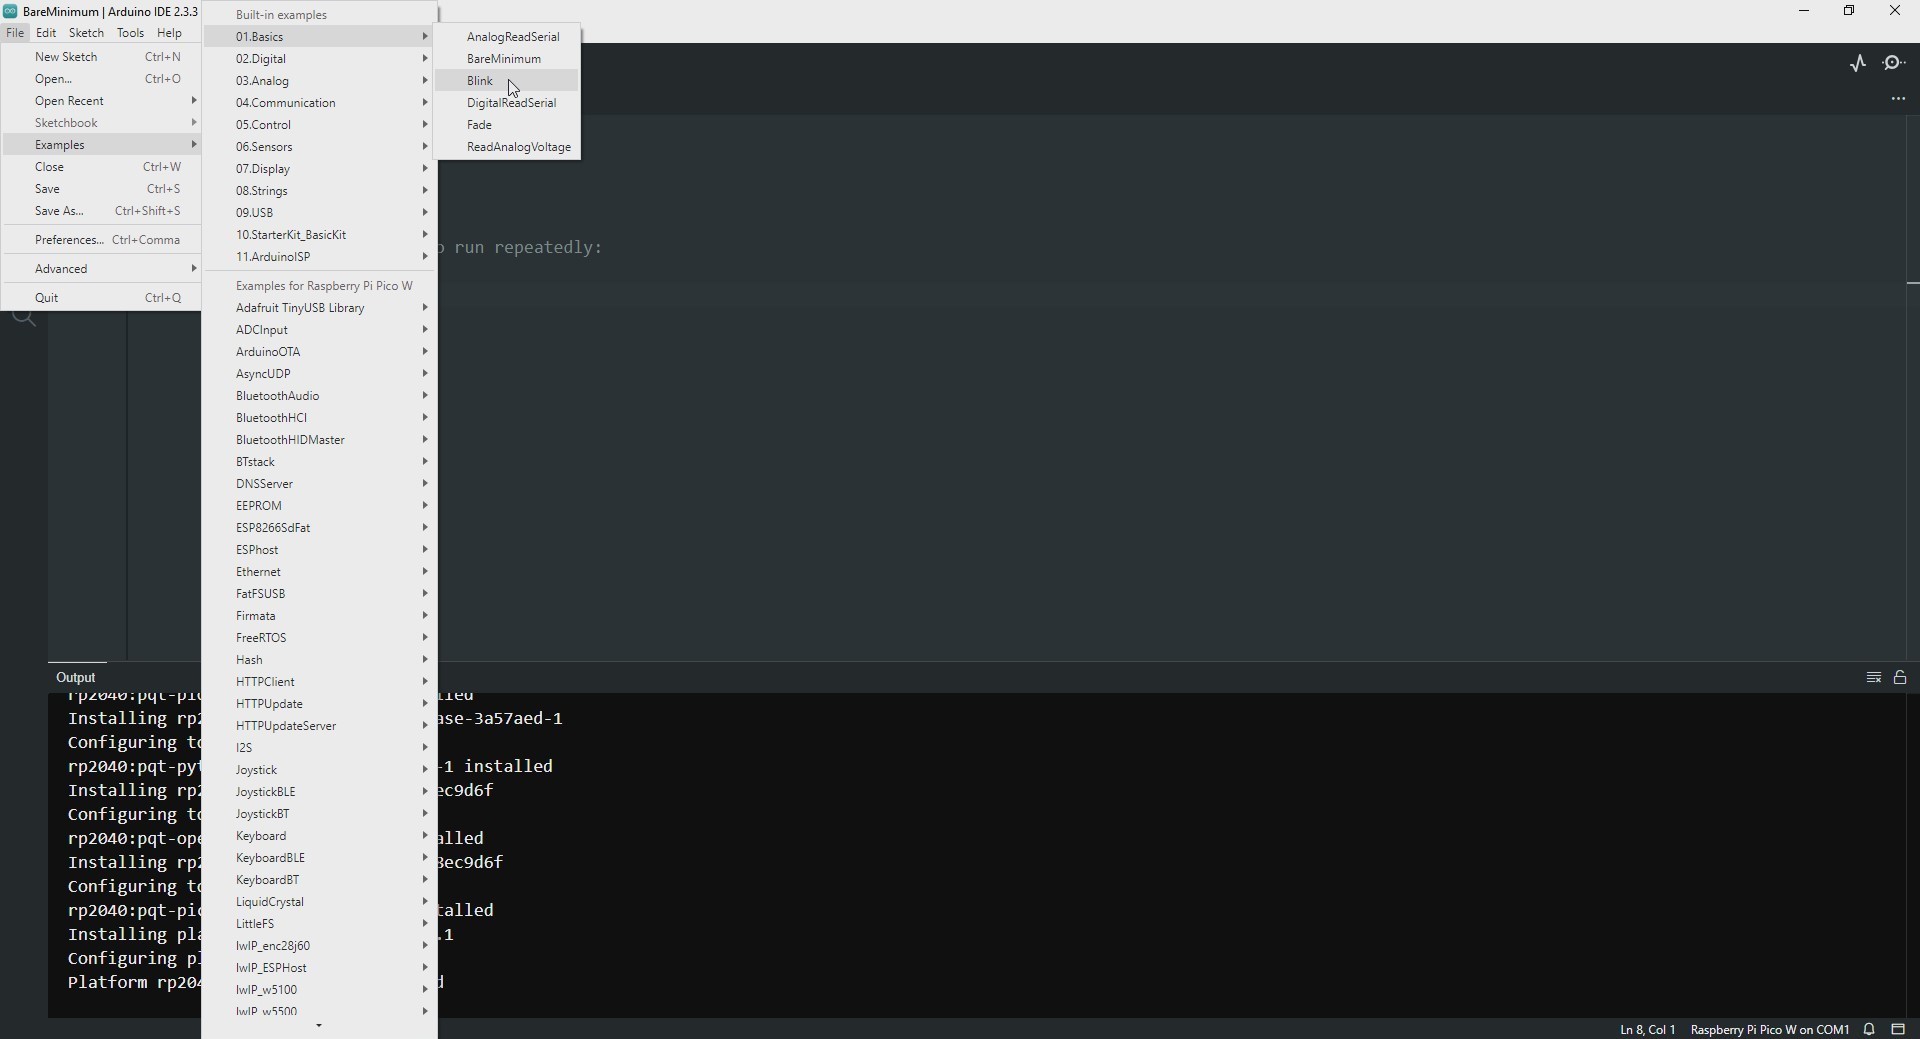
Example Project: Blinking the Onboard LED
Now that the board is set up, let’s create a simple blink program for the onboard LED.
Open File > Examples > 01.Basics > Blink , which will open a new sketch for blinking the LED.
Upload the code to the board by clicking the "Upload" button. The onboard LED should start blinking.
Benefits of Using Arduino IDE Over MicroPython/CircuitPython:
Familiarity for Arduino Users: If you have experience with Arduino, using the Arduino IDE will feel familiar, as you can use standard libraries and functions.
Wider Ecosystem of Libraries: Arduino has a broad selection of libraries that can be easily integrated into projects, allowing more flexibility and expansion compared to the Python ecosystems.
Speed and Performance: C/C++ (used in Arduino) tends to have better execution speed than interpreted languages like MicroPython.
Conclusion
Pico-Core is the foundation for the next decade of Embedded Systems Design. By mastering Dual-Core Execution and PIO State Machine Forensics, developers can build high-performance, protocol-agnostic applications that far exceed the capabilities of traditional 8-bit microcontrollers.
Conclusion:
You have successfully set up your Raspberry Pi Pico/Pico W with the Arduino IDE and completed the simple blink program.
The Arduino IDE offers a user-friendly environment for those familiar with Arduino, providing a variety of libraries and a vast community.
If you want to explore more, check out my profile for related projects, and don’t forget to follow me for updates on new tutorials and advanced projects!