Happy Birthday Music Tune With Arduino Uno
In this arduino project I will show you how to connect speaker with arduino board and Happy Birthday with arduino code.
The Happy Birthday Tone project is a delightful way to explore music generation on microcontrollers. Whether you're building a musical gift box or a greeting card, this project brings your Arduino to life with recognizable melodies.
Step 1: Required Components
Happy Birthday Song using Arduino Uno
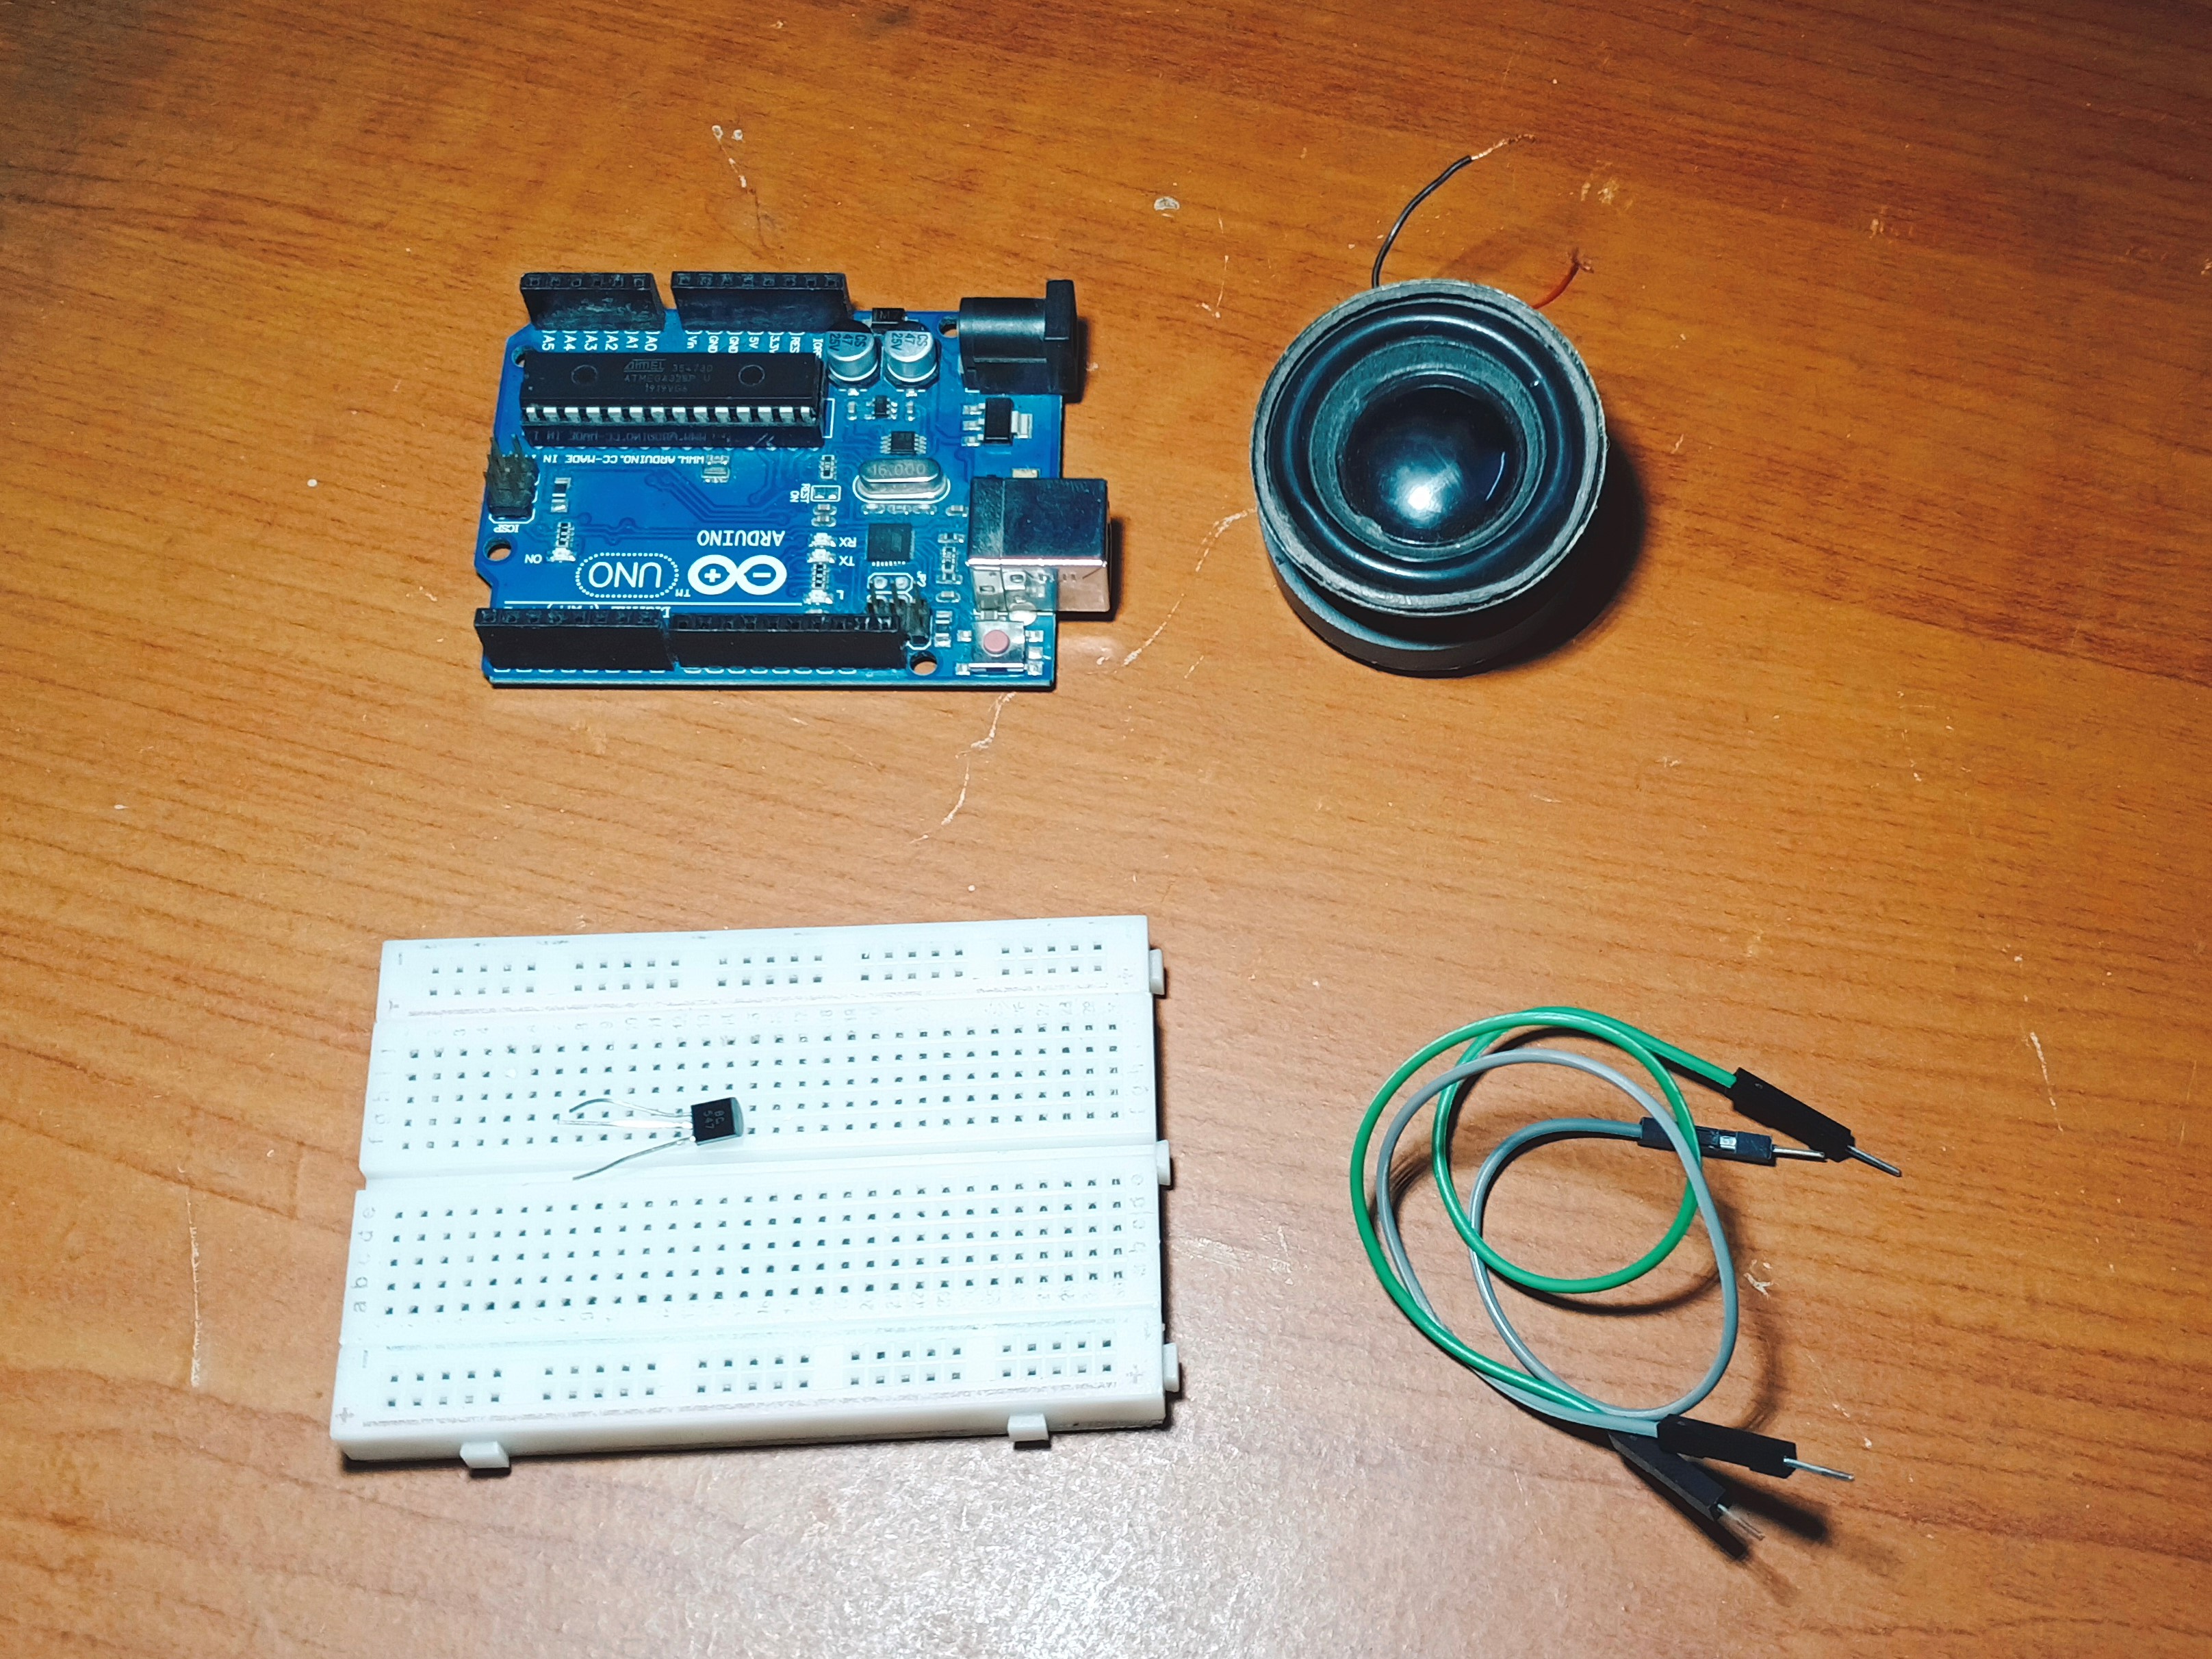
Required components for this project:
- Arduino uno
- 8 ohms Speaker/Buzzer
- Bc547 Transistor
- Breadboard and Jumper Wires
Needed Hardware
- Arduino Uno/Nano: The music player.
- Piezo Buzzer (Passive): Important—it must be a passive buzzer to play different frequencies. An active buzzer only plays one solid beep. An 8-ohm speaker can also be used, as shown in the components image.
- BC547 Transistor: Used to amplify the signal from the Arduino pin to drive the speaker.
- 100-ohm Resistor: Placed in series with the buzzer to control volume and protect the pin.
- Breadboard and Jumper Wires: For making connections.
Step 2: Wiring Connections
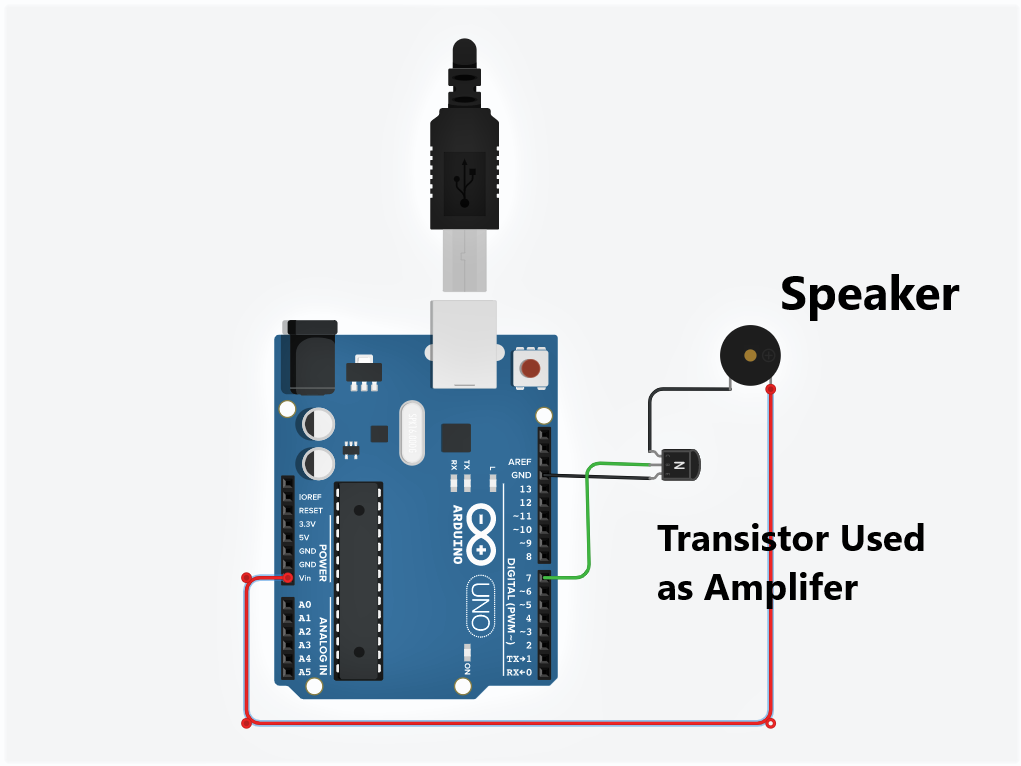
Connect positive of speaker to 5v
Connect emitter pin to GND
Connect base pin to 7th pin
Connect collector pin to speaker
Arrays and Frequencies
Instead of writing a massive block of delay() and tone() functions, this project teaches you how to organize data elegantly using Arrays:
- Melody Array: You store the sequence of notes (e.g., C4, C4, D4, C4, F4, E4).
- Durations Array: You store how long each note should be played (quarter note, half note, etc.).
- The Loop: A
forloop simply iterates through both arrays simultaneously, reading the note, playing it for the specified duration, adding a small pause, and moving to the next.
Expanding the Playlist
Once you understand arrays, you can easily find the sheet music for Star Wars, Super Mario, or Tetris online, convert the notes to frequencies, and have an entire jukebox running on a single Arduino!