One of the main applications of Bluetooth devices is to send sensor data to another device or use it to make real time calculations to do a specific task or simply display the end result. This data can also be used to automate tasks, control devices and much more.
In this tutorial, we will learn to send sensor data from an Arduino to an app on our smart phone.
Software -
To receive the sensor data, we will use The Arduino Bluetooth Terminal ( click here to download )
Hardware -
Many types of sensors are compatible with the Arduino and can be used with the HC-05 Bluetooth module easily. In this tutorial, we will see how to transmit this sensor data to an app. The HC-05 is a popular Bluetooth module commonly used with Arduino boards for wireless communication. It allows you to establish a wireless link between your Arduino project and other devices, such as smartphones, tablets, or other microcontrollers, enabling you to control or exchange data wirelessly.
Here are some key features and details about the HC-05 Bluetooth module:
- Bluetooth Version: The HC-05 module supports Bluetooth version 2.0+EDR (Enhanced Data Rate), providing a relatively stable and reliable connection.
- Serial Communication: The module uses a serial communication interface to communicate with the Arduino. It connects to the Arduino board using the UART pins, labeled as RX (receive) and TX (transmit).
- Operating Modes: The module has two primary operating modes: Command Mode (AT Mode) and Data Mode (Receiving and Sending data). In AT Mode, you can send configuration commands to the module, specifying parameters such as the Bluetooth name, PIN code, and operating mode. In Data Mode, you can send and receive data.
- Power Supply: The HC-05 module requires a power supply of around 3.3V. However, it is usually tolerant of 5V logic levels, making it compatible with most Arduino boards.
In this project we will use input data from a 10k Ω potentiometer (we can use any other sensor). As per the schematic (at the bottom of the page) the middle pin of the potentiometer is the data output pin and the other 2 pins are GND and VCC (this can be interchanged as we don't specifically use it except for power). Here, the data is sent to analog pin 1 (A1) of our Arduino from where it is sent to the smartphone via the HC-05.
To send multiple data inputs, we simply wire them to the Arduino and store them in a variable which is sent over the smartphone via code.
Though we are using the HC-05 Bluetooth module for this project which is very cheap and durable, we use a voltage divider circuit to make sure that the RXD pin doesn't get damaged. It is made by attaching a 1k Ω potentiometer across RXD and Pin 11 and a 2k Ω potentiometer across RXD and Ground.
Code -
The code you provided is an Arduino sketch that sets up a SoftwareSerial communication with a Bluetooth module and reads the value from a potentiometer. It then maps the potentiometer value from the range of 0-1023 to the range of 0-180 and sends it over Bluetooth.
Let's go through the code step by step:
Including Libraries:
- The code begins by including the SoftwareSerial library, which allows serial communication on digital pins other than the default RX and TX pins of the Arduino.
Initializing Variables:
- The code declares a SoftwareSerial object named "bluetooth" and defines pin 10 as the RX pin and pin 11 as the TX pin for the Bluetooth module. Additionally, it declares a variable named "potentiometer" of type int to store the potentiometer pin number. This is defined as "A1".
Setup Function:
- In this function, we initialize the Bluetooth communication at a baud rate of 9600 and set the variable "potentiometer" as an input.
Loop Function:
- It reads the value from the potentiometer using "analogRead()", and maps the value from 0-1023 to 0-180 degrees using "map()". It then sends the mapped value over Bluetooth using the "bluetooth.print()" function. A semicolon (";") is added as a *delimiter to separate values. Then, there's a delay of 20 milliseconds before the loop repeats.
Note:
- For best results, don't replace the TX and RX pins of the Bluetooth module and follow all the proper instructions in the Hardware section.
- A delimiter is a symbol or character used to separate individual pieces of data within a larger sequence. In this case, we use the semicolon to let the app know that the data has ended and make it wait for the next piece of data. Without this line, the app won't know when the data has ended and will continue adding the older data to the newly updated one.
- Additionally, make sure you have the required libraries installed. In this case, you need to have the "SoftwareSerial" library installed in your Arduino IDE. You can install it by going to "Sketch > Include Library > Manage Libraries" and searching for "SoftwareSerial".
APP -
Application Instructions Set Up:
- Power the Arduino.
- Now, the HC-05 module should blink rapidly.
- Next, open the app.
- Allow it to access Bluetooth settings.
- In the list, select HC-05.
- Select receiver mode.
- Now the module should blink once every 2 seconds.
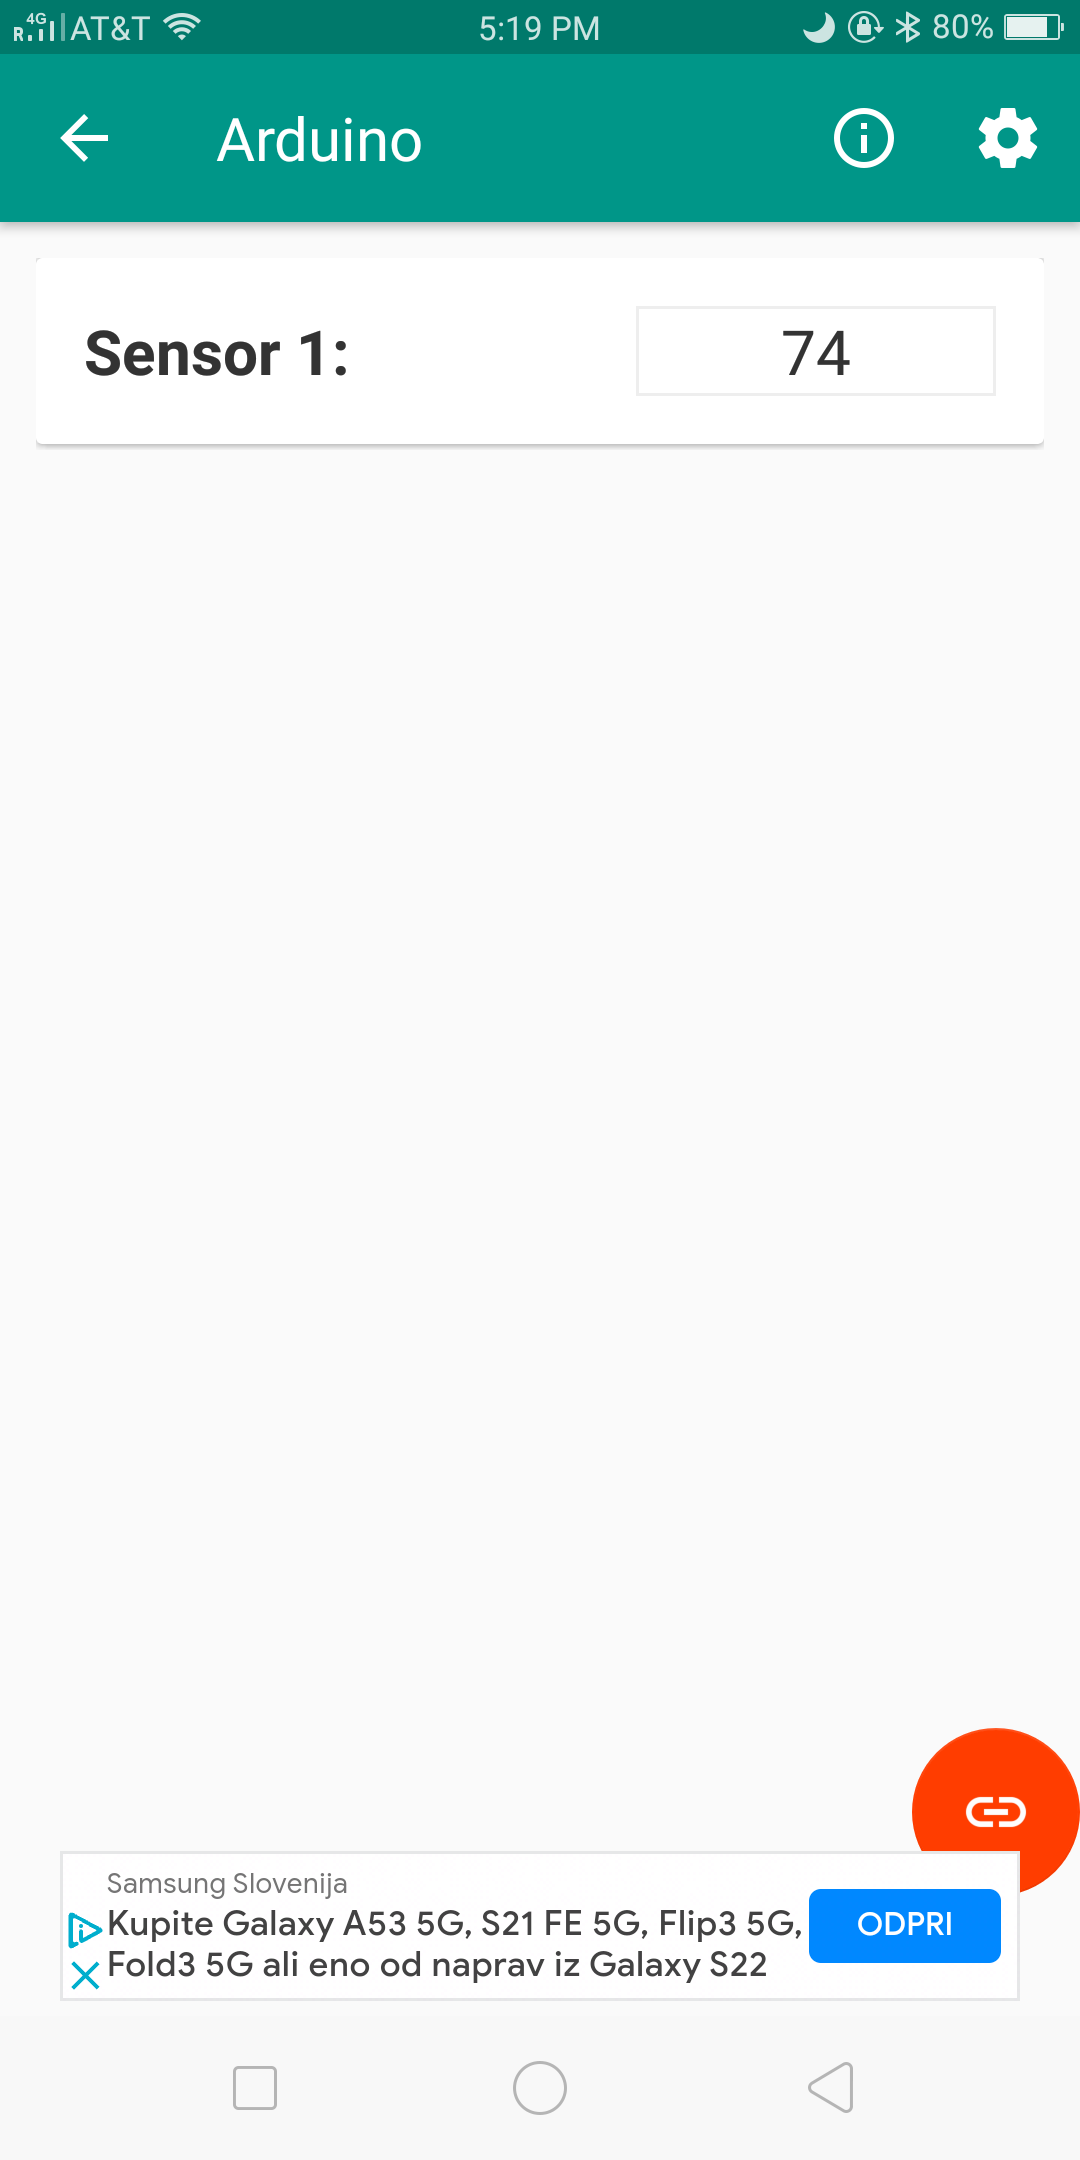
- Here, click the link 🔗 icon on the bottom right hand corner.
- It will load for some time now.
- Afterwards, this is what you will see -
EXPANDED TECHNICAL DETAILS
Wireless Serial Sensor Telemetry
This project provides a professional framework for streaming real-time sensor data from an Arduino to a smartphone or PC via Bluetooth.
- HC-05 Master/Slave Pipeline: Configures the HC-05 module using AT commands. The Arduino captures data from multiple sensors (e.g., Temp, Light, Motion) and packs them into formatted strings sent over a 9600-baud UART link.
- Android Terminal Interface: Uses a standard Bluetooth Terminal App. The user can see the sensor values in real-time and send character-based commands back to the Arduino (like "L" for LED Toggle).
Scalability
- CSV Data Packing: The firmware formats the output as
Sensor1,Sensor2,Sensor3, making it easy for the receiving side to parse the data for charting or logging.