The Neopixel LED module has many attractive features. With a microcontroller base, they can produce millions of different lights. In this tutorial, we are going to change the status of the neopixel LED according to the required colors with the help of the rotary encoder module and Arduino board. In this way, by changing the rotary angle of the encoder in each step, the status of the neopixel LED will also change. Visit CiferTech for more tutorials, and be sure to follow my Instagram page to support me.
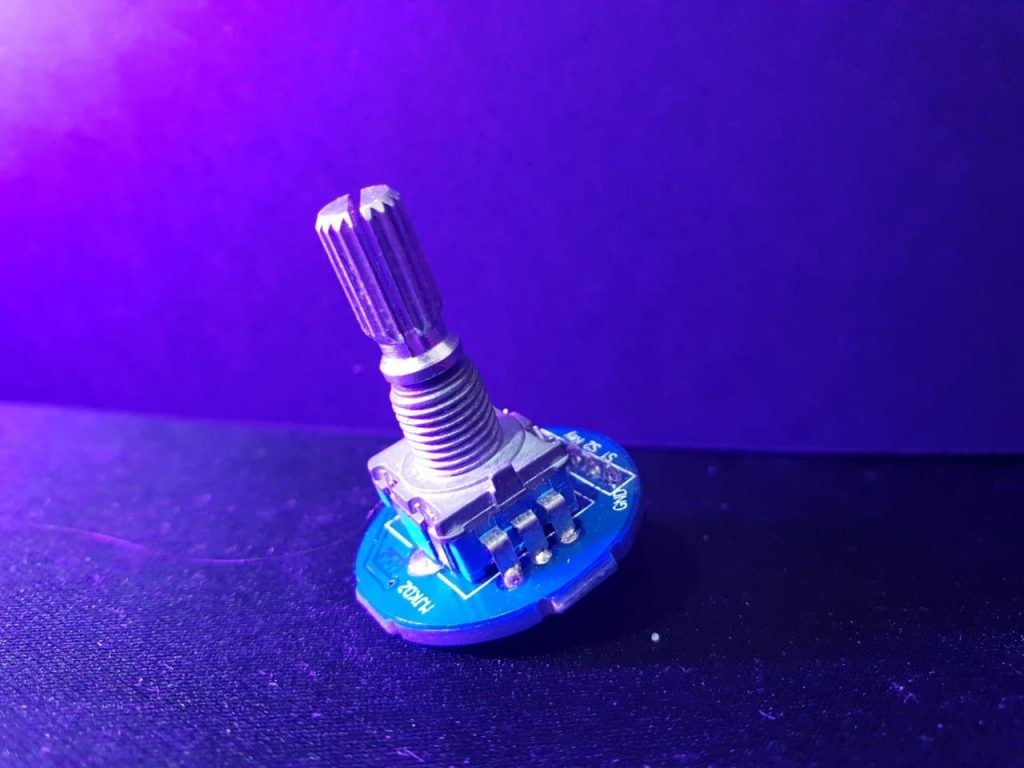
Rotary encoder module
The rotary encoder is a type of position sensor used to determine the angular position of the rotating shaft. Which produces an electrical signal, analog or digital, concerning rotational motion. Due to its robust digital power and control, many projects, including robotics, CNC machines, and printers, use an encoder rotary module. Encoders are available in both absolute and incremental types. The absolute encoder gives us the exact position of the button in degrees, while the incremental encoder reports how many shafts it has moved. Rotary encoders are the digital equivalent of modern potentiometers. They can rotate completely without stopping at the end, while a potentiometer can rotate only about 3/4 of a circle. Inside the encoder, a slotted disc is connected to the common ground pin C and two contact pins A and B, as shown in the following diagram. When you turn the knob, A and B make contact with the common ground pin C, depending on the direction in which you are turning the knob.
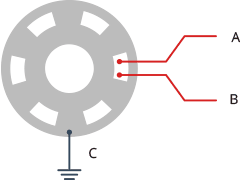
Finally, they generate a signal by contacting common points. These signals are transmitted by contacting one pin before the other pin 90 degrees out of phase. This encoding is called quadrature. When you turn the knob clockwise, pin A first connect, then pin B connects. When you turn the knob counterclockwise, pin B is attached first, and then pin A will be attached.
Arduino board
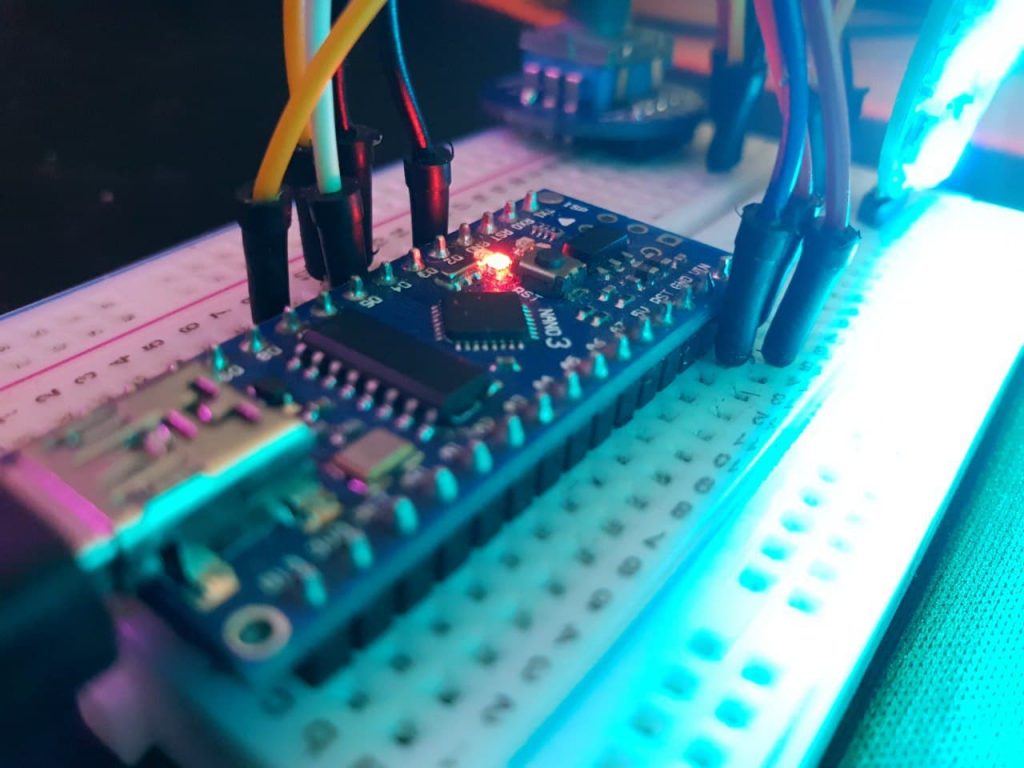
The Arduino board is one of the most popular development boards among embedded engineers. They are available in various models such as Micro, pro mini, Nano, Uno, and also Mega. The core of these popular boards consists of the AtMega328 series. Arduino is an open-source hardware and software platform. As mentioned earlier, the Arduino platform includes an open-source single-board microcontroller that forms part of the Arduino hardware. In addition, the Arduino platform includes an Arduino IDE software designed for programming for Arduino boards and a software bootloader that loads on the microcontroller.
Neopixel LED module
Neopixel LEDs are a separate addressable type all on a string that can be controlled from a stand on the microcontroller. This means that a stand can control all the colors of the LEDs and which LEDs are on at any given time. Compared to a regular RGB LED, you will notice that we need 3 pins to control the amount of Red, Green, and Blue, and all LEDs must be on or off. As you can see, using separate addressing can help create some interesting effects. Many companies sell addressable LED strips, but the most popular is neopixel LEDs. Made by Adafruit. Adafruit produces an addressable LED strip line. They have also developed a library to control them, called the Adafruit NeoPixel. Other companies have developed libraries to control these addressable LEDs. However, in my opinion, Adafruits has the best support and is a good choice to start with.
Additional explanation
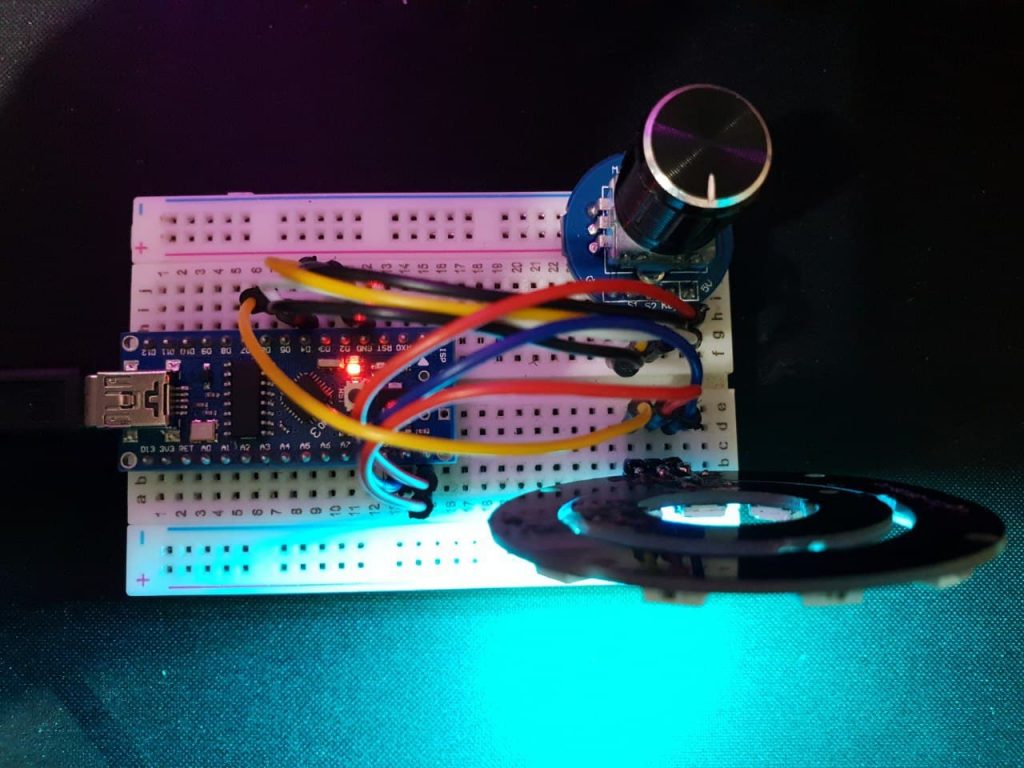
In the neopixel LED control project**,** by specifying the values of R, G, and B in the project code, the neopixel status will change by moving each step of the rotary encoder module. In this way, each step of the encoder represents a case in the project code. Each case comes with certain values, which are displayed by changing the status of the encoder. Take a look at the image below.
Expanded Technical Details
Smooth Human-Machine Interaction (HMI)
This project focuses on the tactile "Feel" of UI controls, using a Rotary Encoder with a built-in push button to navigate complex lighting patterns.
- Interrupt-Driven Encoder Parsing: To ensure zero missed "Clicks" while the NeoPixels are animating, the Arduino uses hardware interrupts on the
CLKandDTpins. This allows for fluid scrolling through colors or brightness levels. - State-Machine Navigation: A single push of the encoder cycles through modes (Color, Brightness, or Animation Speed), while rotating adjusts the value.
Visual Feedback
- Addressable LED Feedback: The NeoPixel ring acts as its own visual indicator—for example, when adjusting volume/brightness, the ring could fill up like a physical meter, providing intuitive user feedback.