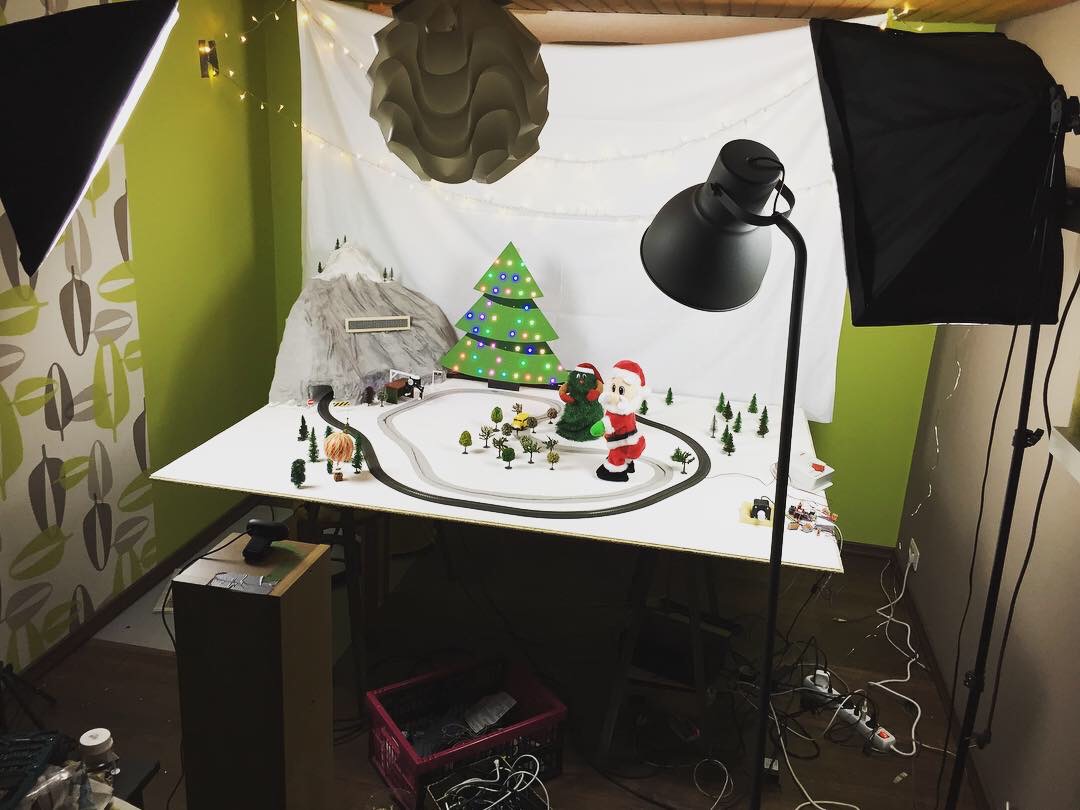
"ControlMyXMasTree.com" is finally back - and we added some new features!
After last years awesome feedback to our little web controllable Christmas decoration and because of the many people who told us that we brought a little joy to them and their family, we definitely wanted to bring it back this year.
So here we are. We proudly present: "www.ControlMyXMasTree.com 2.0"
If you haven't seen last year's post in which I explain the fundamental functionality of the system, you may want to read that first, since I will only discuss all the updates and new features we added here. ;)
New Devices
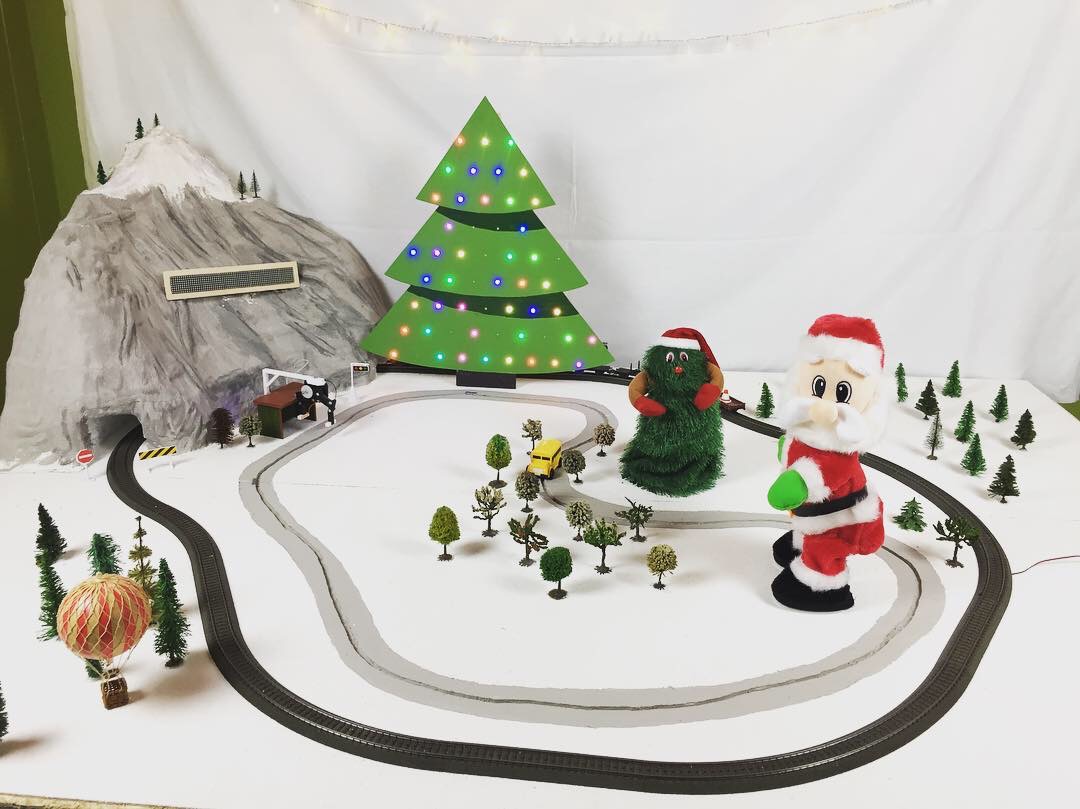
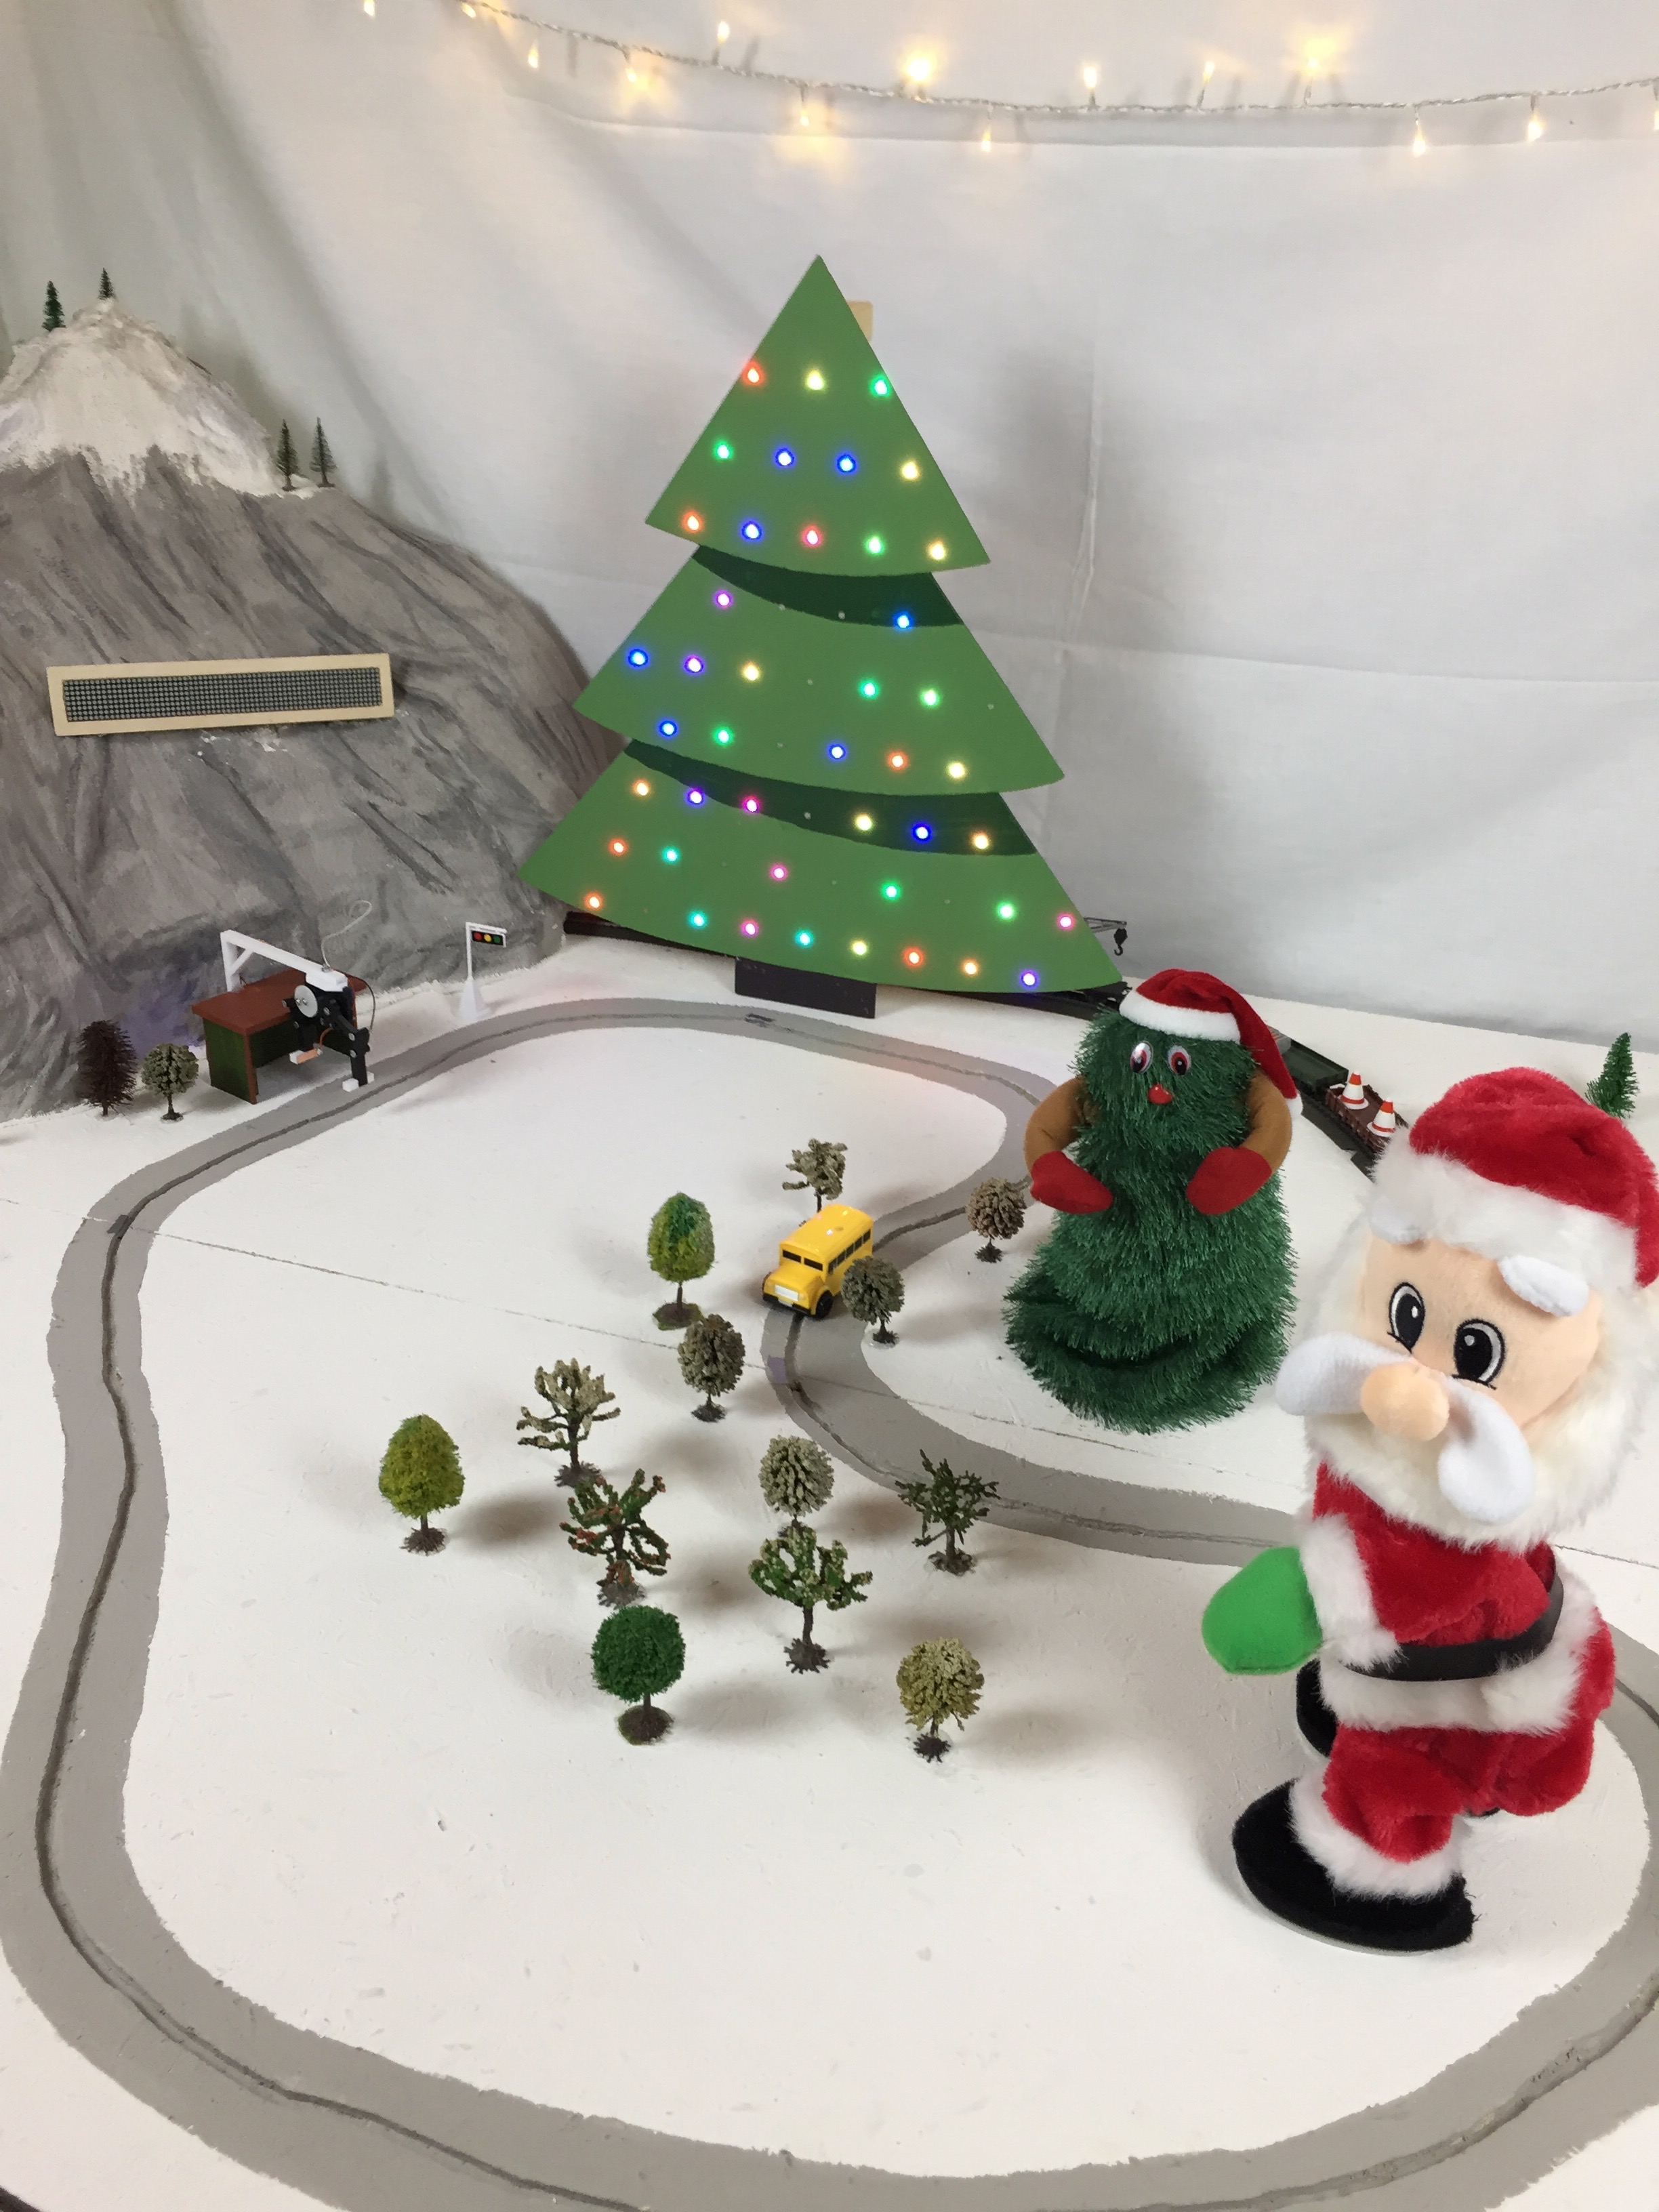
To accompany Santa so he doesn't have to twerk on his own, we already added the dancing X-mas tree last year, which naturally is back this year and connects through a MOSFET to the main controller, an Arduino Mega 2560.
But we also threw in two completely new devices: An hot-air-balloon and a little remote controlled bus with its dedicated charging station.
Bus and Charging Station
The bus is a little toy "line follow" car I bought online. We initially wanted to draw a line onto the board so the bus would follow along, but that was way too jerkily and the radii it could take were quite big. So my friend had the idea to 3D print a little pin which we would put to the bottom of the bus and mill a groove into the board which would guide the pin and therefore the bus. Perfect!
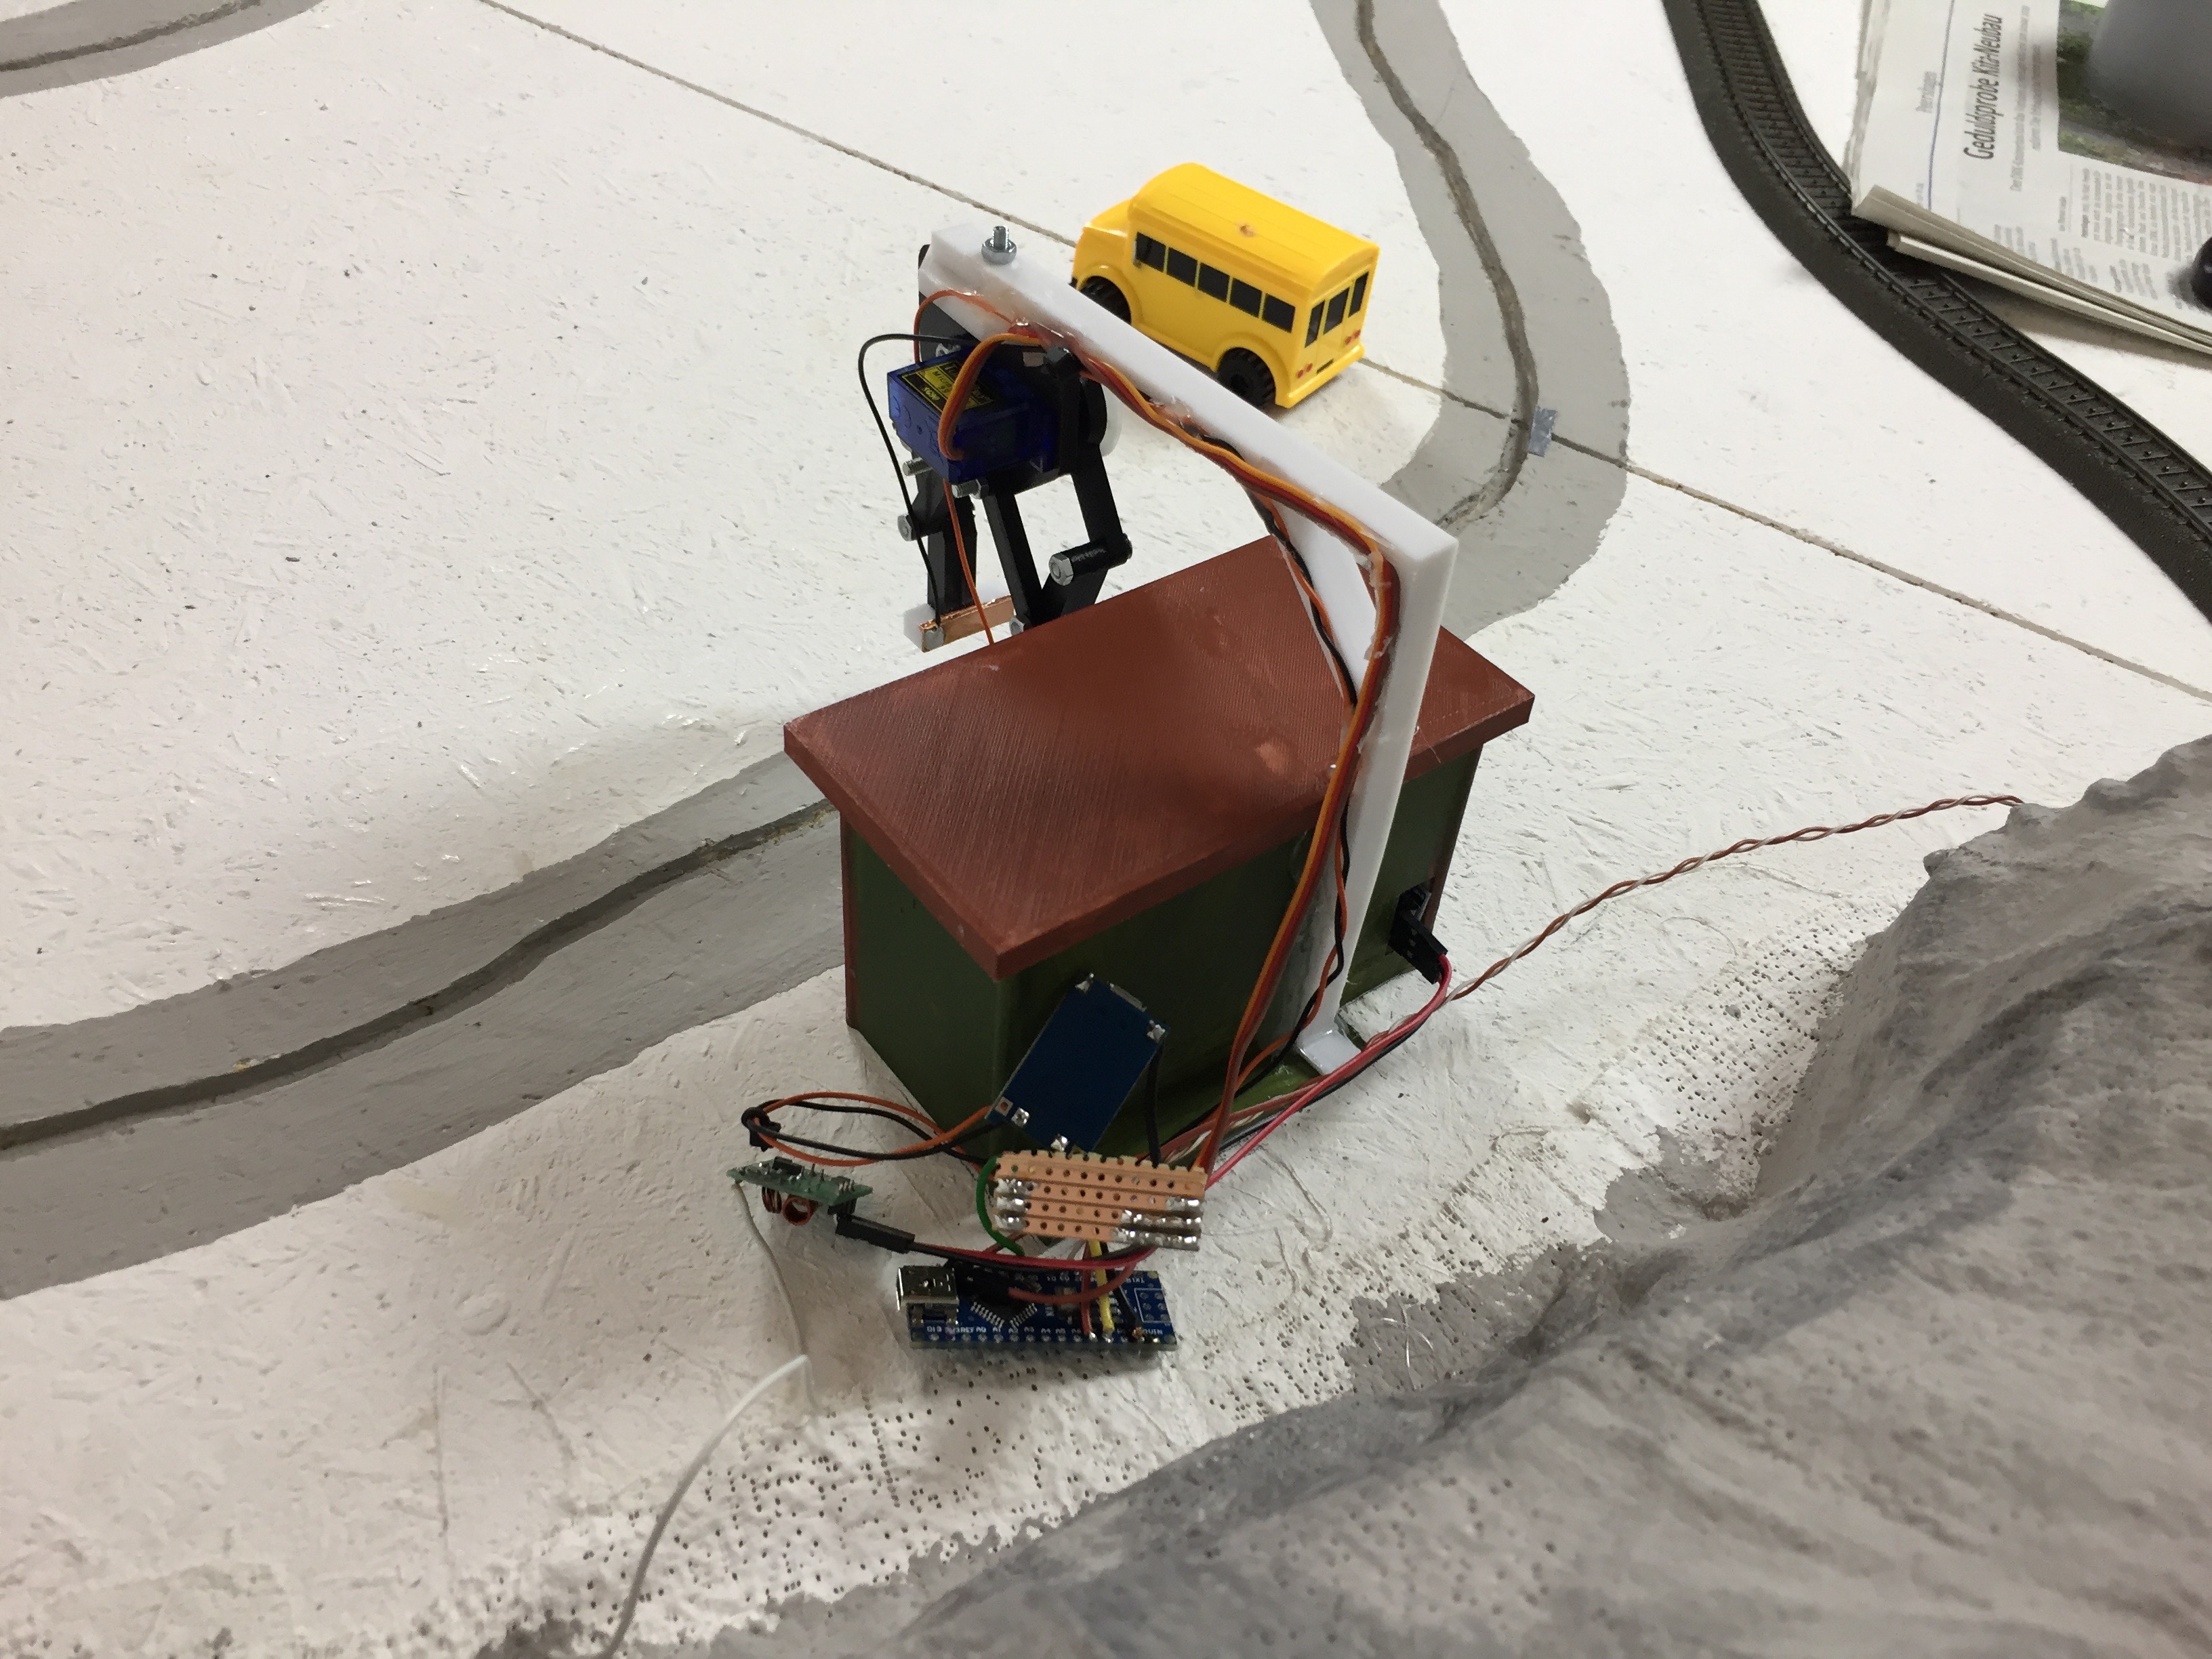
So I opened the bus, removed the batteries and electronics, except from the motors and gear boxes, and put in a little LiPo, a 433MHz receiver and a voltage regulator.
To control the bus and charge it automatically I designed a little bus stop in CAD and 3D printed it, so we could put in an IR distance sensor to count the laps and more importantly position the bus correctly to be charged by the gripper arm above it. Therefore I added two little wires to the outside of the bus so they look like side mirrors, which then are connected to the battery in the inside.
All that is controlled by an Arduino Nano which sits behind the bus station and connects to a 433 MHz transmitter to power on or off the bus and send it to charging every 20 laps. The charging process itself is handled by an TP4056 5V LiPo charging module which outputs are soldered to small copper foil pieces on the gripper.
The Arduino Nano is then connected to the main Arduino Mega via two GPIO pins, to tell it whether the bus is currently charging and to receive signals on when it should start and stop.
Hot Air Balloon
We also found and ordered the balloon model online. It's connected to a nylon thread which is guided threw two spools on the ceiling until it's winded to a third, 3D printed spool, which is connected to the shaft of a stepper motor. The stepper motor is controlled by an Arduino Uno via a A4988 stepper driver.
That Arduino Uno is also connected to the Arduino Mega to receive the 'start flag'.
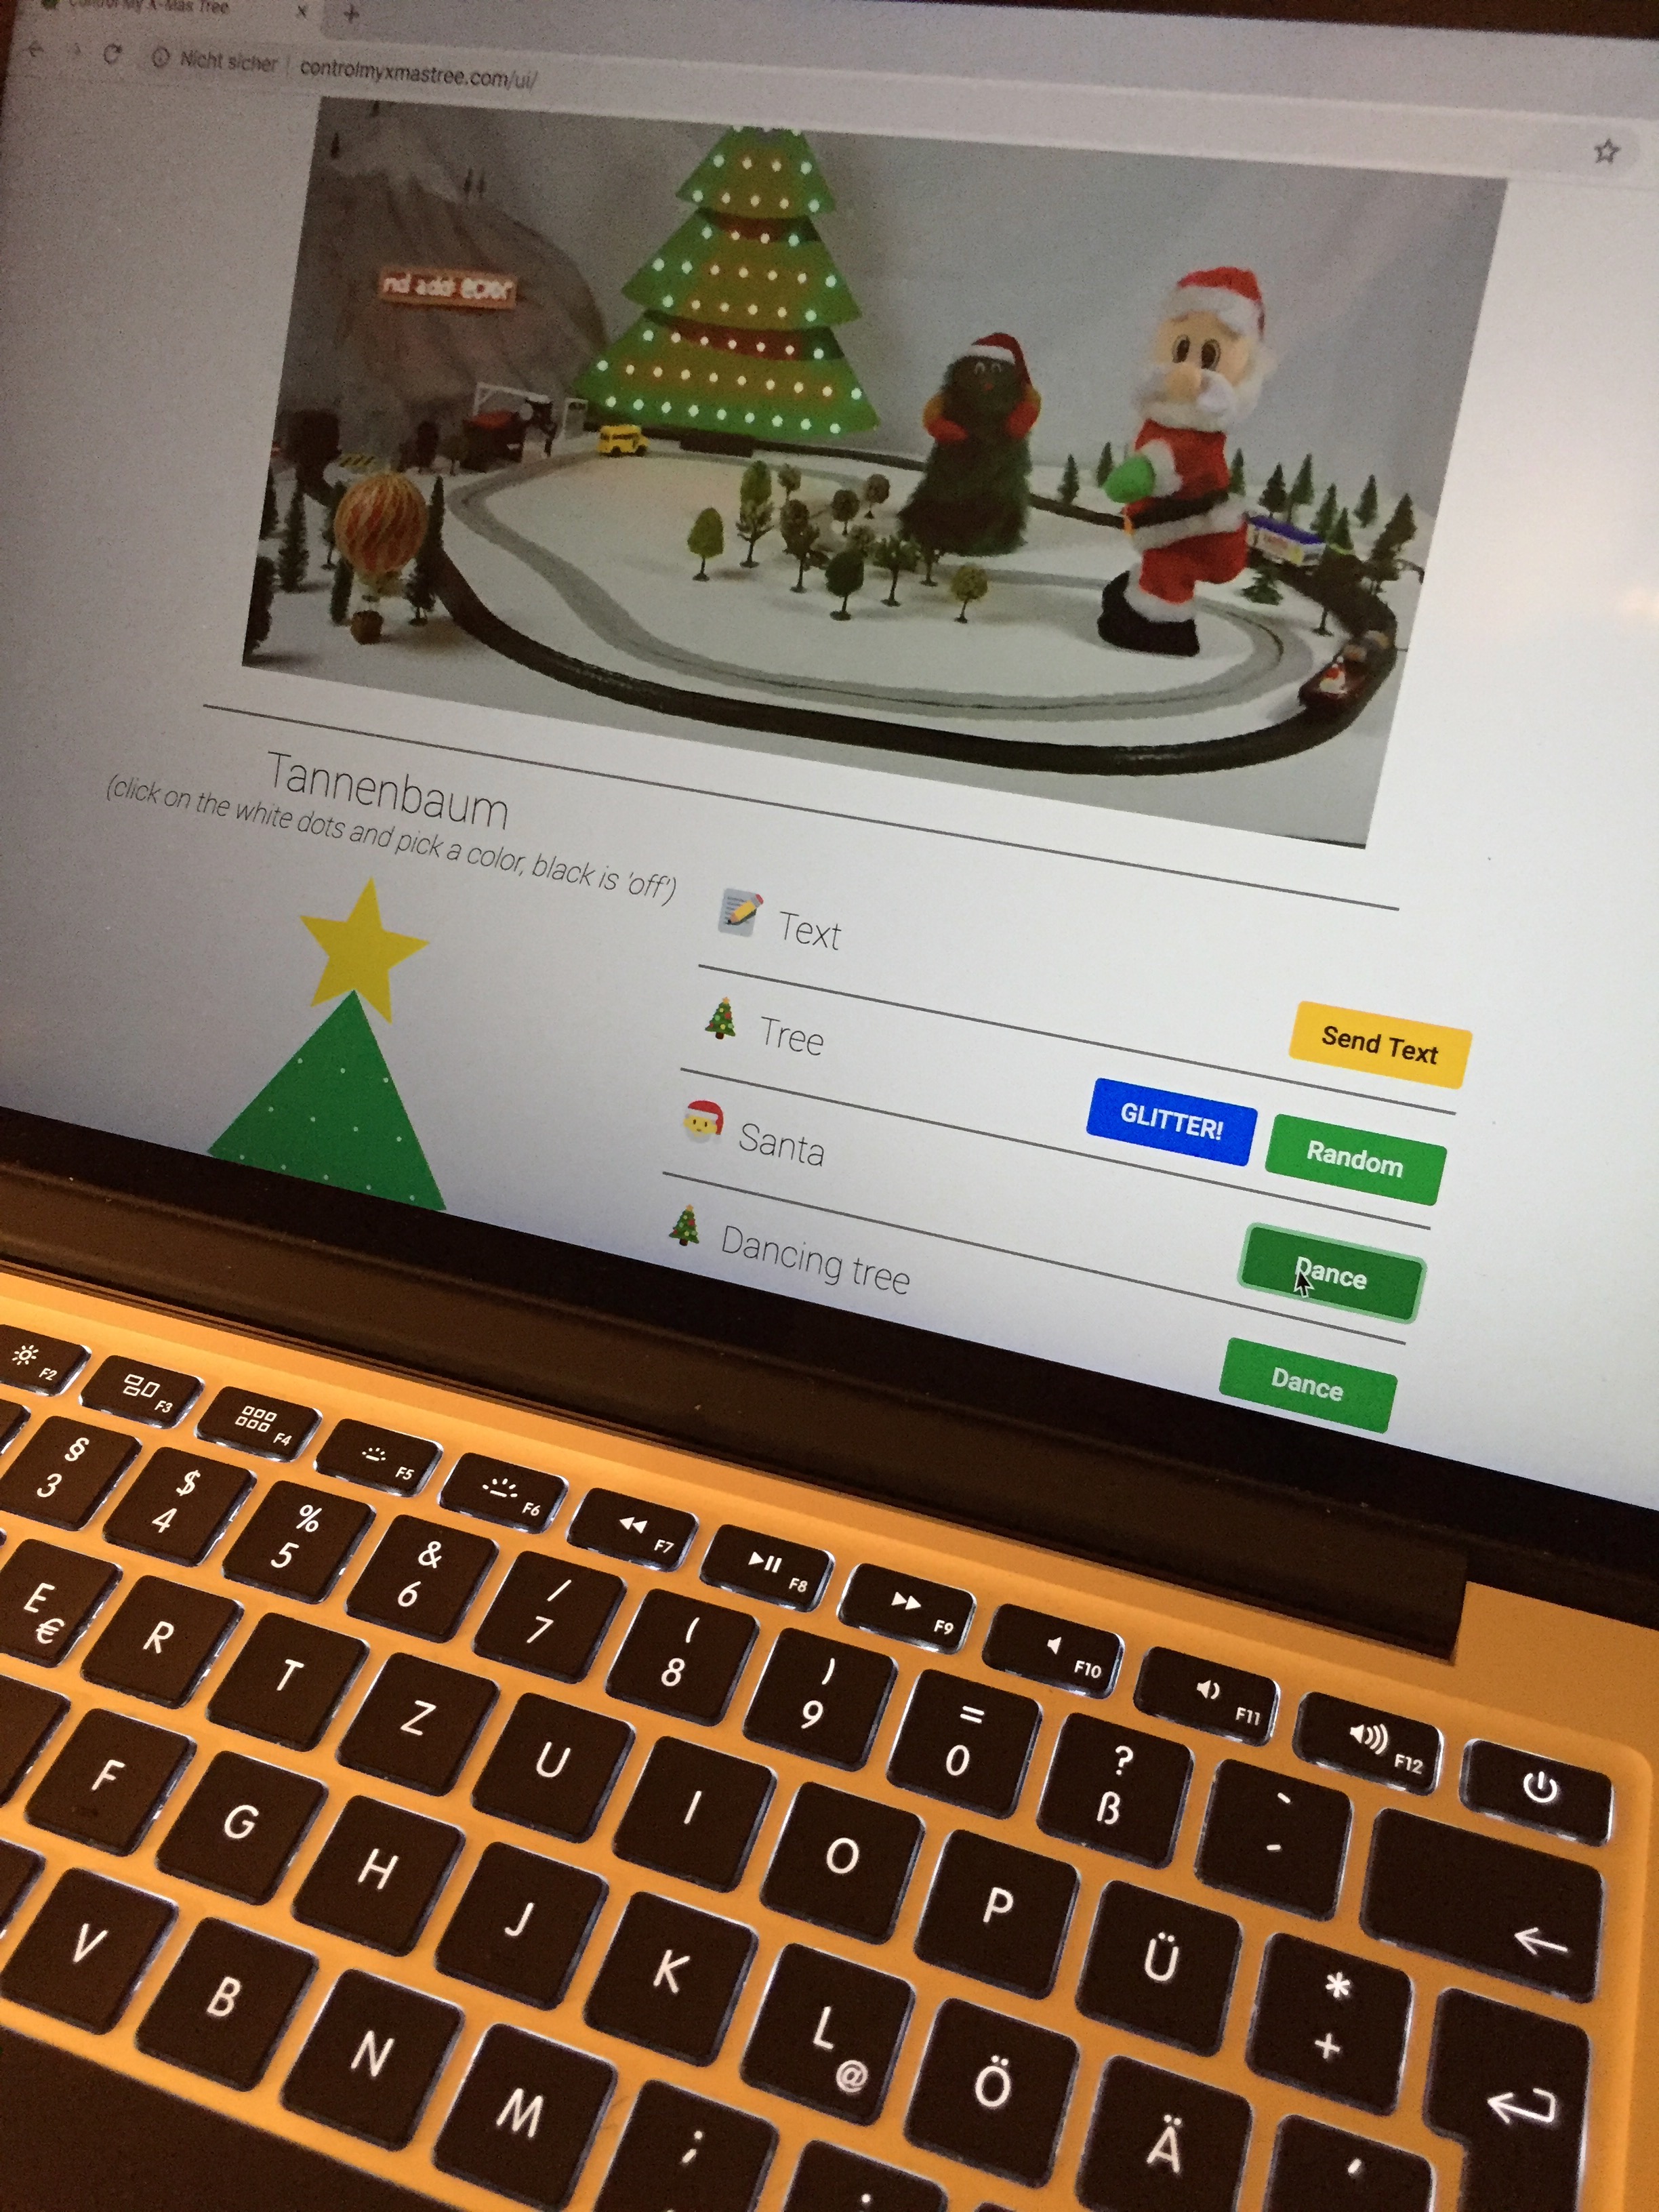
Telegram Bot Update
Last year we already created a Telegram Bot allowing people to send individual messages to the LED dot matrix display. It ran on an Arduino MKR1000. Unfortunately it wasn't quite reliable, when many messages were sent at once.
So this year we upgraded it and ported (more or less rewrote) the entire code to Python 3, so it would run on a Raspberry Pi. The Pi sends the messages, the current time and the weather information (if you send your location) via its serial port to an Arduino Nano which controls the display.
This gives us also the possibility to log all messages, so, in the worst case, we can block user, who send discriminating or insulting messages. Fortunately we really just had a few last year. We really believe that there are many nice people out there on the internet and not just trolls hiding behind their anonymity.
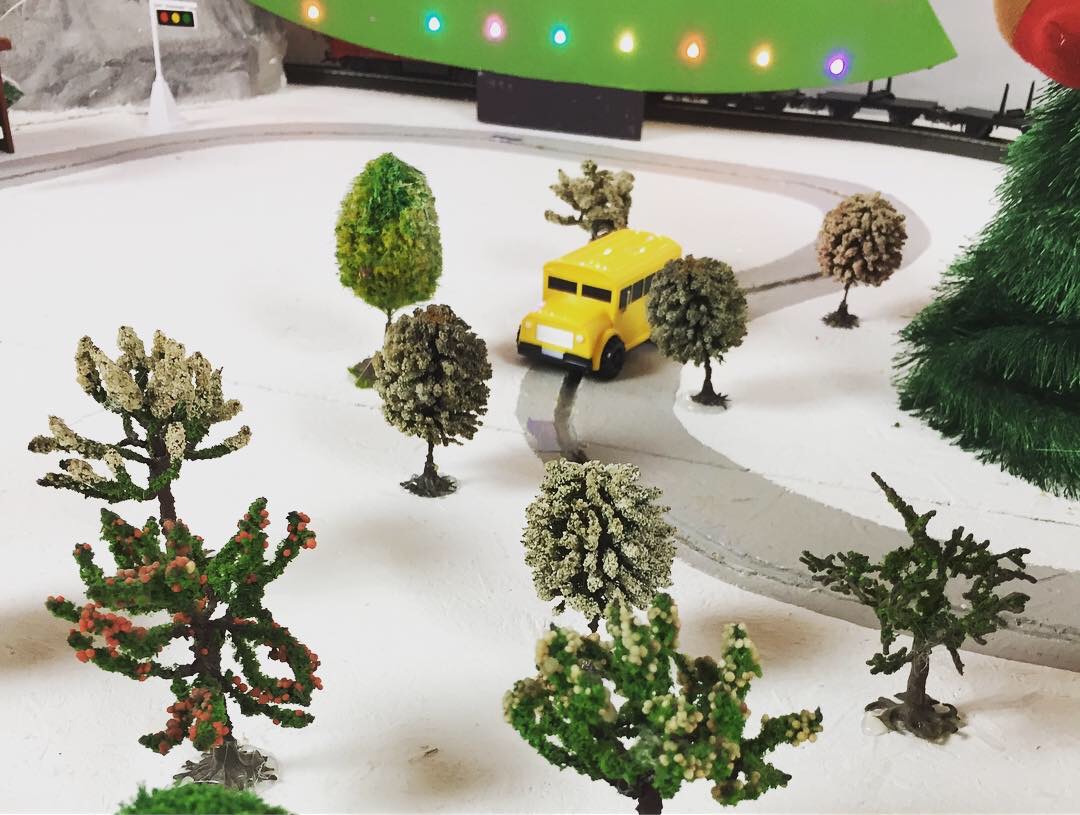
For the Finishing Touch...
... We built a hill out of styrofoam and plaster dressing for the train to drive through it and to make it look nicer we added some color, little trees and street signs.
If you want to know more about it or have questions, just leave a comment below. I'll be glad to answer them. :)
But for now, I really hope that we could bring some delight to you, your family and friends and that you will give Santa a little twerk!
Tobi
P.S. And as always, please excuse my bad english and supposably many mistakes. Kind regards from Germany. ;)
EXPANDED TECHNICAL DETAILS
Global Scale Interactive IoT
Following a successful first iteration, this project allows anyone in the world to interact with a physical Christmas display via a public web interface.
- Real-Time Stream Processing: Uses a Raspberry Pi as a web-server host and an Arduino (via Serial link) to drive the physical LEDs and motors. The web page features a series of buttons (e.g., "Change to Blue," "Spin Tree") that send near-instant commands to the Arduino.
- Addressable LED Canvas: Manages hundreds of NeoPixels arranged in 3D patterns. The Arduino uses the
FastLEDlibrary to smoothly transition between colors chosen by the global audience.
Social Interaction
- Live Video Feedback: Often paired with a live camera stream (via the Raspberry Pi), allowing internet users to see the immediate physical effect of their "Click" on a display thousands of miles away.