Our project is about reducing energy waste and making our houses more "smart". The Illumination Controller is a fundamental and innovative "Smart Home" bridge for modern Arduino developers. By focusing on the essential building blocks, you'll learn how to automate your room's lights using specialized software logic and a robust hardware setup.
The controller has 2 operating modes:
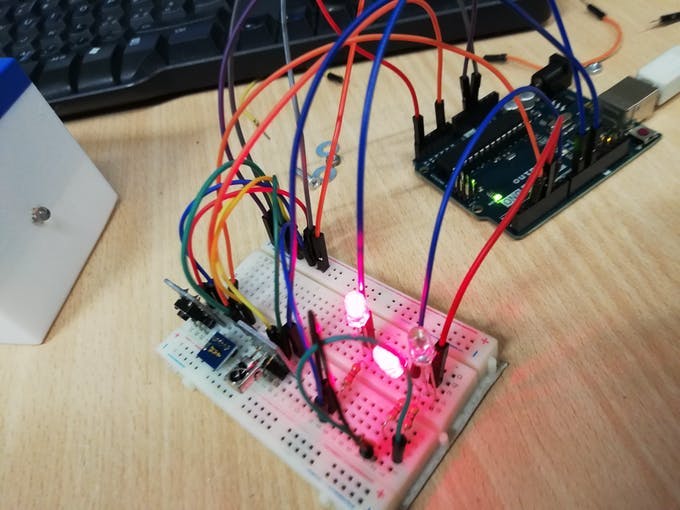
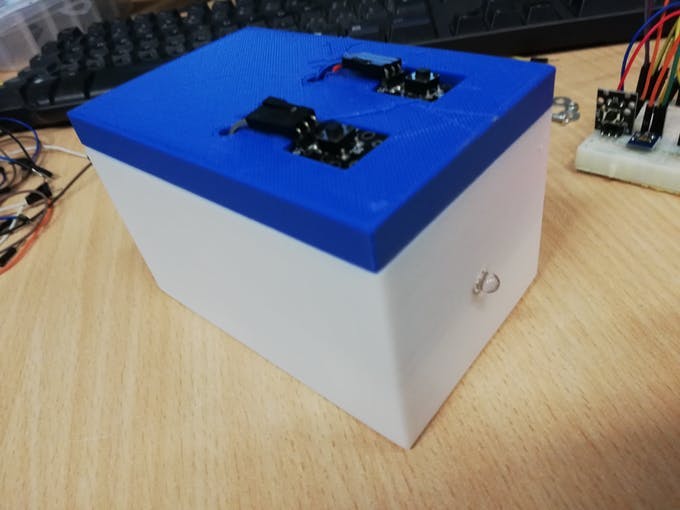
The 2 modalities of the controller are activated by a remote that communicates with the controller via infrared signals, the 2 buttons above the remote activate the two modes. On the controller two LEDs lit when the correspondent mode is activated.
Technical Implementation: Light and Power
The project reveals the hidden layers of simple light-to-power interaction:
- Identification layer: The LDR (Light Dependent Resistor) acts as the environmental eye, measuring every point of your room's ambient light by varying its resistance.
- Conversion layer: The Arduino uses an analog input pin (A0) to receive high-speed voltage divider signals and digital pins for the relay tasks.
- Processing Logic layer: The Arduino code follows a "sequential decoding" (or threshold-check) strategy: it only activates the Relay if the light level is below a target (e.g., 500).
- High-Power Interface layer: A 5V Relay Module provides the high-current switching for a 110V/220V AC lamp while protecting the micro-controller.
- Control Strategy Loop: The Arduino performs a "Hysteresis" (e.g., slight delay and a window) to avoid rapid flickering of the lamp at sunset.
Hardware Infrastructure
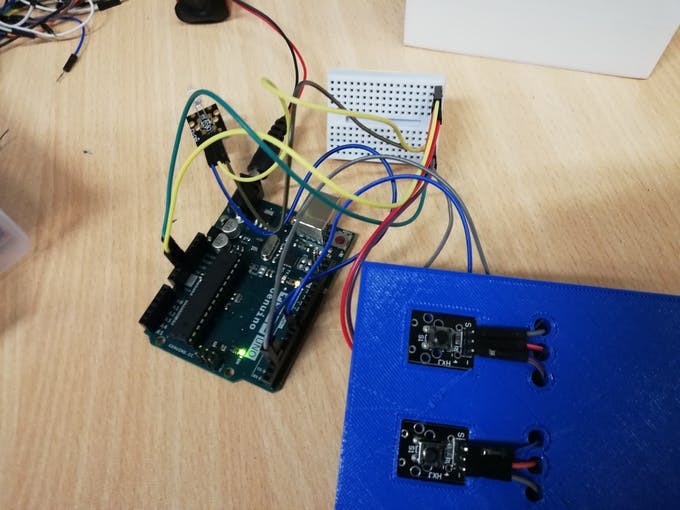
- Arduino Uno: The "brain" of the project, managing high-speed analog sampling and coordinating the relay output.
- LDR Sensor: Providing contactless and reliable light monitoring for your room.
- 5V Relay Module: Providing high-power and reliable switching for the AC light.
- Breadboard: A convenient way to prototype the first smart-lighting circuit and connect all components without soldering.
- Micro-USB Cable: Used to program the Arduino and provides the primary power source for the initial setup.
Before this project, we had never used the infrared module. There are some links where we learned how to use it:
Lighting Automation and Interaction Step-by-Step
The automatic illumination process is designed to be very user-friendly:
- Initialize Hardware: Correctly seat the LDR and 10k resistor in a voltage-divider on the breadboard and connect to the Arduino.
- Setup Output Sync: In the
setup()function, initialize the Serial port and define the relay pin as anOUTPUT. - Internal Dialogue Loop: The Arduino constantly performs high-performance light checks and updates the relay status in real-time.
- Visual Feedback Integration: Watch as your lamp automatically becomes a rhythmic visual signal, pulsing and following your room's light settings.
Future Expansion
- OLED Identity Dashboard Integration: Add a small OLED display to show the "Light Intensity (%)" or "Lamp Status (ON/OFF)."
- Multi-sensor Climate Sync Synchronization: Connect a PIR Motion Sensor and have the lamp only "Turn ON" if the room is "Dark" AND "Occupied."
- Cloud Interface Registration Support Synchronization: Add a WiFi module (ESP8266/ESP32) and link to a specialized web-dashboard to monitor your room usage from a smartphone.
- Advanced Velocity Profile Customization Support: Add a specialized "PWM Dimmer" to the code to slowly fade the lamp in and out to provide a premium feel.
Illumination Controller is a perfect project for any electronics enthusiast looking for a more interactive and engaging smart-home tool!
[!CAUTION] Always use high-quality waterproof and insulated boxes when working with 110V/220V AC to avoid electric shock!