Motivation:
Since I left the university, 24 years ago, I haven't had the chance to update my knowledge in electronic, programming and moreover Apps development, under Android Platforms. As a way to catch up with these technologies, I decided to develop a Project that, at the end of the exercise, would add value to the home duties and be friendly with the environment; so I designed a Low cost irrigation System based on open technologies. I was inspired by the project developed by Mayooh Girish posted on Arduino Website.
My main challenges were:
- To integrate the electronic boards and the devices, the software, and the hardware solution at low cost.
- Make all the activities part of some fun time and as a new hobby
- Design a solution safe for people, environment and the property itself.
How does it works?
This Irrigation system is controlled from:
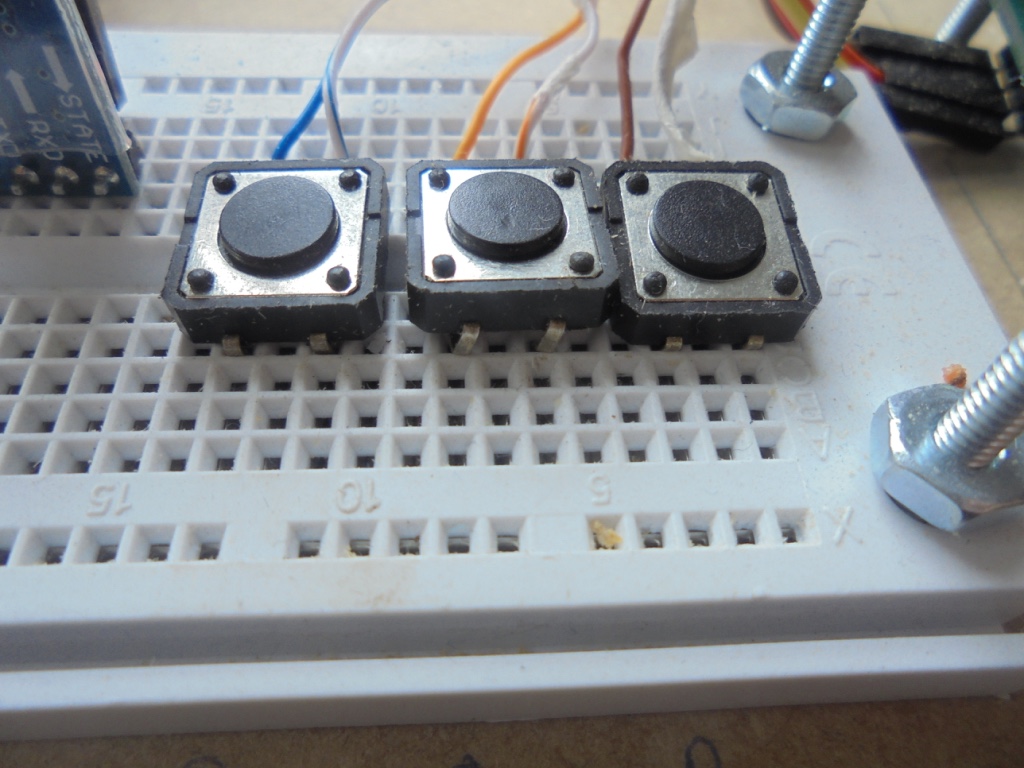
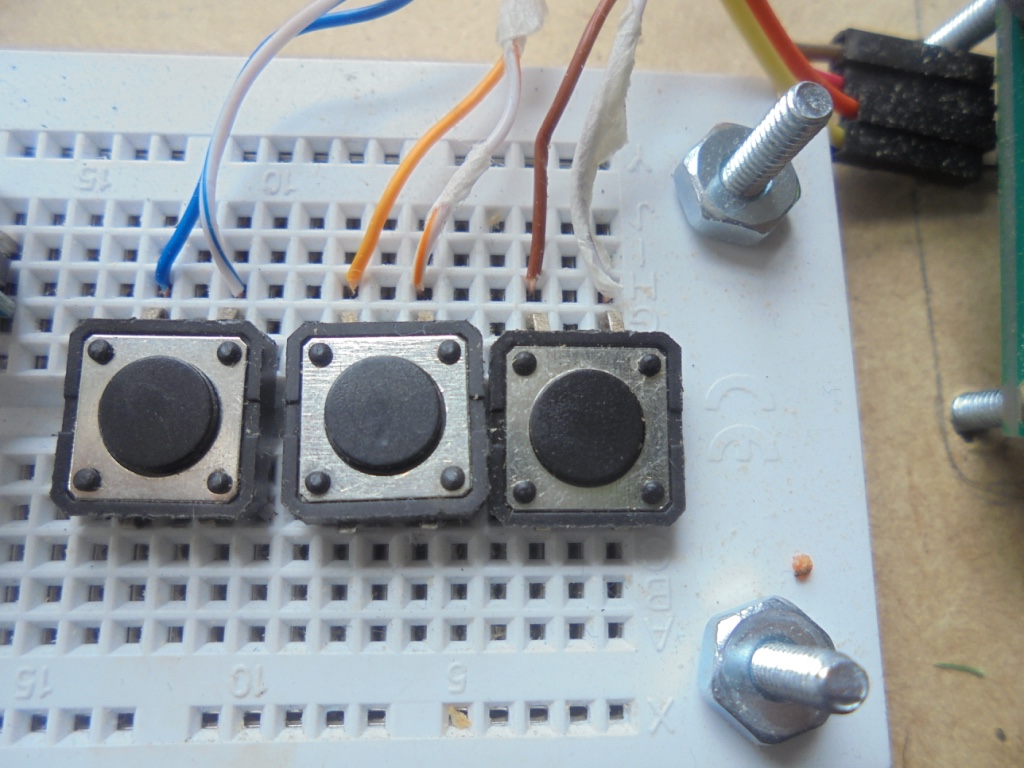
- Local Push Button Commands
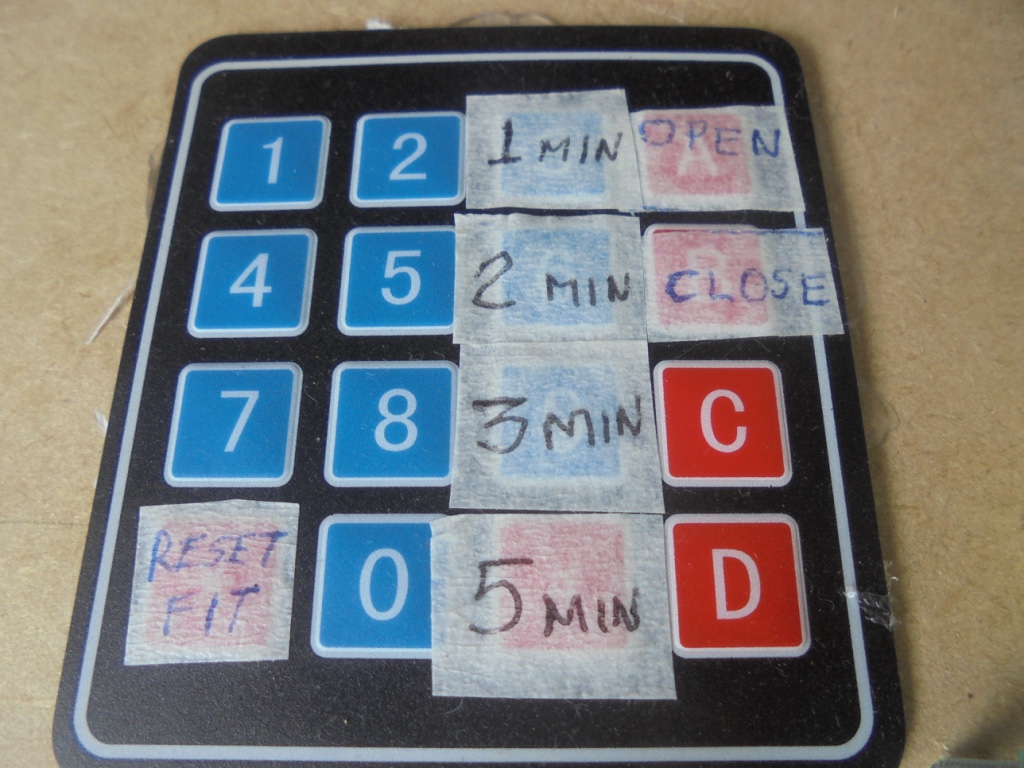
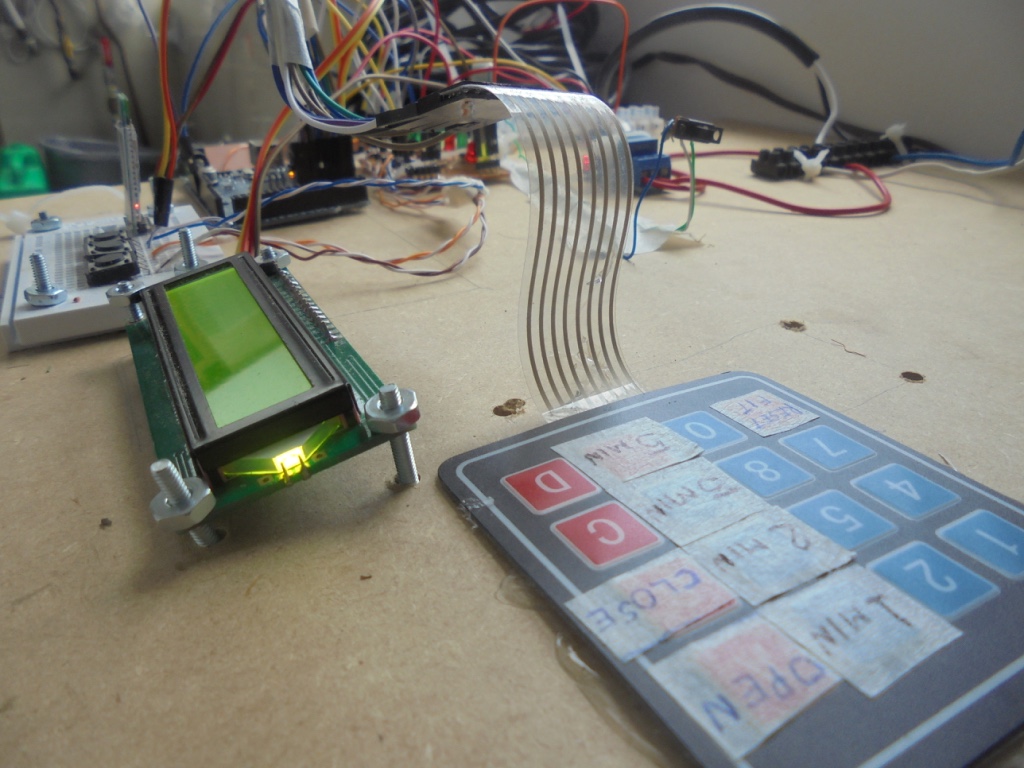
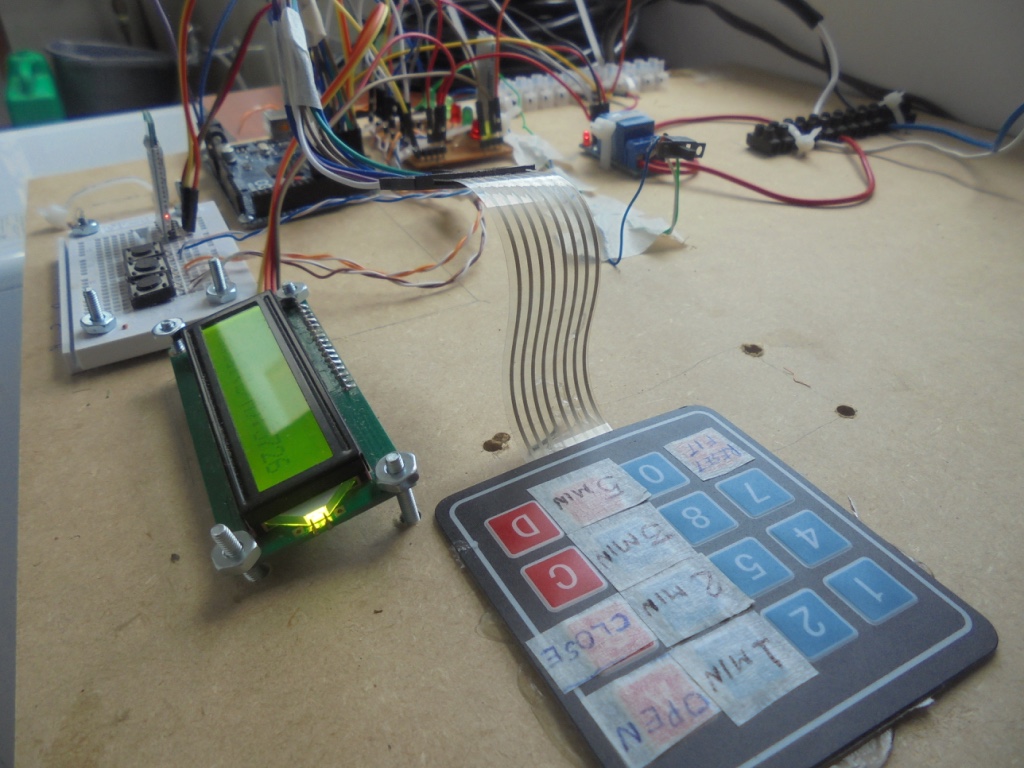
- Local Keypad
- SmartPhone- Android-GUI
You can run it on Local,Remote and Manual,Automatic modes
If you choose local mode you can open/close the Solenoid valve from the push button or the Keypad through specific keys assigned. Also you can choose the lapse of time (minutes) during which you need to perform the irrigation, and reset it, or if you prefer you can control the irrigation cycle yourself in manual mode .
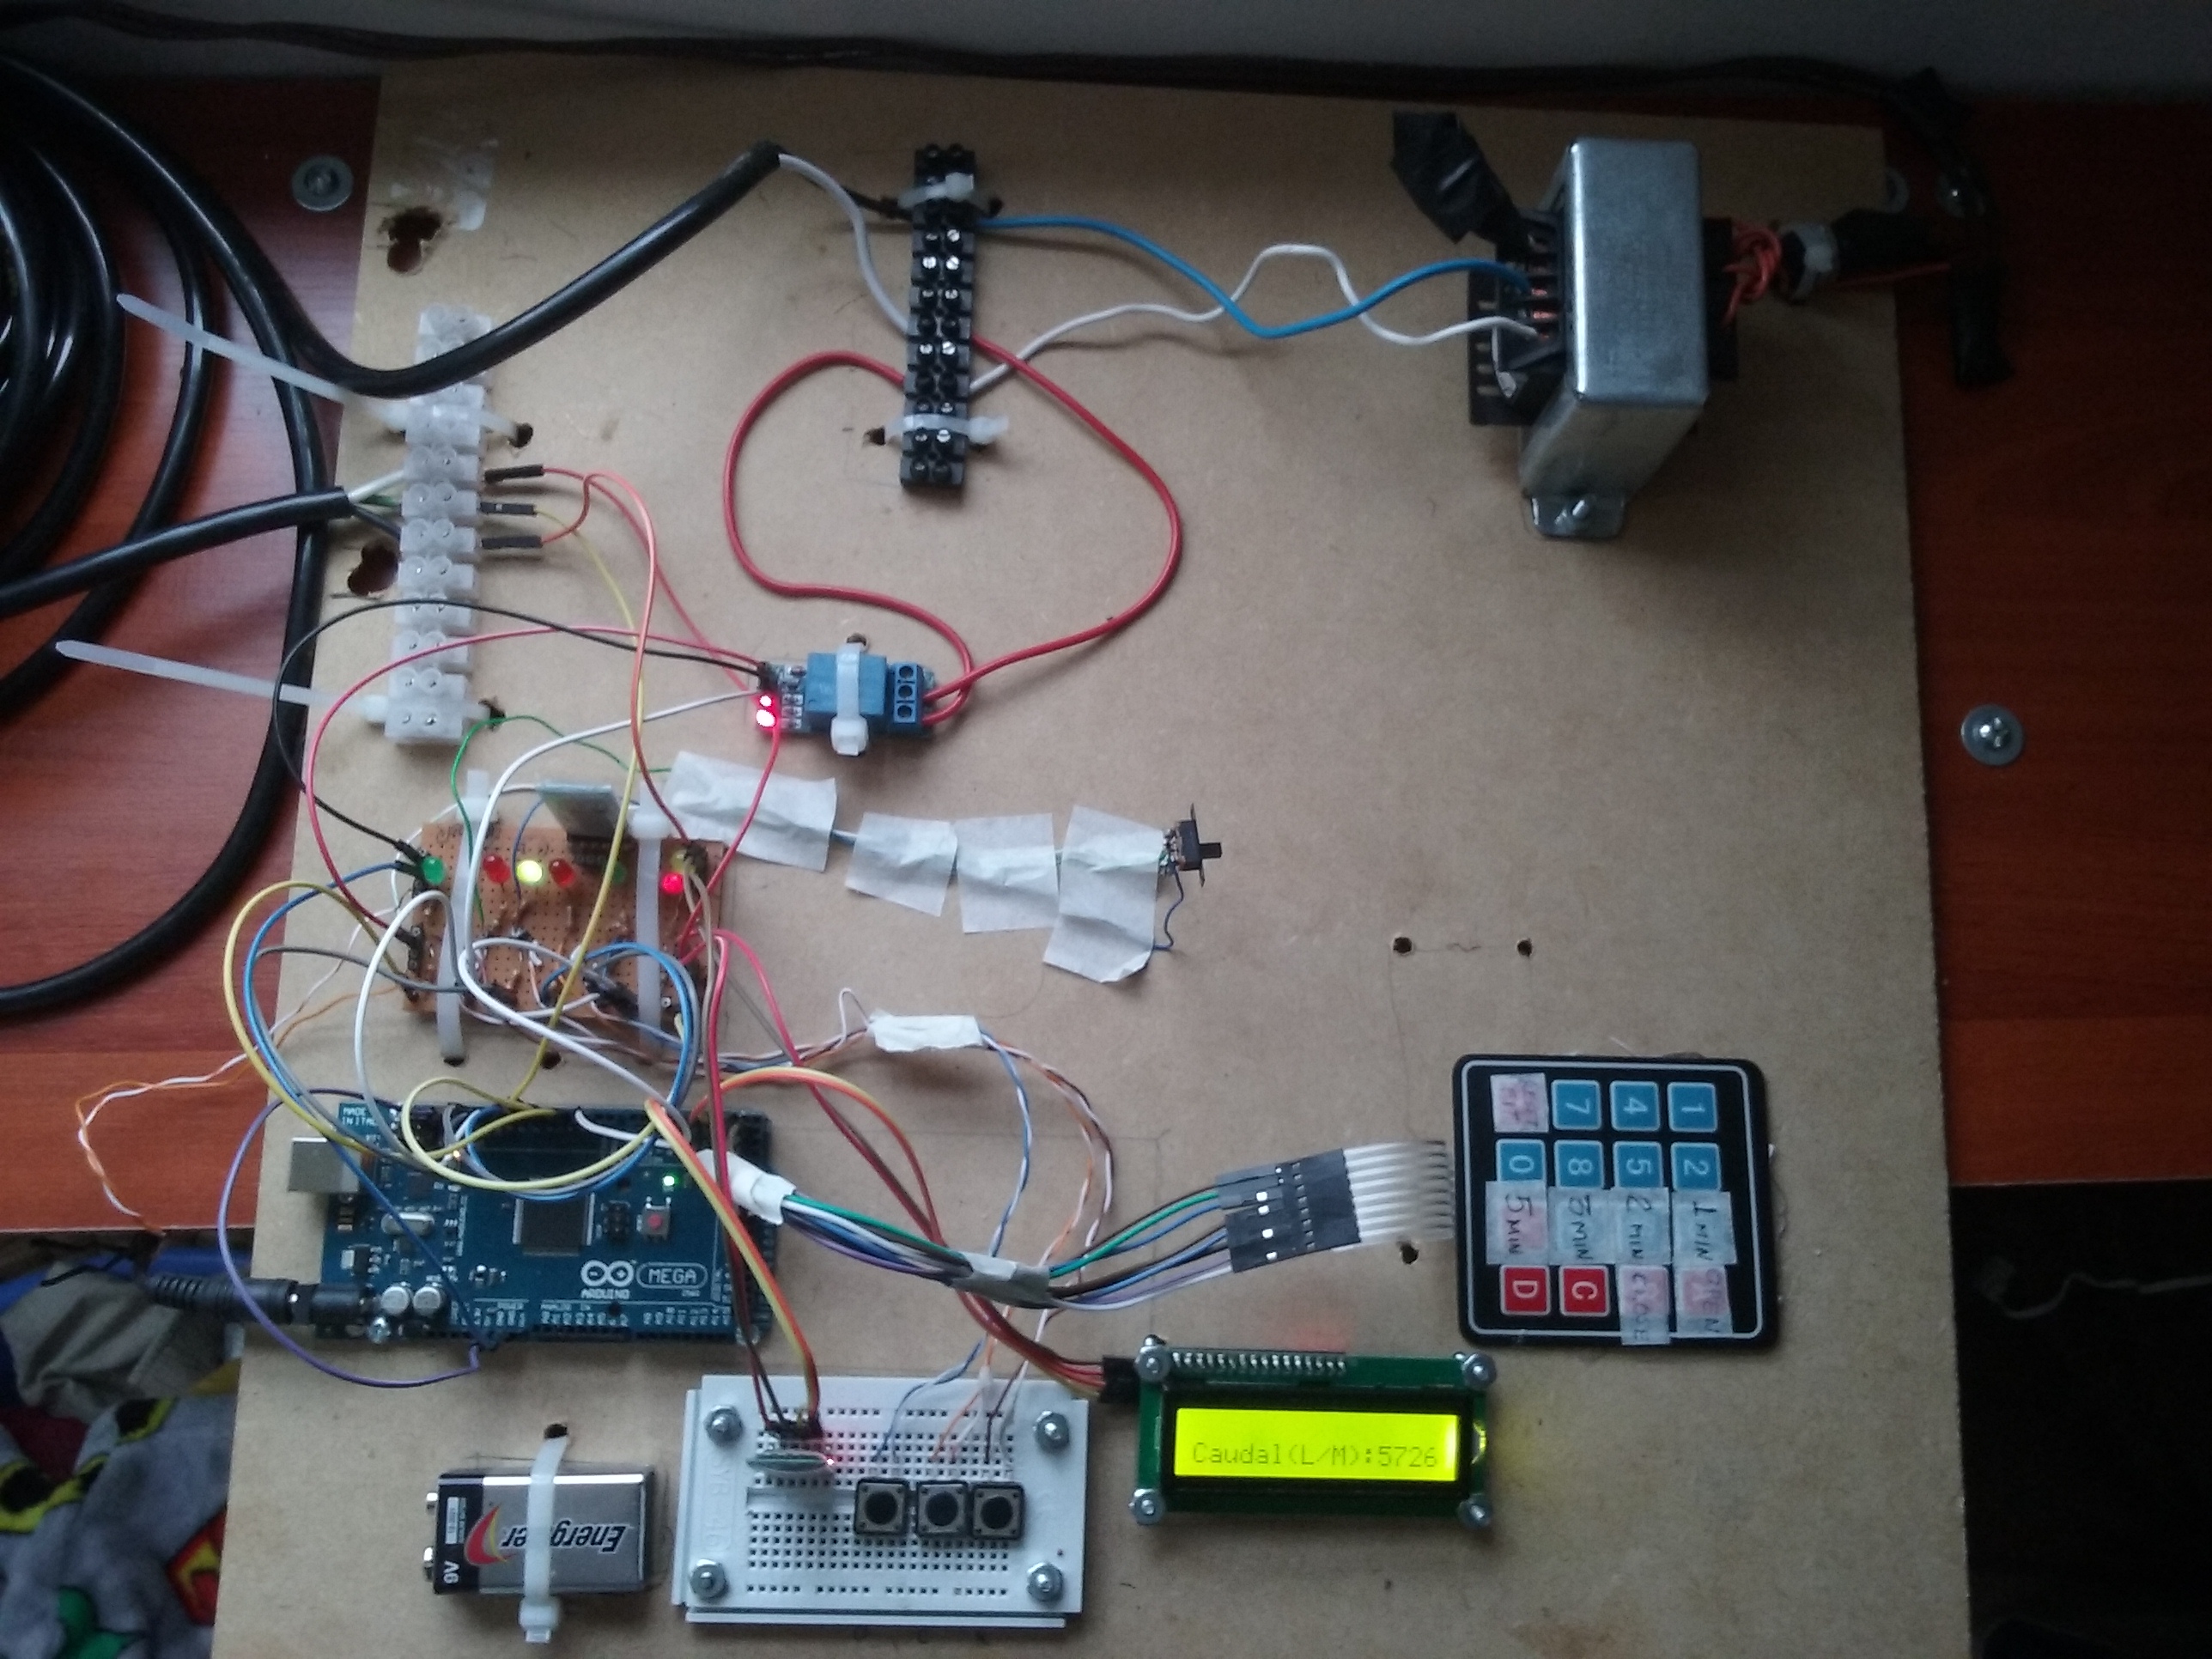
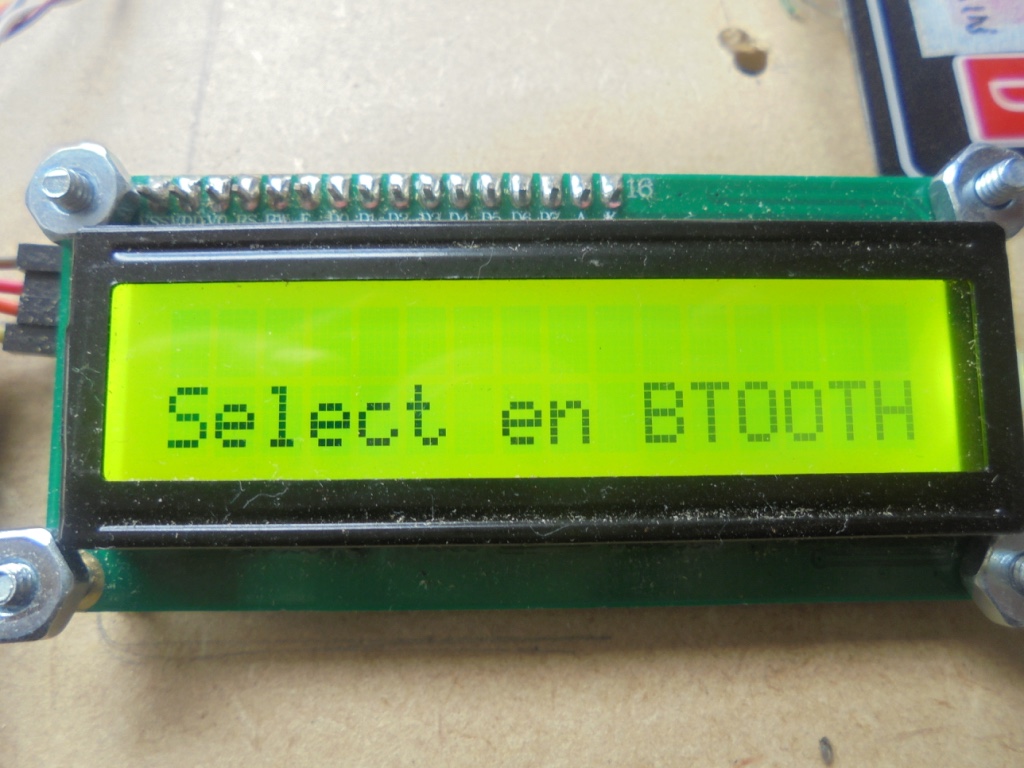
Once it start with the command "open valve" you can see information about the flow and the system status on the LCD . I installed a low cost flowmeter in the flow line and it sends pulses to the Arduino Board Input.
Tip: Before defining the intervals of time to configure in the keypad and the Arduino code it is very important to perform "static flow measurement" of you water source.I recommend to use a plastic can with printed liters capacity indications and your phone Clock/Chronometer App.
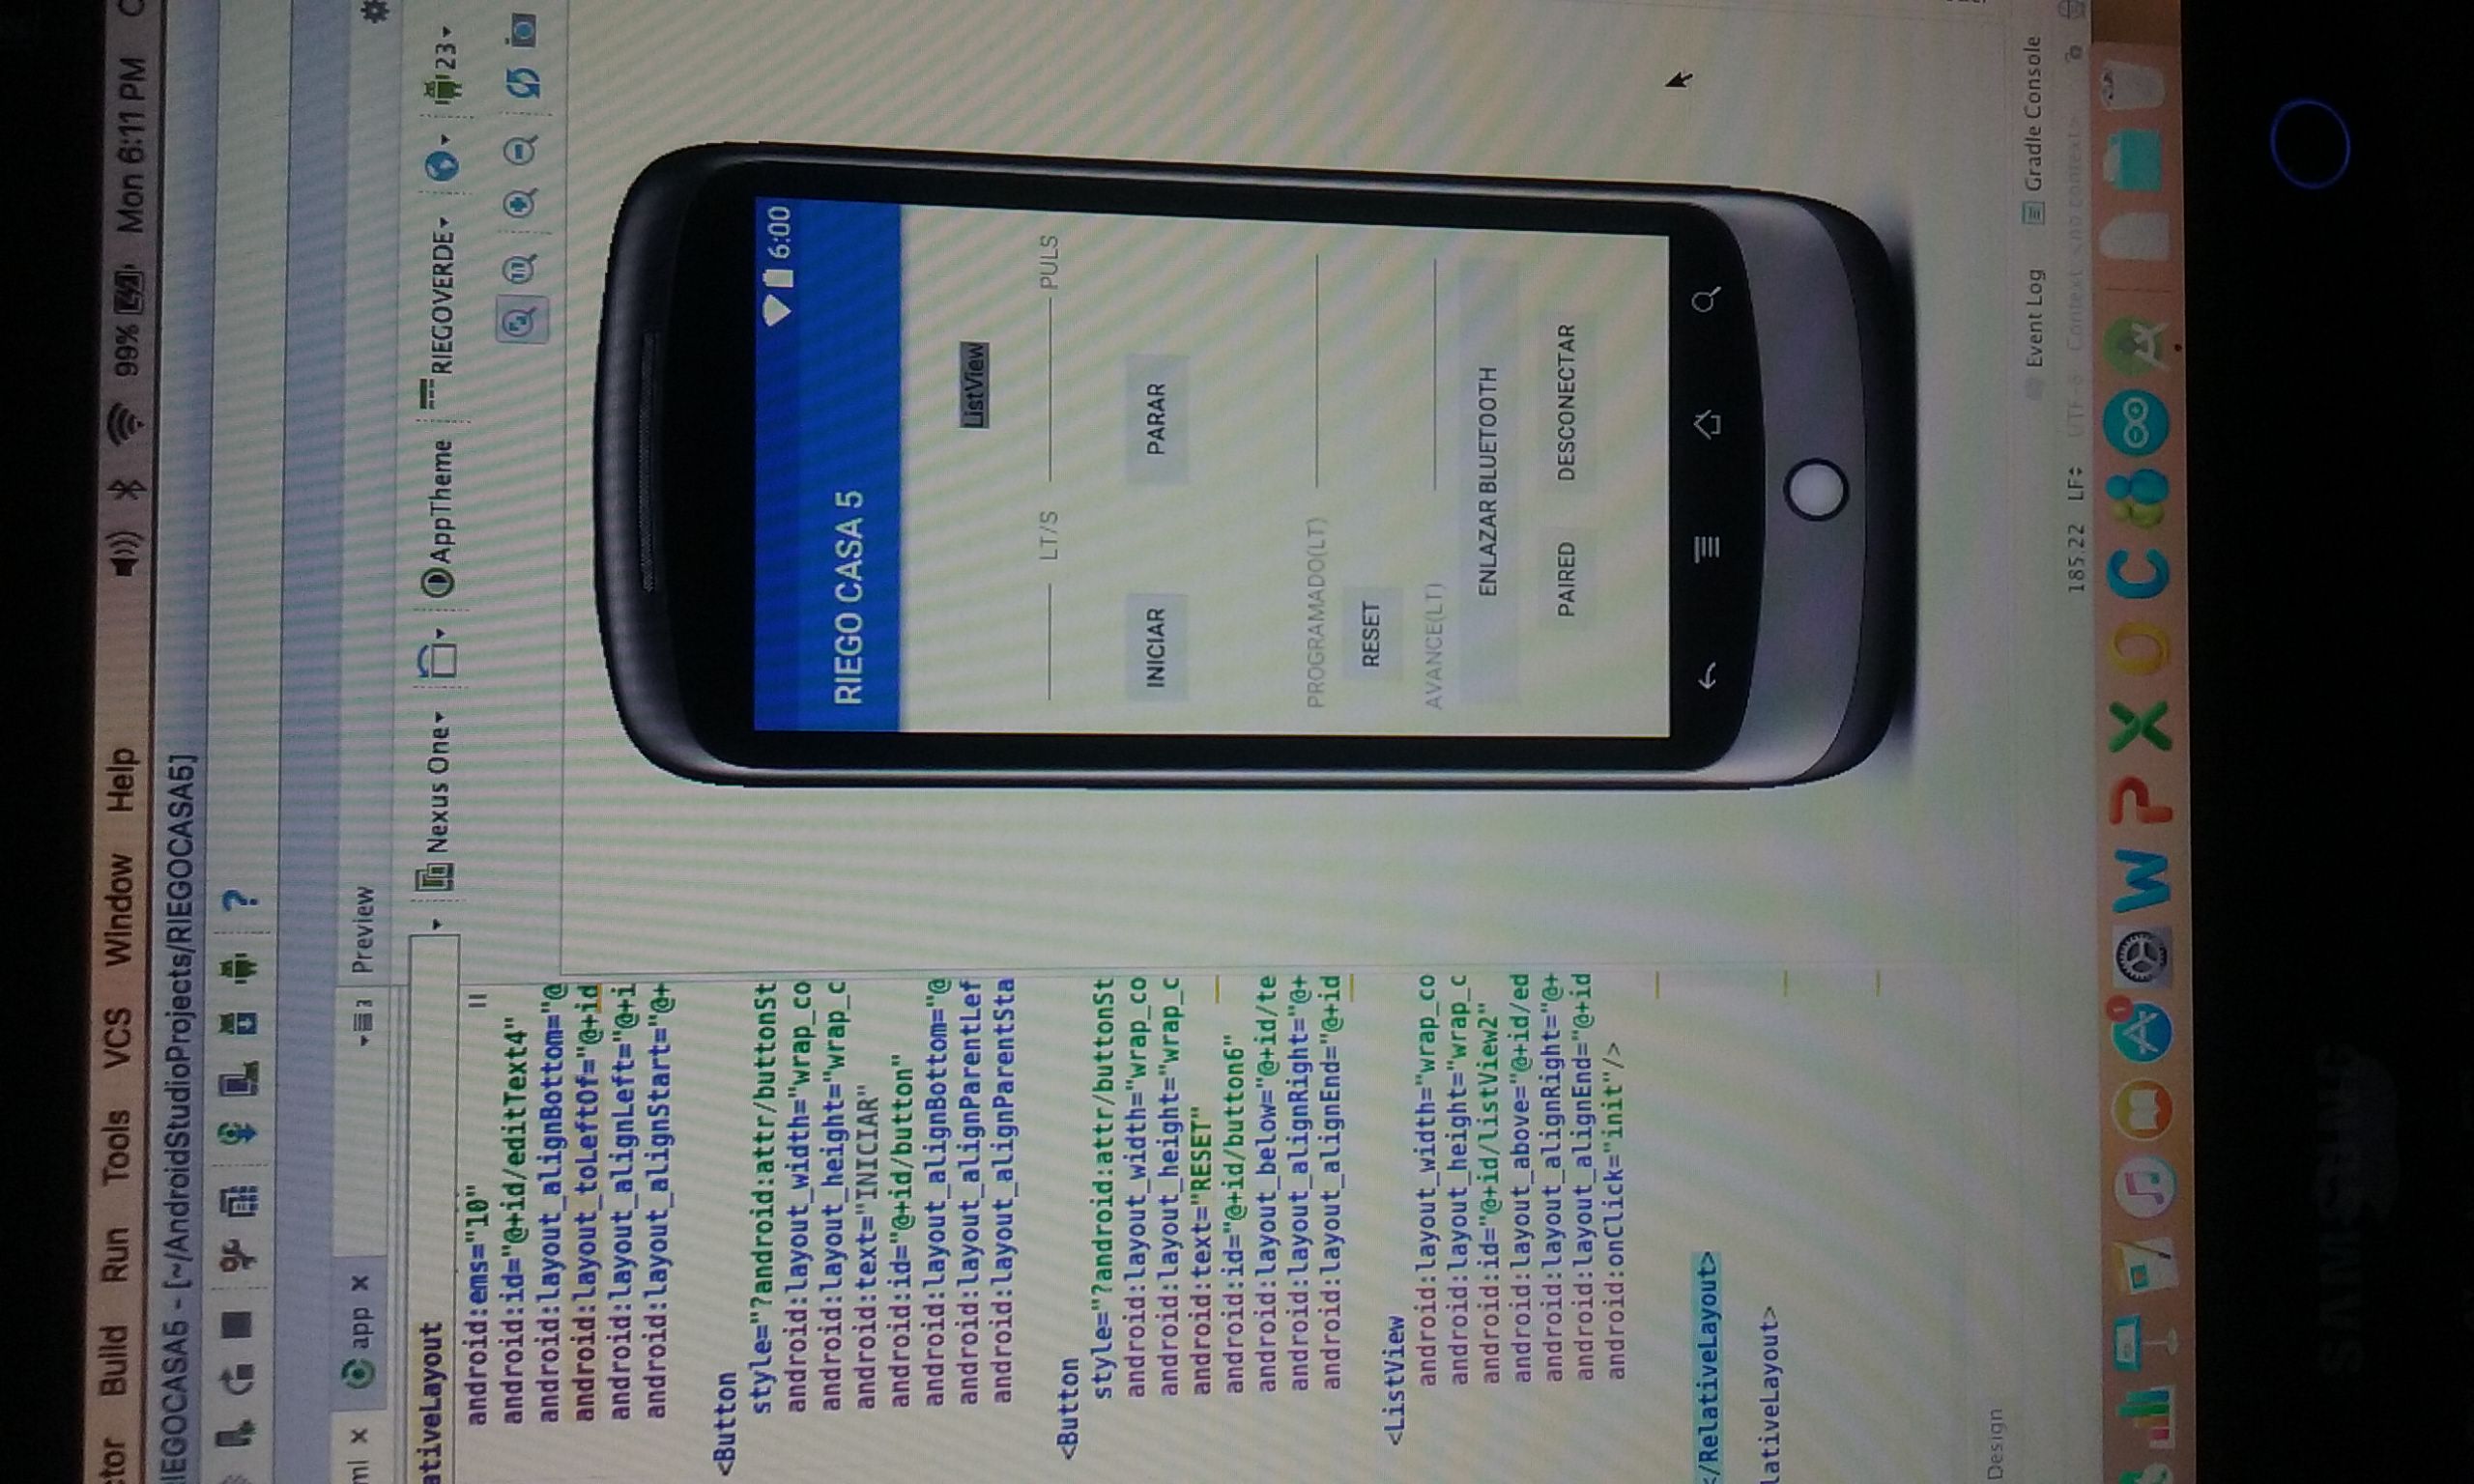
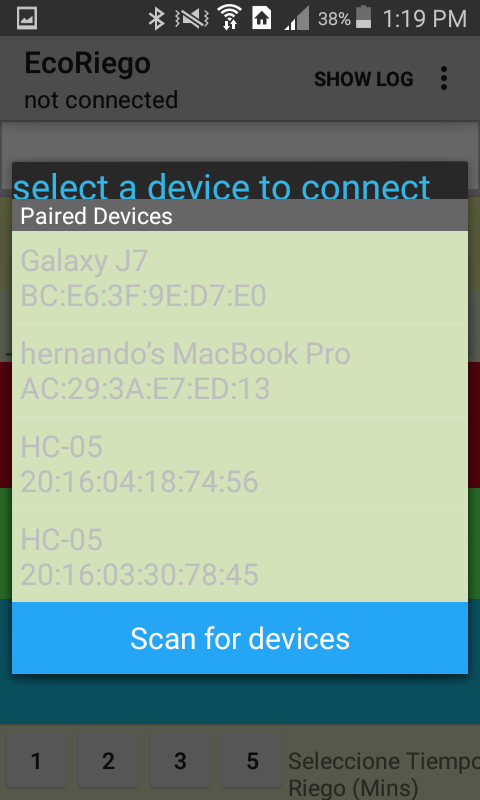
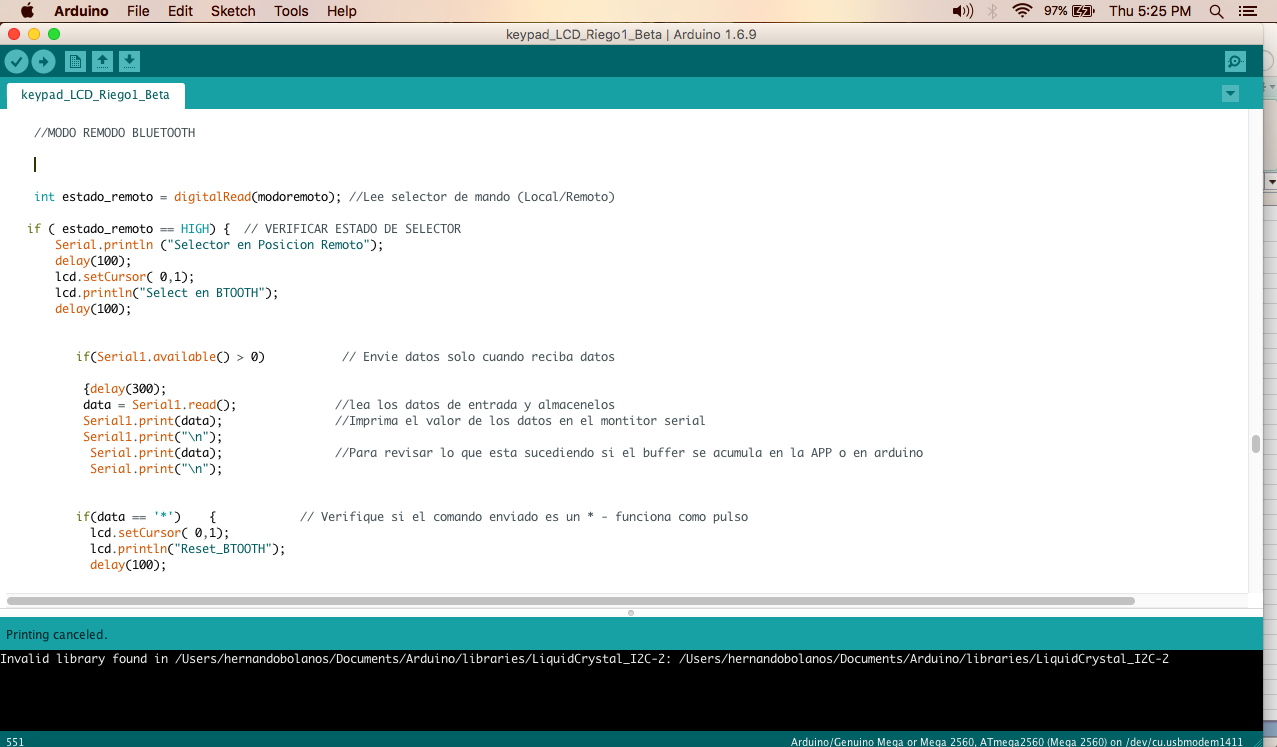
To operate in remote mode I have developed an APP containing a Graphic User Interface which interconnect to my smartphone with Arduino Bluetooth module. This App was developing based on the sample APP of the Android Studio Denominated-BluetoothChat.
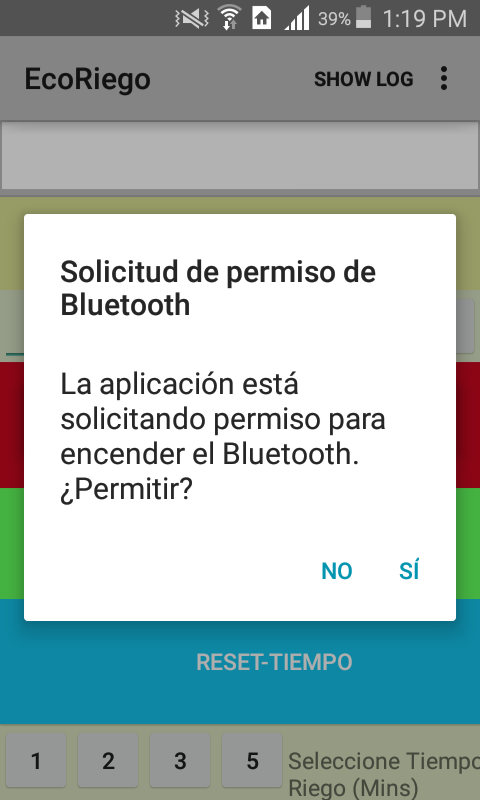
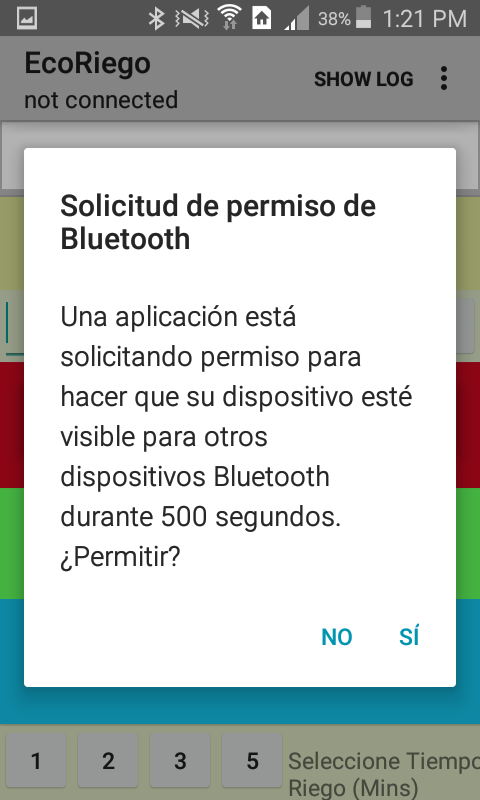
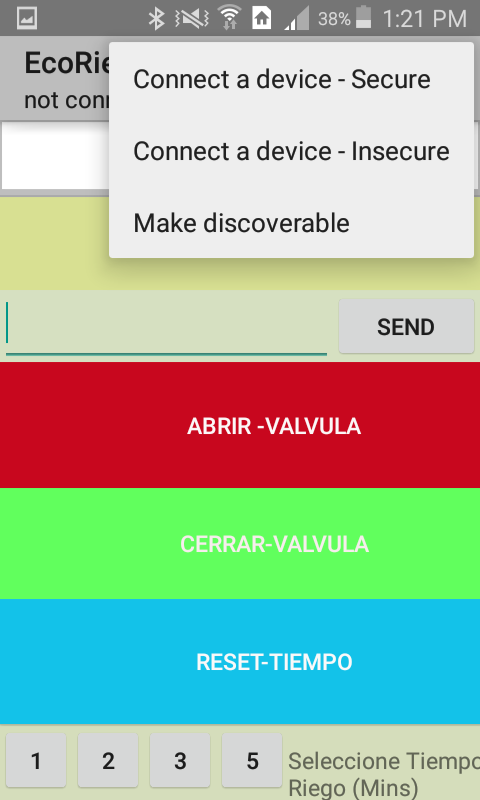
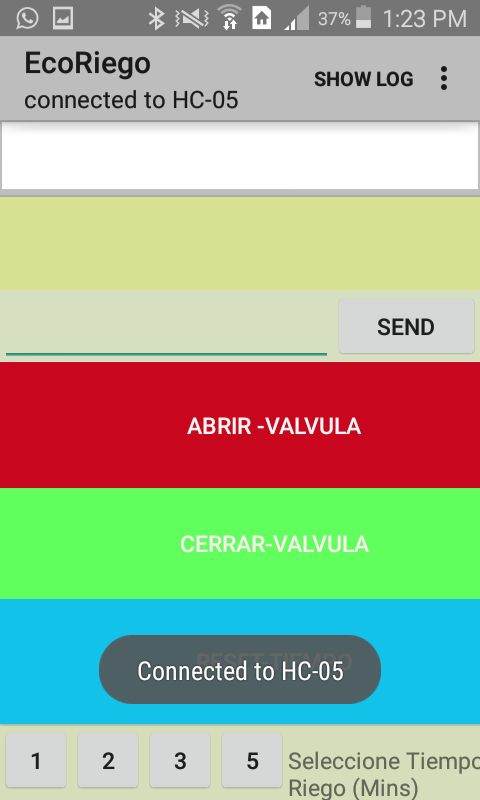
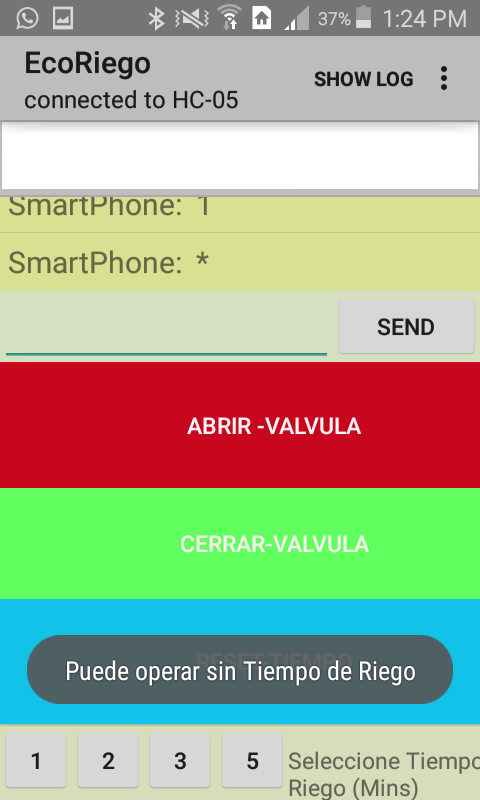
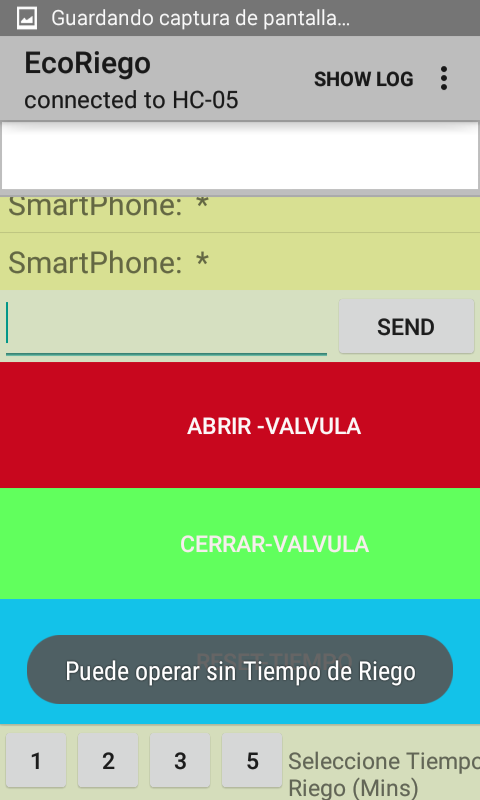


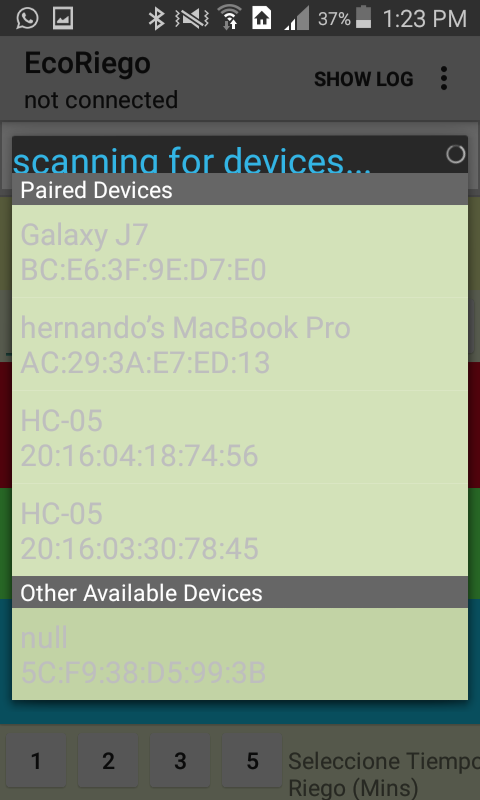

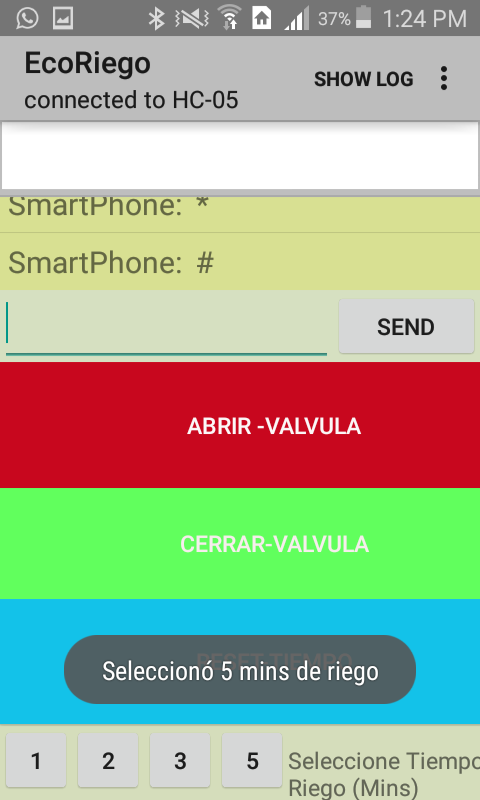
From the GUI you can Read Information and write open/close commands to the Arduino and then to the Solenoid Valve.
This contributor teaches how to make an important "short cut" to test bluetooth communication based on the sample APP of Android Studio BluetoothChat. If you are trying with Similar Apps and HC-05 module this video could be very useful to save time and effort.
EXPANDED TECHNICAL DETAILS
Smart Botanical Life-Support suite
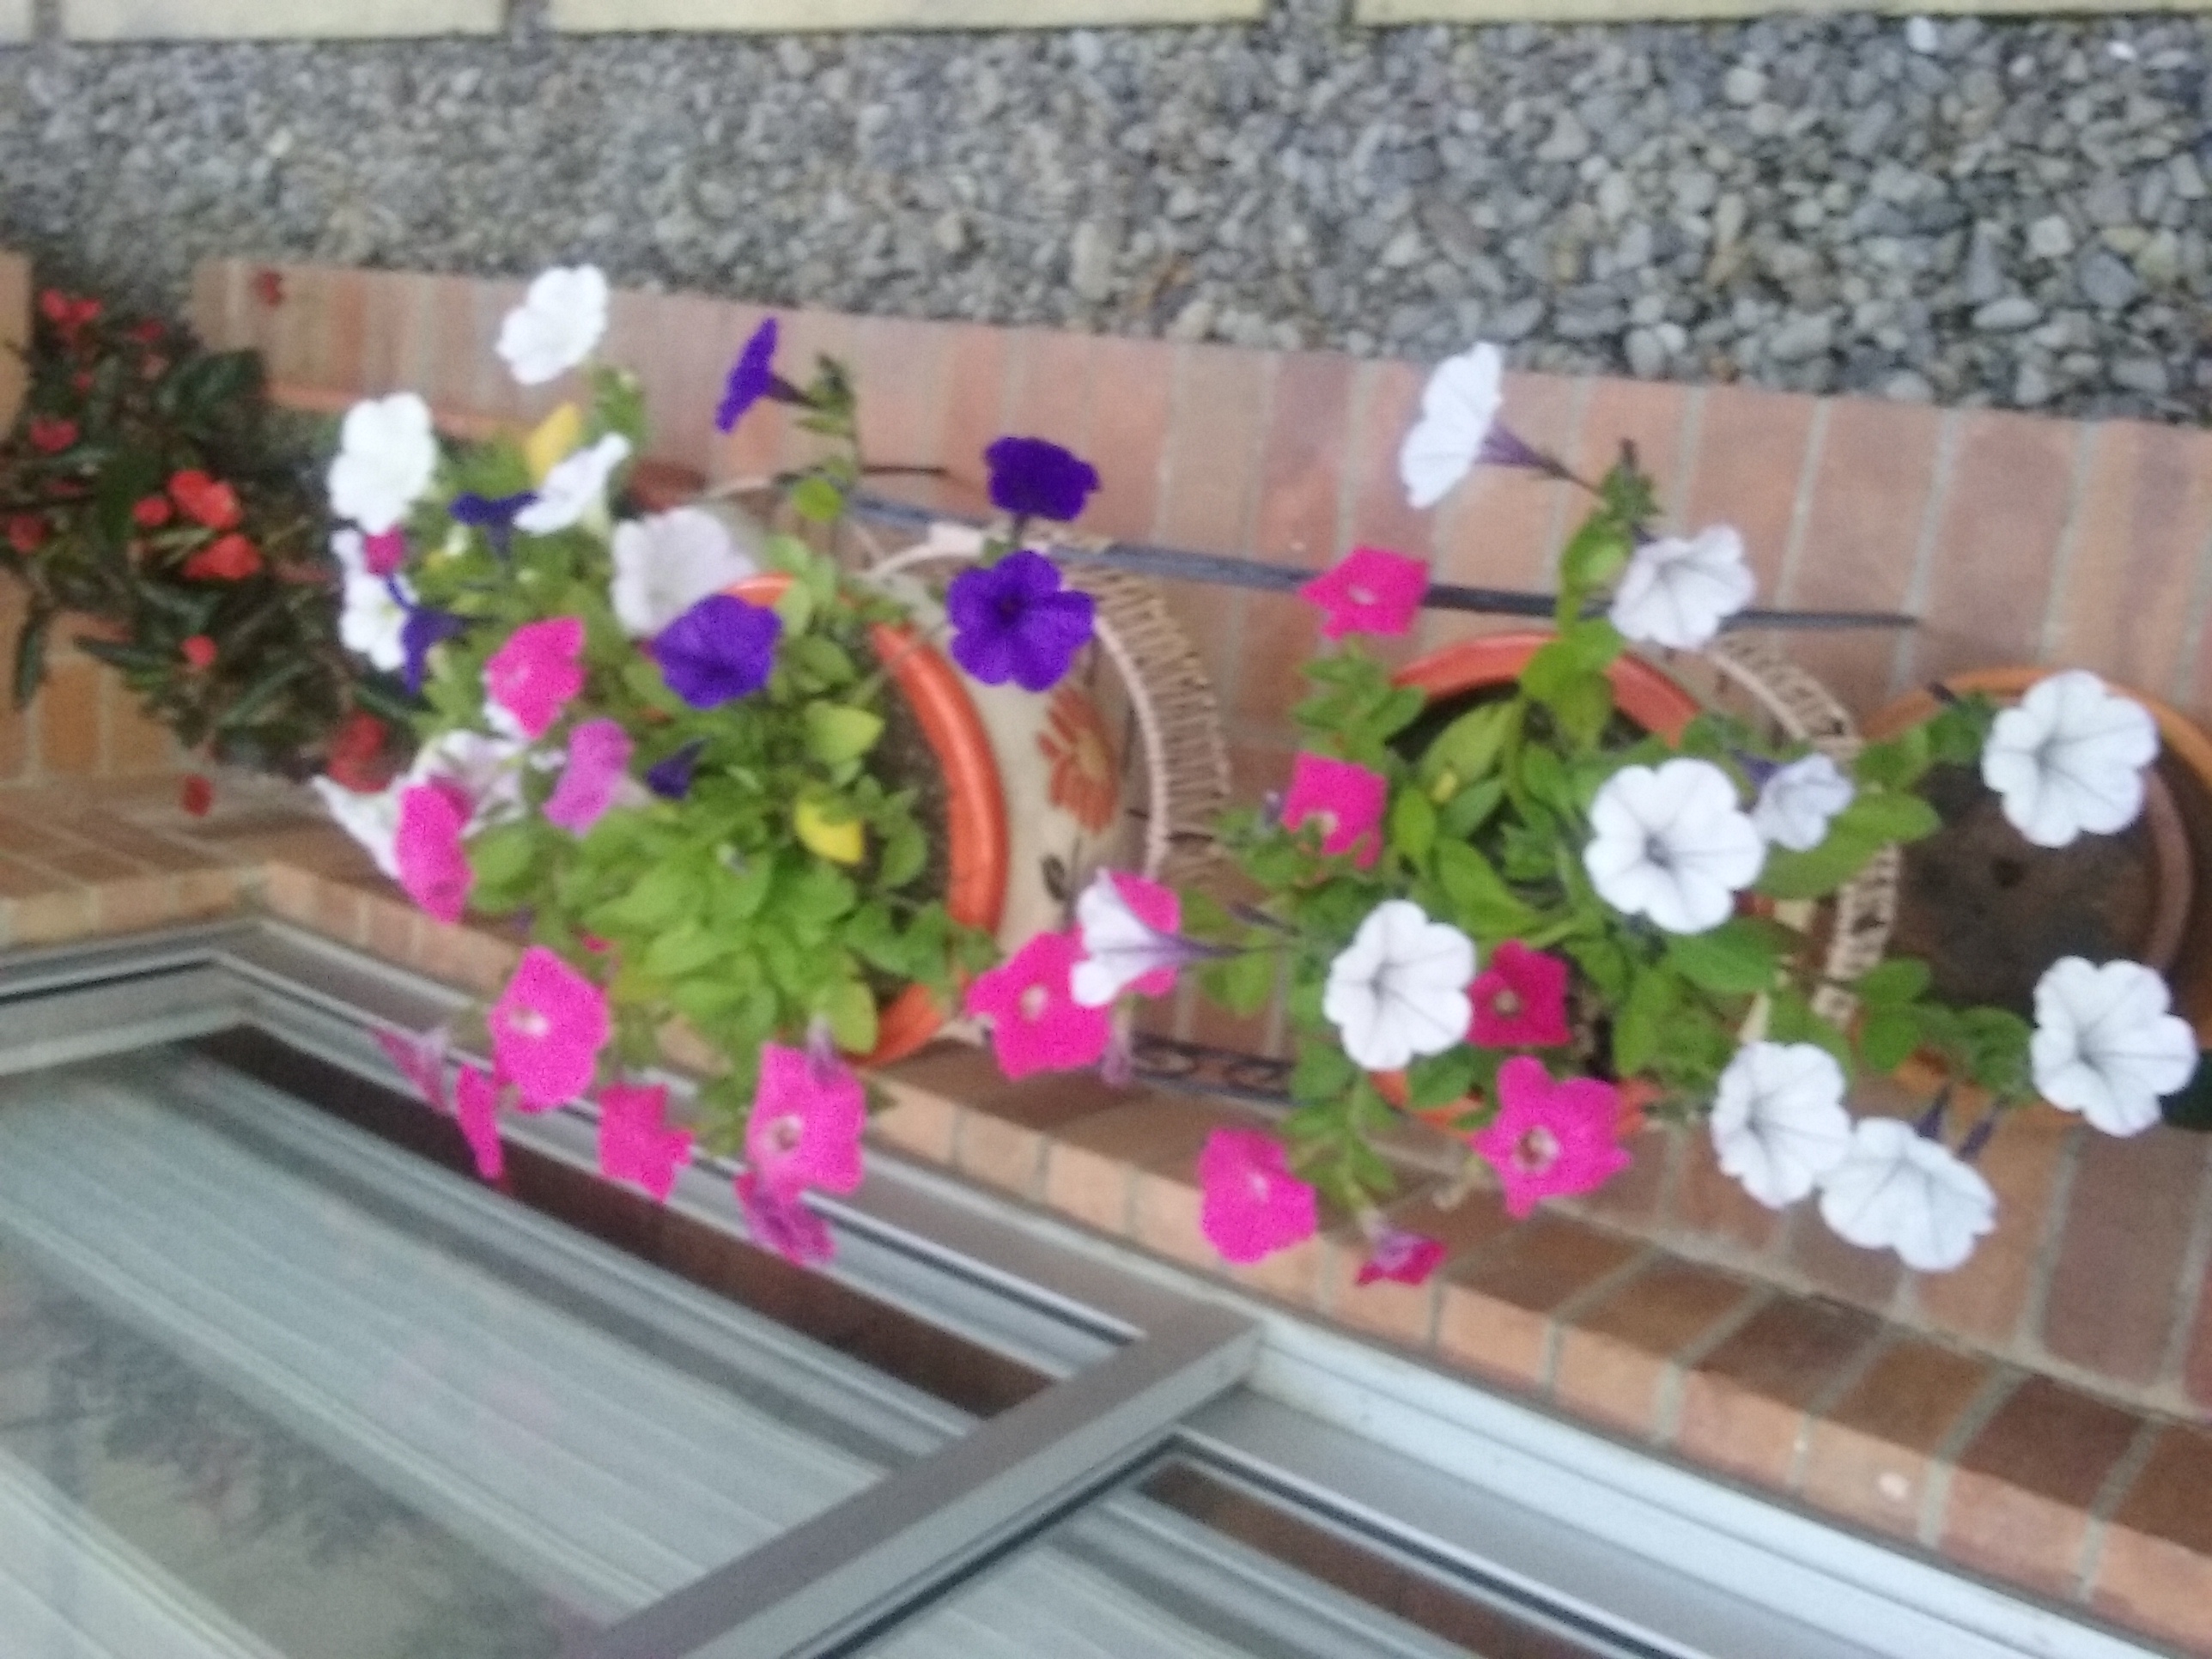
An automated irrigation system that balances local sensor data with remote smartphone control to maintain a healthy garden ecosystem.
- Distributed Moisture Analytics: Uses multiple soil-impedance sensors to monitor different "Zones" of the garden. The Arduino identifies which zone requires water based on a user-defined "Wilting Point."
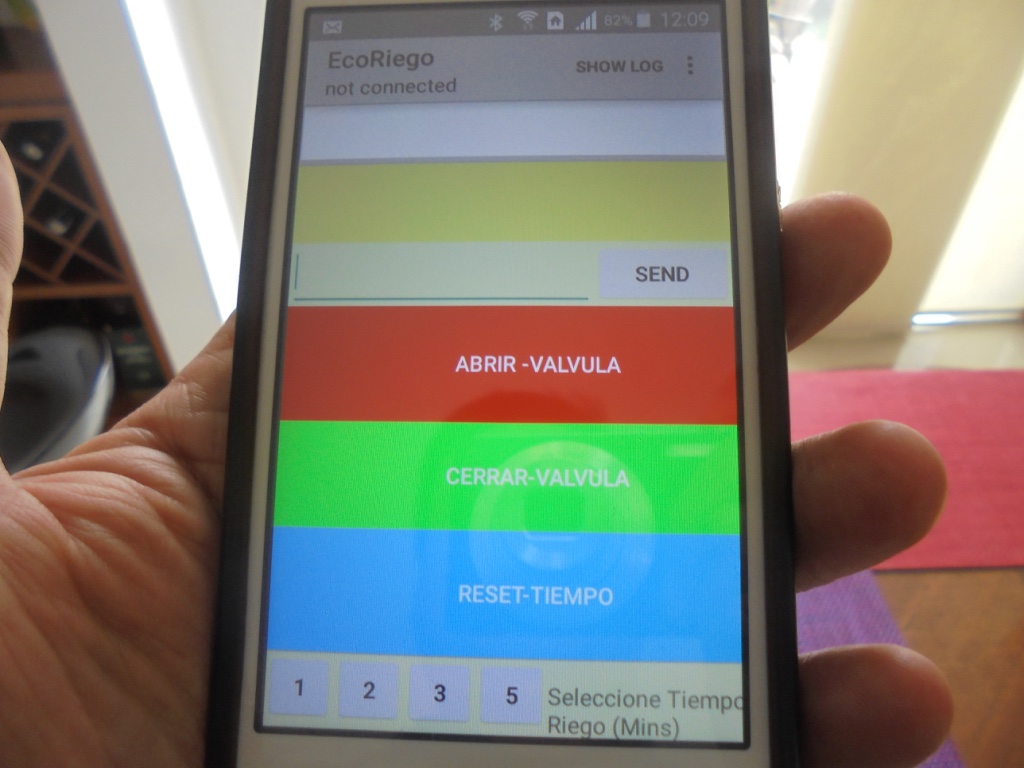
- Bluetooth_Chat Command Hub: Uses a custom Bluetooth Chat app to provide a manual override for the user. The app displays real-time soil moisture percentages and allows the user to open individual solenoids with a single click.
Safety
- Anti-Seize Solenoid Cycle: Includes a firmware routine that pulses the water valves for 1 second every 24 hours (even if moisture is high), preventing mineral buildup and mechanical failure.
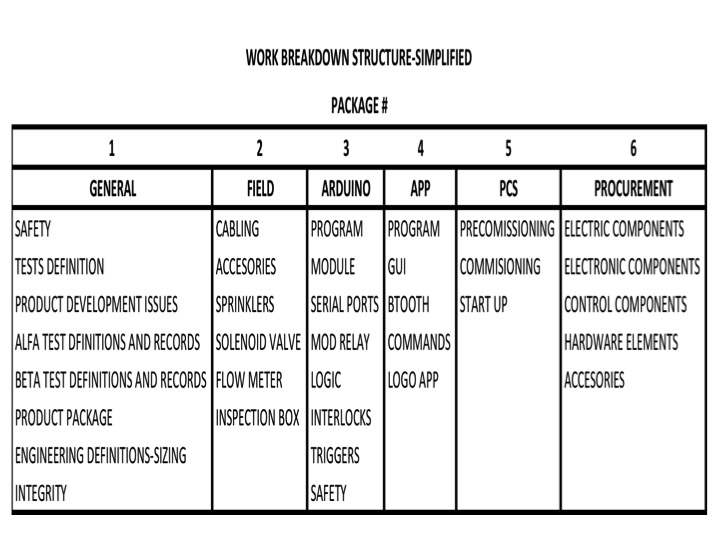
The project was developed taking into account this WBS:
I explained my son the conceptual products ideas, he develop the draft logo for my prototype. After I decided to hire a Designer because as a product development process it needs an Image well defined ideas and a Logo. Here you can find the logo for the prototype and for the APP.

The steps are:
Before starting your project execution you have to obtain a Concept and basic engineering design of the solution in order to avoid mistakes, accidents and wasting money in procurement.
Step 1:
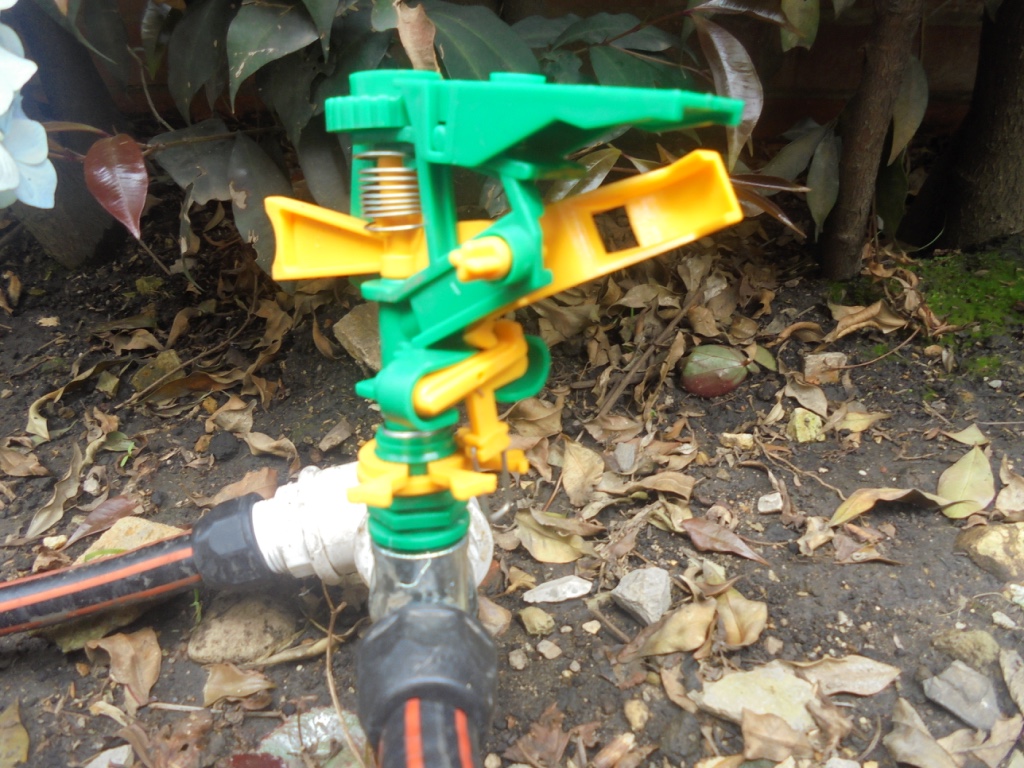
Buy and assemble field hardware according to your site needs and your engineering design:
- Hoses and accessories (length according to your irrigation outputs number)
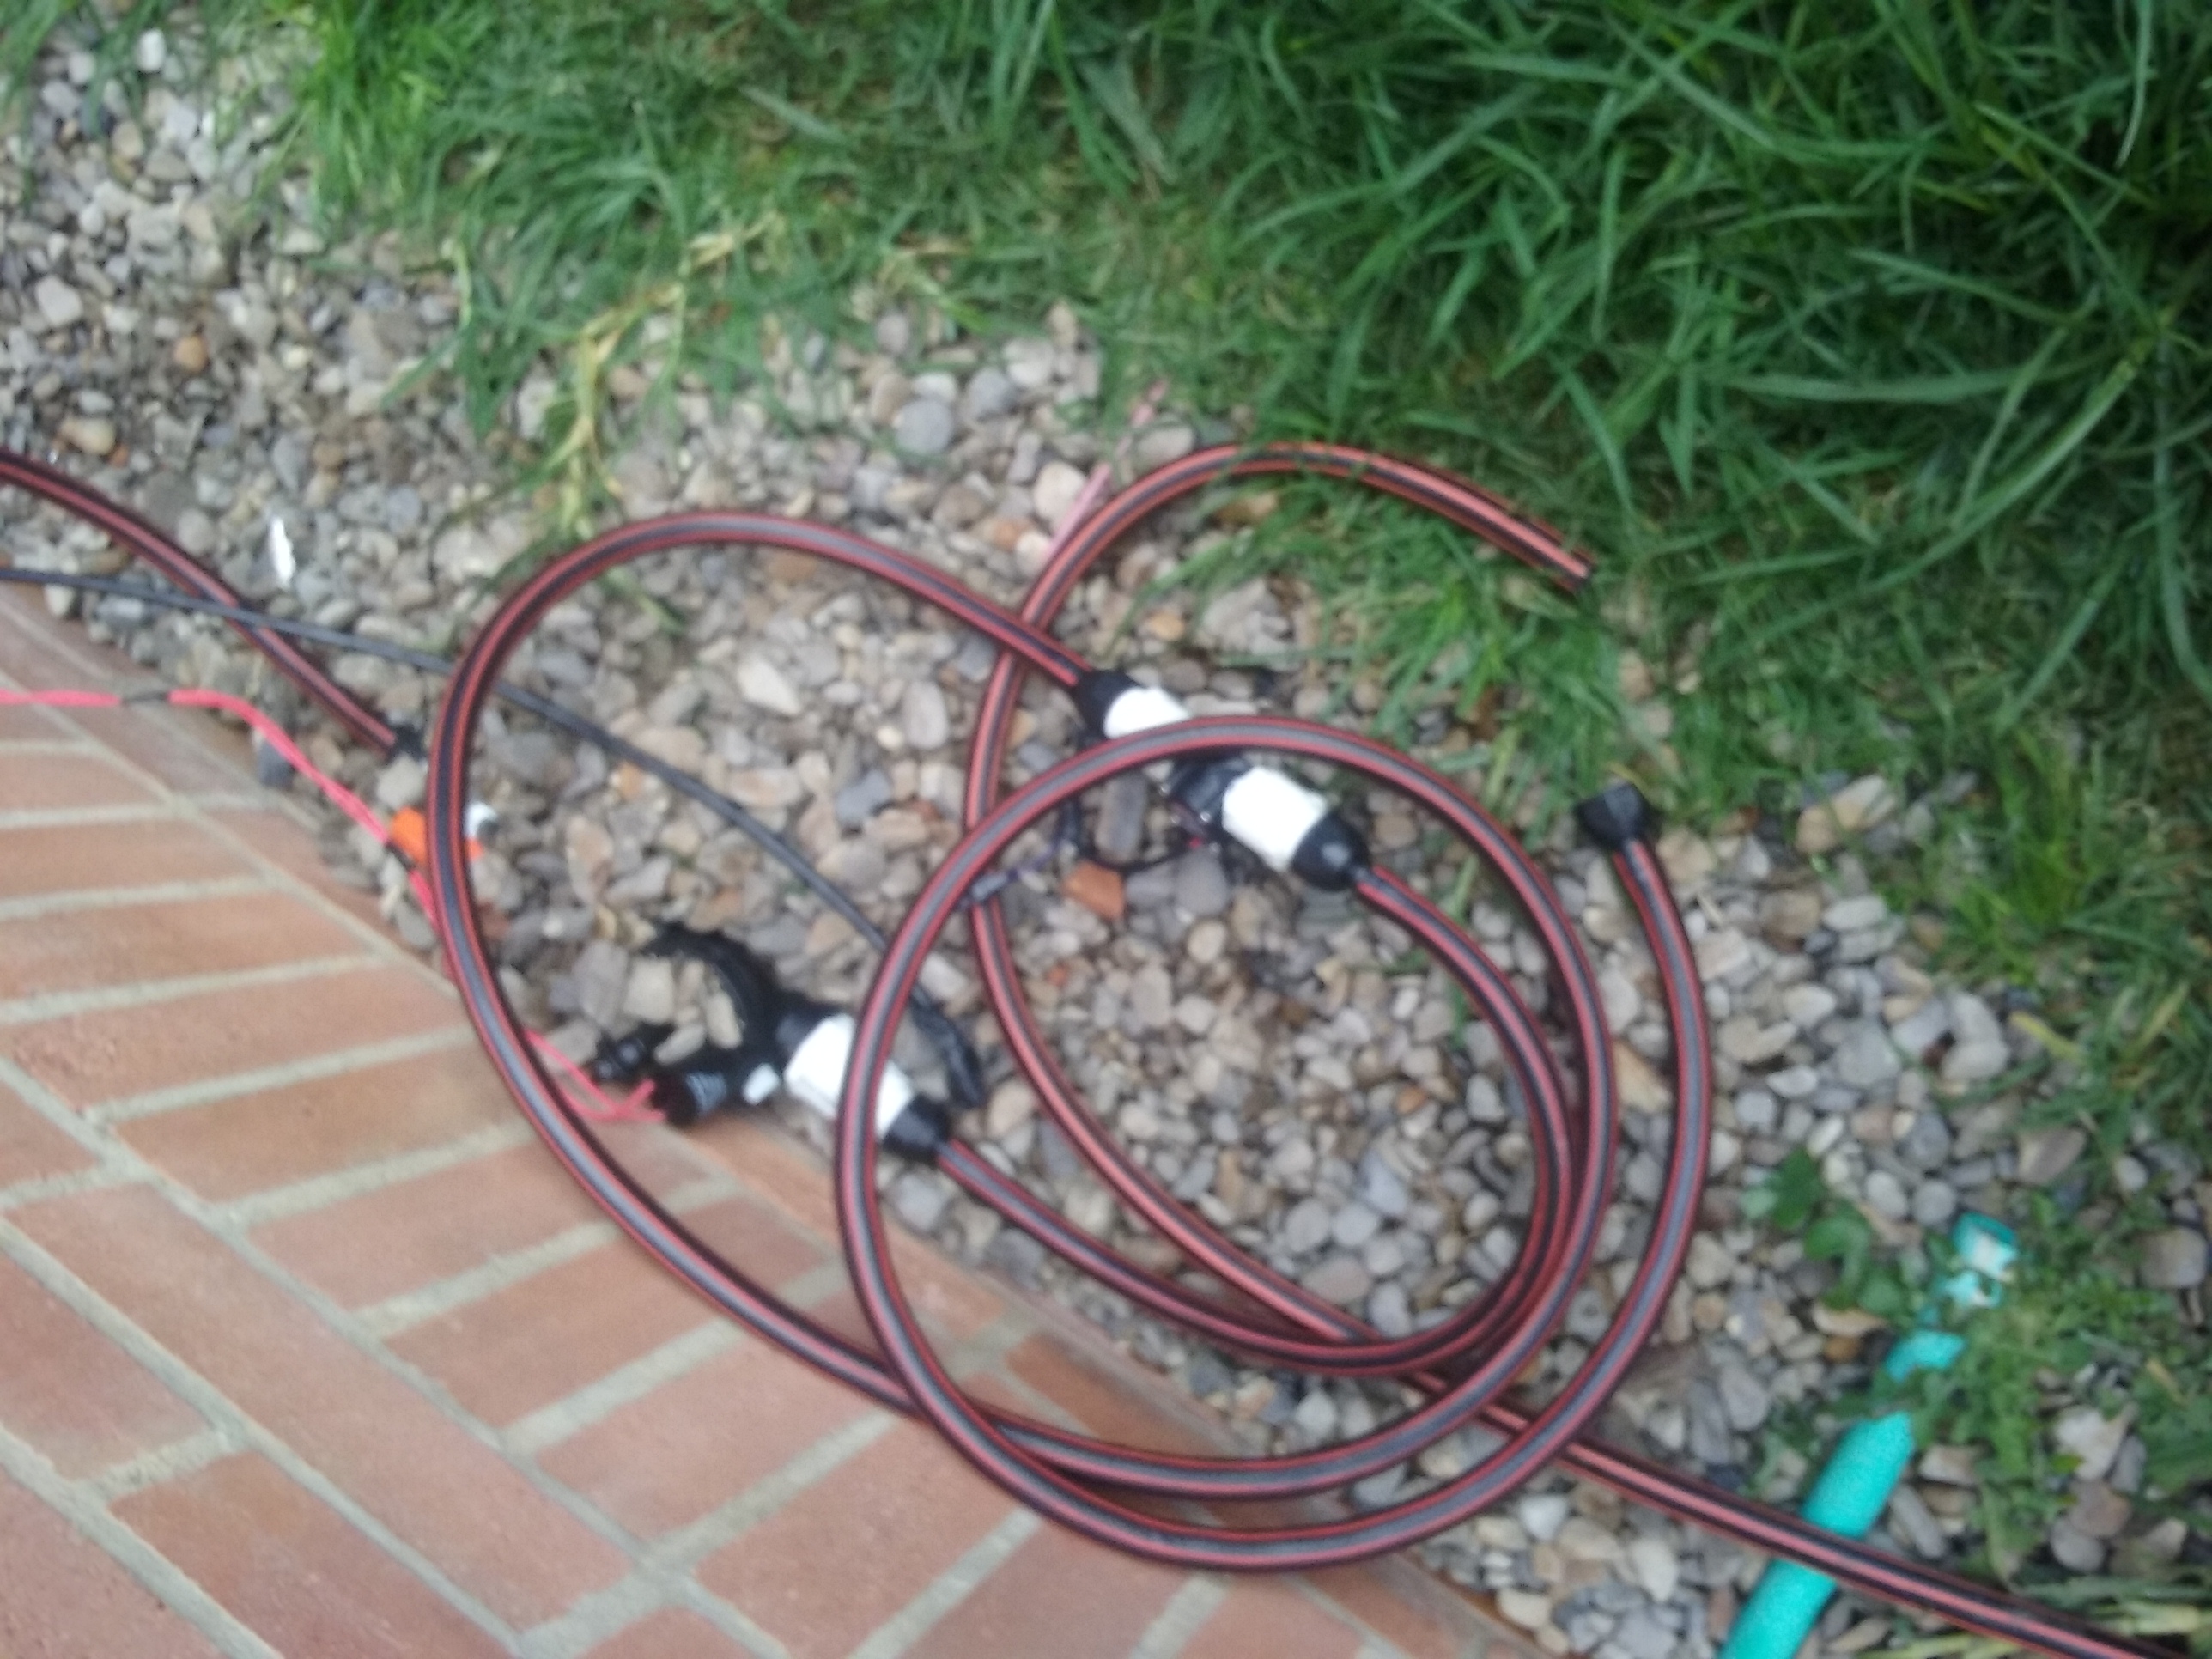
- Flow meters (according to your irrigation lines)
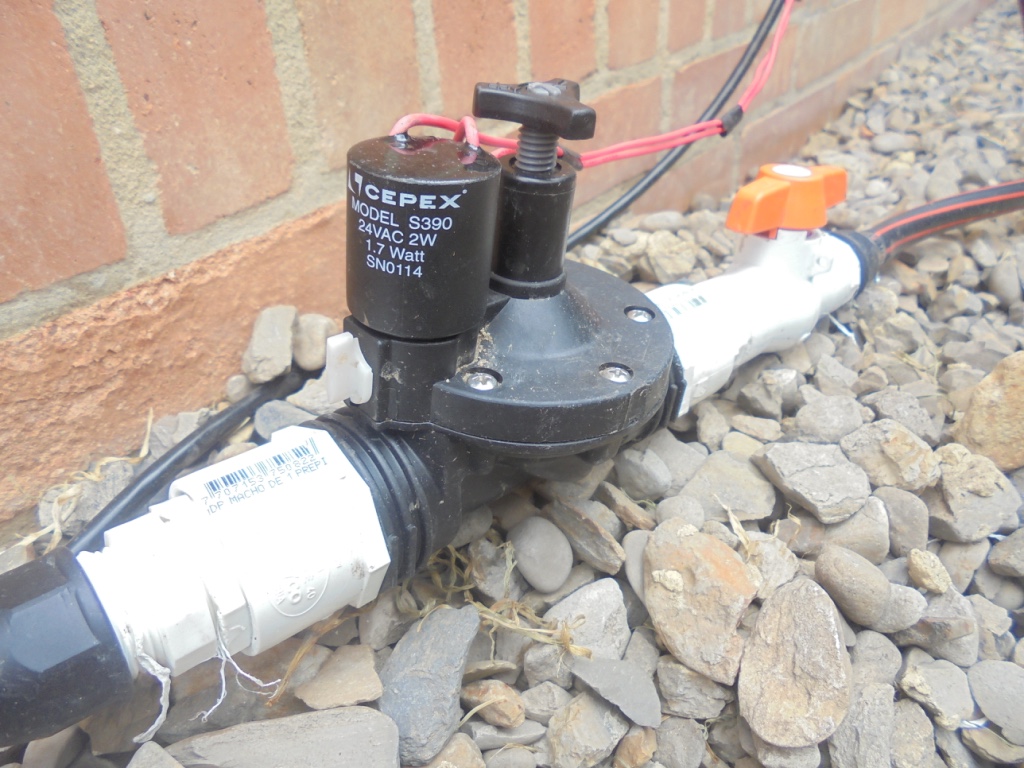
- Solenoid valves (One per zone).
Remember these valves usually operate with a minimal flow and/or pressure
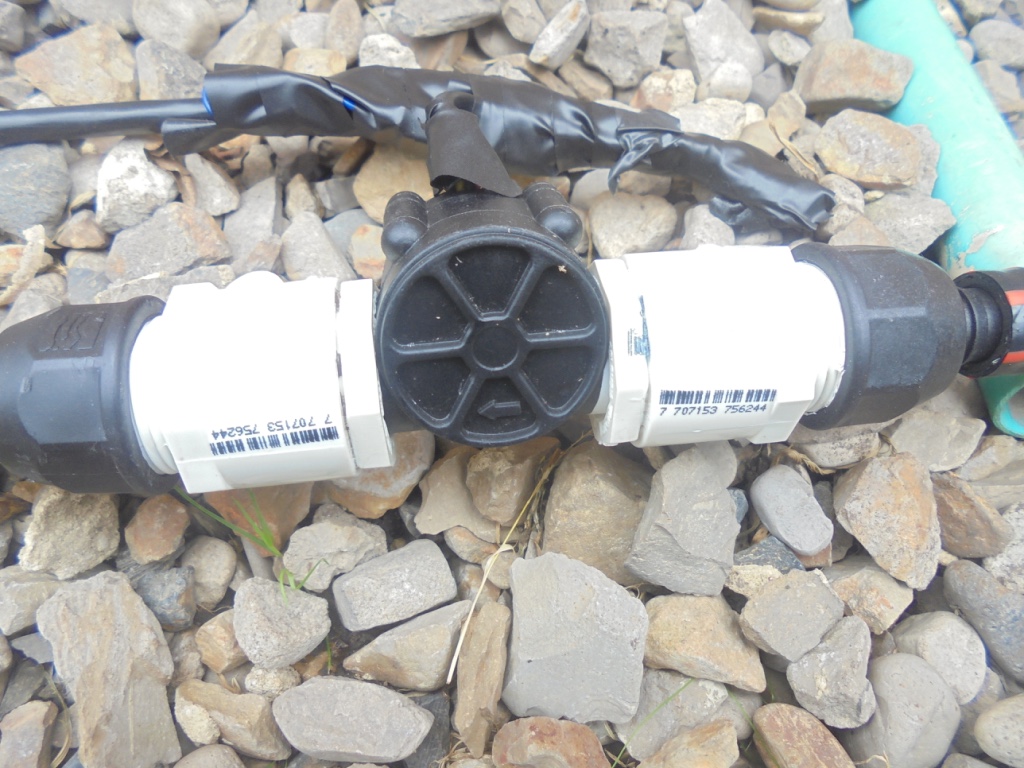
- 1", 3/4" and 1/2" of diameter PVC pipes and accessories - if you have n zones I recommend to build a PVC Manifold and Installing an Inspection Box.
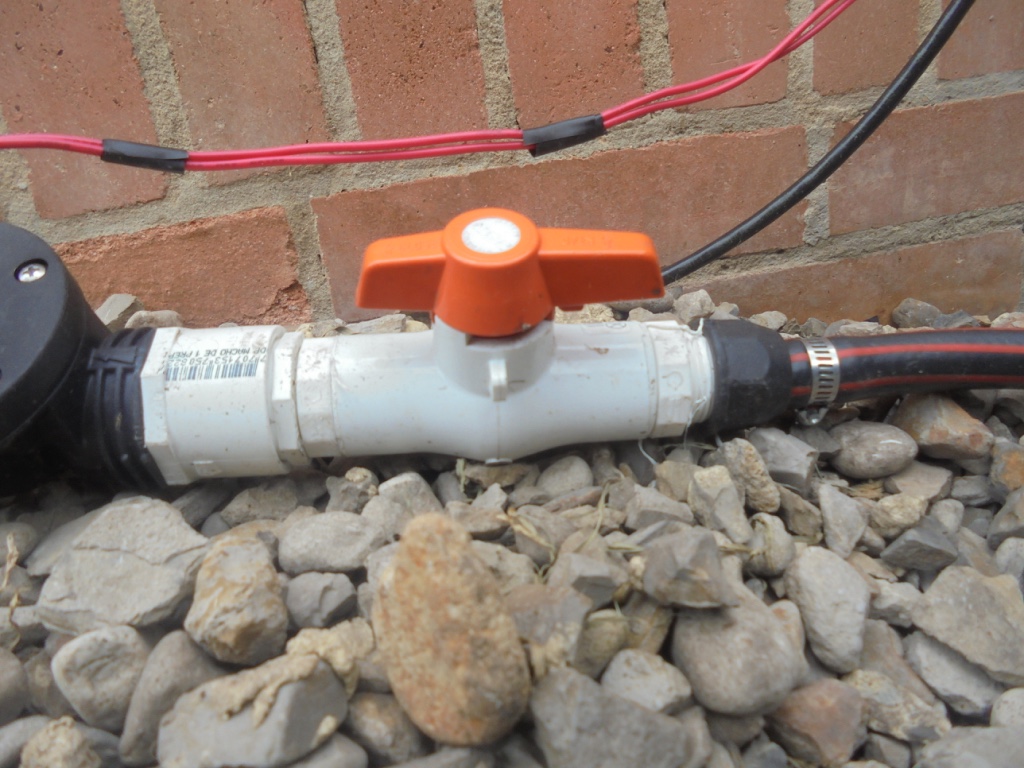
- 3/4" Cut Valves to make easy to isolate the zones in the future for maintenance. This Valve should be Installed upstream of each Solenoid Valve.
- Filters are mandatory installed upstream of the solenoid valves
- Sprinklers - You can use generic, plastic, metal or micro aspersion system
Step 2:
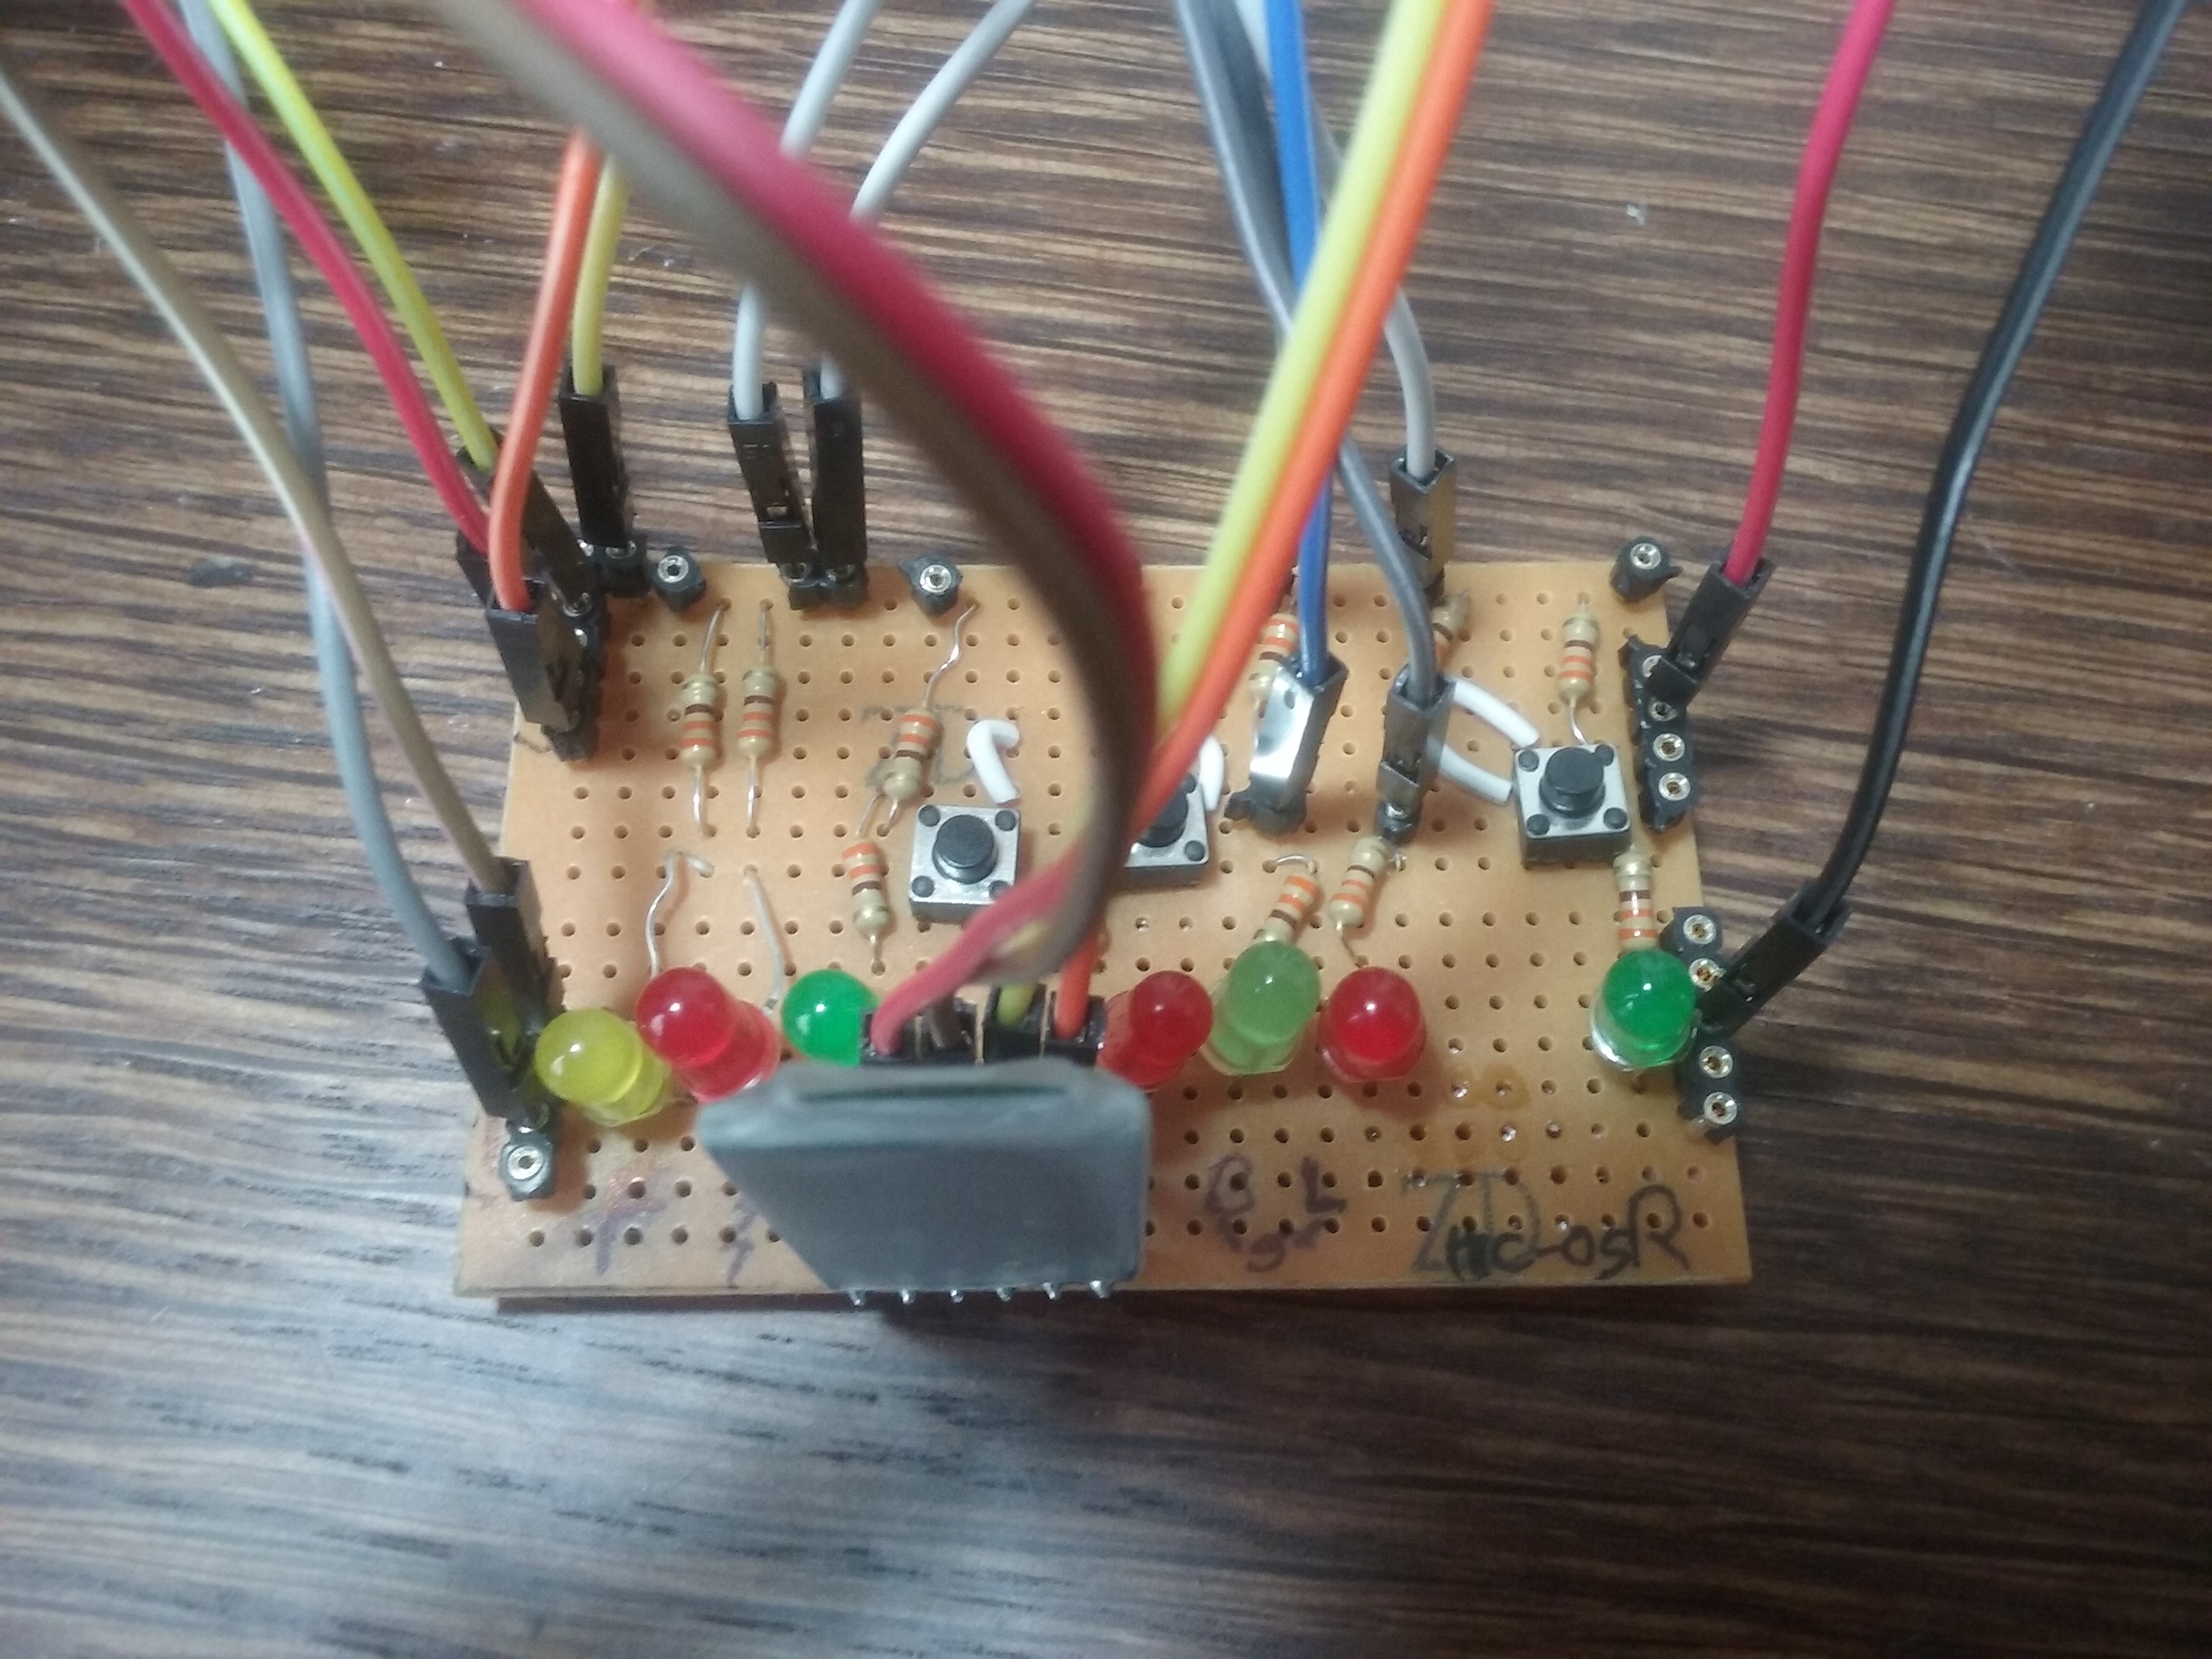
For an easy field testing, mounting and monitoring of the irrigation system use a standard PCB, soldier, and mount LEDs, 220 ohm resistors, HC-05 and cabling the signals for:
States:
- Open/Close Valve (PCB)
- Local Mode (by PCB selector switch)
- Remote Mode(by PCB selector switch)
Commands:
- Open valve (push Button&keypad&APP)
- Close valve (push Button&keypad&APP)
- Reset Time (Push Button&Keypad&APP)
- Automatic irrigation time (Keypad&APP)
Power Inputs/Outputs:
- +5V
- GND(-)
- We use one (1) power supply for the Arduino and one(1) for the other hardware
HC-05 Bluetooth Module
- Tx pin
- Rx pin
- Vdc pin
- GND pin
You can maintain all this material in a breadboard as is showed in the fritzing schematic diagram.
Variables for Arduino code are as follows:
Measurements report:
- Irrigation Flow (LCD-serial monitor)
- Irrigation cycle Time (LCD-serial Monitor)
Interlocks:
- Flow Line before accepting open commands interlock
- AC power connection sequence interlock
- Initial value of field Outputs interlock
- Arduino Board Reset Field Outputs Interlock
It is necessary to define variables for Arduino code as follows:
Measurements report:
- Irrigation Flow (LCD-serial monitor)
- Irrigation cycle Time (LCD-serial Monitor)
Program Automatic safety Triggers:
- Signals quality
- Operation mode undefined
- Irrigation Time out of parameters
- Emergency shut down mechanism
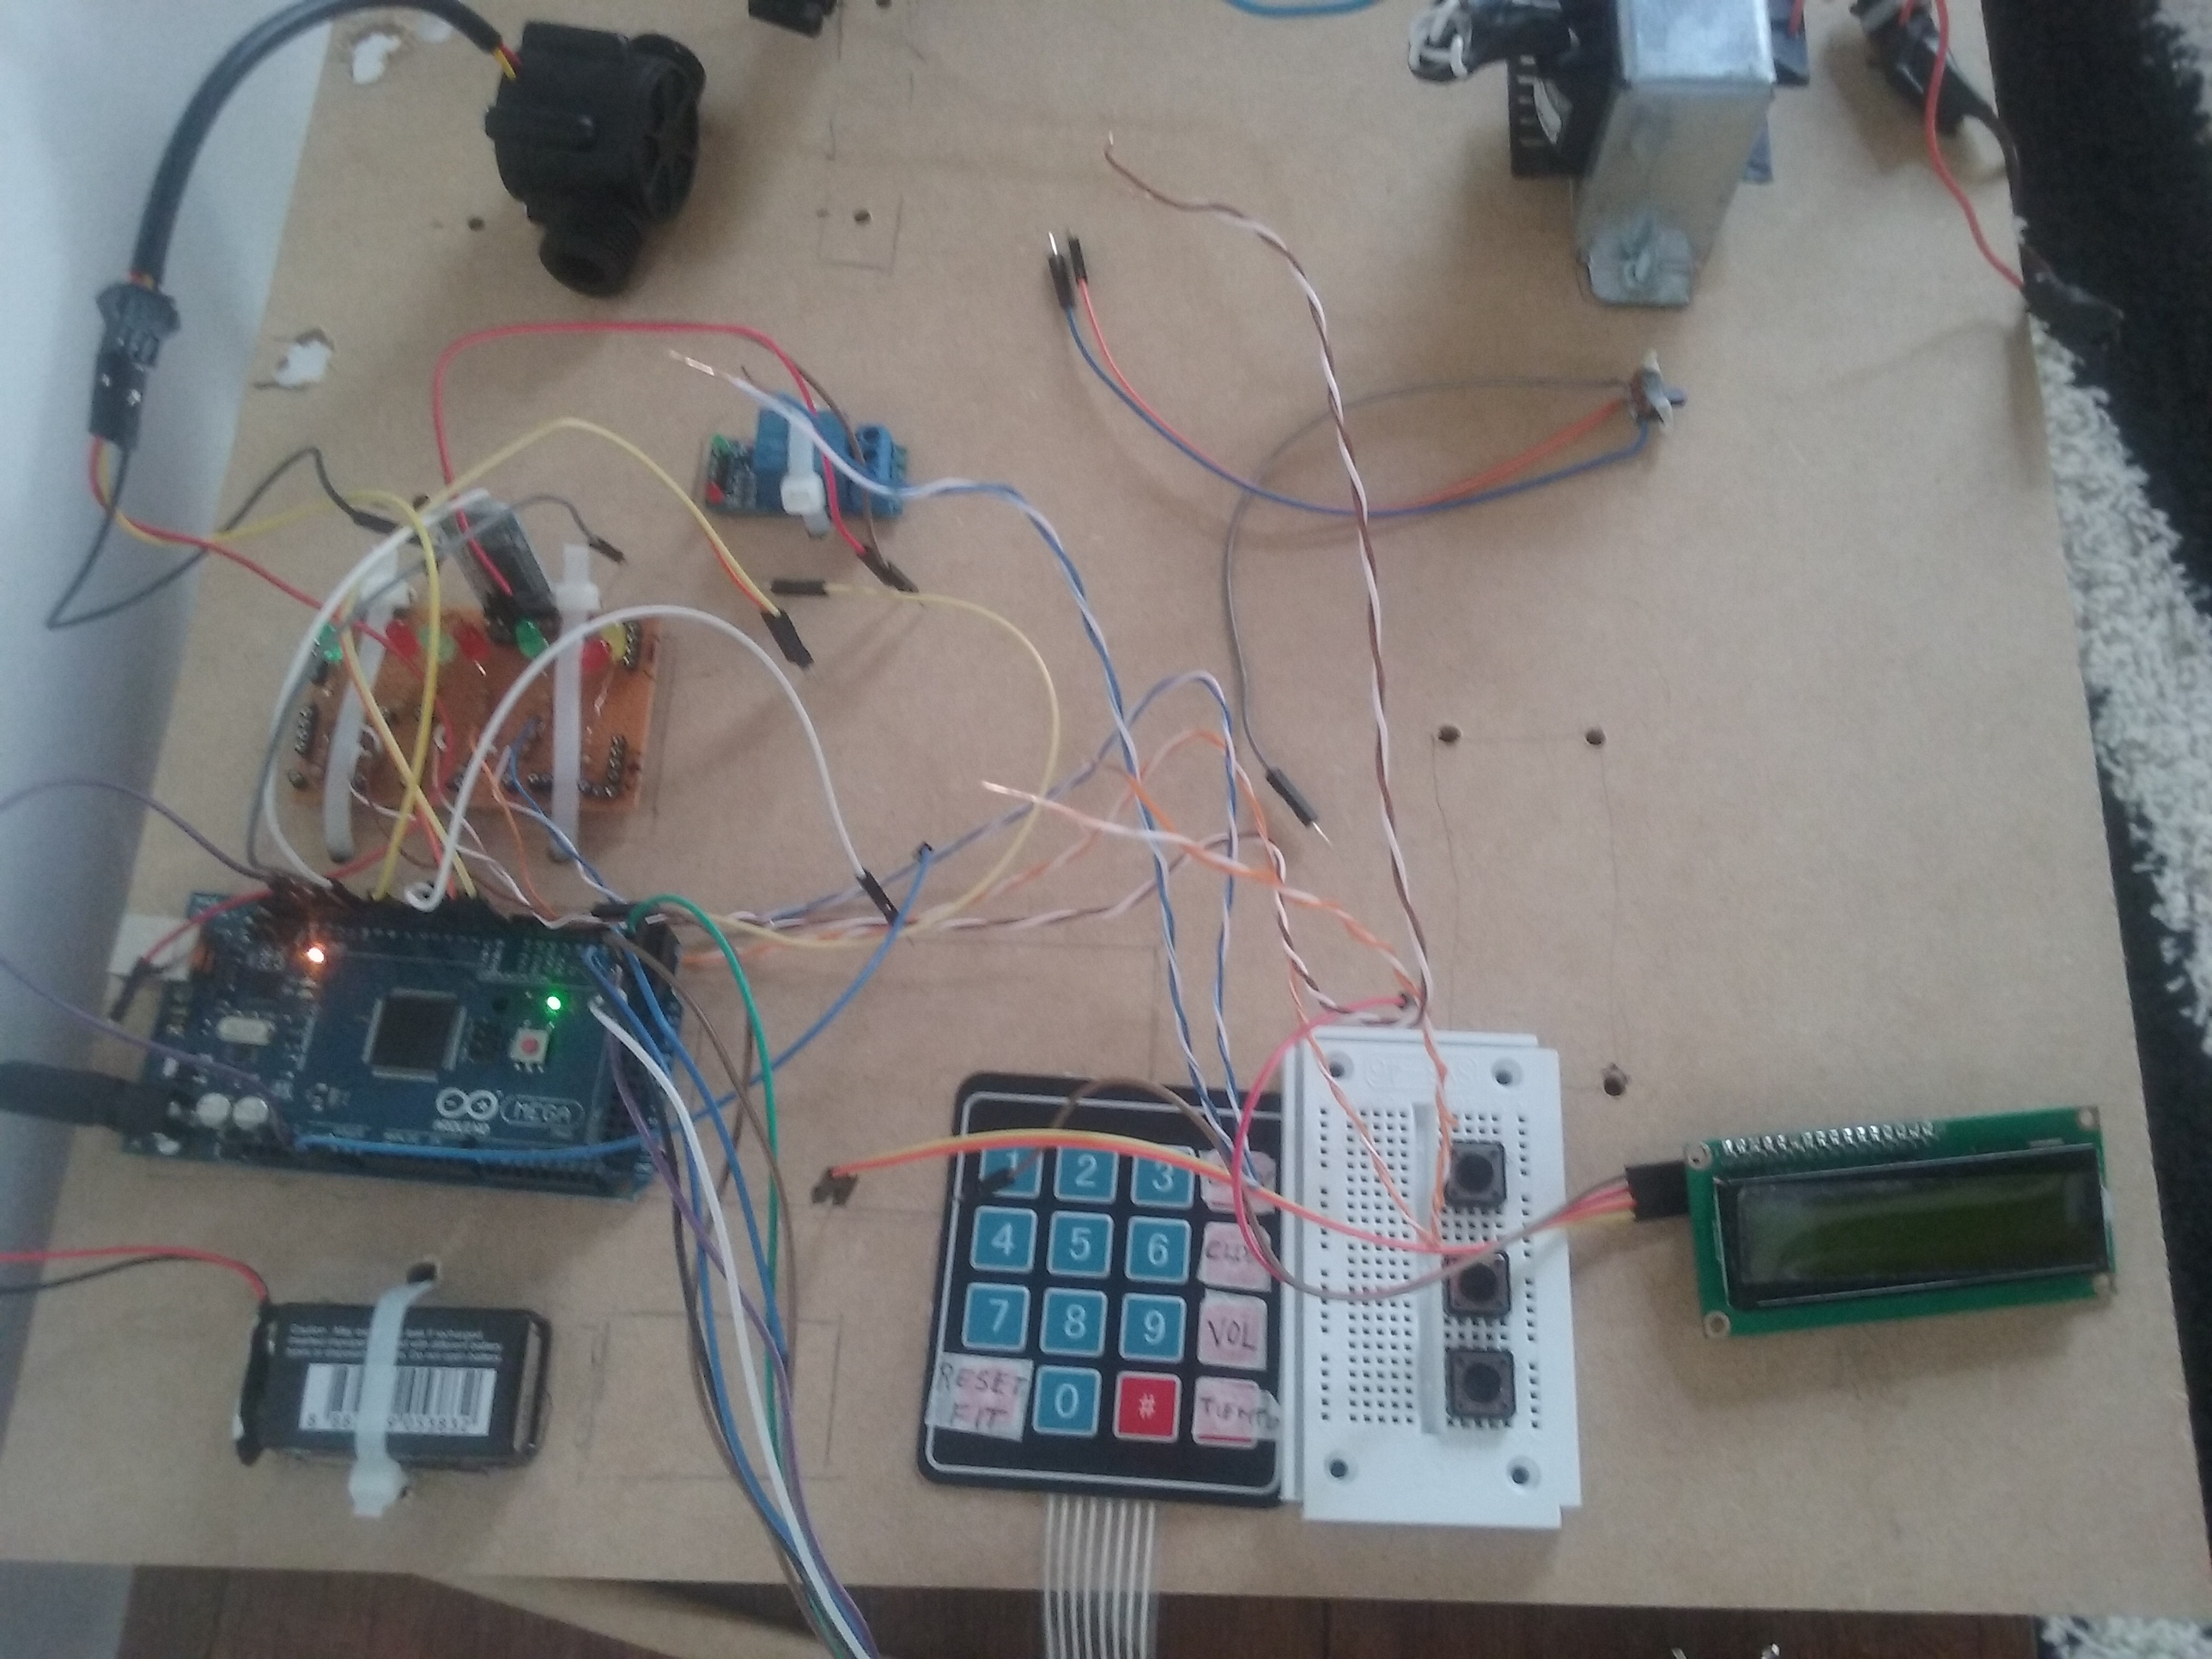
Step 3: Interconnection
Interconnect, integrate all the electric and electronic hardware, device by device and start isolated tests. Safety recommendations are:
- Output to field should be inhibited - zero water wasted
- AC devices should be inhibited- Verify voltage presence/not voltage presence
- Serial Monitor messages are useful to troubleshooting and diagnostics
- Some Delays after critical functions are important to track right operation
- Contingency plan should be clear before upload the software to arduino- AC fuses, quick disconnection mechanism, fire extinguisher, grounding connection check, and others.
Step 4:
- Compile and Upload Code to Arduino
- Output to field should be inhibited - zero water wasted
- Temporary or maintenance Serial Monitor messages are useful to troubleshooting and quick diagnostics
- Some Delays after critical functions are important to track right operation
Step 5:
Test and Adjust field hardware, electronic and software
Step 6:
Enjoy customizing the local GUI
Step 7:
Develop the APP modification to the amount of zones of the system and Upload the App from Android Studio to your Smartphone. In this case we have only one zone to control, but all is scalable to "n" zones.
Step 8:
Test and Adjust field hardware, electronic and software against smartPhone GUI

ข้อมูล Frontmatter ดั้งเดิม
apps:
  - "1x bluetoothchat"
  - "1x ecoriego"
author: "hbolanos2001"
category: "Home & Automation"
components:
  - "10x Resistor 221 ohm"
  - "1x Arduino Mega 2560"
  - "1x solenoid valve"
  - "1x Android device"
  - "1x Standard LCD - 16x2 White on Blue"
  - "1x Pushbutton switch 12mm"
  - "1x Soldering iron (generic)"
description: "Use  your smartPhone and enjoy irrigating your Garden with this Green-cheap system- No BackPain - No Wasted water!!"
difficulty: "Intermediate"
documentationLinks: []
downloadableFiles: []
encryptedPayload: "U2FsdGVkX18oZN0Et7YjaXq1jqP6izrNvdiTZ7XyuQrSb0n965nDau8HyAMuKZXR+PxJzukVDbc7BPnYkSYAat4B7rHq7GQF7rj4BrkIqQiktkpQ8aZhJ9wOkLRaT92j"
heroImage: "https://cdn.jsdelivr.net/gh/bigboxthailand/arduino-assets@main/images/projects/integrated-home-irrigation-system-9783df_cover.jpg"
lang: "en"
likes: 15
passwordHash: "9d32067c0f760ce8fb3cec68a4eca25100593b5a9fc90d70b1b1bfbf3aabbb6e"
price: 2450
seoDescription: "Build an Integrated HOME Irrigation System using smartPhone and Arduino. Save water and effort with this eco-friendly project."
tags:
  - "home automation"
  - "sustainability"
  - "garden"
title: "Integrated HOME Irrigation System"
tools: []
videoLinks:
  - "https://www.youtube.com/embed/z1xUTJF3egU"
  - "https://www.youtube.com/embed/dznwe-MK1KQ"
  - "https://www.youtube.com/embed/z1xUTJF3egU"
views: 10400